
Many art room tools aren’t absolutely necessary, but they can make for a better creating experience. Whether the tool saves time or creates more consistency, some tools are a gift to have in an art classroom. One of these items is a ceramic extruder. Although you can perform many hand-building clay methods without the device, it is beneficial to invest in one for the student ceramic experience.
What is an extruder?
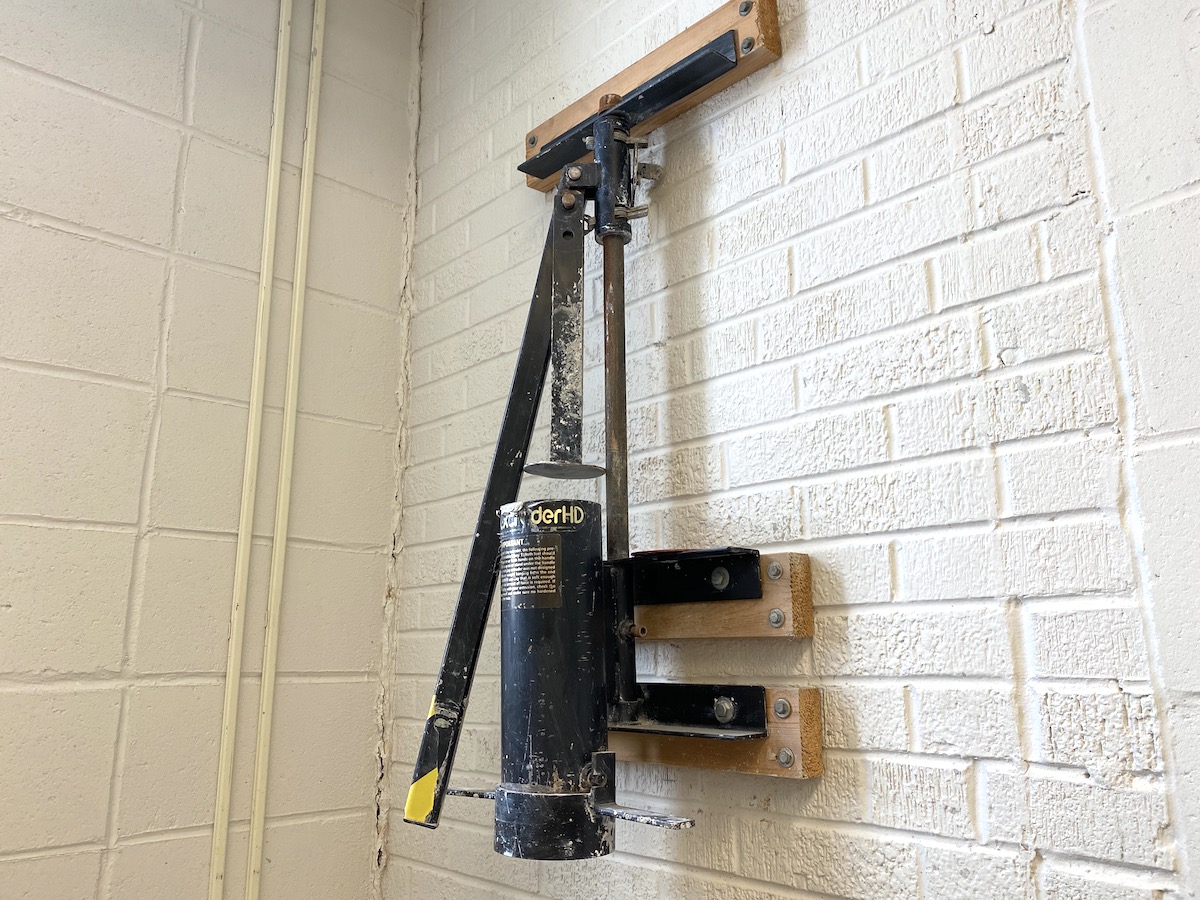
Simply put, a ceramic extruder is a mechanical device and a simple machine that passes clay through a column with applied pressure. Attached to the bottom of the column is a shape called a die. With the force of a lever, the clay is pushed through the die’s shape to extrude a specific shape of clay.
Ceramic extruders come in a variety of sizes and shapes. Ceramicists and sculptors use extruders to aid in the building of three-dimensional pieces. You can find many types of extruders in a studio or classroom that perform a variety of functions. Here are some of the types of extruders you might consider adding to your art room.
Each of these styles is appropriate for the art room and can also be easily used by students.
6 Ways to Use a Clay Extruder in the Art Room
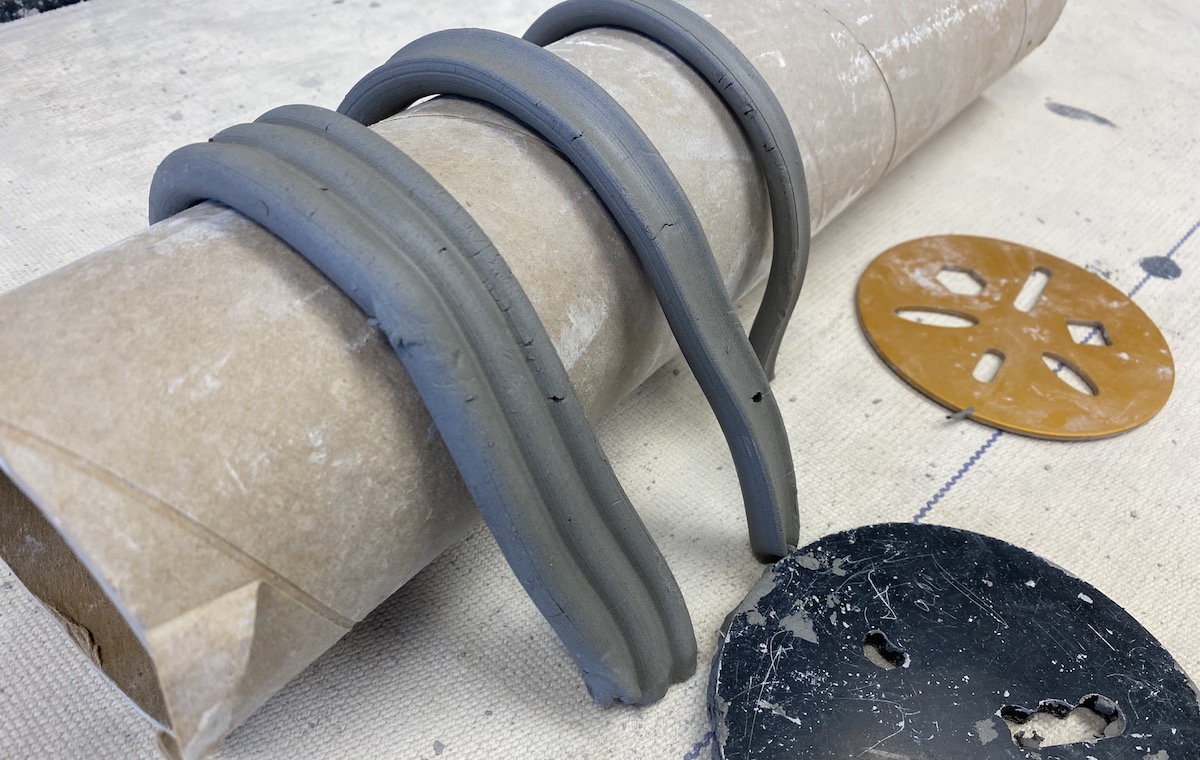
1. Create consistent coils.
One of the best ways to use a clay extruder in the classroom is by extruding coils. Yes, learning how to create coils for hand-building is an important skill for students to learn, but have you ever considered the amount of time it takes? Students often become frustrated with coil building as the rolling clay becomes uneven and breaks. Not to mention, so many coils often need to be made that students can become frustrated with the process.
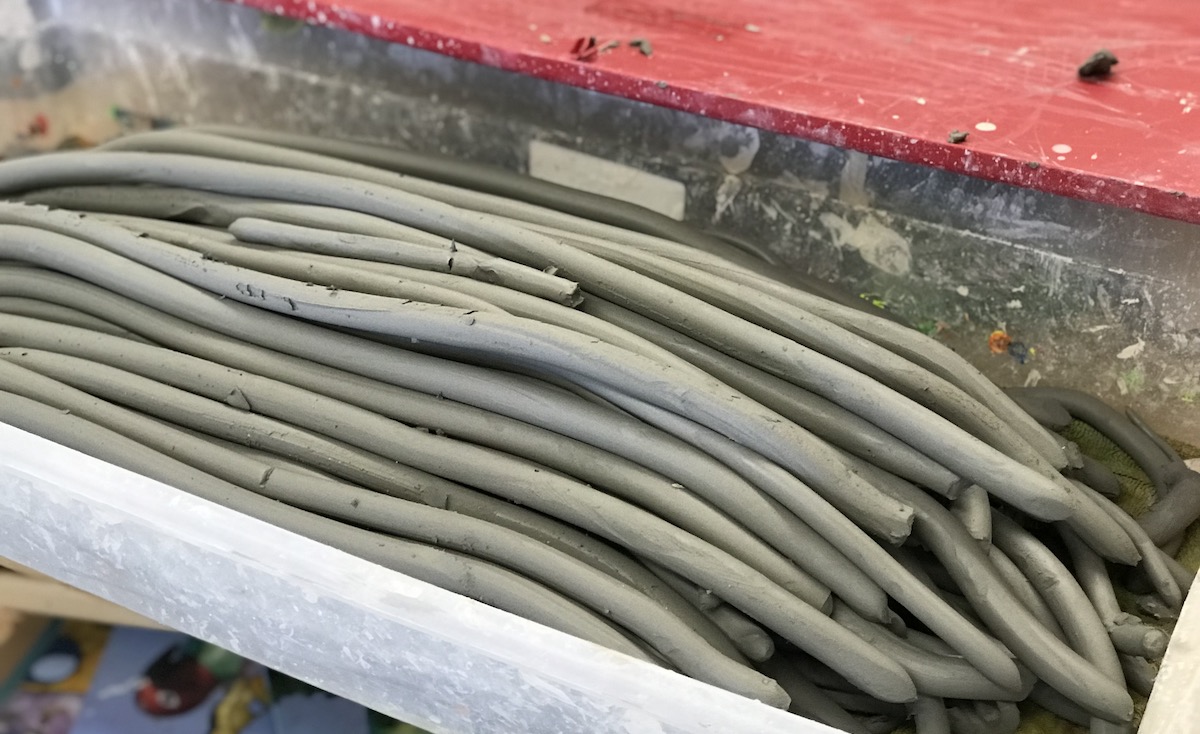
A solution to all of this is using a die-cut with a circle shape to extrude coils. This way, students are creating perfect coils every time, plus they’ll enjoy using the extruder. You can even have students extrude extra coils ahead of time so that they can grab them from a bin when they need them.
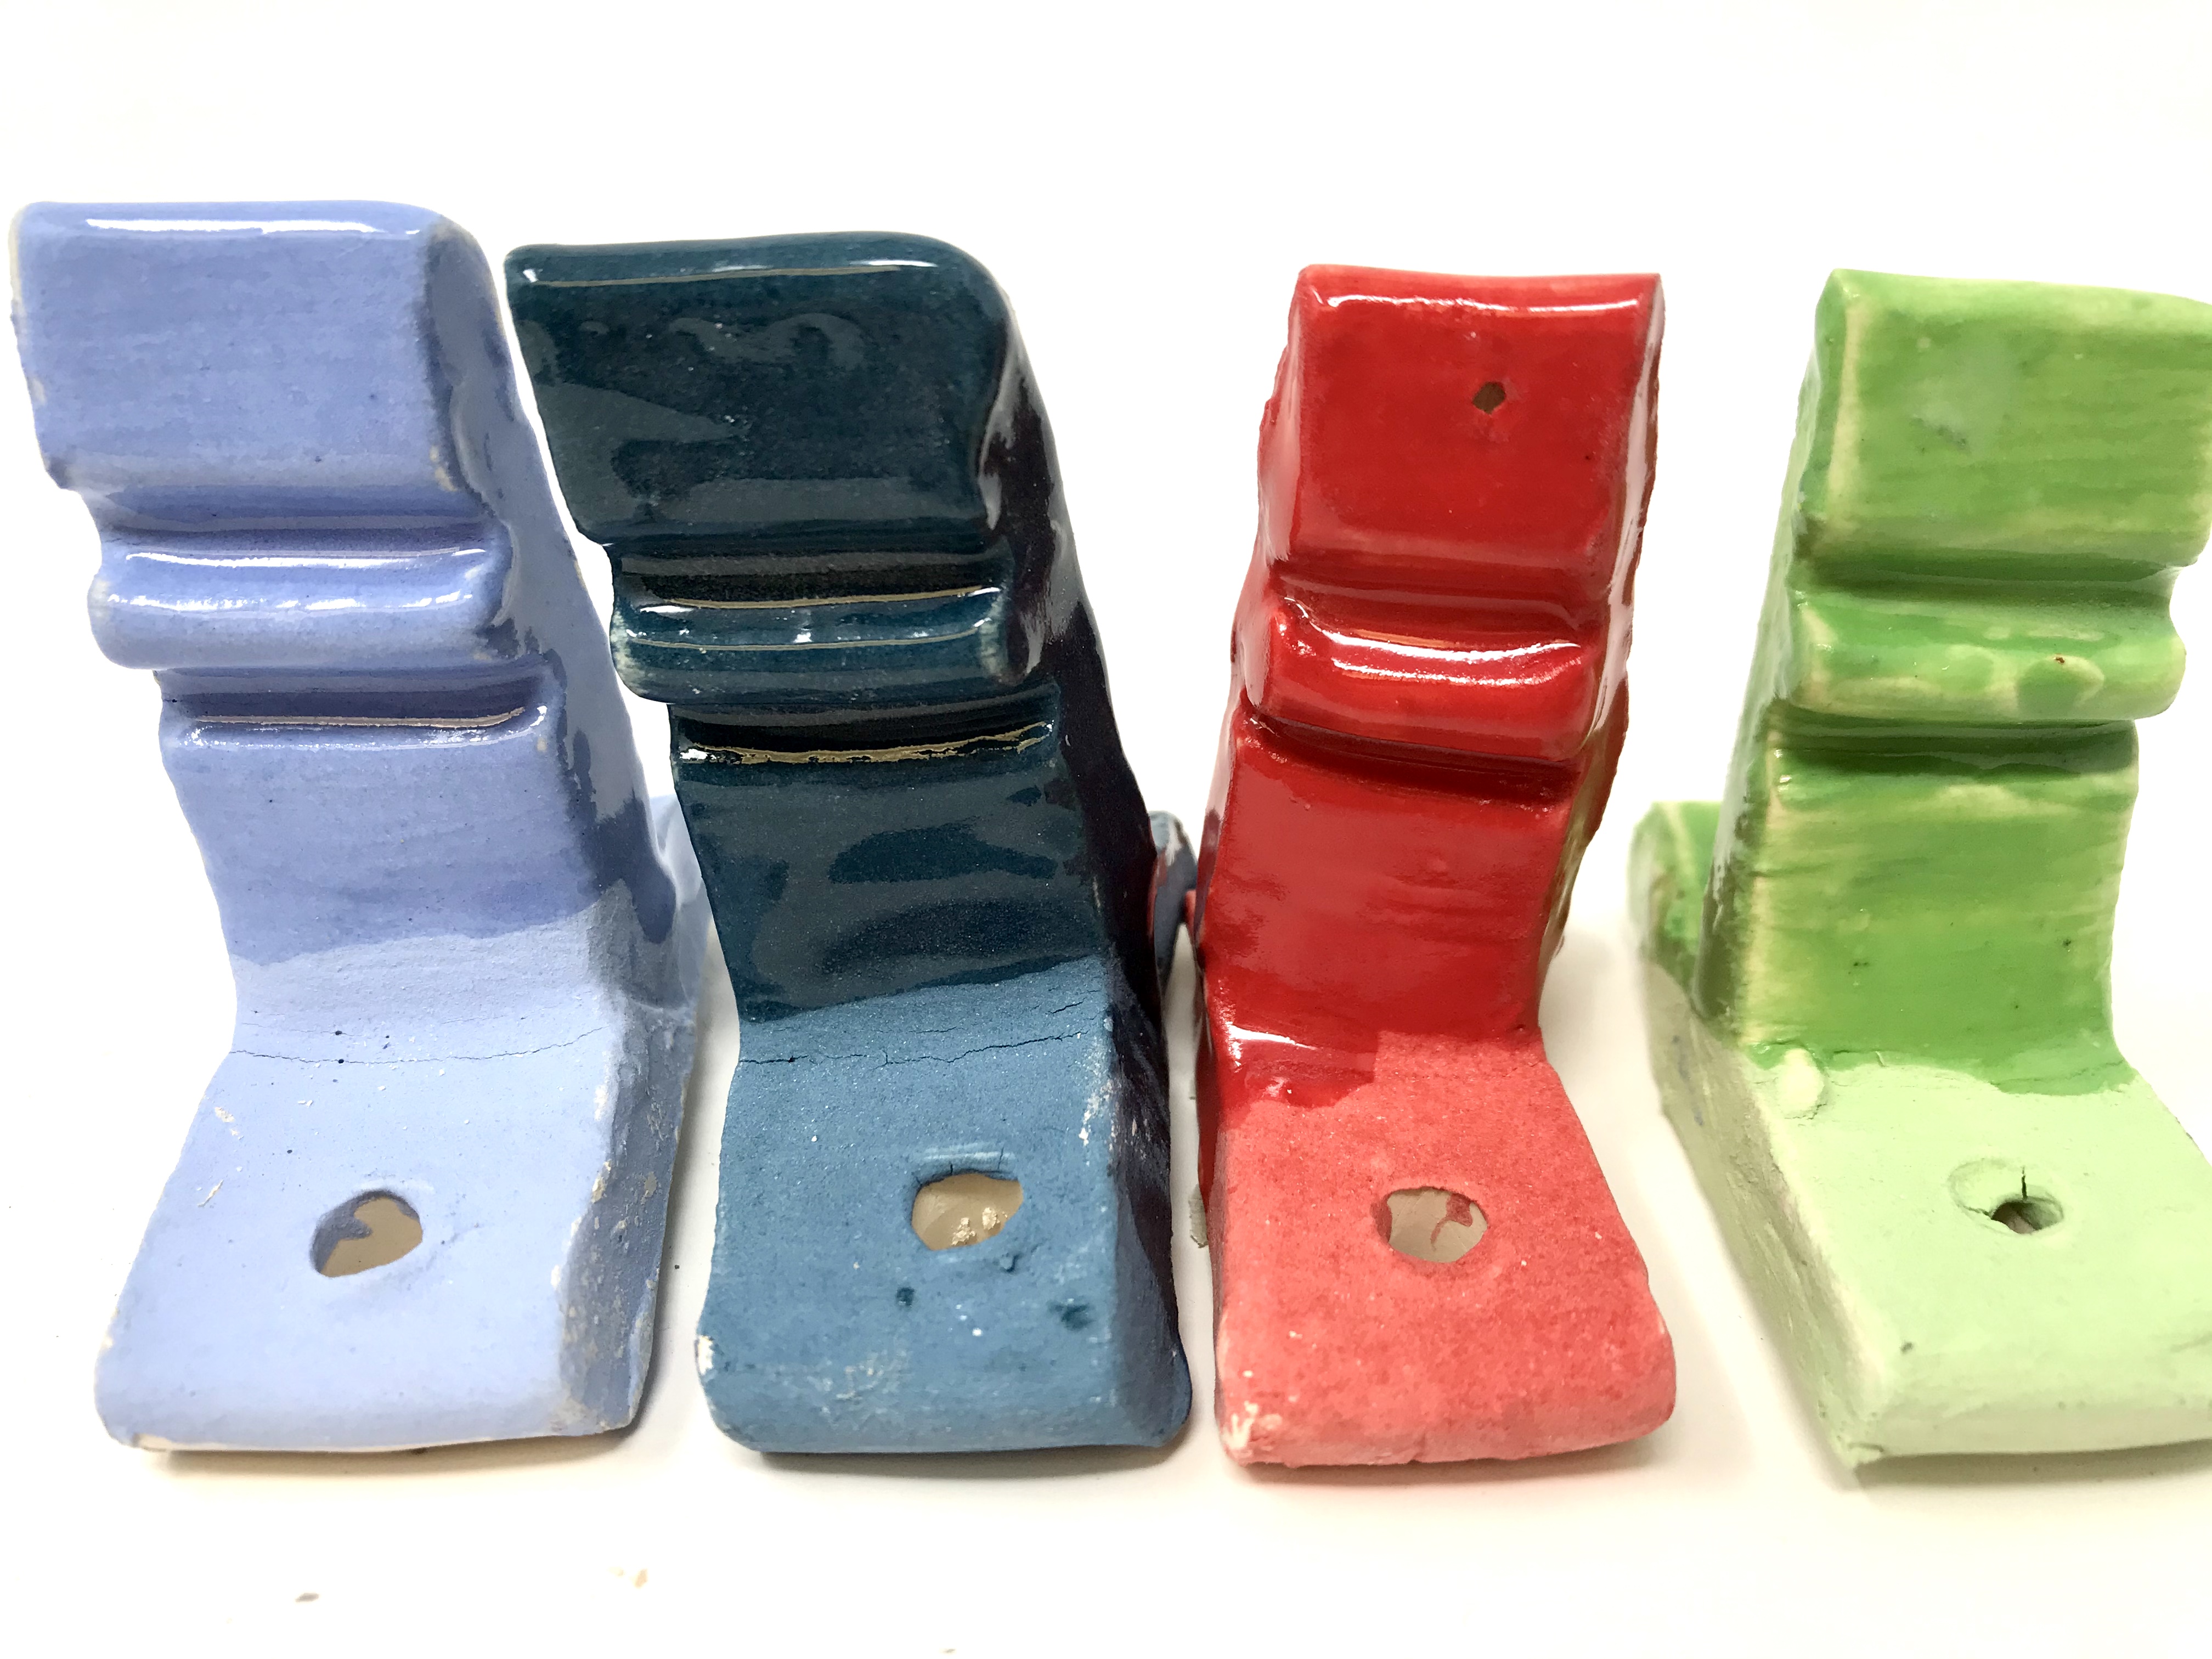
2. Sculpt structural forms.
The use of die-cuts can be taken even further by using them to create a structural form. Since die-cuts come in varying sizes, you can extrude large, hollow forms to aid in the sculptural building of clay pieces. In the December 2002 edition of Ceramics Monthly, ceramicist William Shinn says, “The extruder is an ideal tool for sculpture—both abstract and representational—and is particularly handy for work requiring modular elements. Dies, created specifically for this purpose, can produce work that can be easily bent, twisted, and joined together.”
Here’s an example of a soap or lotion dispenser that was created with the use of an extruder. Use the extruder to create forms that can be used as a stand-alone piece or added to other art pieces, hand-built or wheel-thrown. If you want students to focus on surface treatment or design rather than form, an extruder can aid in this process.
3. Generate test tiles.
Glazed test tiles are an important instructional and learning tool for the art room. Test tiles must have both smooth and textured areas so students can see how the glaze looks on both surfaces.
However, it can be a pain to cut out many identical clay pieces. Using an extruder can save you time for this process! Certain die-cuts can create both a smooth and textured surface with one extrusion.
4. Add functionality with handles.
Do you create functional ceramic pieces with your students? Whether your students are creating mugs, pitchers, or vases, adding handles is a common way to add detail and functionality.
Sure, handles can be pulled and created in traditional ways, but an extruder provides different design elements and consistency to handle making.
5. Create 3D print die-cuts.
For even more versatility with your clay extruder, you can create your own die-cuts. With access to a 3D printer, students can digitally design and print unique dies to help in clay building.
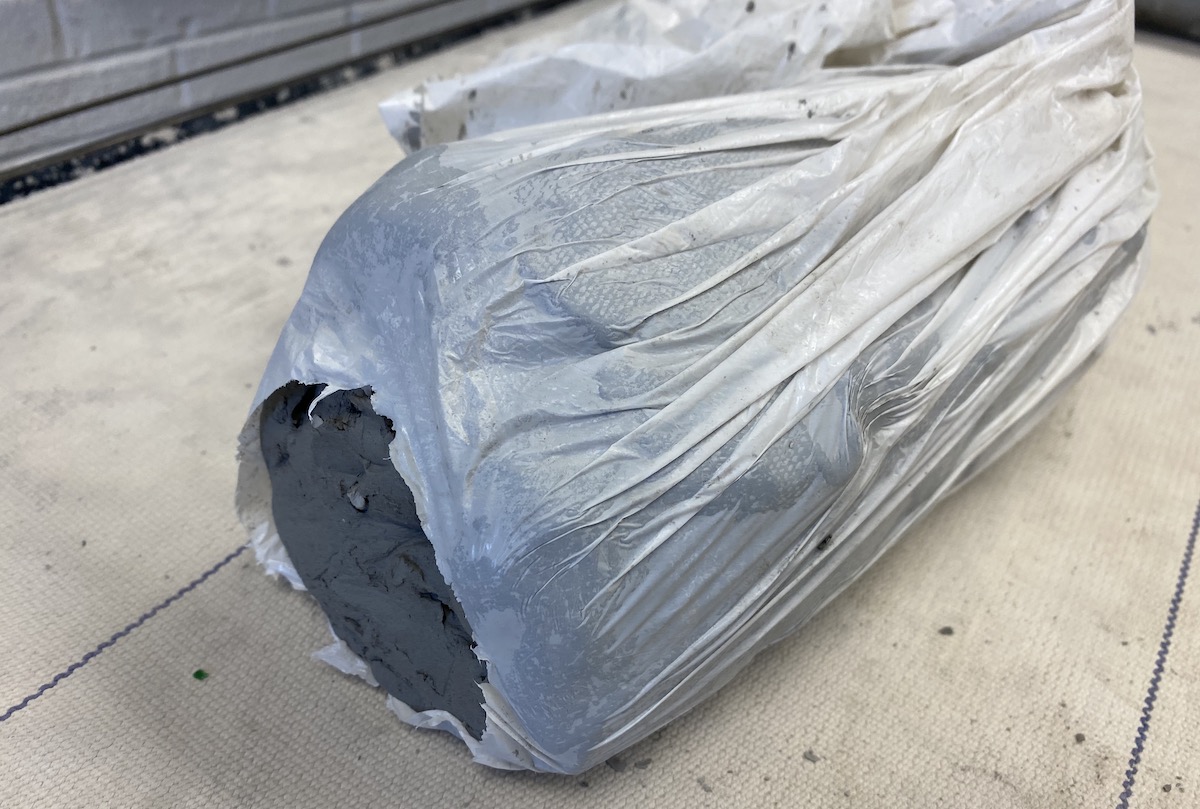
6. Keep it clean with a plastic bag.
One of the most time-consuming and, frankly, inconvenient things about using an extruder is the cleanup. No one likes cleaning up the dry clay that builds up in the barrel of the extruder over time. Before putting the block of clay through the extruder, to avoid this, place the clay in a plastic bag. Take scissors, cut an opening at the bottom of the bag, and then place the bagged clay into the extruder column. Using the lever to plunge, the clay will extrude like normal with minimal cleanup!
Art teachers are creative and can always find a solution to working with limited resources. It’s exciting when we do have the opportunity to get something new for our classroom that serves as an instructional tool. If you’ve wanted a ceramic extruder for your classroom, consider the many ways it might benefit the students in your classroom.
Do you have a clay extruder in your art room?
How do you use your extruder?
Magazine articles and podcasts are opinions of professional education contributors and do not necessarily represent the position of the Art of Education University (AOEU) or its academic offerings. Contributors use terms in the way they are most often talked about in the scope of their educational experiences.


