Glazing pottery can be a tedious task. After students build a clay piece, sometimes they don’t want to spend the time to glaze their pieces properly and wait for another firing. As a result, the glaze gets slopped onto the piece without enhancing its final form. Understanding the glazing process can also be difficult for students. They are unable to see the chemical changes that occur behind the scenes in the kiln.
There are thousands of different glaze combinations to experiment with. From using high and low-fire to oxides and stains, there is a whole world to explore when it comes to glazes! Artmaking is not just about the final product; some of the most powerful learning comes from the process. The next time you start a pottery unit, consider having your students begin by creating test tiles to explore glazing first. Beginning with the end in mind will help them understand the procedural steps to reach their desired product.
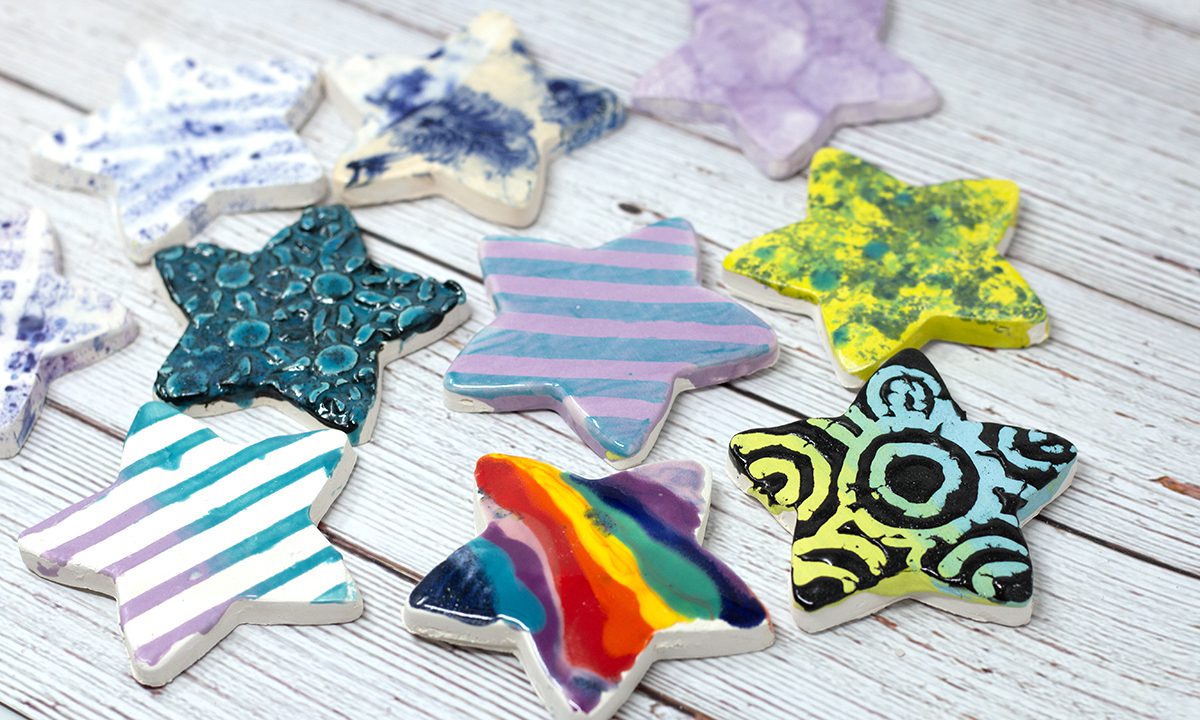
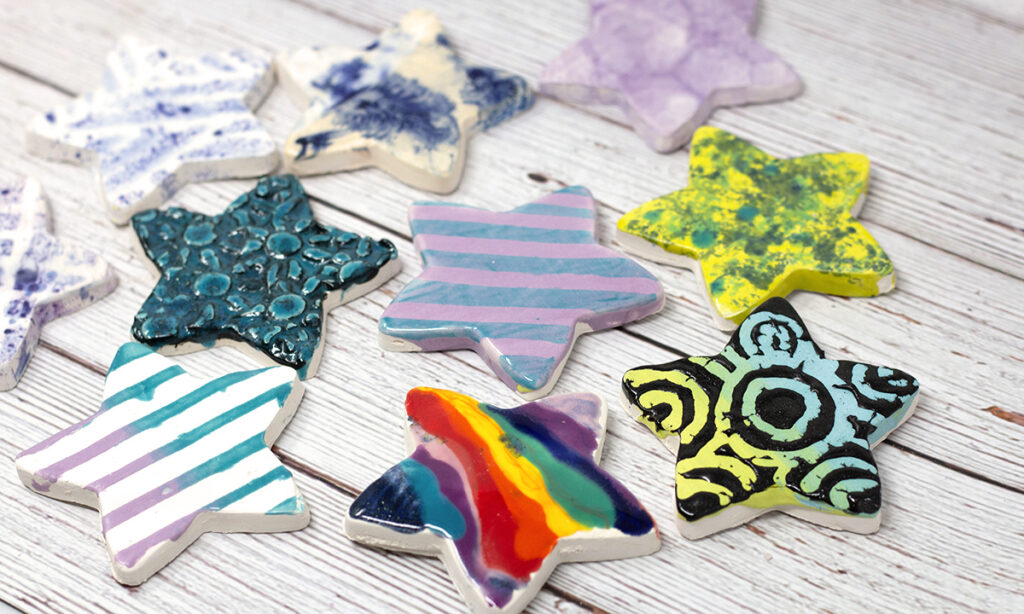
Read on for 8 fun glaze techniques to try with your students.
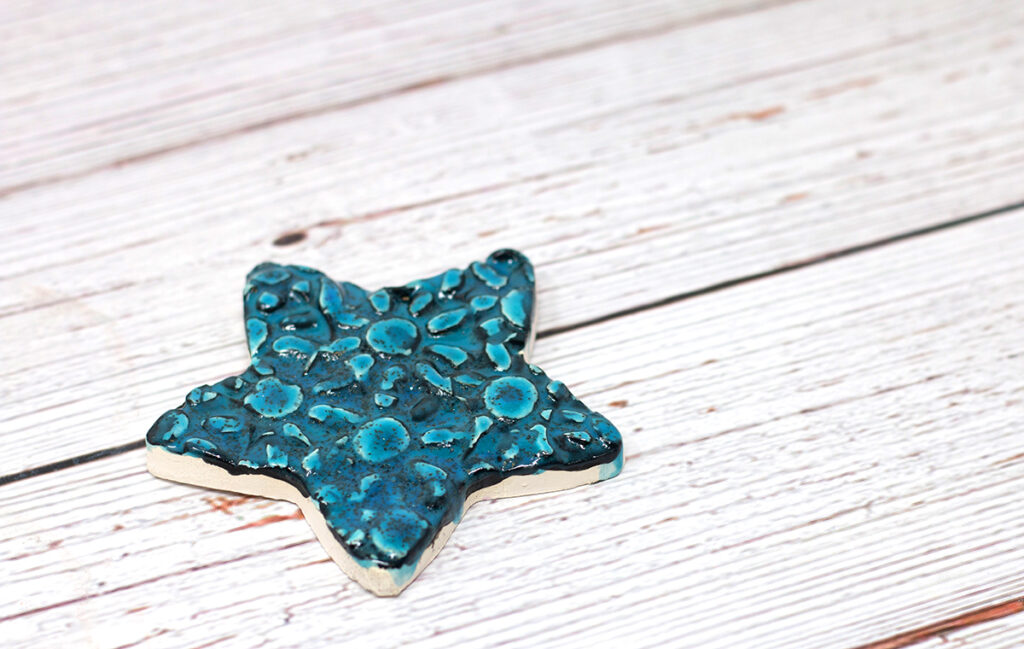
1. Bubble Glazing
Bubble glazing is a favorite in the classroom, partially due to the process. Trying out bubble glaze will make anyone feel like a kid again—it’s reminiscent of blowing bubbles in your chocolate milk!
Here’s what you need to get started:
- Water
- Underglaze
- Clear dish or hand soap
- Straw
- Bisque-fired clay piece
- Container
- Tray or large container
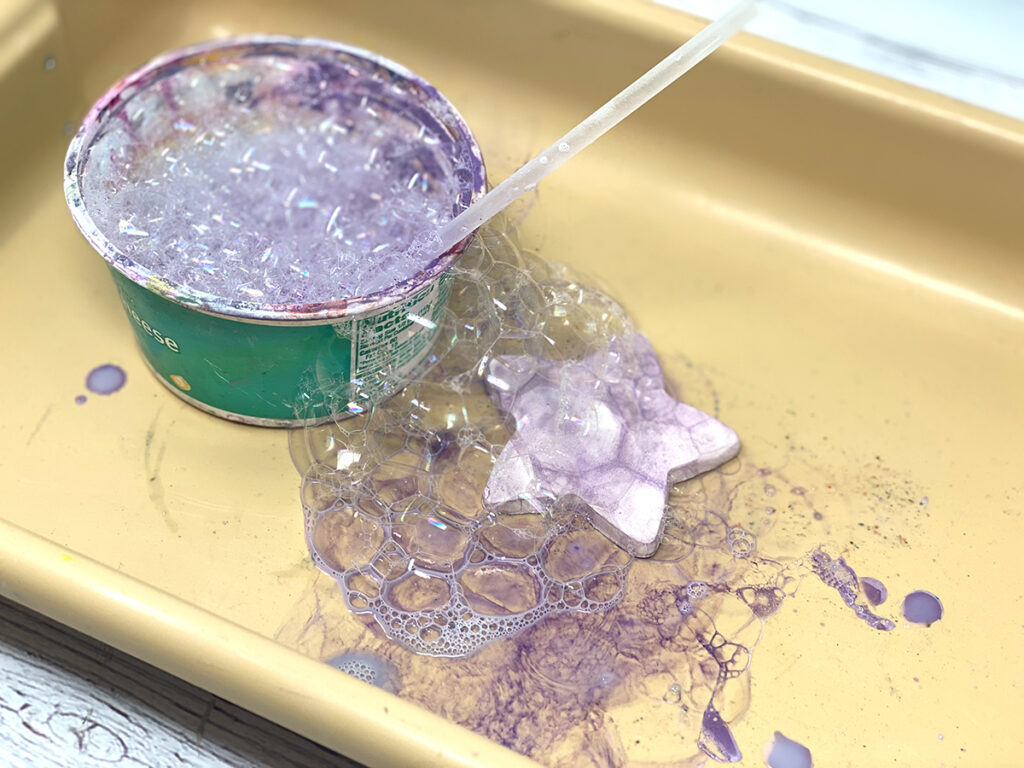
Start by adding about three spoonfuls of water to a container, followed by three drops of soap. Add one spoonful of underglaze. Underglaze works best for this technique since it doesn’t run as much as a glaze. Stir up the mixture and place the clay piece over a tray or large container to catch the glaze. Place your straw in the glaze and blow out bubbles. Manipulate the container, so the bubbles drop onto the clay piece. Let the bubbles pop on the piece before you move it. Once the underglaze is dry, add a few coats of clear glaze to bring out the design.
2. Syringe Glazing
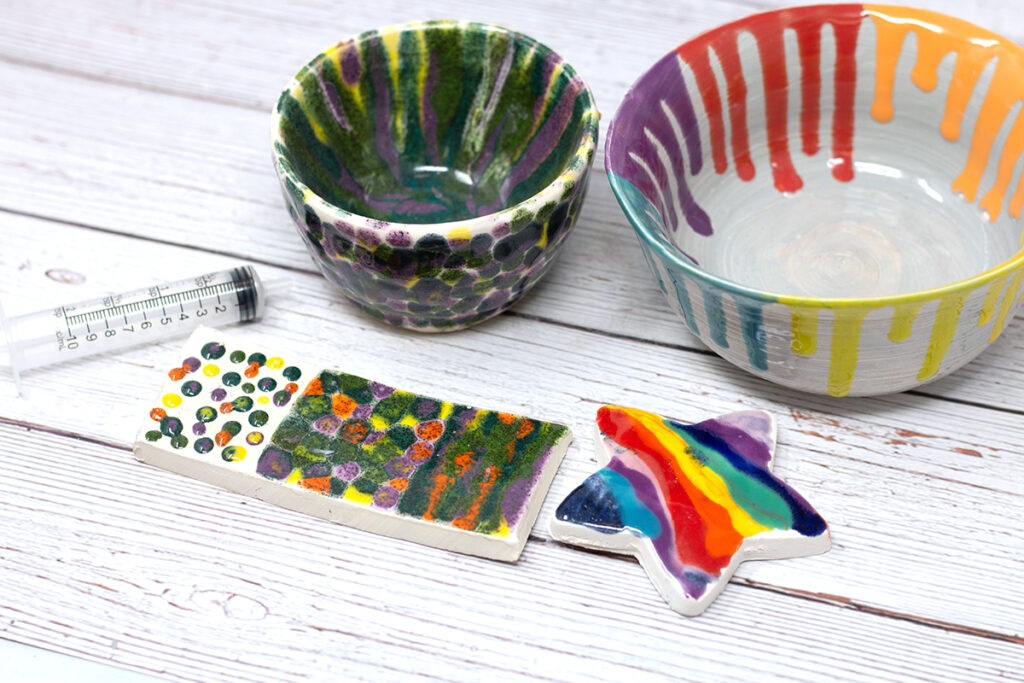
High-fire glazes create a flowing effect, which can be difficult to achieve with low-fire glazes. One way to emulate the high-fire look is to create a heavy glaze with a plastic syringe or eyedropper. Fill your syringe with glaze, and let it flow across the bisque-fired piece. You can use several colors, but be careful not to layer the glaze too much, as this will cause it to crawl. One coat is enough due to the heavy layer. The colors will melt and merge when the piece is fired.
3. Mocha Diffusion
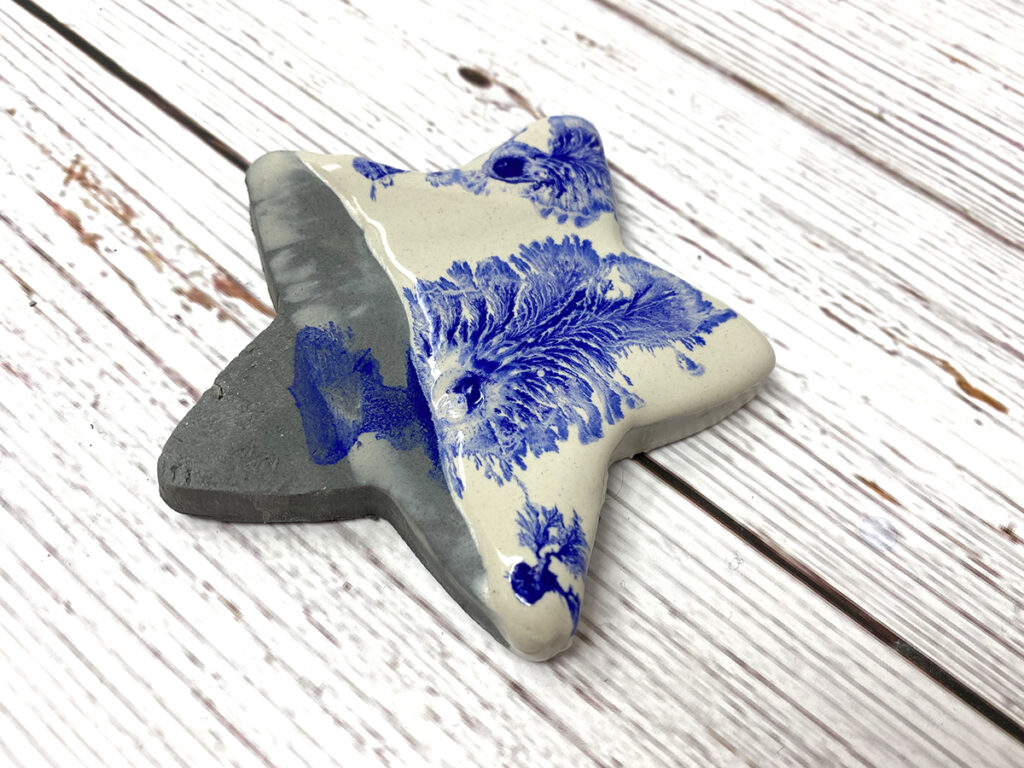
Mocha diffusion is a finishing technique that emulates small organic veins or tree-like forms. The design is the result of a reaction between an acid and a base on leather-hard clay.
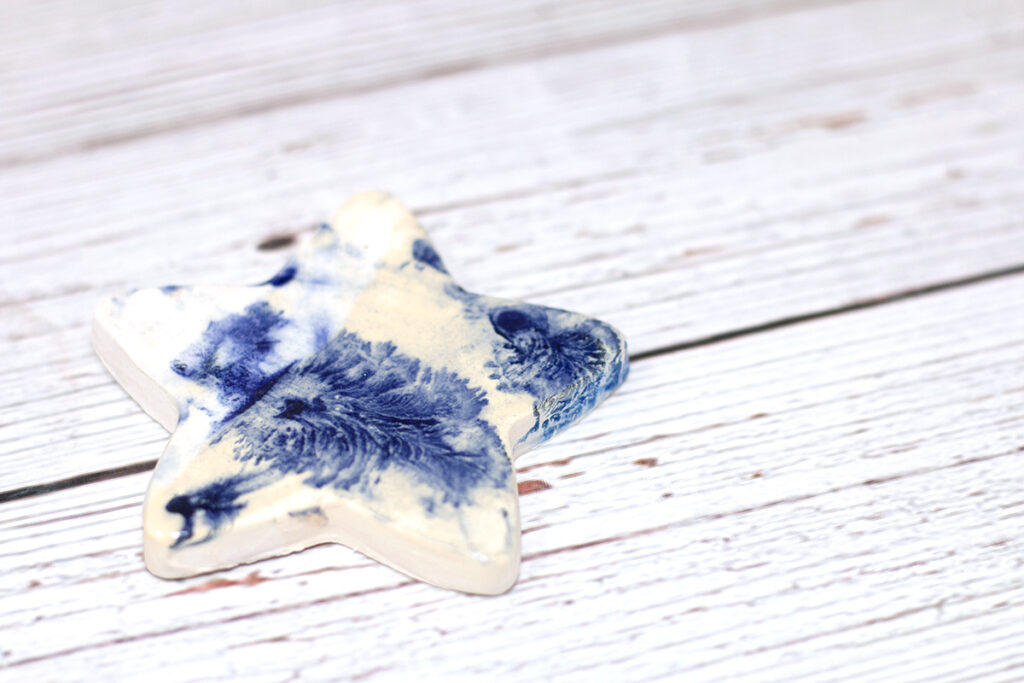
To achieve this effect, coat the desired area with slip in a similar consistency as slip casting. Next, mix a little bit of a mason stain with apple cider vinegar. Using a paintbrush, drop the mixture on top of the slip. For best results, do not let the paintbrush touch the slip. When the vinegar (acid) hits the slip (base), the design will spread. For more intricate designs, try holding your piece upright, so the vinegar mixture trickles down. To bring out the design, top it off with a clear glaze.
4. Underglaze and Wax Resist
Wax resist is a fun technique to add a little depth and variety to a ceramic piece. You can use wax with any glaze to create a design that reveals the clay body underneath. For a little added color, apply underglaze to the bisque-fired piece. After it dries, apply the wax. Wait for the wax to dry, and apply three coats of glaze. The wax will burn off to reveal the design when it’s fired.
5. Masking Tape Resist
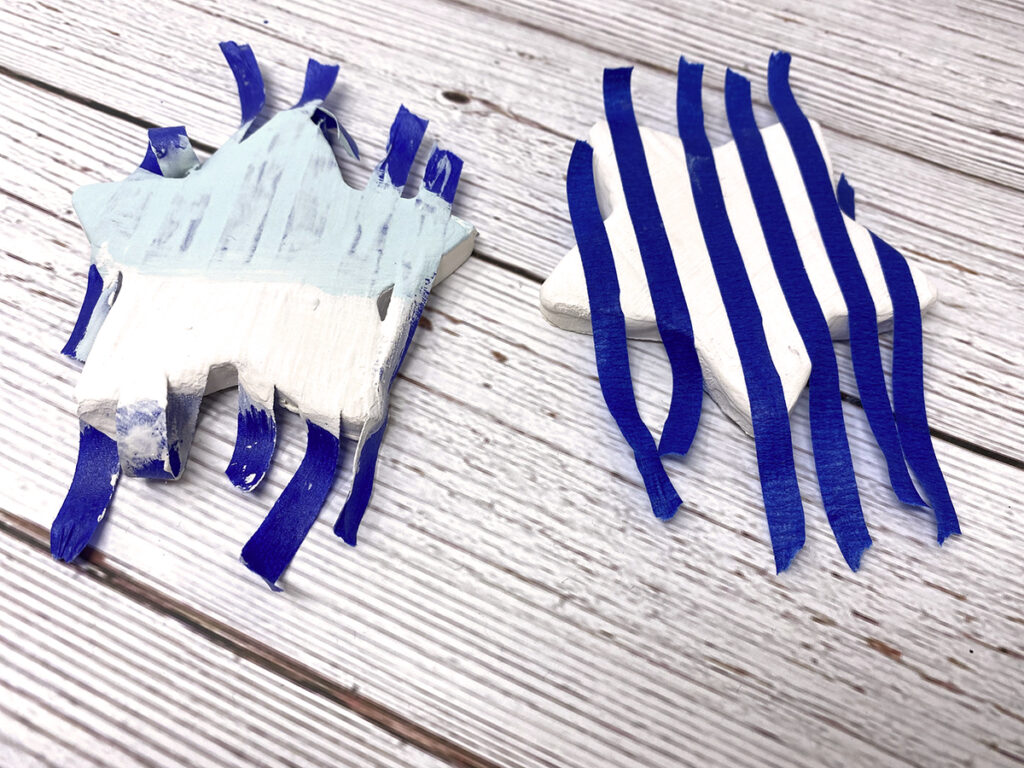
Another masking technique is to use masking tape. This technique works in a variety of ways, using both underglaze and glaze. Apply masking tape to a bisque-fired piece. When the tape is secure, add three coats of glaze. When the glaze is dry, remove the tape. Alternatively, glaze the bisque-fired piece first, let the glaze dry, add masking tape on top, and add another coat of glaze. Before glaze firing, remove the masking tape.
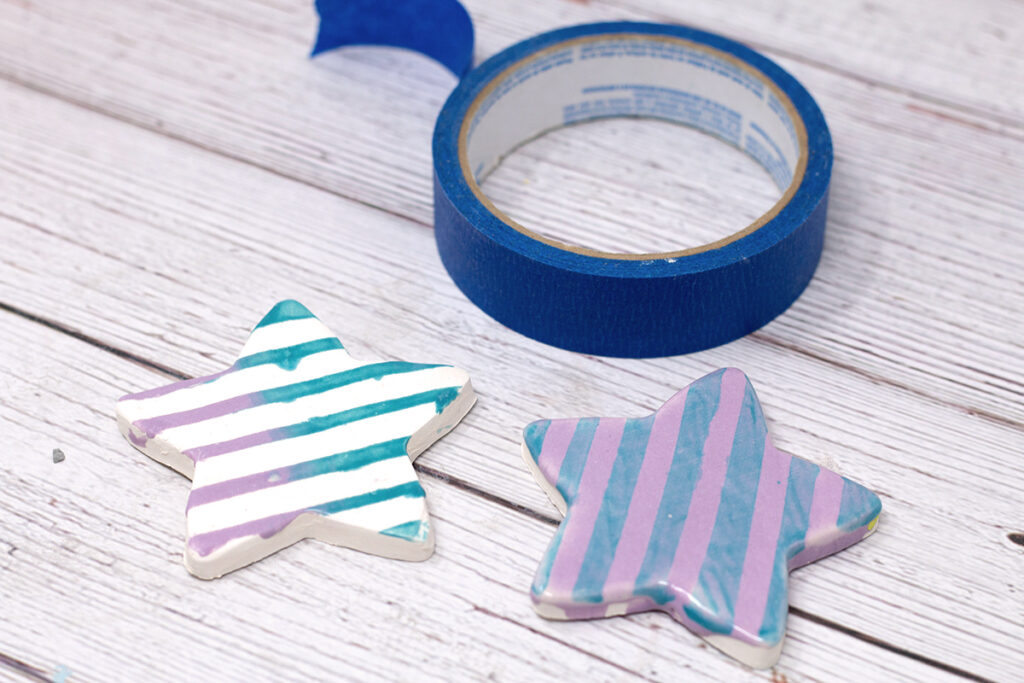
Note that using too much glaze with this second method might cause the design to run slightly. The glaze can begin to crawl if too many coats are applied.
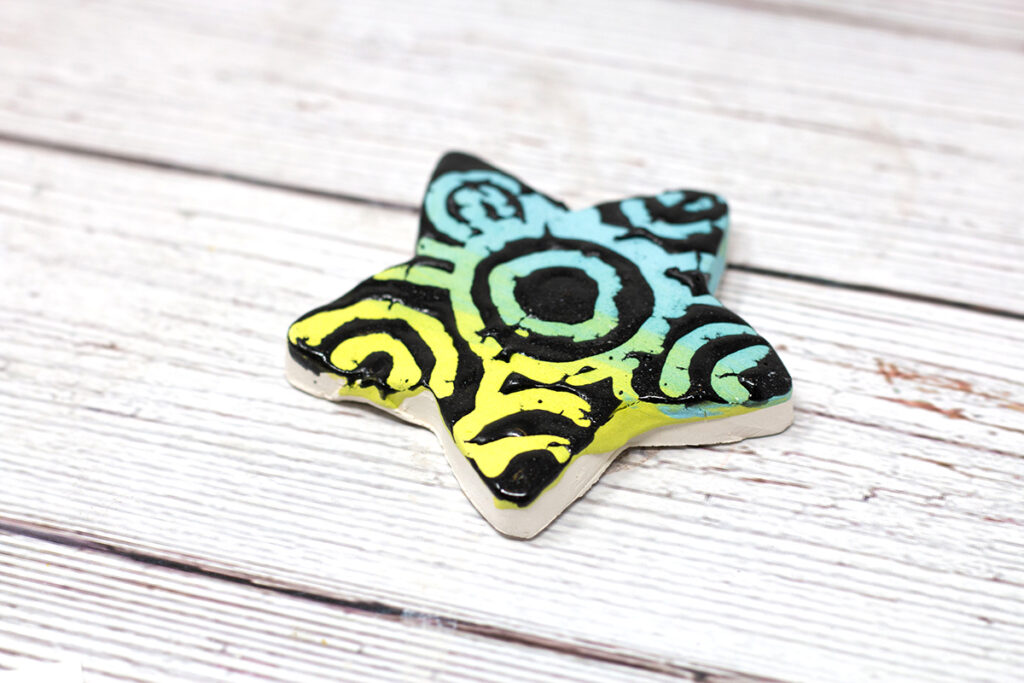
6. Underglaze and Glaze
Using glazes on textured clay pieces can bring out the design. If you’re looking to add even more emphasis to a textured piece, try adding underglaze to a bisque-fired piece first. When the piece is dry, use a metal rib tool to scrape away the underglaze on the raised surface, similar to the Mishima technique. To finish the piece, add the glaze on top of the underglaze.
For best results, use a contrasting underglaze and glaze combination. For example, a darker underglaze will bring out more of the texture if two coats of a lighter glaze are applied on top.
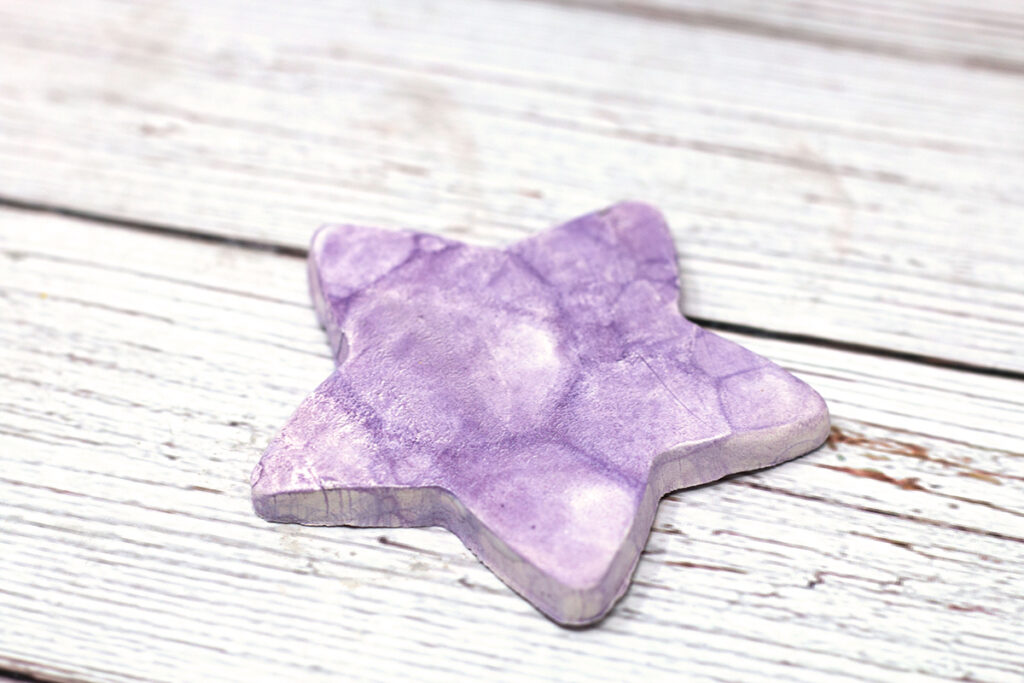
7. Sponging
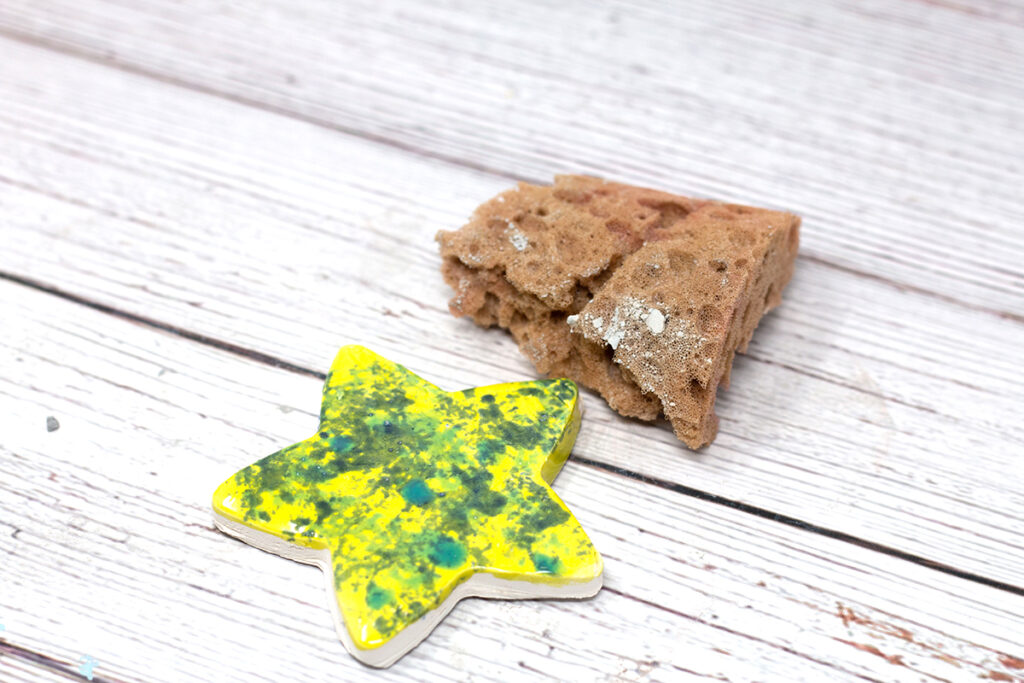
Sponging is a simple technique that blends colors or creates a unique textured area. This application is very simple! Take a damp sponge, dip it in a glaze, and lightly blot it onto your surface. If you are blending different colors, work quickly while the glaze is still wet.
8. Spraying
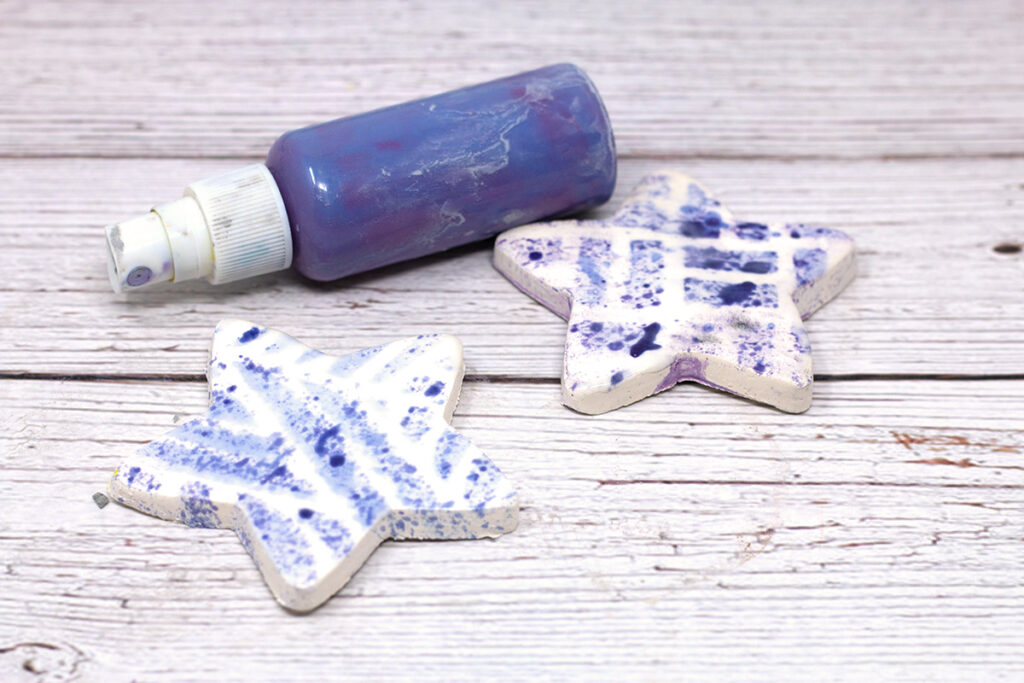
The spraying technique is an efficient way to use all of your glazes, even when the container is almost empty. Add water to the glaze, mix it, and place it in a spray bottle. Be careful not to use too much water, as dilution will increase the transparency. You want the glaze to be thick enough that the coverage is opaque but thin enough to flow through the bottle. Once the consistency is right, spray it onto your desired piece. Use a stencil to add more variety to the design.
Glazing is an exciting part of the pottery process and can be truly transformative. While understanding the complexity of the glazing process may be difficult for some students, the more exposure they have to it, the more they will comprehend. The next time your students are glazing, try out some of these techniques to keep engagement high in the last stage of a ceramics lesson.
What is your favorite glazing technique?
Which one of these techniques are you eager to try?
Magazine articles and podcasts are opinions of professional education contributors and do not necessarily represent the position of the Art of Education University (AOEU) or its academic offerings. Contributors use terms in the way they are most often talked about in the scope of their educational experiences.