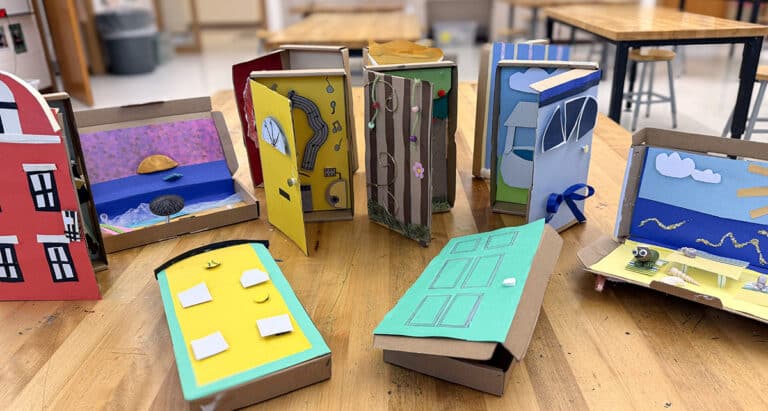
The versatility of clay will continue to be a classroom favorite. Teachers continue to flock toward the medium because of all the concepts it can teach. It is also a material that shows resilience through artmaking. Students can make a mistake on a piece, and it’s often forgiving or can be replicated. Yes, more work might be required, but knowing they can start over or try it again is significant in our students’ mindset as they create.
One of the fascinating things about the versatility of clay is the numerous ways to add texture. Taking the time to explore texture and surface treatments with students is essential to the clay making process. A simple way to identify the importance texture makes in clay creation is by looking at a glaze of the same color on a smooth surface in comparison to a textured surface. The two surfaces have different aesthetics, but when glaze touches a clay surface with texture, something magical happens. It increases visual interest and can create special effects.
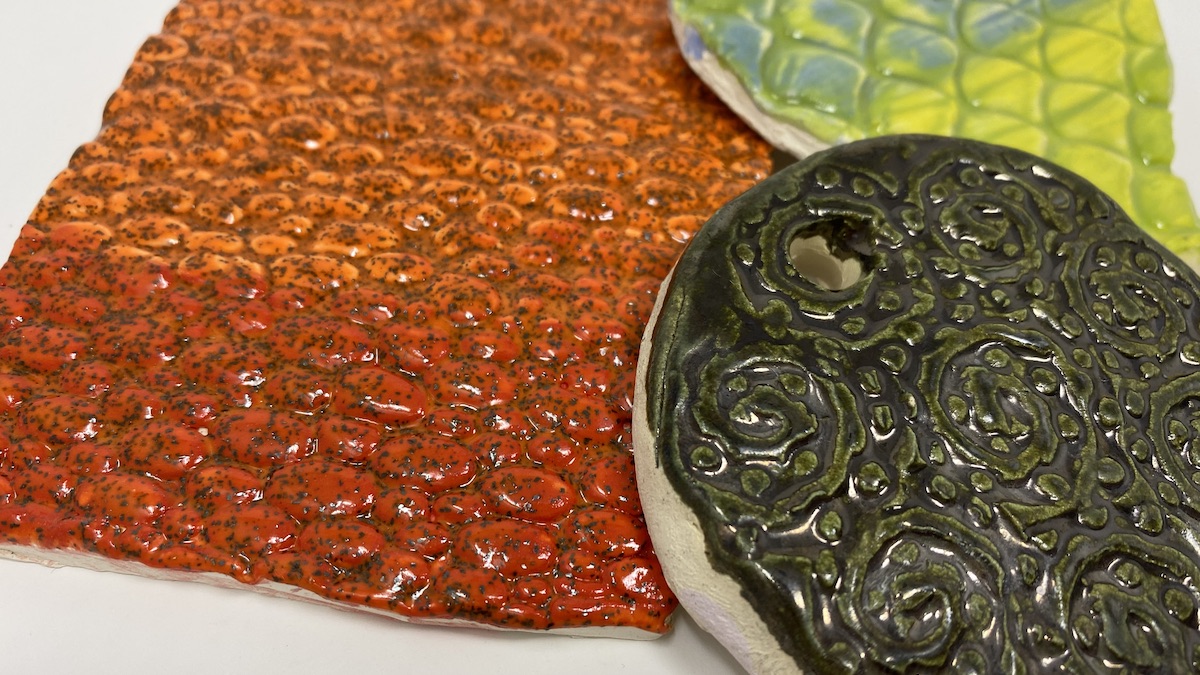
Creating texture on clay can happen in a variety of forms. What is important is that we provide students with options and solutions to take their clay pieces to the next level.
Here are five ways you can introduce your students to texture and clay.
1. Clay Stamps
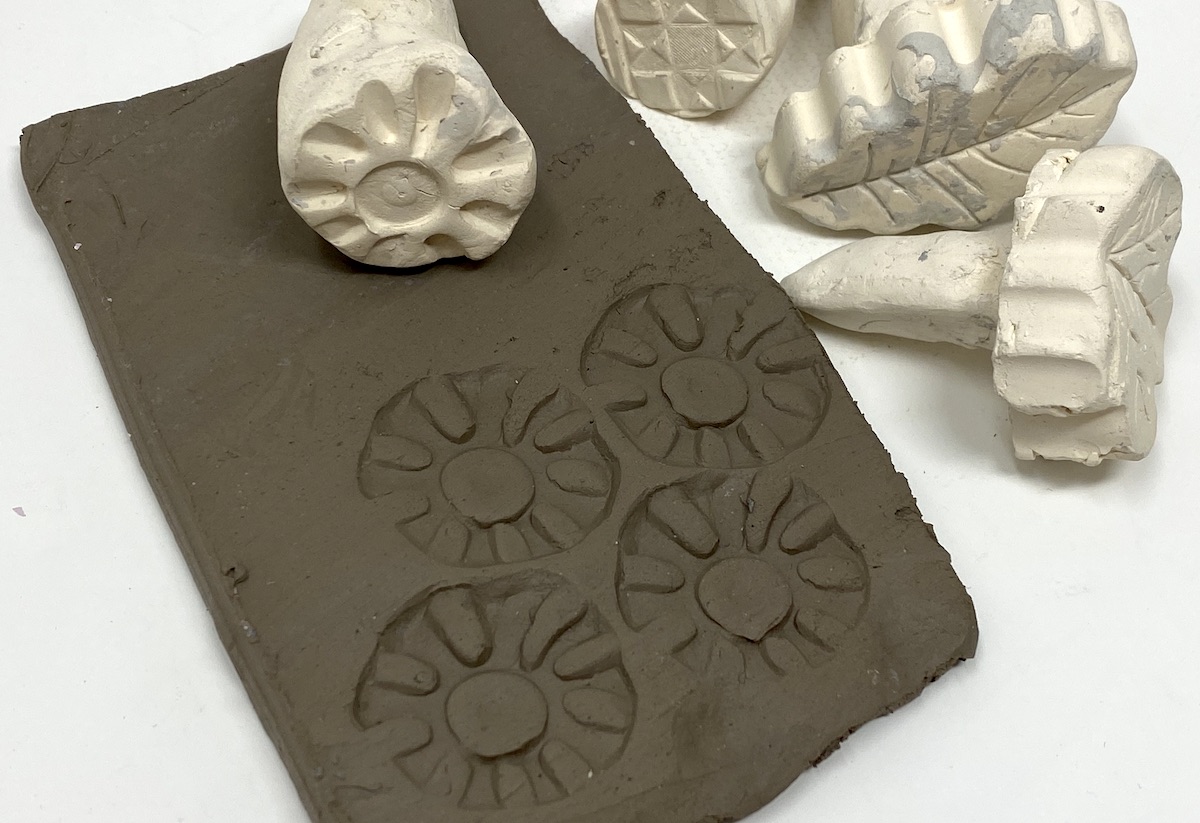
If you’re looking for a way to introduce clay to your students to learn basic techniques and learn proper clay routines and procedures, have your students create their own ceramic stamps. What’s great about this approach is that students can explore additive and subtractive design, while creating personalized texture tools they can use all semester or year long. At the end of the class, students might choose to take their stamps with them, but they might also donate them to your classroom. This means future students will be able to benefit from unique patterns and designs created by others. When creating ceramic stamps, it’s best to leave them unglazed. You’ll also find you can use them to create impressions on plastic clay but also use them for design making with slips and underglaze. For more details on how to create ceramic stamps, check out this Art Ed PRO Learning Pack.
2. Stencils
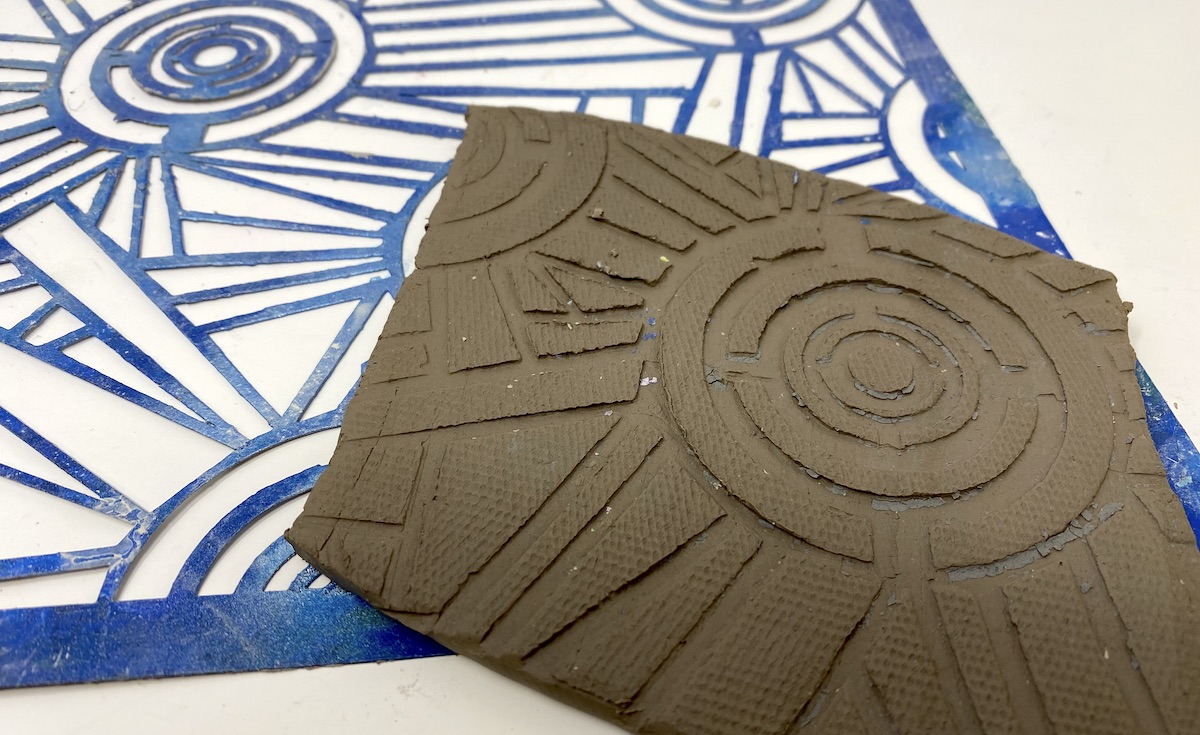
Many art teachers collect useful items for the art room. One thing you might already have a vast collection of are stencils. You might frequently use your stencils for monoprinting or drawing lessons, but they’re an excellent tool for adding texture to clay. They are particularly transformative when used on slabs of clay, and it’s simple to transfer the design! If you have a slab roller, roll out the slab first, then place the stencil on top of the slab, and run it through the roller again. The stencil design will appear on the clay, and any slab building method can then be used. Alternately, if you don’t have a slab roller, you can place the stencil on top of a rolled out piece of clay and lightly take a rolling pin or marker to make an impression. As the clay dries into more of a leather-hard stage, you might even find your students using the stencil as a guide to carve a design.
If you don’t have a plethora of stencils on hand, you might have your students design their own by hand using stencil paper, oak tag, or transparency paper. This can be done by hand, or if you have access to a Cricut or Silhouette cutter machine, students might design stencils digitally.
3. Found Objects
The world around us is full of amazing natural and found patterns and designs. From outdoor foliage to man-made objects, texture can be created in countless ways. Use this to your advantage and teach your students to observe the world around them. Have them make a note of where they see interesting and beautiful designs. Could these objects be used to create texture on clay? Part of the exploration of using found objects to add texture is experimentation. Sometimes things don’t work out as planned, but that’s how our students learn. Whether it be in the natural world, or the everyday objects your students see, encourage them to look and see how they might use found objects in the creation of clay.
4. Roller Tools
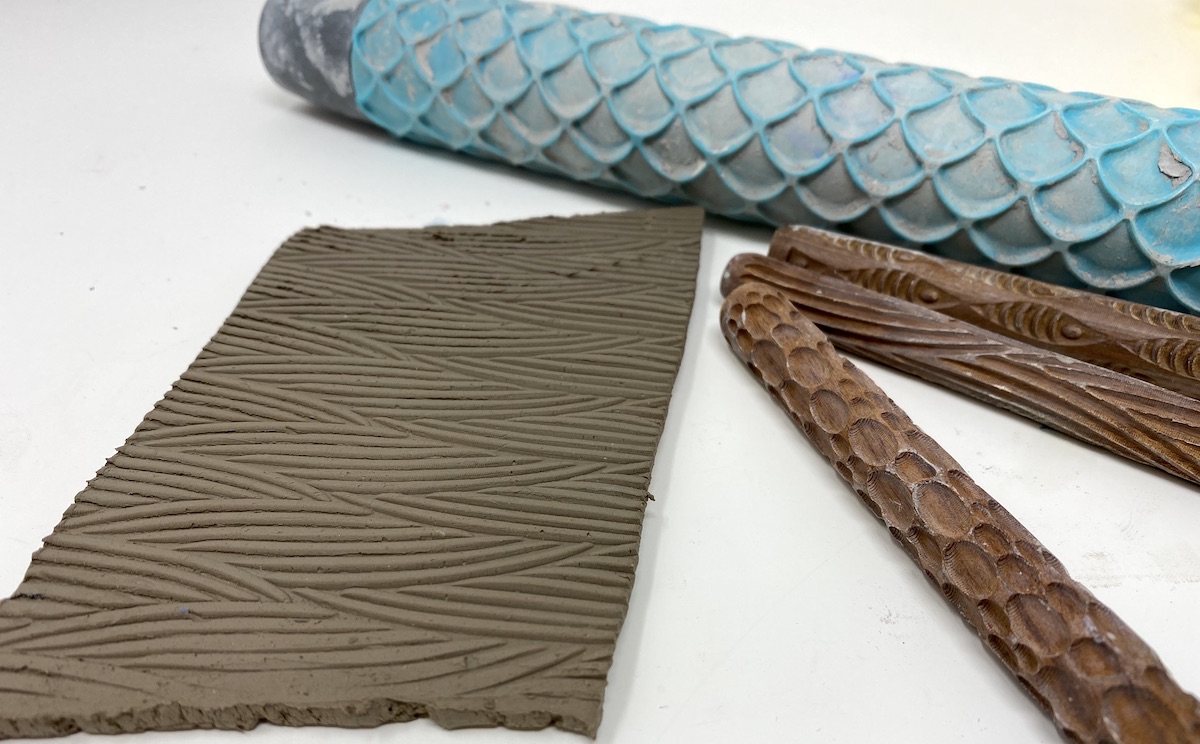
There are a variety of roller tools that make for great textures on clay. Not all of these tools are made specifically for clay but can serve multiple purposes. Here are some classroom favorites.
5. Rubber Stamps
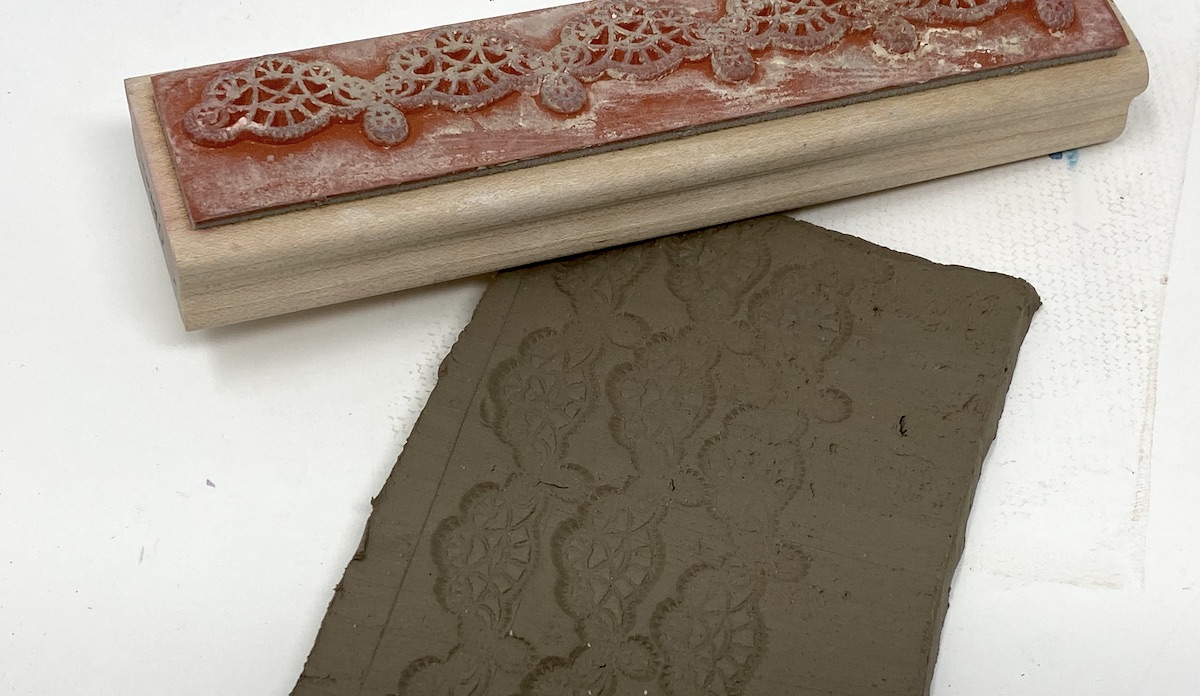
If you fell into the scrapbooking and cardmaking stamp craze of the late 90s and early 2000s, chances are you or a family member has a great collection of rubber stamps. Traditional scrapbooking stamps make for excellent clay tools. From exciting designs and patterns, pictures of animals or plants, to the use of text, there are countless ways students might use them.
Something ordinary can become extraordinary with a little bit of added texture! If you’re looking to for more ways to introduce your students to the world of texture in clay, try one of these five ideas to jumpstart your students’ creations.
What’s your favorite way to add texture to clay?
Do your students have a specific way they like adding texture to clay best?
Magazine articles and podcasts are opinions of professional education contributors and do not necessarily represent the position of the Art of Education University (AOEU) or its academic offerings. Contributors use terms in the way they are most often talked about in the scope of their educational experiences.