Students love working with clay because the process is tactile and seeing the form develop is satisfying. When students begin making their first pinch pots, they often wonder if they can make cups or mugs they can actually drink out of. Of course, the short answer (with food-safe glazes) is yes! However, the initial excitement to touch clay can quickly disappear once students realize how challenging handbuilding can be. If you’re looking for ways to increase the success factor for your students, stay tuned for several tips and project ideas that don’t require a pottery wheel or special tools.
Try this simple shift to help students build a better pinch pot.
A pinch pot is one of the first vessels students usually learn to make. Unfortunately, the classic pinch pot method can become frustrating! Students often have difficulty pinching with even pressure all the way down the walls of the pot. This results in an increasingly wide and thin mouth. A subtle adjustment is to build a pinch pot by turning it on its side! Let’s see what this hack looks like when constructing a mug.
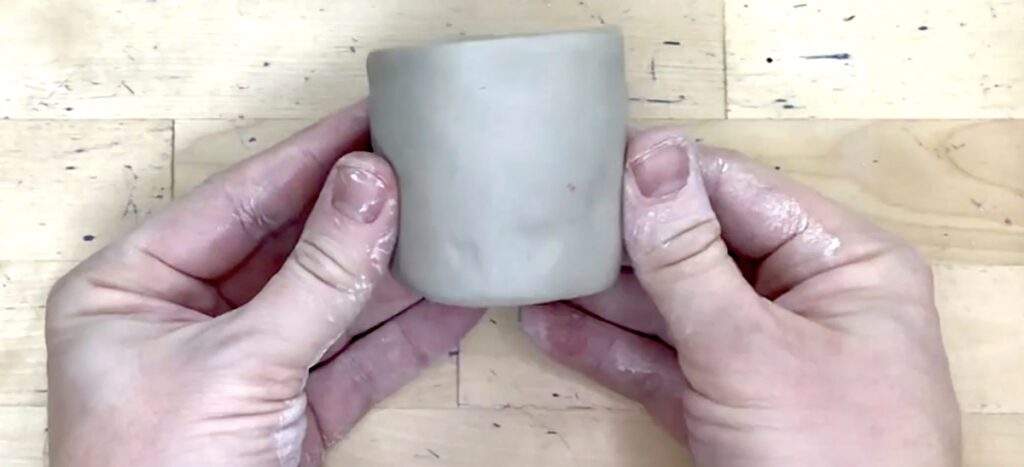
Here are the steps to build a better pinch pot mug:
- Roll the clay to form a cylinder instead of a sphere.
- Tap the cylinder on the table to flatten the top and bottom.
- Press a thumb or tool in the top to make a hole in the center.
- Turn the cylinder on its side and place an index finger in the hole. Use one hand to consistently roll the clay in a complete circle forward and back while the index finger stays in the hole.
- Tap the piece on the table to flatten the top and the bottom.
- Refine the form and add surface texture if desired.
- Roll a coil for a handle.
- Slip and score the handle.
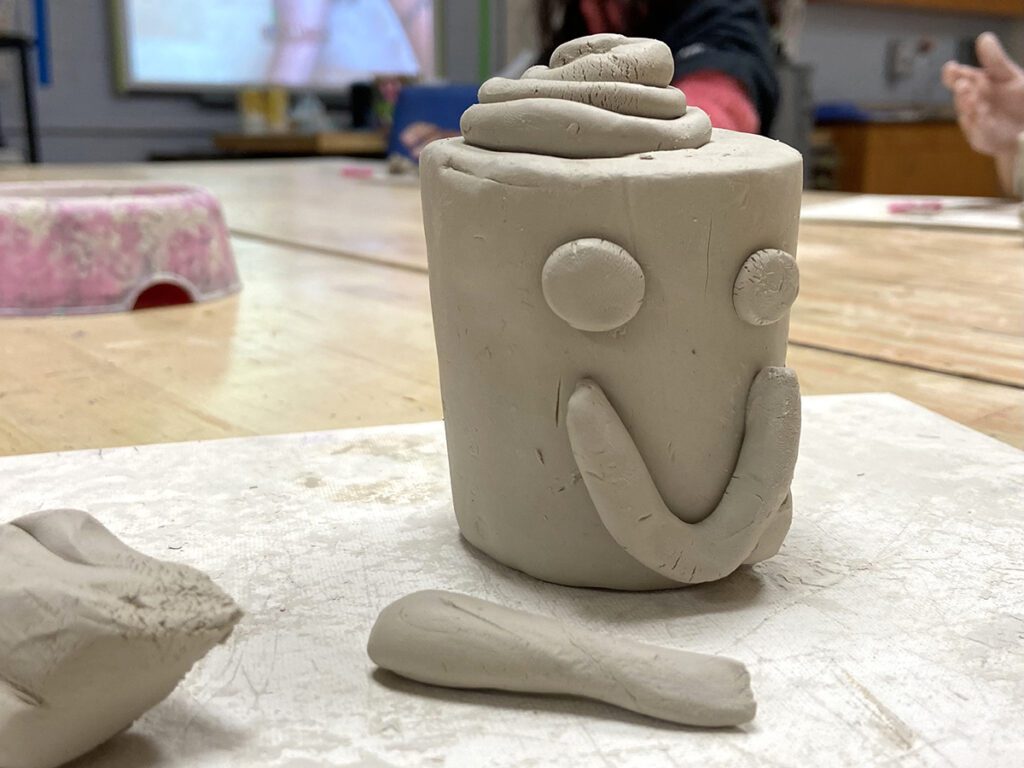
For younger students, building a functional mug can be a sufficient challenge. Encourage older or advanced students to refine their mug skills with a few twists.
Here are a few prompts that will challenge your budding ceramicists:
- Make a set of mugs to practice handbuilding skills through repetition.
- Design a mug in the style of a favorite artist to incorporate art history and choice.
- Create a moody mug to incorporate SEL and explore expressive qualities.
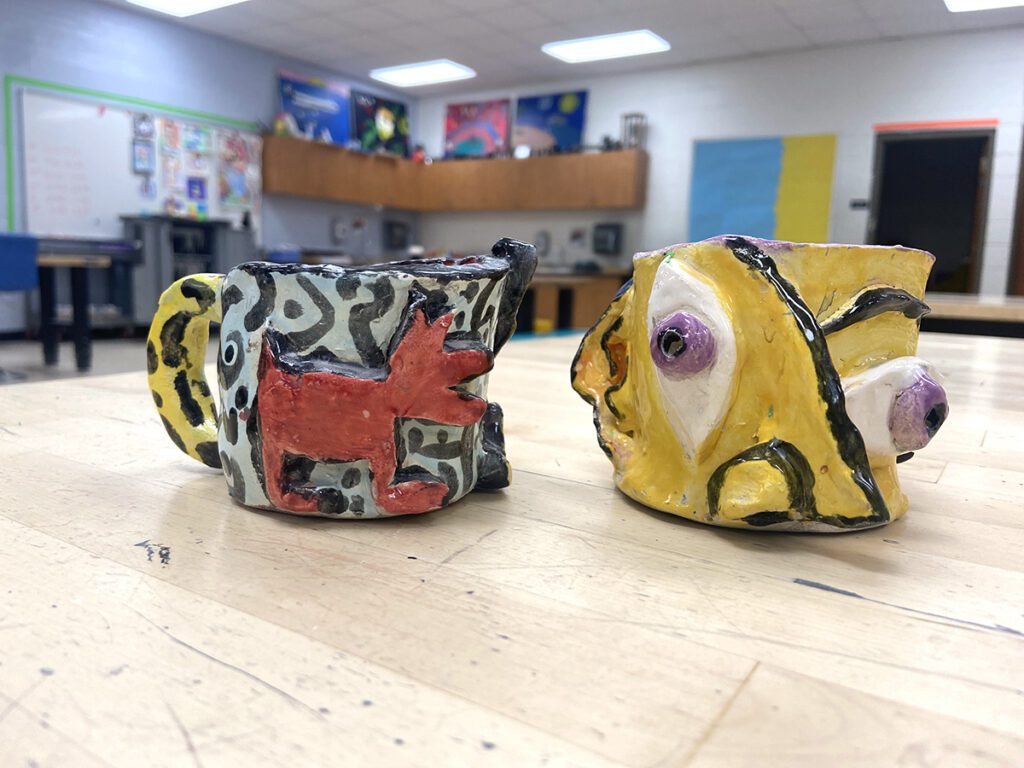
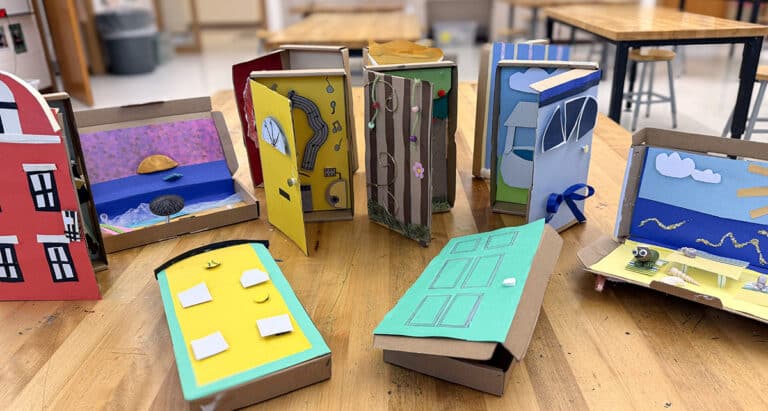
Explore the fun handbuilding project ideas below that all stem from a pinch pot base.
The pinch pot is a surprisingly versatile base. In addition to the classic bowls, cups, and mugs, use the pinch method to build gargoyles, electronic device stands, animals, and more. Take a look at the clay project ideas below to hone your students’ pinch pot skills and kickstart their creativity! Then, watch Sarah Krajewski tackle clay in one week with all of her elementary students in the video below.
Build nesting bowls to demonstrate unity.
Making a series of pieces is a great way to talk to students about unity to create a cohesive collection. It can also provide an opportunity for students to brainstorm variations on a theme. Use the video demonstrations in FLEX Curriculum to teach foundational skills. The student-facing videos and resources are a huge time saver and will allow you to focus your energy on individual creative twists. Fill out this quick contact form to see how you can get FLEX in your district.
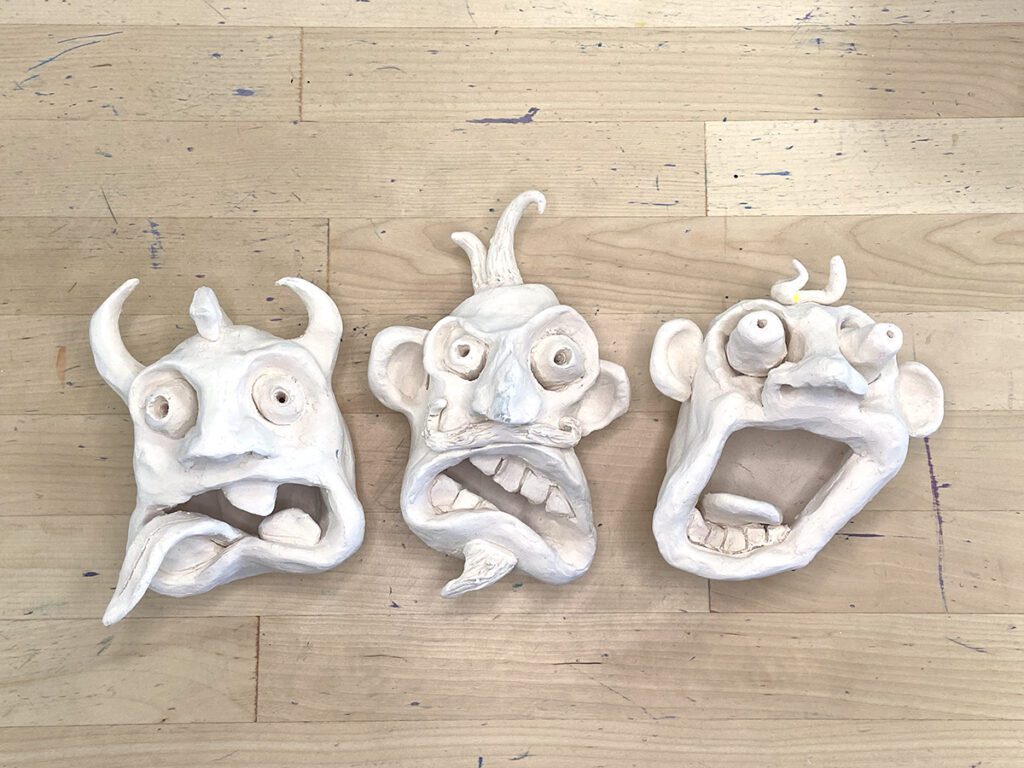
Create gargoyles to introduce Gothic architecture and a STEAM component.
Gargoyles can be a wonderful inspiration to take in several directions, especially when it comes to clay. Medieval architects used gargoyles to ward off evil spirits and protect the building by channeling water. Gargoyles are examples of the craftsperson’s imagination and often have fantastical features. They also protrude from the building and have a big open mouth to “spit” water away from the building’s foundation.
Here are the steps to make a clay gargoyle:
- Roll out a short cylindrical pinch pot.
- Flip the pot upside down so the mouth is at the bottom.
- Indent your thumbs into the side to make eye sockets.
- Pinch to pull a nose out of the clay between the eye sockets.
- Roll a coil and slip and score to add as a jaw.
- Slip and score decorative embellishments.
- Cut a hole in the back to hang on a hook or nail after firing.
Consider these three ways to add interest to clay gargoyles:
- Incorporate exaggerated features to explore expressive qualities. For ideas, check out the lessons, Facial Expression Jar and Planter Portraits in FLEX Curriculum.
- Add LED lights after firing for a STEAM connection.
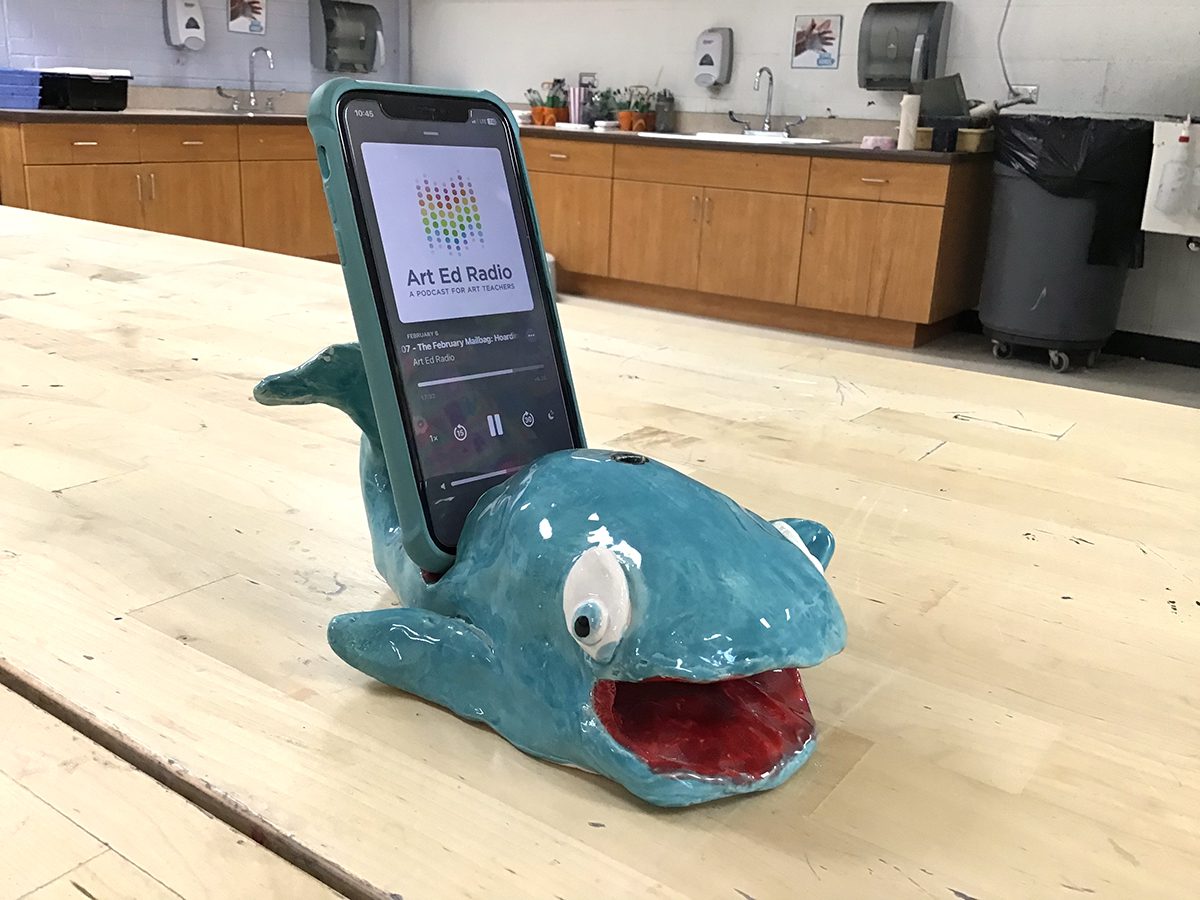
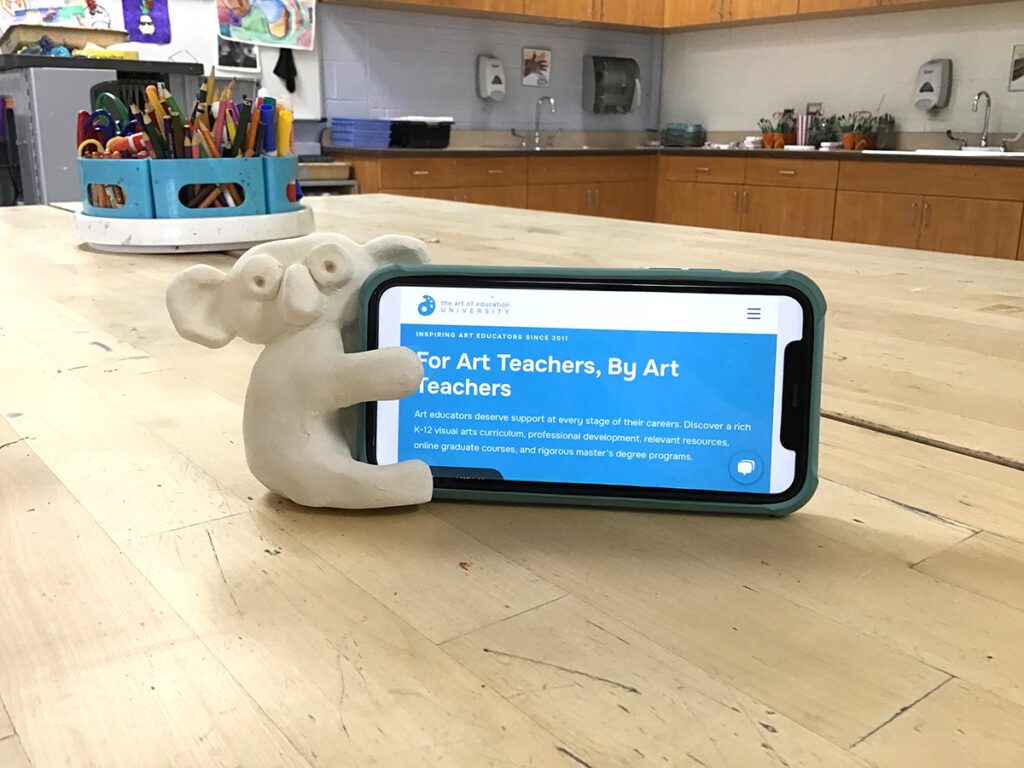
- Cut a hole in the back of the gargoyle to turn it into a phone or tablet stand that amplifies sound.
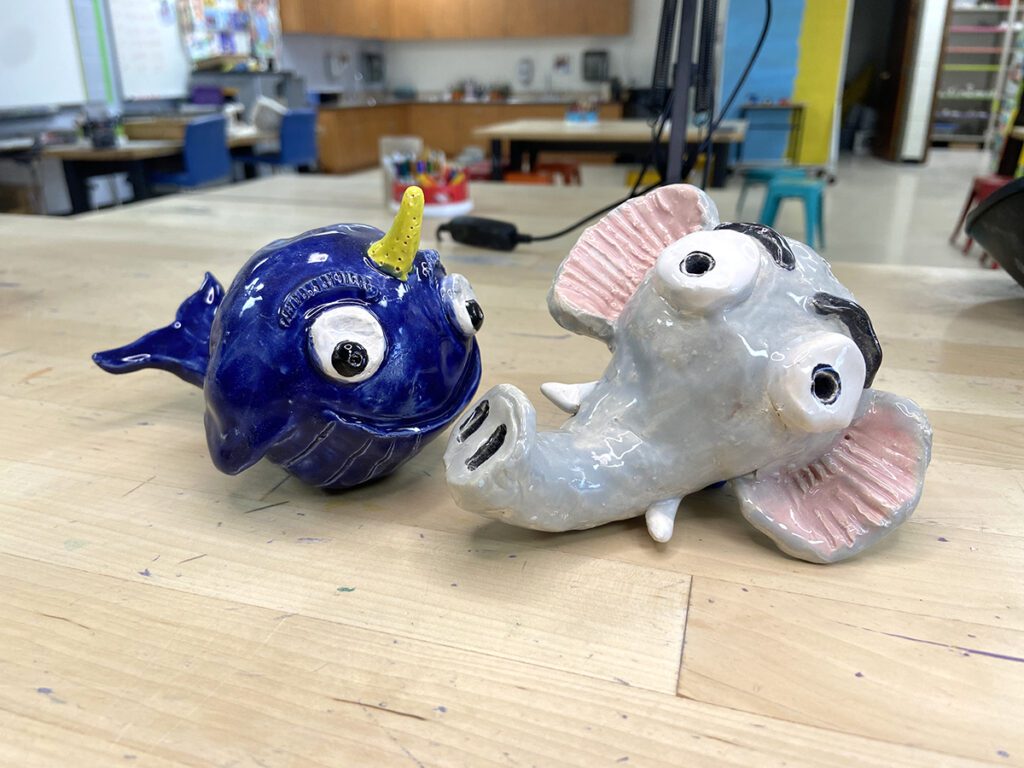
Fall in love with adorable animals to practice the subtractive method.
Students of all ages love to draw and sculpt their favorite animals! Unfortunately, that joy can quickly turn to frustration when a limb breaks off. Be proactive and start with a subtractive method so all your sculptors can experience success. This method ensures all legs and appendages are strongly connected to the body from the beginning. Then, once your students become comfortable making animals, challenge them to create “service animals” that can hold pencils, a phone, or other items.
Here are the steps to make a four-legged animal from a pinch pot:
- Roll out a cylindrical pinch pot.
- Remove four pieces from the walls of the pinch pot at the mouth, leaving four pieces of clay sticking out.
- Mold the four pieces sticking out into legs.
- Use the scraps to form a head.
- Slip and score the head.
- If the head is thicker than a finger’s width, poke holes through the back or hollow it out.
Make a maraca to connect visual art and music.
Students will love making their own instruments with a unique look and sound all from a pinch pot base! Maracas, also referred to as rumba shakers, are percussion instruments popular in Caribbean and Latin music. They were traditionally made of hollow gourds filled with beans, shells, or pebbles. Today, people make maracas using a variety of materials including wood, clay, and plastic.
Here are the steps to make a clay maraca:
- Make a big pinch pot.
- Roll about a dozen balls of clay. The number and size of the balls will affect the sound but “pea-sized” is a good guide.
- Wrap the balls of clay in a loosely crumpled paper towel to prevent them from getting stuck to the inner walls of the maraca.
- Put the paper ball in the pinch pot.
- Pinch the mouth of the pot closed.
- Pull or roll a handle and decorate.
- Slip and score the handle.
- Poke holes into the center cavity to allow smoke and ash from the paper towel to vent out when the paper burns off in the kiln.
A pinch pot is an extremely versatile base that can grow in sophistication with your students. Keep it simple and focus on handbuilding methods and expressive qualities for new ceramicists. Try the cylinder hack so your classes can have more success and less frustration with the pinch method! Then, step things up with a bigger challenge and add art history or STEAM connections. Students love clay because it’s very tactile, so engage more senses with light and sound for a truly magical experience! When it comes to pinch pots, there are so many project ideas that don’t require fancy tools. Your students will always have something novel to try. Start with one of the five ideas above to mold your students into clay experts!
What else do your students enjoy building from a pinch pot base?
Share a favorite tip or hack for teaching the pinch method.
Magazine articles and podcasts are opinions of professional education contributors and do not necessarily represent the position of the Art of Education University (AOEU) or its academic offerings. Contributors use terms in the way they are most often talked about in the scope of their educational experiences.