Say goodbye to traditional pencil and paper and unlock the wonders of dry-erase markers in your classroom! When you incorporate dry-erase, you’re saving the environment one doodle at a time. Plus, you’re unleashing student confidence and risk-taking with the freedom to erase and reimagine. Dry-erase also makes for super easy cleanup! With all of these awesome benefits, you may be wondering how to use dry-erase markers in the art room for more than writing vocabulary words on the board.
Keep reading for budget-friendly dry-erase hacks. Then, discover how dry-erase markers are a game-changer for interactive learning!
Let’s uncover dry-erase hacks to keep you within budget.
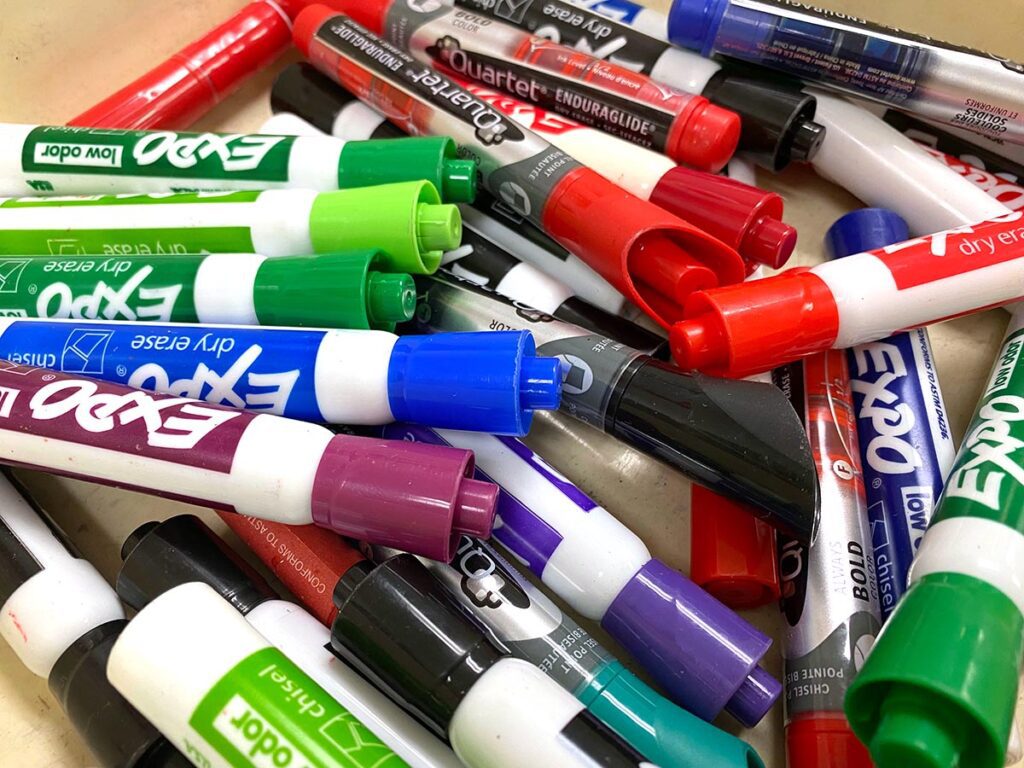
Whiteboards and brand-name dry-erase markers can get pricey fast. Getting budget-friendly materials for your art room is easier than you may think. Add them to your running supply wishlist now so you don’t forget to add them to next year’s order. Reach out to your secretarial staff to see if there are extra office supplies you can have. Chat with your PTA or PTO and network with parents and local businesses for donations. Apply for a grant, fundraise, or host a competition to see which class can bring the most dry-erase markers. There are many avenues you can pursue!
Art teachers are crafty! Here are some ways to DIY your own dry-erase supplies:
- Cut up t-shirts for cleaning cloth erasers.
- Cut up felt or fabric scraps and hot glue to wood blocks for erasers.
- Hot glue pompoms to the end of dry-erase marker caps to create individual erasers.
- Use hand sanitizer, rubbing alcohol, vinegar, or even WD-40 for a cleaner that really works.
You may be wondering if you can DIY dry-erase surfaces. Of course you can! Here are some ideas:
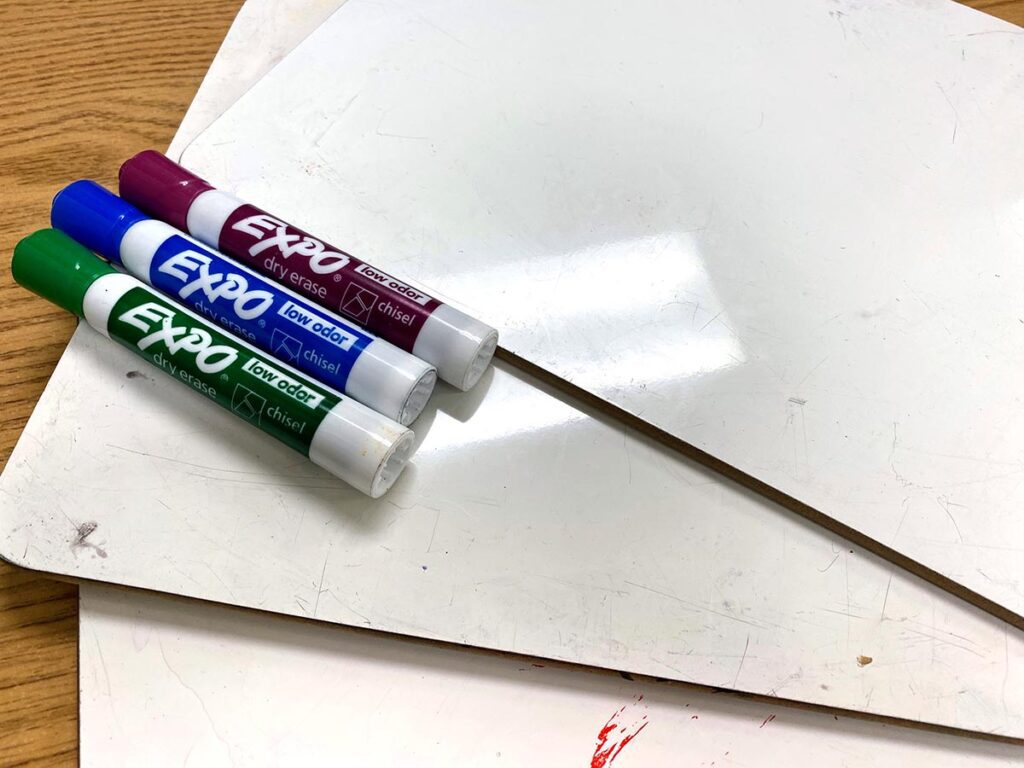
- Laminate cardstock for portable dry-erase “boards,” perfect for individual desk use.
- Attach acetate sheets or old transparency sheets to clipboards for convenient personal whiteboards on the go.
- Insert blank paper or worksheets into heavy-duty page protectors or clear document holders.
- Transform an entire wall or tabletop with specialized dry-erase paint.
- Apply clear or white contact paper to a flat surface, like in the video below!
Here are several ways to incorporate dry-erase activities into the art room to enhance learning!
Now that you know how to make your own dry-erase tools and surfaces, let’s look at ways you can incorporate them into your classroom and curriculum with some amazing activities. Dry-erase markers offer a world of possibilities to enhance creativity, interactivity, and engagement.
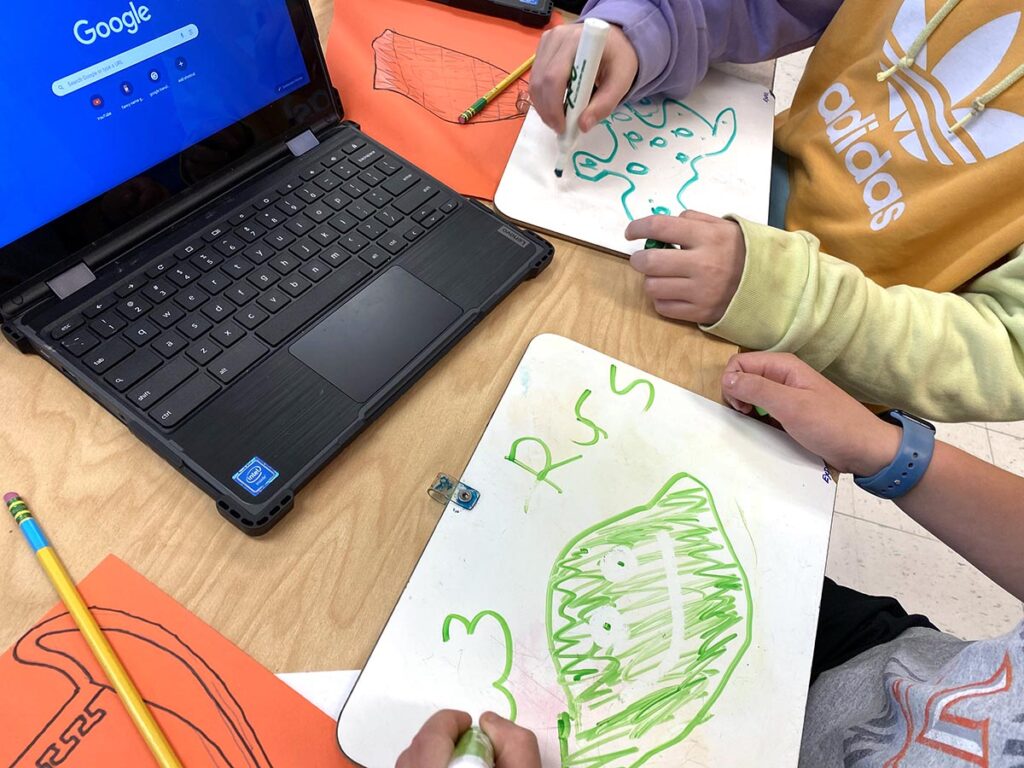
1. Drawing Prompts and Warm-Ups
Start your class with quick drawing prompts or warm-up exercises on individual whiteboards. For an added layer of fun, turn it into a drawing challenge or competition. Do a few timed ones in a row—students simply wipe the drawing away in between and there is no waste of paper! Save favorite doodles with a quick snap of a photo.
2. Ideation and Brainstorming
Encourage students to brainstorm ideas and sketch rough drafts of their artwork on whiteboards before committing to a final idea. While documenting this process in a sketchbook is helpful for reflection later, this activity is great for beginner students who are nervous about sketching initial ideas. Use a different color dry-erase marker per student to track participation in small group work like mind mapping, list making, and other brainstorming exercises.
3. Thumbnail Compositions
Students experiment with different compositions and layouts for their projects. Pre-print rectangles that are the same proportions as the paper or canvases the students will use. Insert the handouts into plastic page protectors or clear document holders for students to map out their designs.
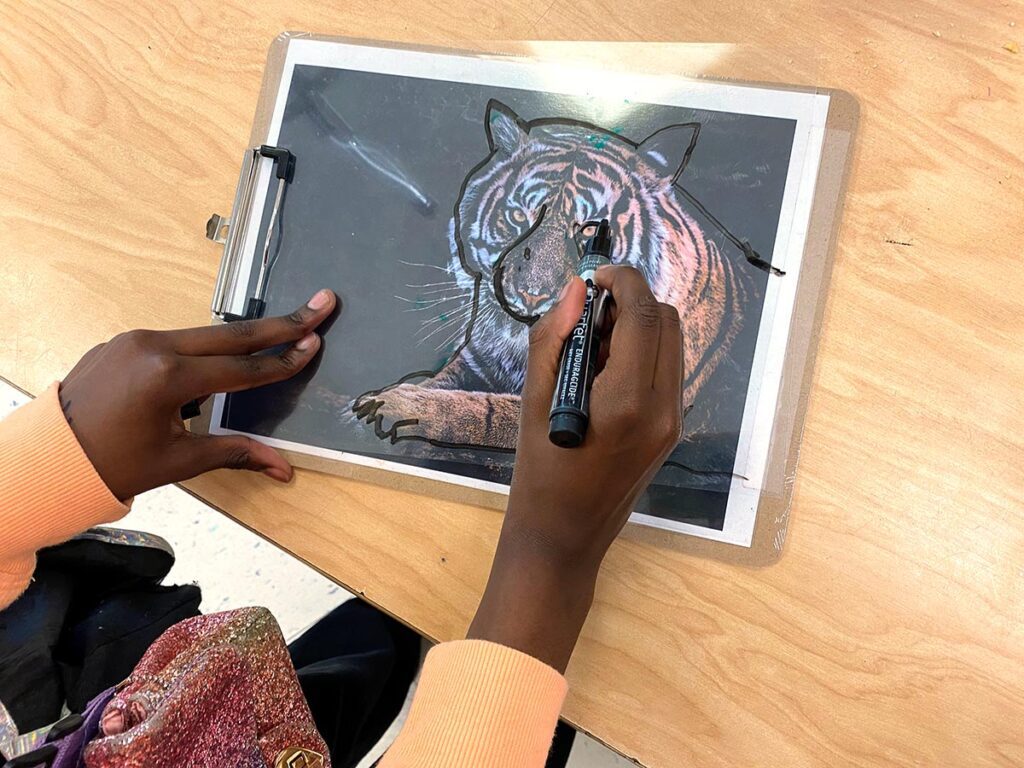
4. Art History Exploration
Dive into the world of art history with dry-erase markers! Laminate prints of famous artworks for students to annotate directly on the piece. Students can circle the focal point, draw arrows to identify paths of movement, and more. Likewise, do the same with FLEX Curriculum’s Artist Bios. Students use different colored dry-erase markers to annotate the text as they read.
5. Drawing Practice
Dry-erase markers are perfect for drawing practice too! Explore covered contour, continuous contour, and modified contour drawings. Trace complex images to help students see basic lines and shapes before drawing on the final paper.
6. Notetaking
Laminate handouts for reusable notetaking. Students can take a picture of their final notes and add it to a digital sketchbook. Give each student a whiteboard to take notes during video presentations, lectures, or discussions. Students love writing with dry-erase because it’s a change of pace from writing with pencil and paper, which they’ve been doing all day!
7. Artwork Suggestions
Sometimes you want to show students how to draw something but you don’t want to do it for them on their paper. Keep a small whiteboard handy at each table to provide quick drawing demonstrations and samples. Additionally, jot down short comments you want to keep private for individual students to see. After they read your suggestion, they can erase it!
8. Critiques and Questions
Encourage students to give and receive suggestions during art critiques with dry-erase supplies. Use whiteboards for anonymous critiques to promote honest and constructive feedback. If you have a class that asks a lot of questions, have them write them down on their table’s whiteboard. Collect the whiteboards and answer the questions when instruction is complete.
As teachers, we love technology and advancement! However, sometimes having a physical marker in hand is more fun and rewarding than a screen. Dry-erase markers and whiteboards provide students with the flexibility to change and reimagine their work. It gives them the opportunity to try and experiment without the fear of failure. There are many activities to use with dry-erase in the art room to boost creativity and learning, all while saving paper. Let’s wipe the whiteboards down, pick up those markers, and watch your students thrive.
Which idea above are you excited to try this week?
What is one innovative way you use dry-erase materials in your classroom?
Magazine articles and podcasts are opinions of professional education contributors and do not necessarily represent the position of the Art of Education University (AOEU) or its academic offerings. Contributors use terms in the way they are most often talked about in the scope of their educational experiences.