Nature and art are present themes throughout art history and continue in contemporary art. Despite the advancement of technology and the ever-changing world, nature remains a constant. It is a theme we often find in art rooms because our students easily connect to it.
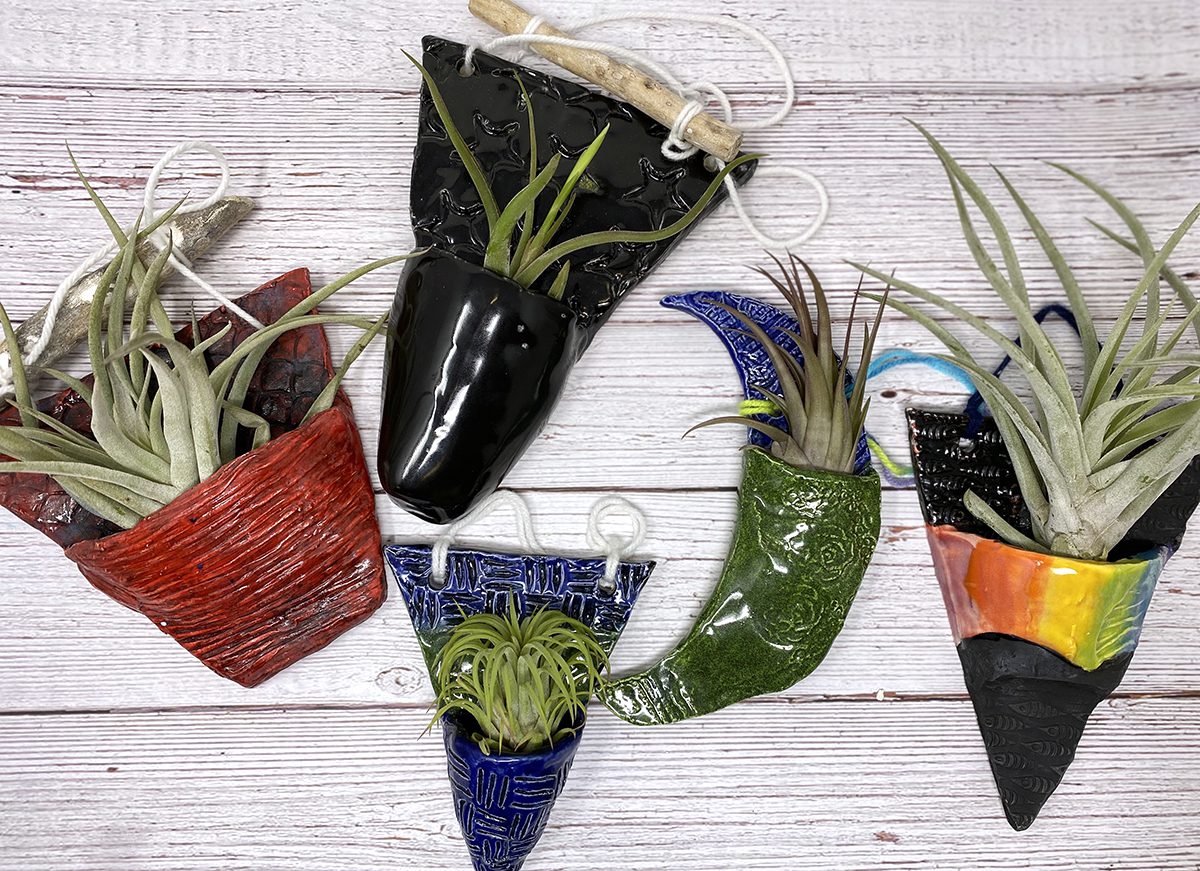
While creating nature-inspired artwork is a fantastic practice, why not try creating artwork that is for nature? Research shows there are many benefits to having plants. One way to apply this in our curriculum is by creating pottery pieces that serve as plant holders. Below is a pottery activity to fuse the worlds of nature and art in a functional way. This clay planter activity is also the perfect way to review simple slab building methods and texture-making.
Let’s get started!

How To Make Textured Air Plant Pottery Planters
Step 1: Create bisque texture tools.
A fun way to warm up your students prior to a clay lesson is by creating texture tools. Whether you are creating clay rollers or stamps, this is an opportunity for students to get their hands a little messy and create one-of-a-kind tools. The best part of this activity is that you can start building a classroom collection of unique clay texture tools!
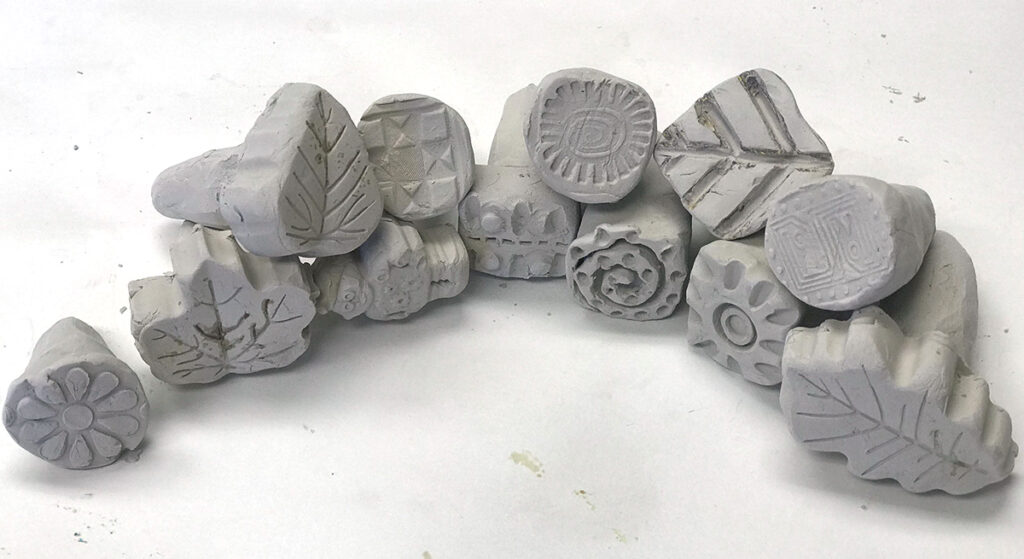
Here are some simple ways you can create clay texture tools:
- Start with a coil and create an additive or subtractive design.
- Make a sphere roller by creating a ball and adding an additive or subtractive design.
- Experiment with creating different handheld stamps by adding your desired design.
Clay texture tools work best when they are bisque fired, so there is no need to glaze or underglaze them.
For more options on adding texture, check out 5 Exciting Ways to Create Texture on Clay.
Step 2: Choose a shape for the planter.
Before beginning the construction of the planter, students pick the main shape of their clay piece. Encourage them to think beyond simple geometric shapes and choose something unexpected. To guide your students on size, provide a template for their shape to fit. This ensures their pieces are not too big or too small. Next, students create their shapes on a paper template and cut them out.
Step 3: Experiment with texture.
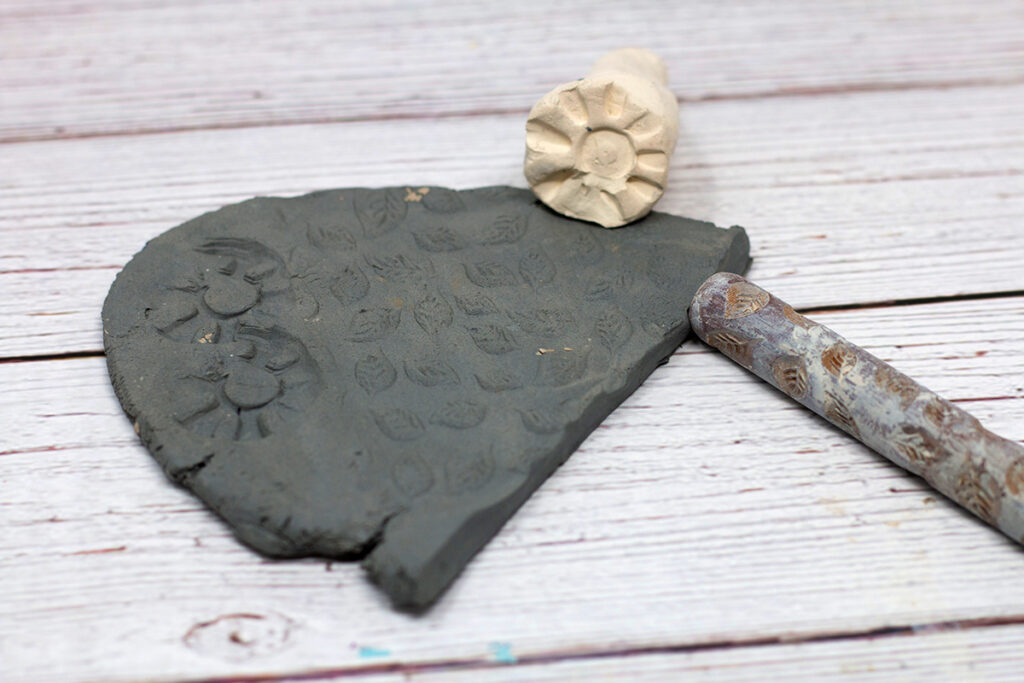
Before diving into construction, encourage students to explore creating texture. Using found objects, purchased texture tools, and their handmade tools, give students practice clay. This helps students decide what type of texture they would like to see on their finished piece. This is a great opportunity to introduce techniques like sgraffito or Mishima.
Step 4: Create the base shape with a template.
Once students have experimented, it’s time to start constructing the planters! Students knead the clay and eliminate any unwanted textures and imperfections first. Using a metal rib tool or scraper also works great for this step. Once the clay is smooth, roll out a slab of clay.
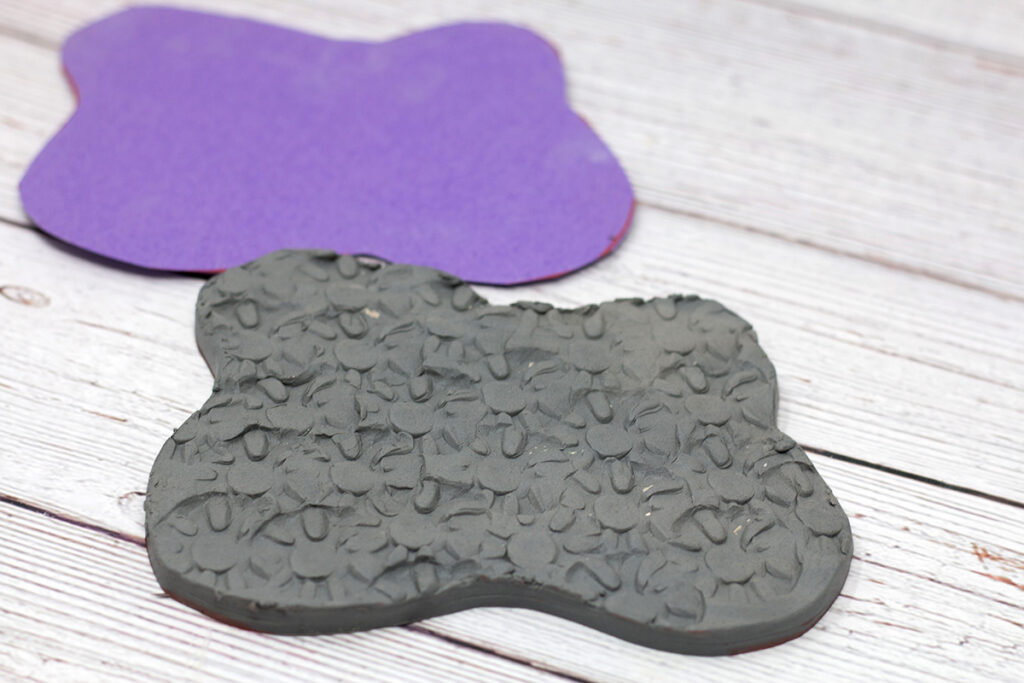
Then it’s time to add the chosen design or texture. If students are adding a surface texture, they do this before cutting out their shape as the pressure from stamping will distort the slab. Once the texture has been added, students use their paper template and trace the shape on the clay.
Pro tip: The bisque-fired stamps might stick if the clay is too wet. Use plastic wrap or sprinkle corn starch on the clay to create a non-stick barrier. This will not affect the clay in firing.
Step 5: Add the plant pocket and punch holes.
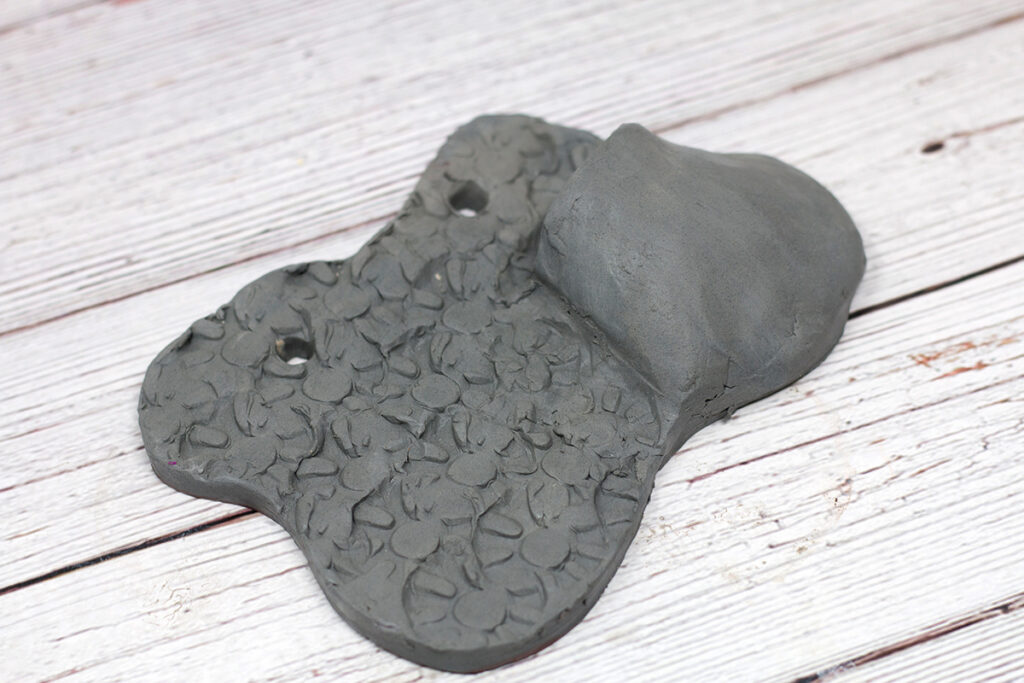
Now it’s time to add the plant pocket. Before starting this step, determine what kind of plant you would like to use. Using an air plant works best because it will not require soil or a drainage hole. When constructing the space for the plant to sit, students need to make sure a plant can fit inside. It’s important to remind students that the clay piece will shrink during the vitrification stage. Once the pocket is securely slipped and scored on, the last step is to poke one or two holes through the slab for hanging.
Step 6: Fire it, glaze it, and hang it!
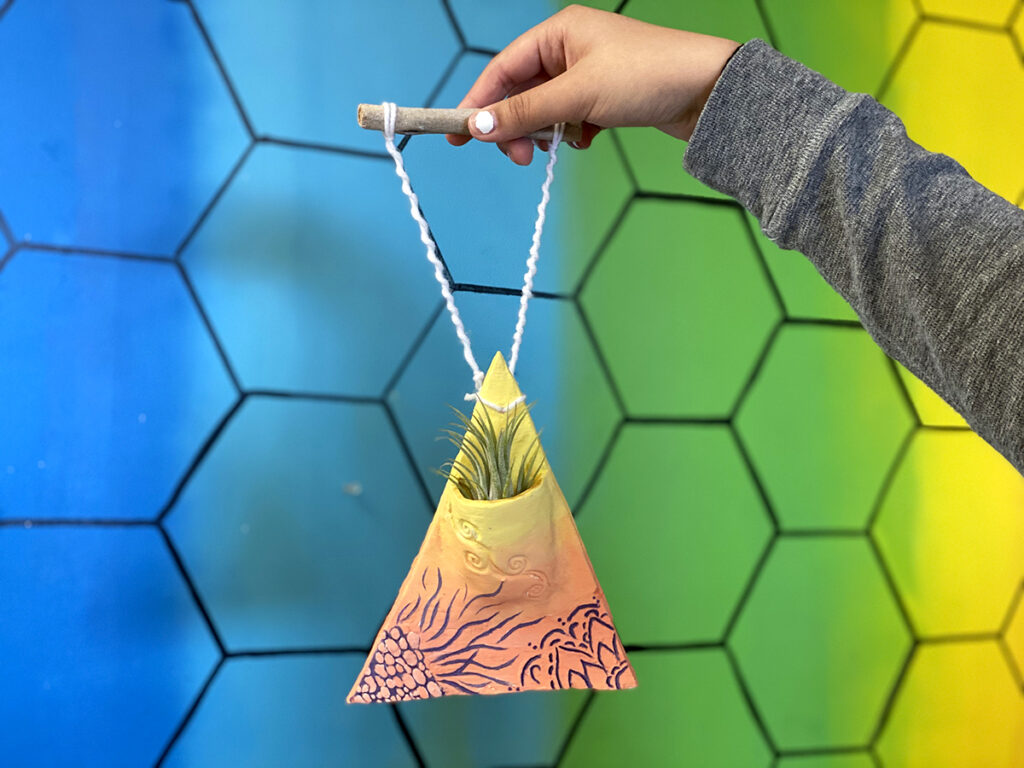
After the clay pieces have been fired and finished with your desired surface treatment, it’s time to finish it off. Using yarn, wooden dowels, or driftwood, students practice their knot-tying skills to create a hanger. They might even jazz it up by trying different macrame designs with their string or adding beads. When the hanger is secure, students pick their air plant and put it in the pocket.
Where Do I Find Air Plants?
Air plants are a wonderful plant option because they are low maintenance and don’t require soil. Check with your local plant shops, nurseries, and conservatories as they may be willing to team up and donate to your classroom. If you’re coming up short, there are several places to purchase air plants online, such as Air Plant Supply Co.
Creating functional pottery, tying art and nature together is an engaging inter-disciplinary activity. Students learn about plant care and review basic clay techniques like slab construction and adding surface texture. The next time you are looking for a new twist on a slab building clay lesson, try making a hanging planter!
What is your favorite way to fuse nature and art in your curriculum?
What is your favorite functional pottery activity?
Magazine articles and podcasts are opinions of professional education contributors and do not necessarily represent the position of the Art of Education University (AOEU) or its academic offerings. Contributors use terms in the way they are most often talked about in the scope of their educational experiences.


