Does the word “rubric” make you want to hide under a table? Are you confused about where to start when creating a rubric? Are you not sure what a rubric should even look like? You are not alone!
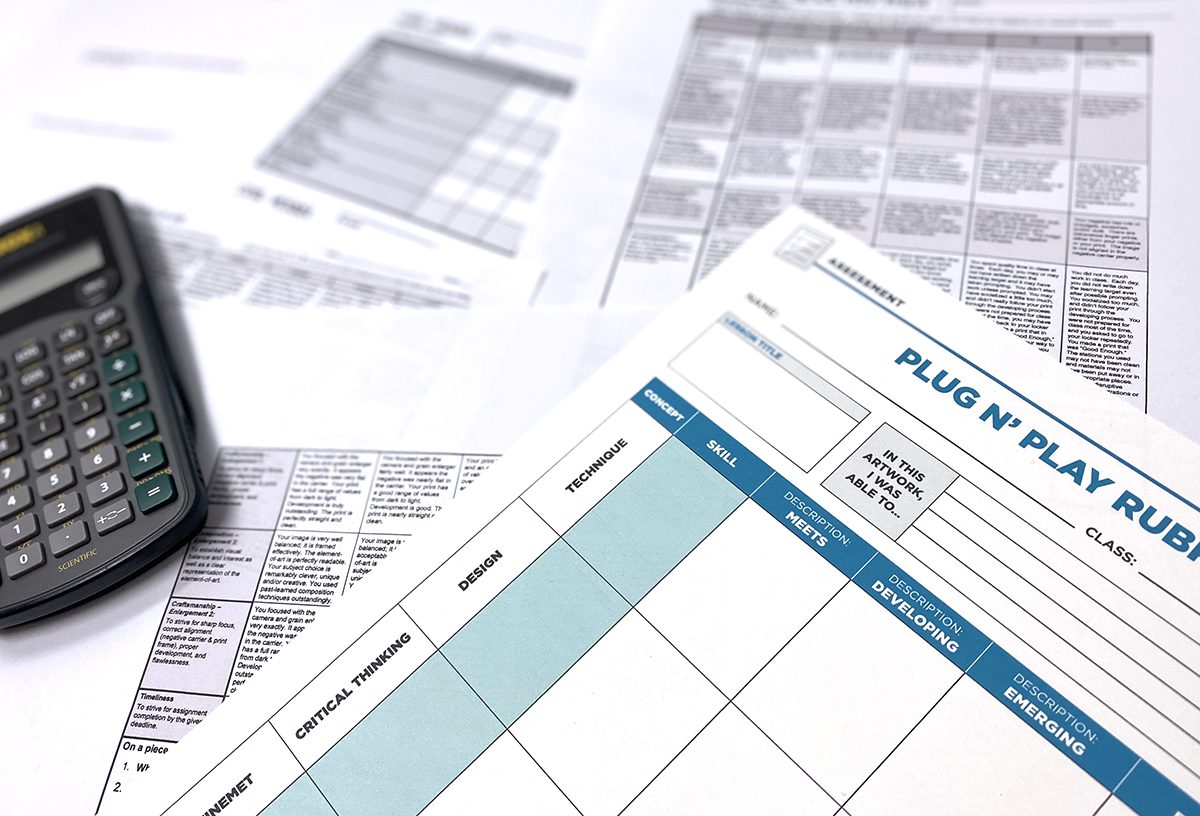
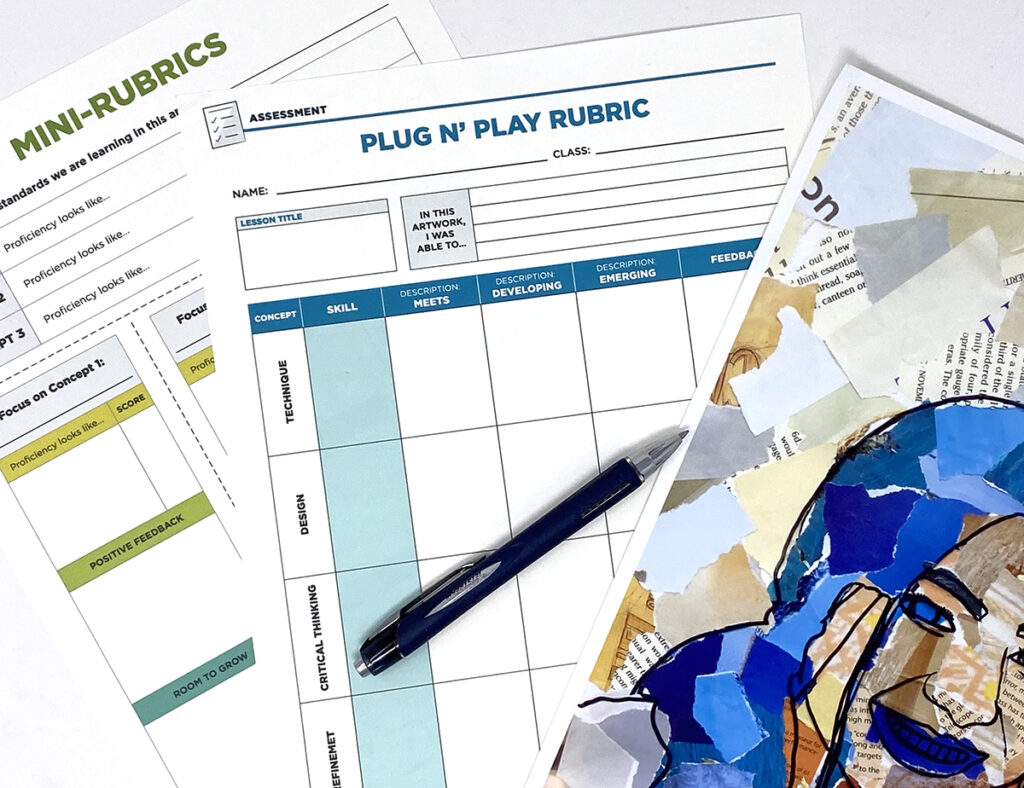
We have you covered with the FLEX Plug n’ Play Rubric! This complimentary, downloadable PDF has fillable fields. It will give you a foundation for your summative rubrics, while still being FLEX-ible for your lesson needs (get it?). You can also find this resource within our FLEX Curriculum.
Let’s break down what makes this rubric so great.
What should we be assessing?
Believe it or not, rubrics can assess a lot of different pieces in the artmaking experience! The studio process is chock full of active skills. We assess students’ ability to plan, research, brainstorm, ideate, sketch, model, prototype, take notes, make lists, explore, experiment, practice, create, develop, request feedback, receive feedback, reflect, refine, revise, and assess (to name a few). Students then apply those acquired skills through artistic choices in their artwork. Assessing the end product often includes technique, the Elements of Art, the Principles of Design, composition, and concept.
But wait—how do I assess the process in a final, summative rubric?
What outcome do you value in your students’ learning? Oftentimes we look at technique and design elements because they are easy to assess. But what about conceptual meaning-making, critical problem-solving, and revising? These are also essential skills that students applied to get to their end goal.
Be a visual detective!
Let’s look at critical thinking. Critical thinking encompasses many artistic decisions made over the entire creative process. These decisions are evident as students explore, practice, and experiment. Written reflections and artist statements are fundamental. Through them, students can articulate decisions they made along the way. Each of these decisions is a piece of evidence to uncover that traces back to critical thinking.
During critiques, students receive feedback and then revise and refine their work. Evidence of this is also found in reflections as well as process or growth portfolios. Encourage students to take notes and process photos each day or a few times a week. This documentation will help students remember everything. Starting this habit now lowers stress later when it comes time to assess.

Let’s take a look at the nuts and bolts of using the FLEX Plug n’ Play Rubric.
Now that we have looked at the why and how behind the Plug n’ Play Rubric, let’s outline the steps for how to use it effectively.
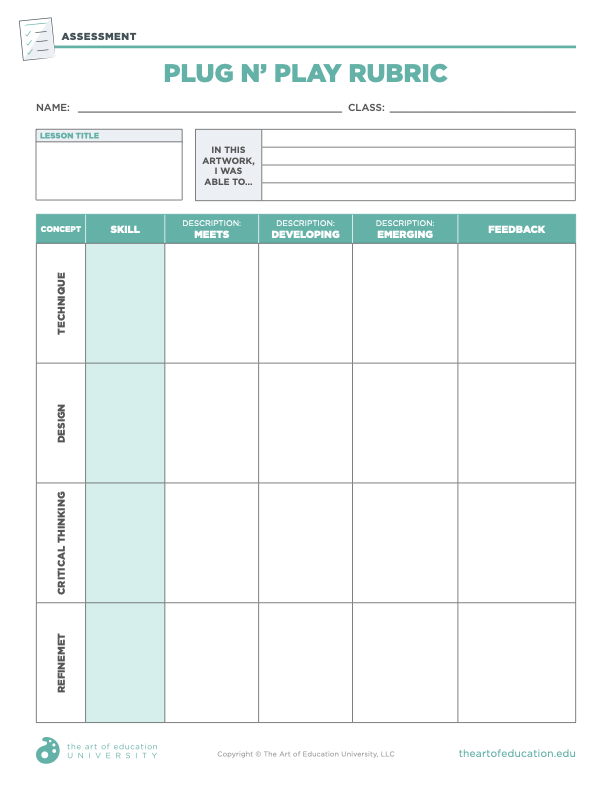
Step 1: Insert the lesson title.
Because this rubric works for any lesson, make sure you stay organized! Be specific and consistent with your title and lesson.
Step 2: Determine your top three to four lesson objectives.
What should students be able to do at the end of each lesson? These are the big-picture objectives that will drive the rest of your concepts and skills.
Below are two FLEX lessons with objectives for each. You can find these two lessons in our vast collections in FLEX Curriculum.
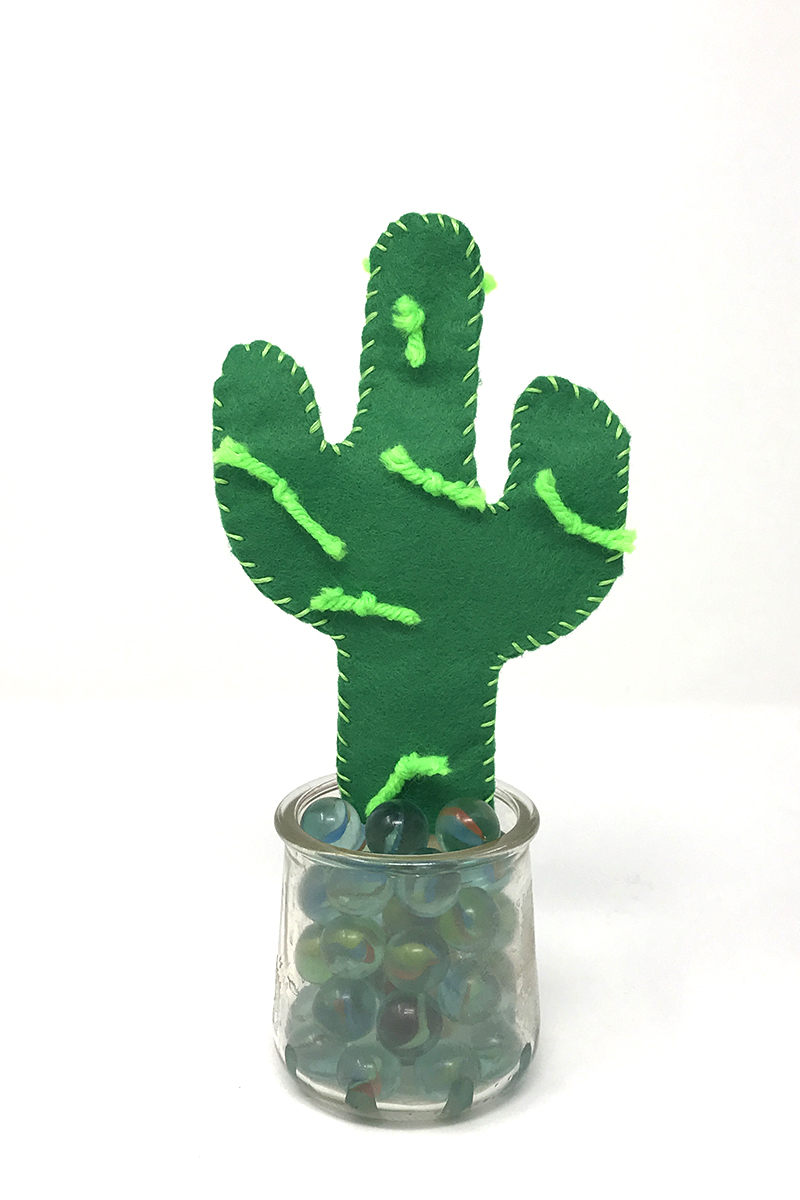
1. Beginner FLEX lesson: Fiber Cactus Sculpture
In this artwork, I was able to…
- Create a soft sculpture.
- Create and use a pattern.
- Use knotting and stitching techniques.
2. Advanced FLEX lesson: Changes & Memories
In this artwork, I was able to…
- Create an artwork inspired by a personal story or memory.
- Generate ideas and plan the artwork by creating several thumbnail sketches.
- Mix acrylic or tempera paint to create tints, tones, and shades.
- Assemble a collage from cut shapes creating a background, middle ground, and foreground.

Step 3: Skip the concepts and identify the skills.
In our Plug n’ Play Rubric, we provided four essential concepts. Those concepts are technique, design, critical thinking, and refinement. You will have to determine the specific targeted skills that support each concept. To do this, look at your lesson objectives.
For example, one of the lesson objectives is to “use knotting and stitching techniques.” This objective is identified in the Soft Cactus Sculpture lesson found in FLEX Curriculum. Knotting and stitching will be your two identified skills under the Technique column.
To learn more about skills that fall under each concept, check out our FLEX Teacher’s Edition Guide found in the FLEX Curriculum.
Step 4: Write proficiency descriptions.
In our rubric, we narrowed it down to three levels of skill: meets, developing, and emerging. Let’s continue looking at the Soft Cactus Sculpture lesson from FLEX Curriculum. Focus on the objective of mixing tints, tones, and shades with acrylic paint. What does it look like for the student to meet the objective? What does it look like for the student to be developing in this area? Lastly, what does it look like for the student to be emerging with these skills?
Step 5: Give feedback.
Leave the feedback column blank until the end. Continue to assess and give developmental feedback in other ways. This is a summative rubric, so the feedback boxes can be used to record comments on the final artwork. You can also use this rubric to guide your mini-rubric formative feedback.
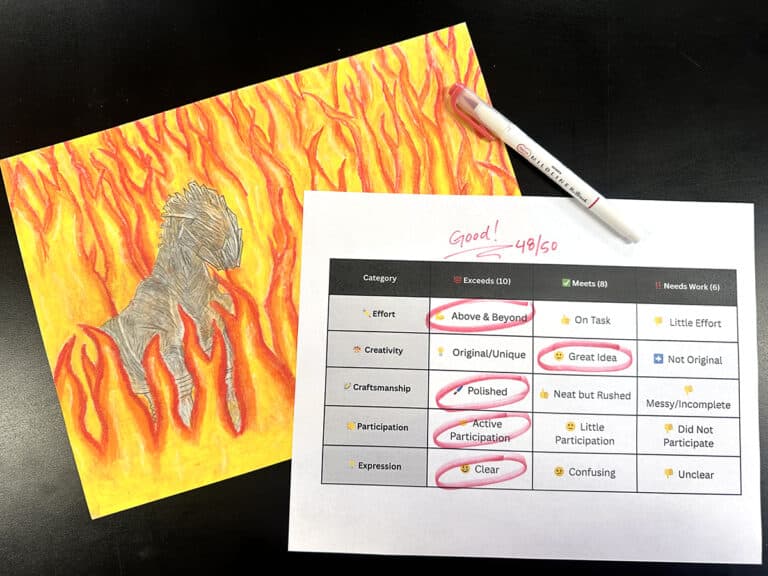
Let’s look at some helpful “dos and don’ts” to make a quality summative rubric.
Don’t assess more than five concepts or standards at once.
When students are being assessed on too many components, they do not have proper focus. It can be a lot for students to keep track of. As a result, they may miss important criteria and feel overwhelmed! This is a great instance where “quality over quantity” rings true.
Do identify the most essential concepts or standards for students to demonstrate.
Of course, we teach a zillion skills and concepts in each lesson. But you should only focus on a few when you assess. You can still give feedback on all areas without targeting them as extra skills to be assessed.
Do align your concepts.
Be sure to follow your state or district’s Visual Arts Standards. Students explore using a variety of mediums. These top five concepts should be ones that support all mediums of artistic learning.
Do assign one or two skills per concept.
The skills you include should match the overarching concept. For example, let’s look at the overarching concept of Technique. The skills could be sawing metals, coiling for a vessel, or shading a form with graphite. Choose the key skills within each concept that will support your students and meet your scope and sequence.
Don’t include too many types of skills in one description box.
Oftentimes we try to cram several skills into one box.
The following sentence has too many skills. “You used line weight variation as well as geometric or organic shapes.” Instead, consider splitting these into two skills.
“You used line weight variation well. Your geometric or organic shapes need improvement.” Can you see the difference? Now, your student will know they excelled in the line weight department but need to practice with shapes.
Do include descriptions of each level of proficiency you are assessing.
You don’t need to write a novel to describe what the skill looks like at varying levels. It can be as simple as using bulleted words that clearly explain what a met or emerging standard looks like. At the early levels, you can include a picture to show students what it looks like to master a skill. Use descriptive language or images to convey expectations and eliminate subjectivity.
Do write clearly and concisely.
Avoid vague phrasing such as, “more than” or “excellent use of”. This is because the meaning of “excellent” can range from person to person. Be as specific as possible when describing the proficiencies. For example, instead of saying, “Excellent use of symmetry in your vessel,” try “Your vessel is symmetrical.” You could even go so far as defining the word symmetry in your description or in a vocabulary bank at the bottom.
Lastly, here are some quick rubric reminders.
Remember, the purpose of the Plug n’ Play Rubric is to provide feedback and identify achieved targeted objectives. How you grade your students is another topic. Break down by concepts and skills. Students will better be able to identify areas of strength and growth. You will be able to determine opportunities for intervention and extension. This rubric can guide your lesson planning, support scaffolding, and make your work more efficient. Continual use of this rubric will also provide consistency for your students.
Use the FLEX Plug n’ Play Rubric to plan your lessons through Backward Design. When you know where you want your students to go, you can forge a specific and intentional path to get them there. When you start with assessment, your lessons will be better scaffolded for learning. Finally, learning doesn’t end at the final product. The purpose of any assessment is to provide ongoing feedback to support growth. Even summative assessments are not meant to be a final punitive score. They are a way to encourage continued learning.
The Plug n’ Play Rubric streamlines your prep because the bulk of the work is done for you—all you have to do is customize the fields. As you plan your summative assessments for the year, we hope you give the Plug n’ Play Rubric a try!
What is your “go-to” summative assessment?
Where do you get stuck when writing a summative rubric?
Magazine articles and podcasts are opinions of professional education contributors and do not necessarily represent the position of the Art of Education University (AOEU) or its academic offerings. Contributors use terms in the way they are most often talked about in the scope of their educational experiences.