Teaching life skills in the art classroom is essential. Critical thinking and time management transcend the art studio and set students up for future success. Life skills can also be much simpler, like how to use basic tools and materials. Sandpaper is one such foundational (and often overlooked) tool and material. It is handy in the home, garage, and art classroom and combines hand-eye coordination with focus. Another bonus: it’s relatively inexpensive and can go a long way on any art budget.
Keep reading to learn what sandpaper is and discover eight ways to use it in your curriculum—plus, what to do with all that leftover sawdust.
Why sandpaper?
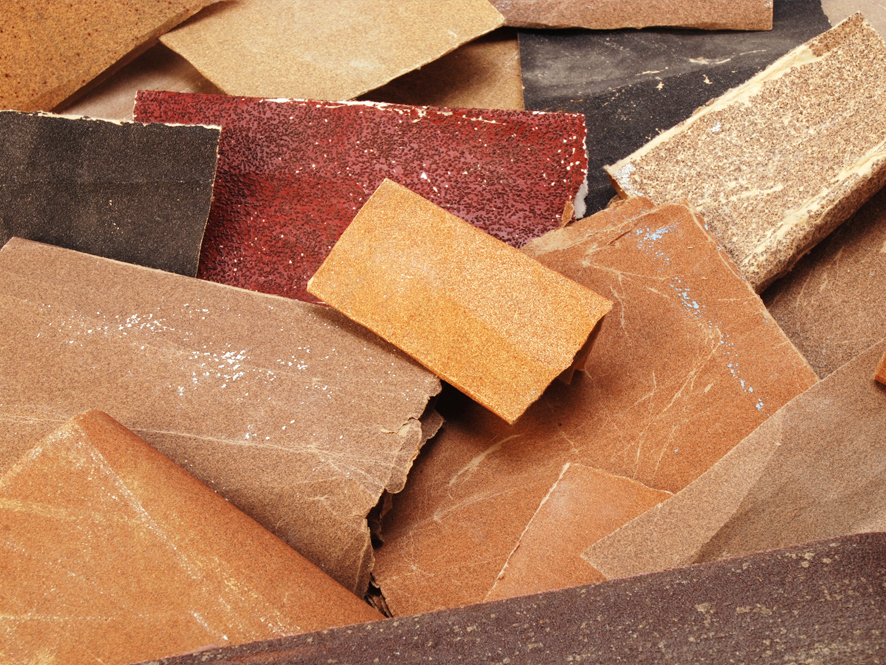
There are many similarities between a hardware store and an art supply closet. A range of mediums and materials, all full of possibility and potential. In a hardware store, paint, nuts and bolts, wood, tile, and twine wait to be put to use. In an art supply closet, you can find some of those same materials mixed in among pom-poms, clay, pencils, and paper. Students get excited when an everyday material or medium shows up in their classroom in a new way. While sandpaper may be a common material for many students, it is a completely bizarre medium for others. Let your students explore this tactile tool in unexpected ways.
What is the history of sandpaper?
The most basic definition of sandpaper, according to Merriam-Webster, is paper covered on one side with abrasive material glued fast and used for smoothing and polishing. Originally, sandpaper was made up of crushed shells, seeds, sand, gum, and glass. Sandpaper has been in use as far back as 13th-century China. Today, sandpaper is utilized in a variety of jobs and hobby fields and can be found in most home-improvement stores.
What are the different types of sandpaper?
Sandpaper is available in four different varieties and varying grits (more on that in a moment). The four variations are aluminum oxide, garnet, silicon carbide, and ceramic:
- Aluminum oxide: Lasts a long time and is the most delicate.
- Garnet: Wears out quickly but creates a smooth surface.
- Silicone carbide: Permits sanding on harder surfaces like metals and plastics.
- Ceramic: Has the roughest grit and is used for shaping wood.
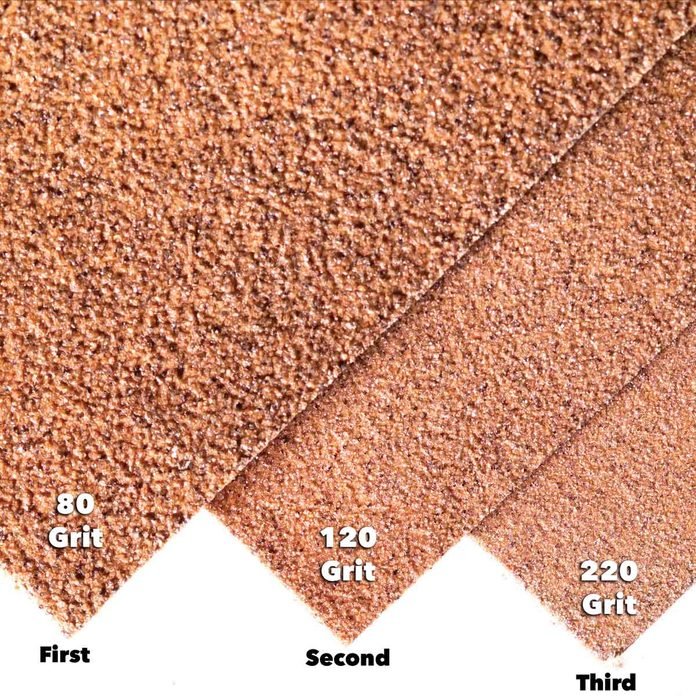
Sandpaper comes in a variety of grits. This refers to the small particles of sand or gravel adhered to the backing. The lower the grit, the coarser the sandpaper. The higher the grit, the smoother. Low-grit sandpaper is great for removing a higher quantity of material at a time and high-grit sandpaper helps smooth and shine.
Let’s explore eight unexpected ways to use sandpaper in the art room.
1. Shape wood.
Art supply stores have a variety of wooden materials available in bulk, from ornaments and canvases to blocks. When using sandpaper with your students, reiterate how to hold the sandpaper with a firm grip while rubbing it back and forth on the wood surface. A light pass over the wood will not remove, or sand, as much as a firm pass.
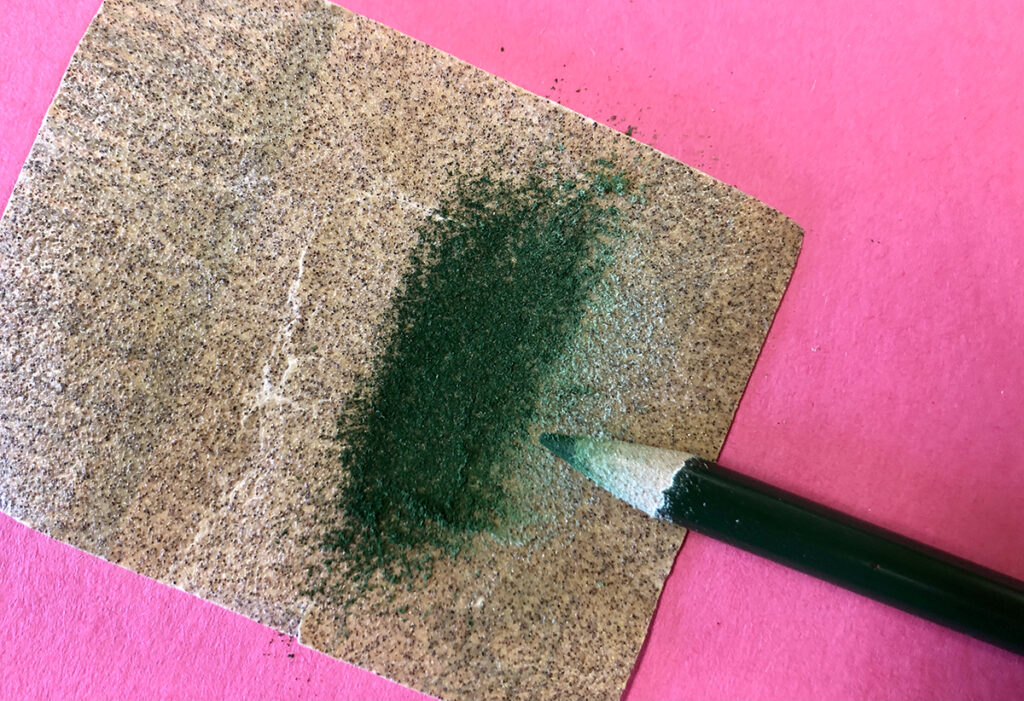
2. Sharpen pencils.
Forgo pencil sharpeners and let students experiment with hand-eye coordination. Take a colored pencil or regular pencil and, with firm pressure, glide the side of the wooden pencil against the grain of the sandpaper. Ensure the pencil point is facing away from the student. Rotate the pencil and repeat until sharpened. Have your students experiment with a variety of sandpaper grits.
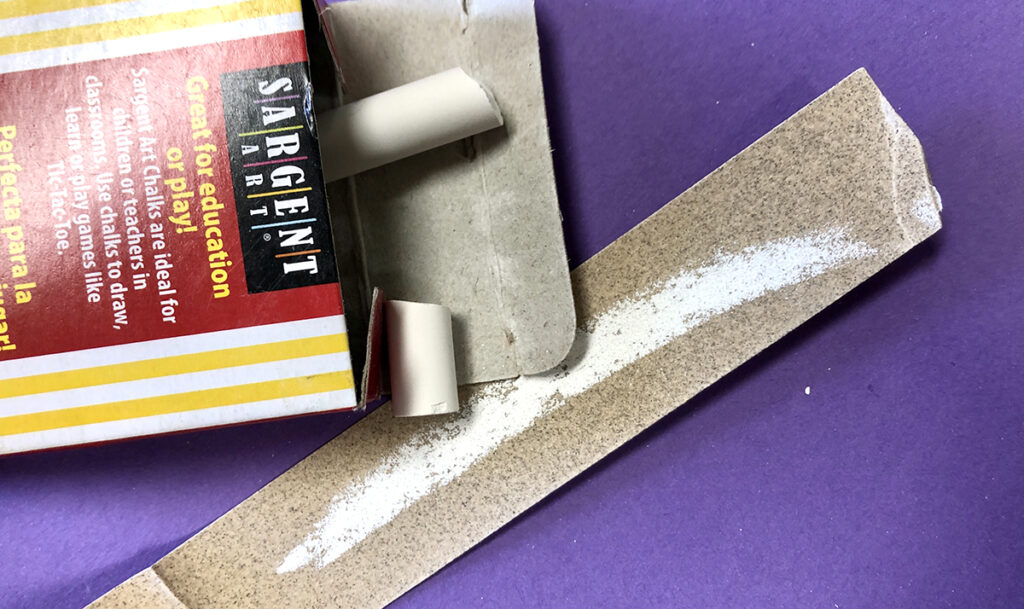
3. Create a faux chalk drawing.
Use a sheet of sandpaper in lieu of a sidewalk. This works great if it’s raining or you don’t have an outdoor space. Take the chalk and draw right onto the sandpaper to simulate drawing with chalk on a rough, textured sidewalk. Share different ways to hold the chalk. Students can hold chalk like a pencil, or use the side and the width for wider coverage.
4. Impress a monoprint or rubbing texture.
Tear or cut small pieces of used sandpaper and attach them to a cardboard printing plate. Roll ink over the plate and create a print. The monoprint will capture the texture of the sandpaper. Or, roll ink on a plexiglass plate. Gently impress the sandpaper onto the plate and carefully remove it. Place a piece of paper on top of the plate and rub it to reveal another textured print.
Utilize the sandpaper as a texture plate or texture rubbing. Place paper over the sandpaper and move an art tool back and forth. Using an unwrapped crayon’s wide side is a great way to cover a large area with texture. Pressing down lightly will create a faint texture and pressing down harder will show more contrast.
5. Alter ceramic pieces.
During a ceramic unit, sandpaper is another great texture and tool to introduce. When your clay is at the leather-hard or bisque-fired stage, it can be gently sanded down. Cups, bowls, or plates need a flat and level base. Gently gliding the piece over sandpaper on a flat, hard surface can help level the bottom. Be sure to have proper ventilation and wet mop as much dust as possible. Sandpaper is also perfect to gently press into and remove from the clay as a surface texture.
6. Paint with chalkdust.
After creating dust with chalk—perhaps after your faux sidewalk drawings—mix the shavings with tempera paint and water. Or, draw a design with liquid glue onto a piece of cardboard, then sprinkle the chalk shavings to create a sand painting. This technique is similar to how glitter is added to crafts.
7. Conduct a STEAM experiment.
Friction is a force that resists the sliding of one solid object over another. Using a range of materials, incorporate STEAM—Science, Technology, Engineering, Art, and Math—elements into your classroom. Compare and contrast what happens different materials are dragged across a piece of sandpaper. For an extension, use high and low grits and compare and contrast the sawdust size and texture.
8. Compose a texture collage.
Incorporate torn or cut pieces of sandpaper for texture in a collage. Sandpaper is an intriguing medium to add to traditional paper or photograph collages. It makes the perfect texture for mountains, rocks, or bricks.
What about all that sawdust from sanding? Here are four unexpected uses.
Creating anything with sandpaper can lead to a lot of residual sawdust. Instead of swiping it into the trash can, use this unusual material in a new way.
1. Add texture.
Integrate the sawdust into an artwork. Mix the wood shavings with Mod Podge or another durable sealant. Use it to coat a canvas or object. To layer another effect, add color to the sawdust before mixing it into the sealant. This is a fabulous way to add texture to any artwork.
2. Create a three-dimensional sculpture.
Use molds to mix resin and shavings or sawdust. When the mixture dries, take it out of the mold and use sandpaper to smooth any rough edges.
3. Make fake snow.
Combine sawdust, white paint, and glue to magically create artificial snow. This is a cheap alternative if you have been collecting containers of wood sawdust for holiday-themed art projects or displays.
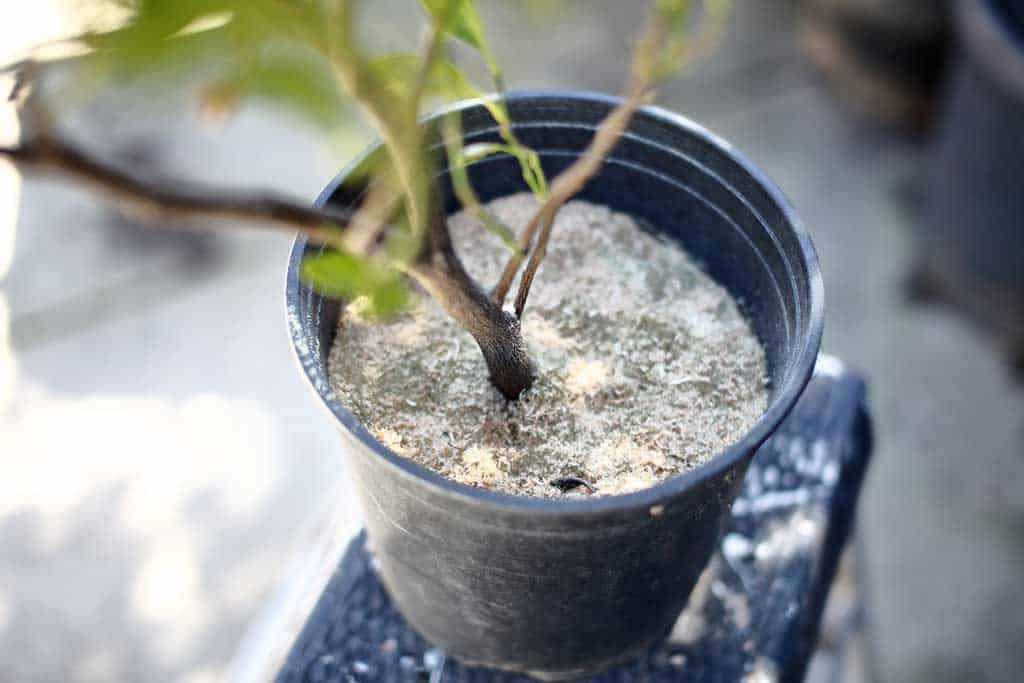
4. Garden.
Consider tending to an art garden with the goal of using the harvested plants in the art room to create paint pigments and more. Many art teachers love having potted plants in the studio as well. Add sawdust to the soil! Believe it or not, it’s great for mulching and composting.
The art classroom is a space for hands-on learning. Sandpaper can be used for more than woodworking with a variety of other mediums and art techniques. You will be able to hear the audible “oohs” and “ahhs” from students as they touch the different grits for the first time. This gritty paper has multiple applications within art curriculum. The question is, which idea will you choose first?
How do you use sandpaper in the art classroom?
What is another everyday material or tool with endless creative possibilities?
Magazine articles and podcasts are opinions of professional education contributors and do not necessarily represent the position of the Art of Education University (AOEU) or its academic offerings. Contributors use terms in the way they are most often talked about in the scope of their educational experiences.