There are many ways we can preserve our energy as educators. We know that “self-care” is a big buzzword right now in the world of teaching. One way we can take care of ourselves is to create a personal studio space. We know about the importance of a dedicated art space for our students, but what about us? It may seem like you do not have enough space or time to create a studio—but we are here to show you how to make this possible!
Keep reading to discover why your artmaking space is so important, how and where to set up a space, and how to organize your materials.
Why is your artmaking space important?
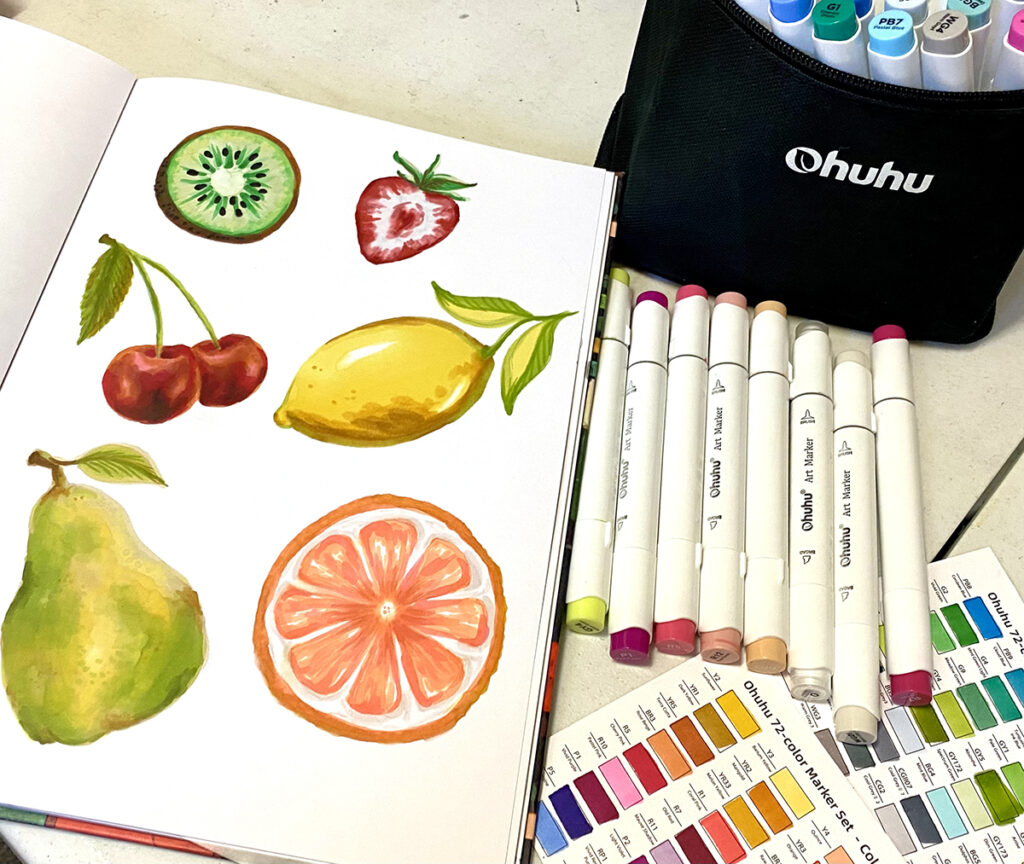
Before we were art educators, we were artists. Something about a specific medium or technique drew us (pun intended) to the field of art education. You can rekindle that passion again by creating art. And in doing so, artmaking can help increase your energy and motivation.
Here are some other benefits of taking the time to make art:
- Fills your creative cup.
In a world of tedious daily routines, making art can inspire change in our predictable patterns. - Helps decompress from difficult days.
We all have had difficult days at school. Whether it be from student behavior, parent interactions, a failed lesson idea, or other disappointments, making art can change our outlook and calm our minds from stress. - Fuels new ideas for lessons and units of study.
Creating artwork for our own enjoyment fuels our hearts and can inspire new units of study for our classes. When we find a new technique or medium we love, it’s a natural progression to incorporate it into our curriculum. - Improves your skills with a new medium.
We all have a medium in which we are less familiar and confident. When you take time to practice and create purposefully in that medium, you grow your creative capacity to help yourself and your students.
Where should your artmaking space be?
Now that we have reviewed the benefits of artmaking, let’s brainstorm intentional ways to set up your own space for creation. When you have thoughtful and inspiring places to make art, you will be more motivated to stay creative!
If you are tight on space, keep the following six areas in mind:
- Spare Room
Do you have an extra “guest room” in your home? Great! Use the space for artmaking while guests are away. Keep supplies in bins you can easily stash away when a guest arrives. - Closet
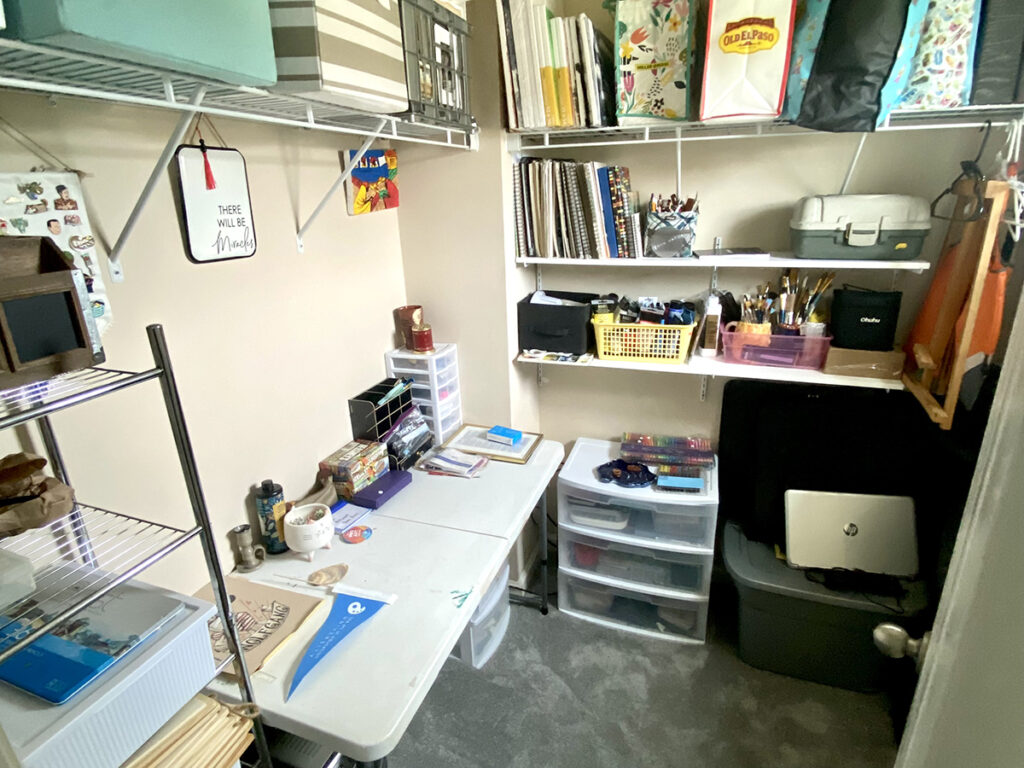
Do you have a closet you need to go through? Organize it and use it for your art station instead. - Attic or Garage Space
These can make the perfect space because they are distraction-free from the rest of the house. - Countertop
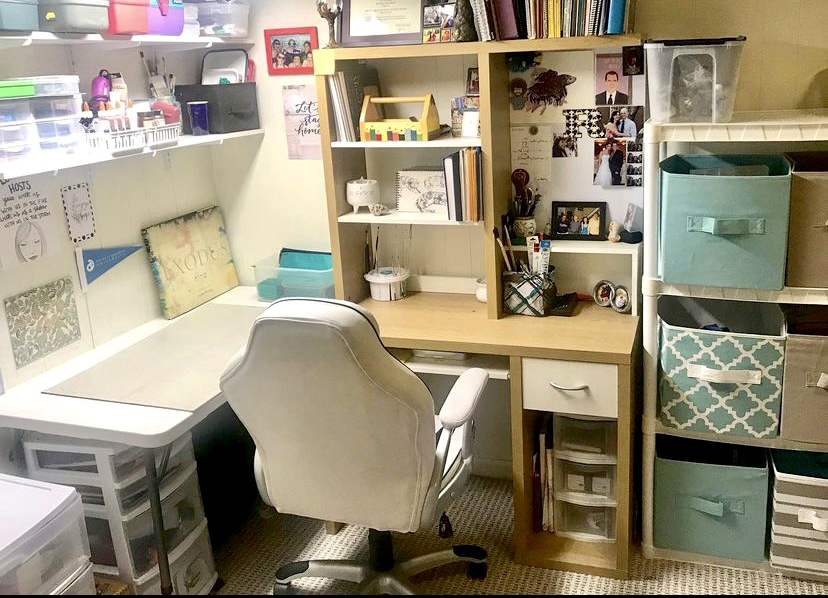
Designate a section of your counter and set it up with a small basket of supplies. - Small Table
Set up a small table in your home with your supplies. This can be as small as a side table, folding table, tv tray, or desk. - Portable Studio
Grab a simple box or basket and put your sketchbooks and supplies inside for easy transport around your home or outside when the weather is nice. Repurpose laptop bags, coolers, duffle bags, or teacher bags!
Once you have scoped out a few areas in your home and determined what space will work the best, you are ready to begin choosing what materials to stock and organize your space with. However, there are some ideals to consider abandoning first.
Let go of these ideals before you start:
- “Pinterest-Worthy” Studios
While spotless Instagram studios look like a paradise, the more important thing is to make sure you have a practical place for creating. - Matching Everything
You do not have to go out to the nearest store and spend money on matching bins, totes, or organizational caddies to make your space work for you. Use and repurpose what you have to gain what you don’t. - Perfection
Our studio space can work well for us. However, no space will ever be perfect. If your space meets your specific needs, it’s perfect for you!
What are some home art supply organization tips?
Once you throw out the idea of the perfect space and how everything needs to look a certain way, you are free to explore many options for organizing your space. A few minutes of thoughtful organization will pay off in the long run. After all, when you are inspired and ready to create, you don’t have the patience to search through cabinets and gather your supplies. Take a look at these common but often overlooked pieces. They are fabulous for organizing art supplies to maximize your inventory and time.
Check out these four budget-friendly items to help organize your art supplies:
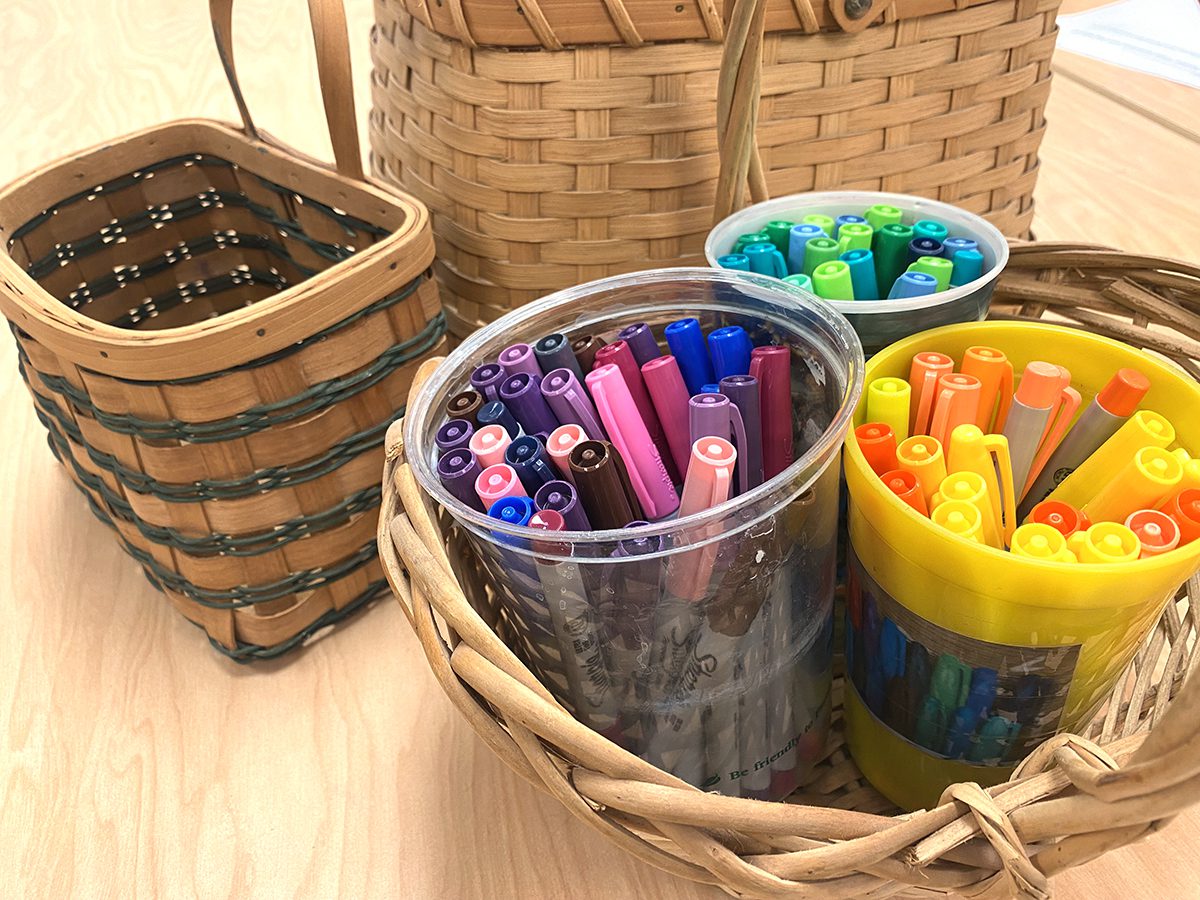
- Baskets
Your local thrift store probably has cheap baskets to fit multiple sizes and quantities of art supplies. You can spray paint them all one color to unify them. - Boxes
While at work, collect boxes from the copy room, cafeteria shipments, or the front office. You can also spray paint these or cover them in leftover fabric or paper to spruce them up. - Bins
Clear plastic bins make it easy to see what supplies you have and where they are located. These don’t need to be expensive. Try your local dollar store first! - Open Shelving
The local hardware store has many options for open shelving that are easy to install. You can purchase a boxed kit or grab some L-brackets and scrap wood boards to construct your own. Store your baskets, boxes, and bins here so they are not taking up valuable surface space.

Once you have selected a space and organized your supplies, you can begin decorating. As art teachers, we tend to keep a lot of interesting decorations, knickknacks, and doodads. These are great additions to your studio and can help make it feel more like “you.”
Here are some free ideas to decorate your space:
- Print out images of art to inspire you.
- Hang up notes that students or friends have written that make you happy.
- Hang work you have done and are proud of.
Once you have everything ready to go, start making! This can be intimidating for some who may not have created artwork in a while. Instead of increasing pressure to create something amazing or breathtaking, start by creating art that fills you, fuels your tanks, and gives you more energy.
Get started with these jumping-off points:
- Join us on Mondays on Instagram Live for Make Art With Me with Sarah Krajewski, or watch previous episodes here. Follow the steps in the episode to get your creative juices flowing.
- Use materials that fill you. Splurge on one material or supply you love, and let loose. Remove the pressure to create a finished artwork, and simply experiment.
- Give yourself permission to play. Keep unconventional materials in your studio, such as play dough, plastic building bricks, finger paint, and a small dry-erase board.
- Follow a tutorial or make a DIY craft to dip your toes back in the process of making.
- Try neurographic drawing to decrease stress and increase focus.
- Fill in a coloring sheet or make your own. For more art therapy activities like this, watch the Bringing Art Therapy Techniques Into Your Practice Pack in PRO Learning.
We put so much effort into our lessons, classroom management, and students. We strive to be the best art educators. The fact that you are reading this article shows how much you care about what you do. Let’s put the same effort into preserving our own energy. With a little intentionality, designate a small space in your home to recharge with artmaking. Focus on practicality, and use some of the budget-friendly and free ideas above. Then, dive into creating! Start big and tackle a large painting, or start small by joining a Make Art With Me. Whatever you create, have fun focusing on YOU!
For more resources on creating artwork and prioritizing yourself, check out these two articles:
- A Simple Mindset Shift to Help you Find the Time to Make Art
- Why Is It Important to Prioritize Yourself During The School Day
Tell us about your studio space! If you have one, share a picture. If you don’t, where will you make space for one?
What type of making or creating brings you joy and energy?
Magazine articles and podcasts are opinions of professional education contributors and do not necessarily represent the position of the Art of Education University (AOEU) or its academic offerings. Contributors use terms in the way they are most often talked about in the scope of their educational experiences.