Artists by trade are considered skilled workers. This is why, in the Renaissance, great masters would teach apprentices their craft from start to finish. The apprentice would see a painting begin as a wood frame, move to a stretched and primed canvas, then to a world-renowned and priceless relic. This helped the apprentice to learn and fully appreciate all the work that goes into making a finished painting.
While we don’t always have the time to bring students along for each step in a process from start to finish, we can teach them how to stretch their canvas. Students take for granted that they can get art supplies with one click and have them arrive on their doorstep two days later. Students will be able to see firsthand how much time and preparation can traditionally go into a painting before paint ever enters the picture! It can also be very budget-friendly to stretch your own frames, especially if you have a secondary or advanced painting course. Students can also create custom sizes and shapes.
Today, we will break down how to stretch your own canvas with pro tips along the way.

First, let’s look at the supplies you will need to stretch your canvas:
- 1″ x 2″ Wood Boards (the amount of wood will depend on the size of your canvas)
- Canvas
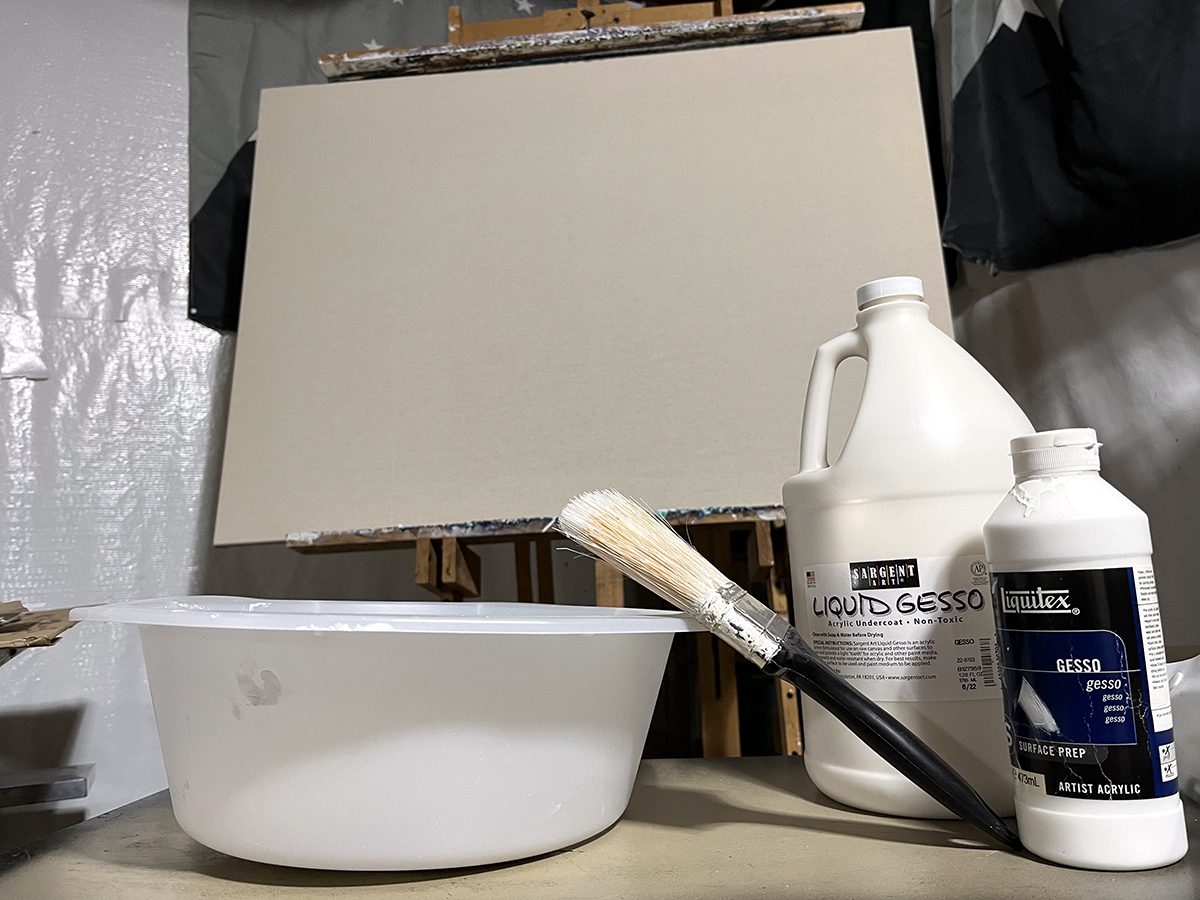
- Gesso
- 1/4″ Staples
- Wood glue
- 3–4″ Brush
Tools for the job are simple. Here’s what you will need:
- Heavy-duty staple gun
- Miter box or miter saw
- Bar or strap clamps*
- Sandpaper
- Canvas pliers (optional)
* If clamps are unavailable, you can also use brads or flat “L” brackets.
After you gather the supplies and tools, start stretching a canvas!
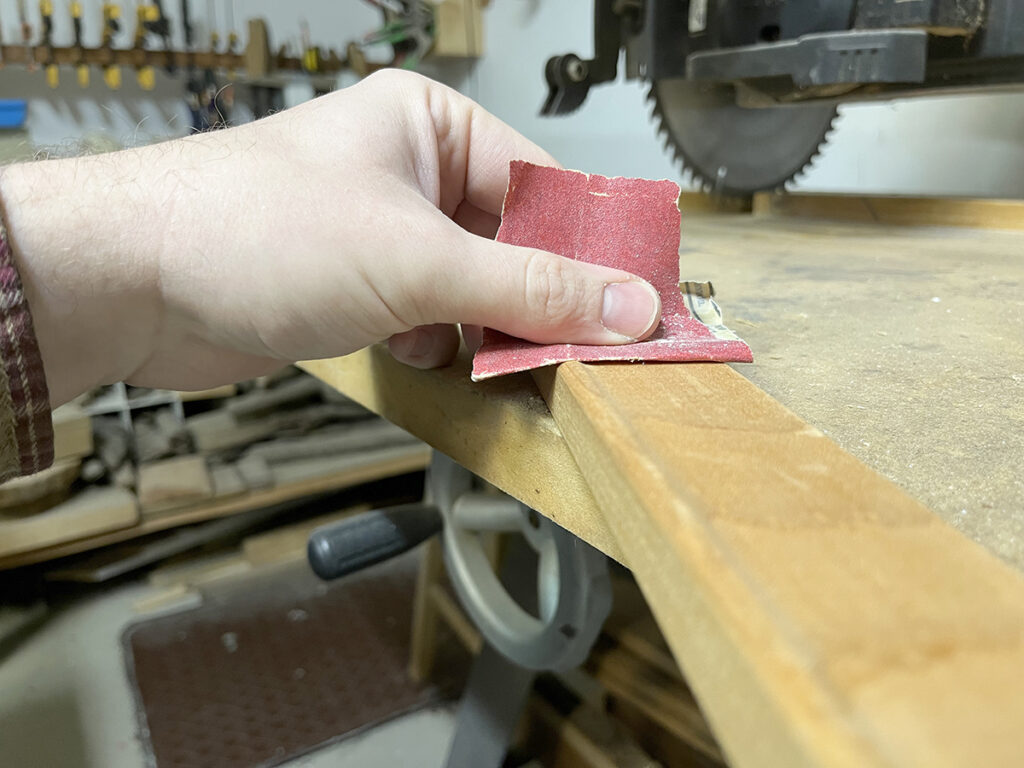
1. Round or angle the wood edges.
Use sandpaper to round the inside edges of the wood. Another option is to use a table saw, router, or planer to angle the edge at a 45° angle. This ensures the wood stretcher frame will not be visible from the front of the painting. If you do not perform this step, you will see a sharp line from the edge of the wood under your finished painting that is difficult to conceal.
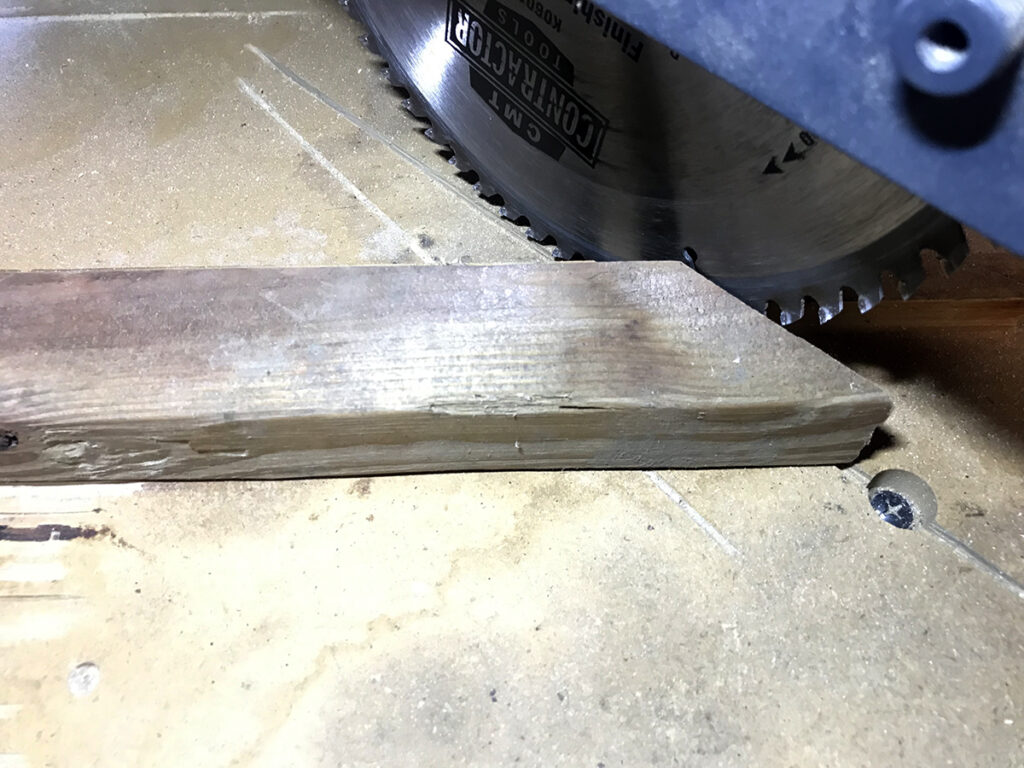
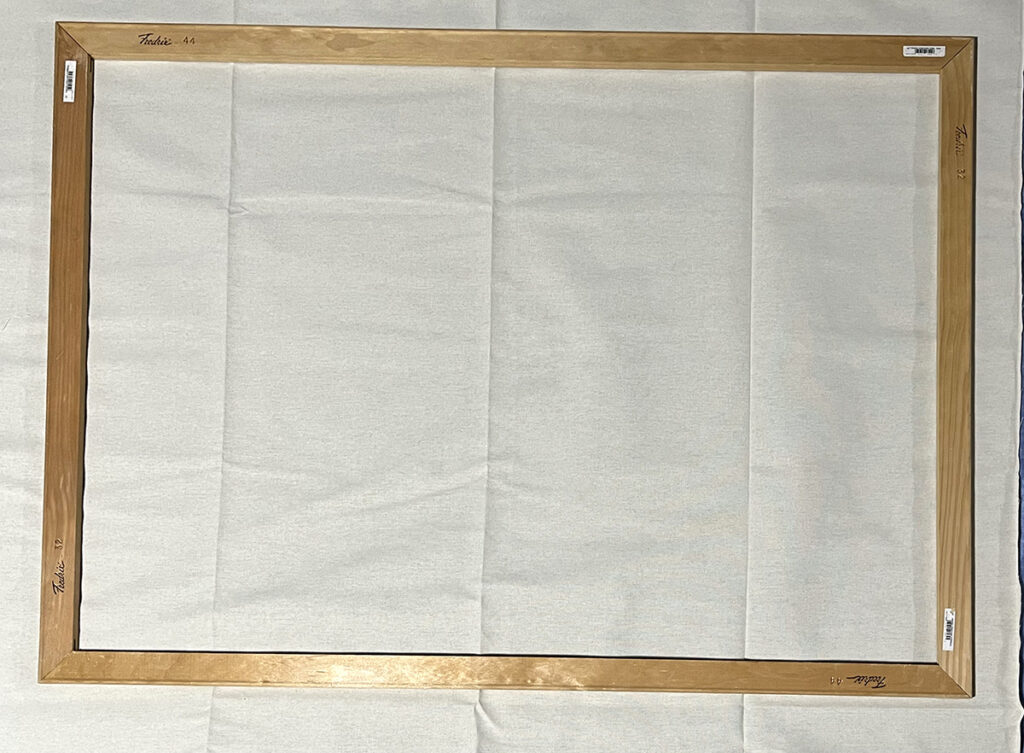
2. Construct the stretcher frame.
Determine the length and width of your canvas. Cut your 1″ x 2″ bars to the sizes you need. Use a miter cut so each piece is at a 45° angle. Measure from the longer side to determine your measurements. Dry fit your pieces and make sure the corners line up to make a 90° angle.
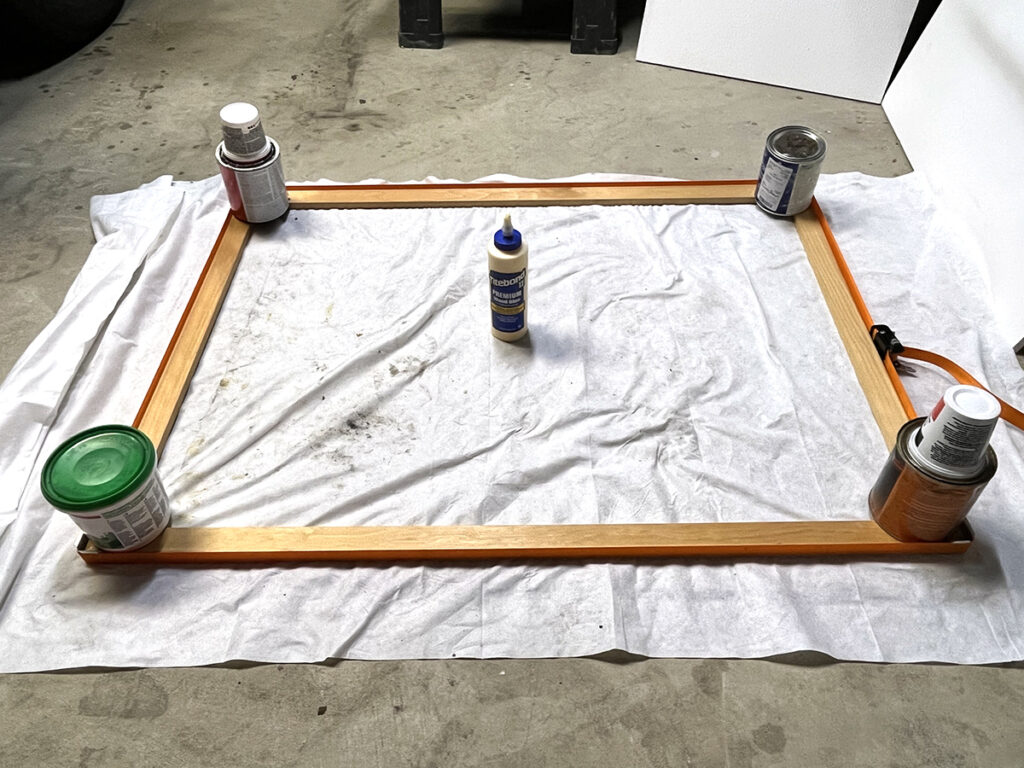
3. Glue the stretcher frame.
If the dry fit is satisfactory, apply a small bead of glue to each mitered angle.
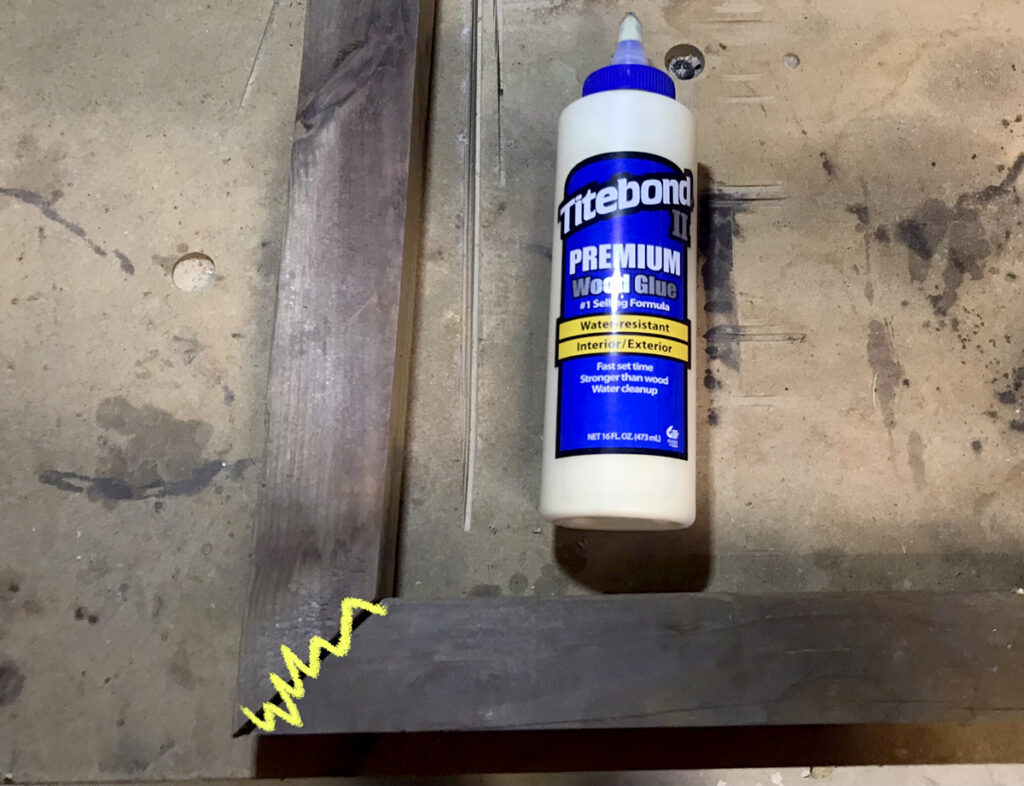
4. Clamp the stretcher frame.
Clamp the 1″ x 2″ bars together using clamps or a framing strap. It is also recommended that you place a heavy object, like a book, weight, or paint can, on each corner to keep it from warping. Wipe excess glue off with an old rag.
If you do not have any clamps, you can glue the miters and brad or “L” bracket the corners together.
5. Cut your canvas.
Use scissors to cut your canvas two or three inches bigger than your stretcher frame. For example, if your stretcher is 16″ x 18″, cut the canvas to 19″ x 21″. This leaves enough room to stretch the canvas over the back of the stretcher frame and staple it in place.
6. Staple the canvas to the stretcher frame.
Lay out your cut canvas and place your stretcher frame on top. Pull the edges of your canvas as tight as possible and staple them to the back of the stretcher frame. You can use a pair of canvas pliers to stretch the canvas.
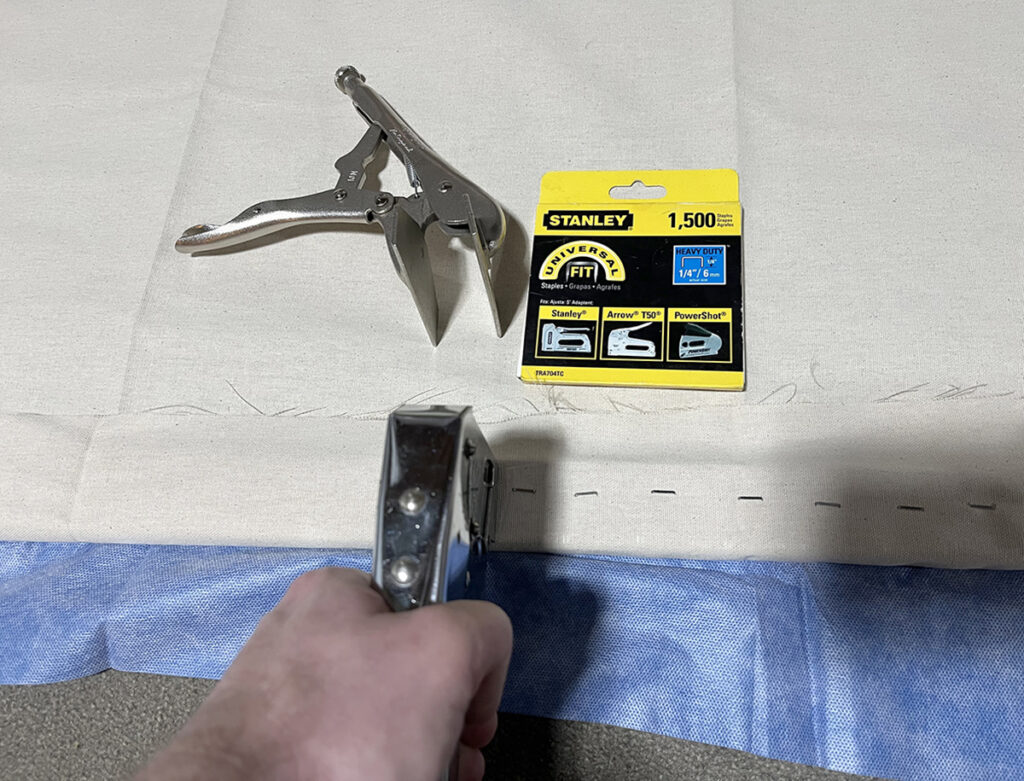
To prevent the canvas from shifting, start with one “tack” staple on each side of the canvas to keep it in place. Start on one side and staple your way around the canvas. Leave a small space in between staples, but do not skimp. Keep a staple-length space between each staple to ensure a strong, tight canvas.

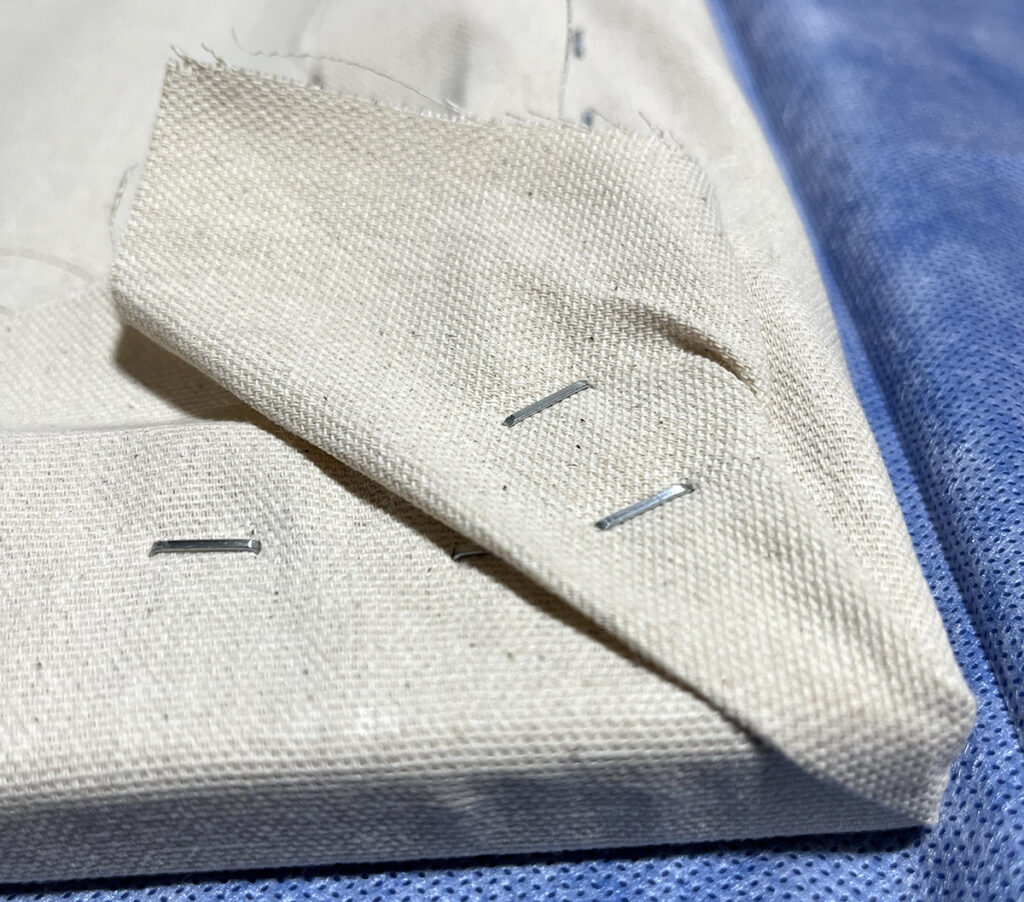
For the corners, fold them neatly and staple them in place with a couple of extra staples.
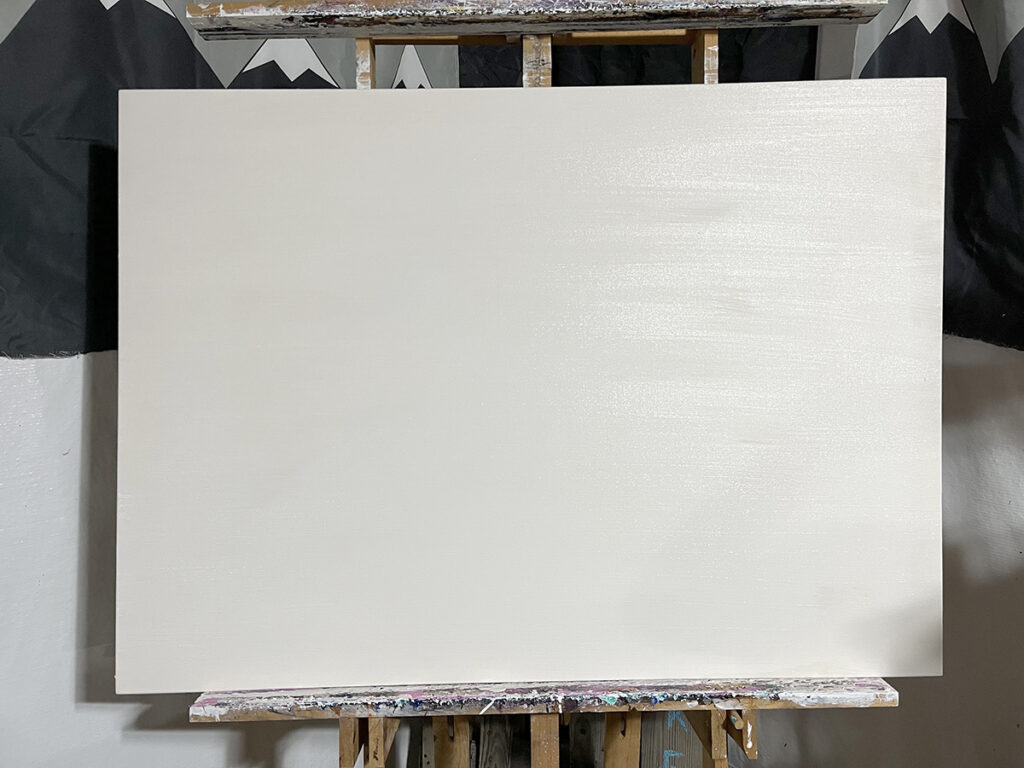
6. Prime the canvas.
Use a large brush and gesso to prime your newly stretched canvas, including the edges. Apply a minimum of two layers of gesso and wait 30–60 minutes between coats. You can always apply more coats if you want more coverage. Allow 24 hours for the gesso to dry completely before painting on the surface.
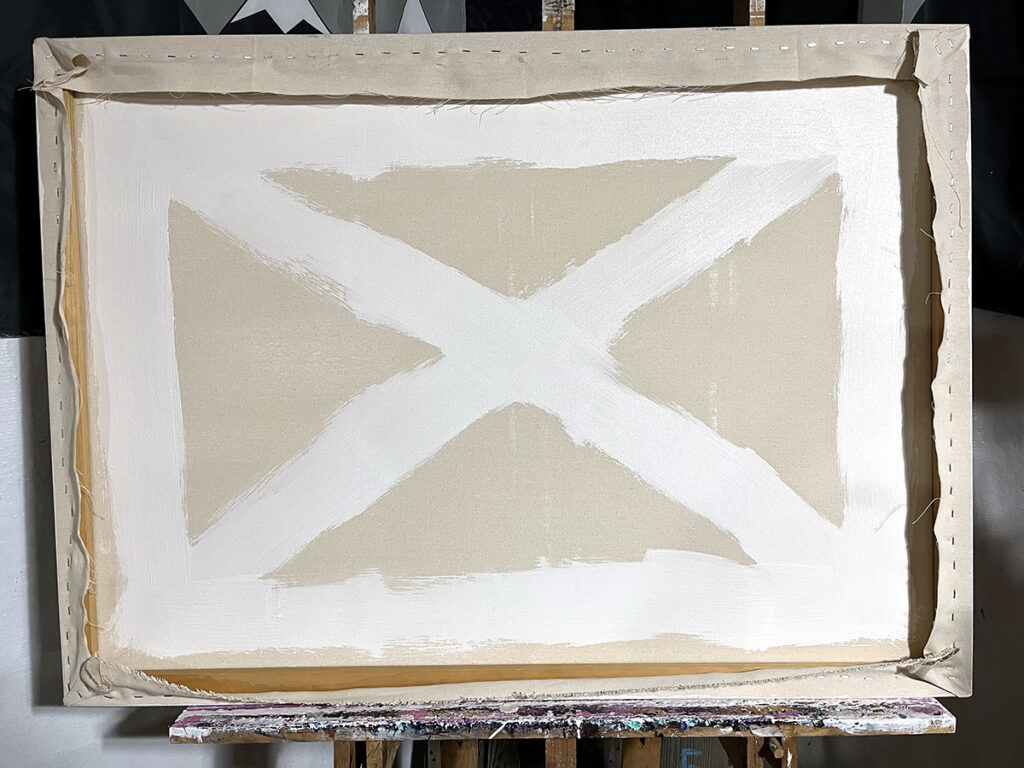
If the canvas seems a little loose after the gesso is dry, flip the canvas over and paint a large “X” or square on the back. This will tighten the canvas just a bit!
Whether stretching canvases for professional or personal use, teaching or learning this craft is invaluable. It carries on beneficial skills and takes students from the start of prepping a material to the end result for a full art production experience. With a few supplies, students can make custom canvases in no time for a fraction of the price. We hope you give this process a try and see how simple it is!
What will you paint on your newly stretched and gessoed canvas? Check out these Packs in PRO Learning for some ideas:
- Exploring Oil Paint
- Acrylic Basics
- Intermediate Acrylic Techniques
Share your pro tips for stretching a canvas!
What other art teacher DIYs do you want to see covered?
Magazine articles and podcasts are opinions of professional education contributors and do not necessarily represent the position of the Art of Education University (AOEU) or its academic offerings. Contributors use terms in the way they are most often talked about in the scope of their educational experiences.