
A monotype isn’t a process you encounter every day in the K-12 art room, which is why you should add this to your calendar this year! Not only will it be a new, special process for your students, but it’s fairly simple as far as printmaking goes. Unlike other forms of printmaking, monotypes do not involve carving, etching, acids, or a printing press. Instead, the artist creates a painted or drawn image directly on a smooth surface, such as plexiglass or acetate, and transfers it to paper. It’s quick and affordable, yet it teaches skills like reduction, layering, color theory, and linework.
Find out why monotype printmaking matters in the art room and how to easily replicate the process for your students.
Why Monotype Matters: Beyond the Art
Monotype printmaking isn’t just an art project—it’s a powerful way to teach problem-solving, adaptability, and creativity. Working in reverse challenges students to think spatially, slow down, and continually check their work. The process also encourages experimentation, spontaneity, and discovery with its unpredictable nature! It builds confidence as students adapt and embrace unexpected outcomes.
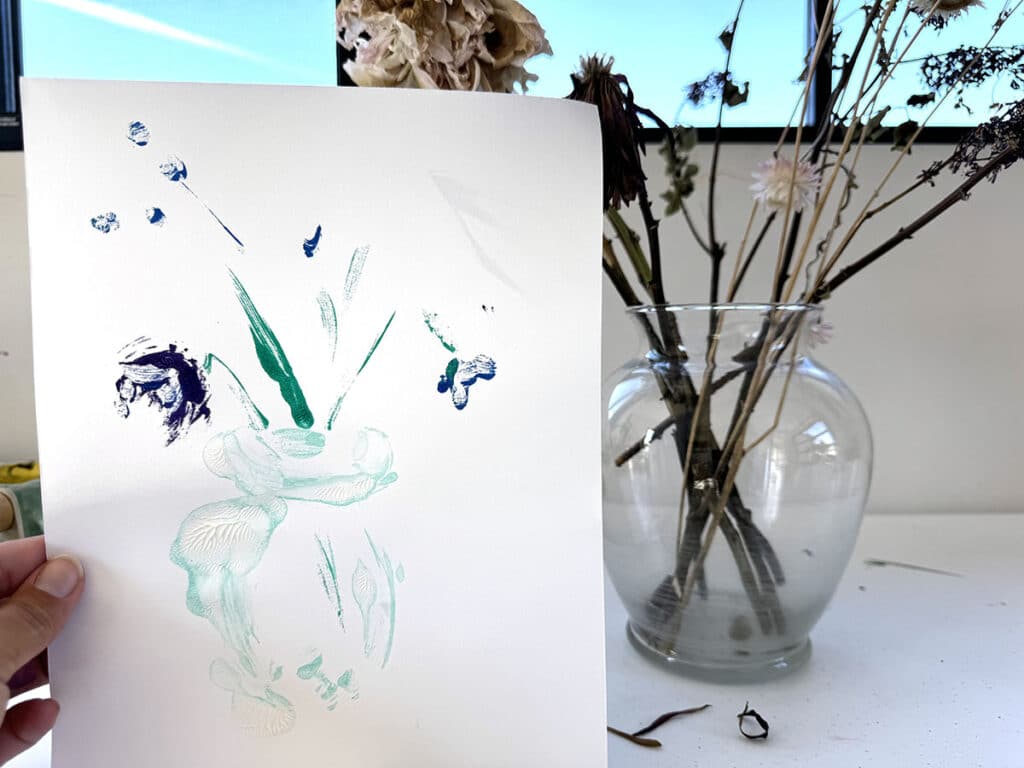
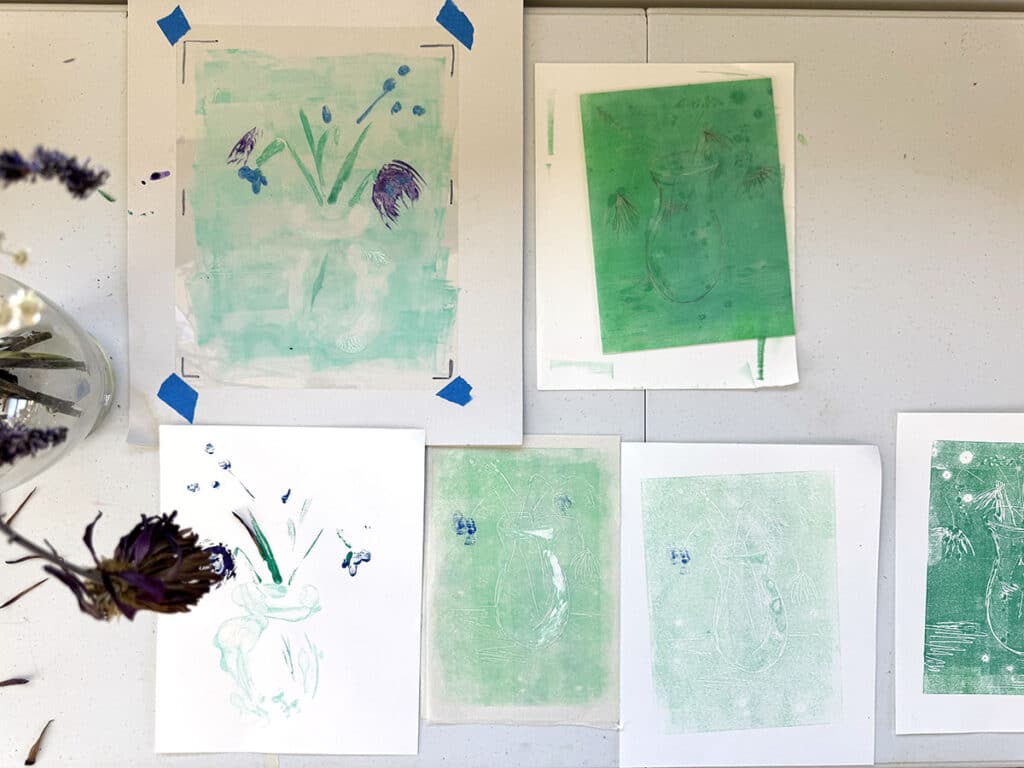
Mono means one, and this is reflected in the process because each print is truly one-of-a-kind. Unlike other forms of printmaking which result in multiple copies, each monoprint process produces one print. Students will learn to adjust their approach with each print as they explore the properties of different inks, paints, tools, and techniques and how they interact with the printing surface. In the end, monotype printmaking fosters skills that are valuable in art and life!
How to Make a Monotype: Simple Steps
The foundational monoprint process is very straightforward and uses items you probably already have in your closet. There are also several hacks if you don’t have the proper tools. Let’s dive into the supplies you’ll need to collect and how to set up your studio for success.
To set up monotype printing in your classroom, you’ll need the following:
- Plexiglass or Acetate
Take a large sheet and cut it down to size for individual students’ printing plates. If you purchase a sheet of plexiglass at the hardware store, they often will cut it for you. Ensure you file or cover the cut edges so they are smooth. Both of these plates are reusable! - Masking Tape
Keep your plexiglass or acetate in place on the table. Also, use it on the edges of the cut plexiglass to protect students from sharp edges. - Printing Ink
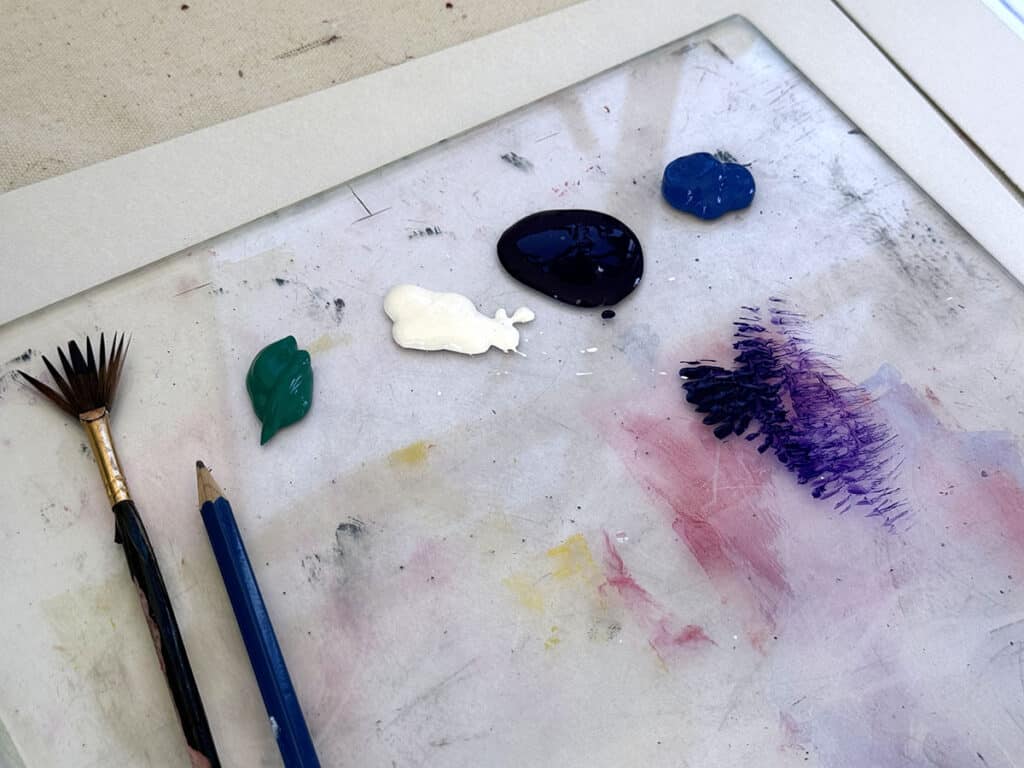
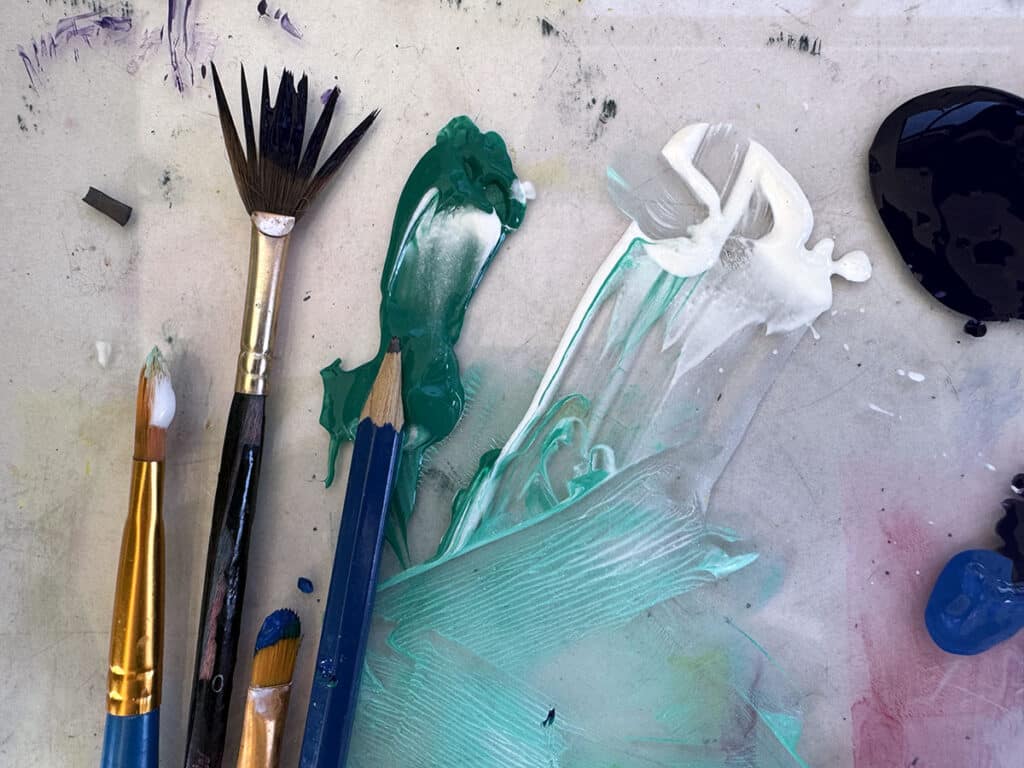
Choose oil-based printing ink for detailed work with advanced secondary students or water-based ink for quick prints. You can also substitute tempera paint in a pinch! - Brayer
Apply ink evenly to the printing surface with roller tools. - Texture Tools
Try brushes, sponges, and rollers to add interest. - Subtractive Tools
Gather palette knives, cotton swabs, and rags to “draw” in the ink. - Paper
Print on smooth, sturdy paper such as cardstock. The thicker and more absorbent, the better! - Dampening Tools
Use a spray bottle or sponge for water-based inks. - Baren or Roller
Apply pressure with a baren, roller, or heavy spoon. - Protective Gear
Provide aprons and gloves for students and disposable paper or tablecloths for the tables.
Follow these simple steps to bring the monoprint process to your art room:
1. Set up the workspace.
Set up separate stations in advance to stay organized and cover them with disposable paper or tablecloths for easy cleanup. For the inking and printing station, tape the plexiglass or acetate to a sturdy board or table. Ready a few tables or drying racks to receive freshly pulled prints. Set out paper towels, sponges in buckets of clean water, wipes, and gloves so they’re readily accessible for messy hands. Fill buckets with hot soapy water for dirty tools to soak. Make sure everything at all stations is as clean as possible.
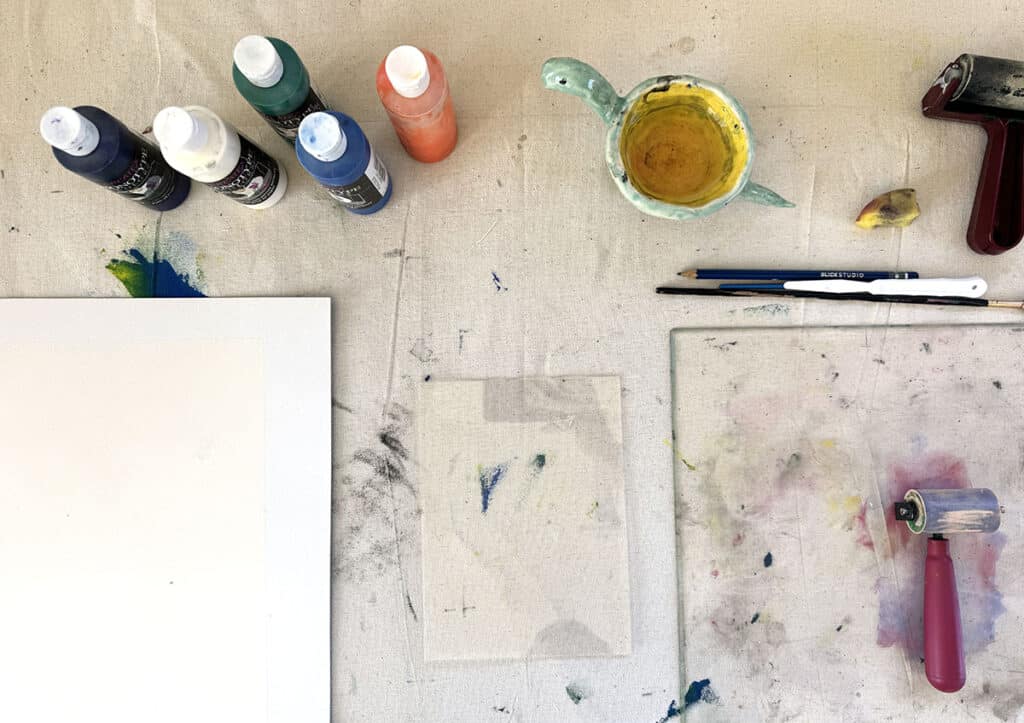
2. Prepare inks.
Students will be applying their ink to their plates by rolling or painting. Put small amounts of ink in containers or palettes with lids to prevent waste.
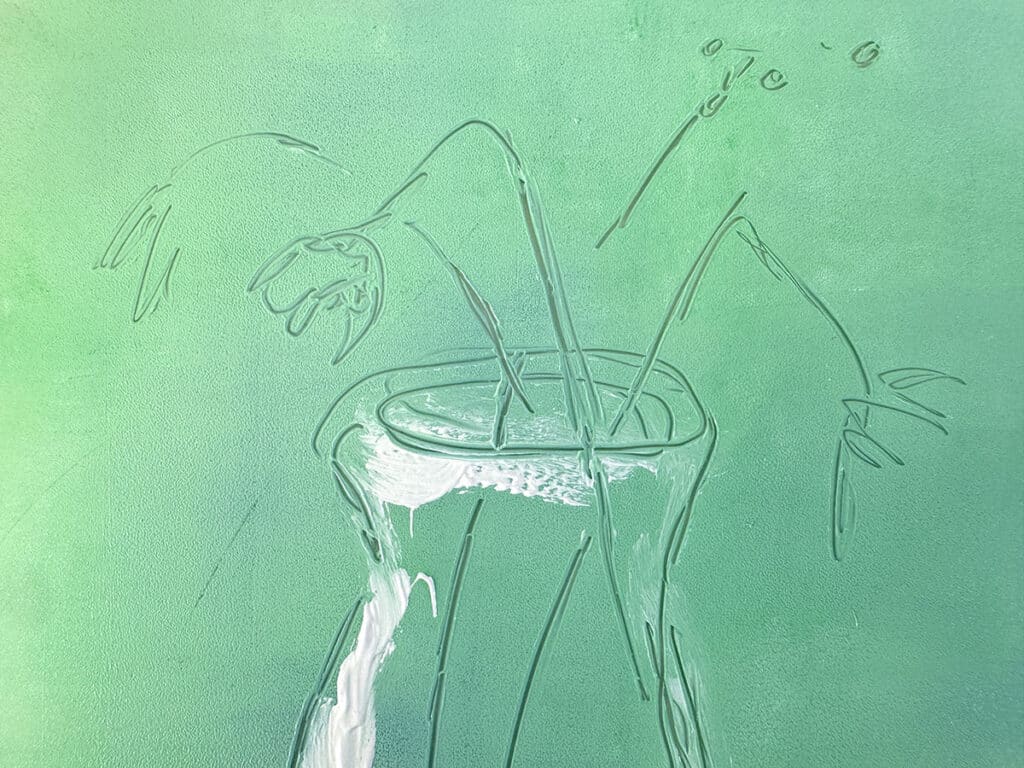
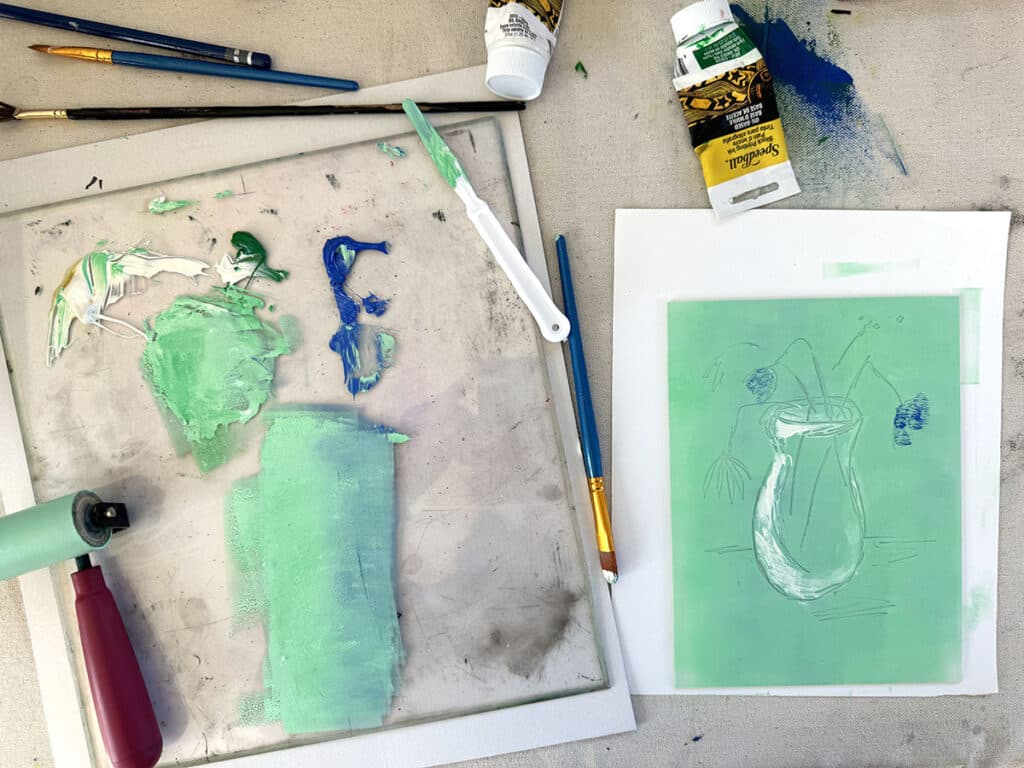
3. Create the imagery.
Apply ink to the plate using brushes, sponges, or rollers. Experiment by adding textures and subtractive techniques for unique effects. If using water-based ink or paint, remind students to work very quickly because they don’t want their design to dry out before it gets transferred to paper!
4. Prep the paper.
If using water-based ink, lightly dampen the paper with a spray bottle or sponge. Keep the paper dry for oil-based inks.
5. Transfer the image.
Place the paper face down onto the inked plate and press evenly with a baren, roller, or spoon. Ensure the paper remains still and fingers are clean to avoid any smudging.
6. Reveal the monotype!
Use clean fingers to slowly peel the paper away to reveal a one-of-a-kind print!
7. Dry and clean up.
Lay the prints flat to dry and clean your plate with the correct solvent. Use oil for oil-based inks or strong dish soap for water-based inks.
Opportunities for Problem Solving
The monoprint process can move fast—especially if using water-based inks. Students will learn to quickly reflect on their work and refine their process for the next print. As they go through the printmaking process, you’ll see their gears moving as they navigate issues.
Here are a few common challenges that may pop up to troubleshoot:
- My image didn’t transfer!
Ask students for reasons why the ink didn’t transfer to the paper. Chances are, the ink dried too fast! For advanced secondary students who require more time to create detailed images, try oil-based inks. If budget allows, try retarders for water-based inks. Also, encourage students to play with how damp the paper is for water-based inks. - My print has huge smudges!
Once again, provide an opportunity for students to come up with reasons why smudging may occur. This may happen because they used too much ink. Students can experiment with some quick test prints using less ink. - My print is blurry!
Allow students to brainstorm what can cause blurry imagery. This often happens because the paper moves during the transfer step. If this is a challenge across the board, show students how to make registration marks for their plates and paper on the table covering. This will help students keep their papers aligned!
Monoprinting is an extremely rewarding process for students that equips them with valuable skills for life. As far as printmaking goes, monoprints have few steps, minimal supplies, and endless possibilities! Because each image results in one unique print, the process is special and magical. If you want to stretch your students’ problem-solving skills and encourage them to take risks, bring monoprinting to your art room this year!
For further resources on monoprinting, check out the following:
- Monoprinting for Every Level Pack in PRO Learning
- Experimenting With Monoprinting (K-12) Collection in FLEX Curriculum
- 5 Different Ways to Try Monoprinting in the Art Room
- How to Take Monoprinting to the Next Level in the Art Room
Tell us your favorite tips to keep the monoprinting process smooth in the art room!
Who are your favorite printmakers to share that create monoprints?
To continue the conversation, join us in The Art of Ed Community!
Magazine articles and podcasts are opinions of professional education contributors and do not necessarily represent the position of the Art of Education University (AOEU) or its academic offerings. Contributors use terms in the way they are most often talked about in the scope of their educational experiences.


