One of the best parts of being an art teacher is that we get the privilege of teaching almost all of the students in our school. There are so many students and they are all unique, which makes cultivating so many artistic voices a thrilling endeavor. However, the thought of differentiating lessons for each individual learner can be daunting—especially if it’s an adaptive art class. How do you create engaging art lessons that meet the specific needs of each budding artist? Let’s take a look at several tips to keep lesson plan writing efficient and effective.
Explore three facets of writing an adaptive art lesson to make art accessible for all of your students!

1. Gather information.
First thing first, know your audience! A great way to do this is to speak directly to the homeroom special education teacher or instructional assistant. These teachers are with the students all day and can be a wealth of knowledge! They can share students’ IEP goals or 504 Plans and provide tips to keep them confidential and organized. They are insightful about behavioral triggers and motivators. They can also break down what each student is working on and how it could be relevant in your art room.
Create a one-page “Fact Sheet” for each student. This is a way to condense information in an easily digestible and organized format. Include art skills each student may need extra help with, especially if they correlate to IEP goals.
Here are four examples of IEP goals translated to an art room setting:
- Pencil Grip and Writing
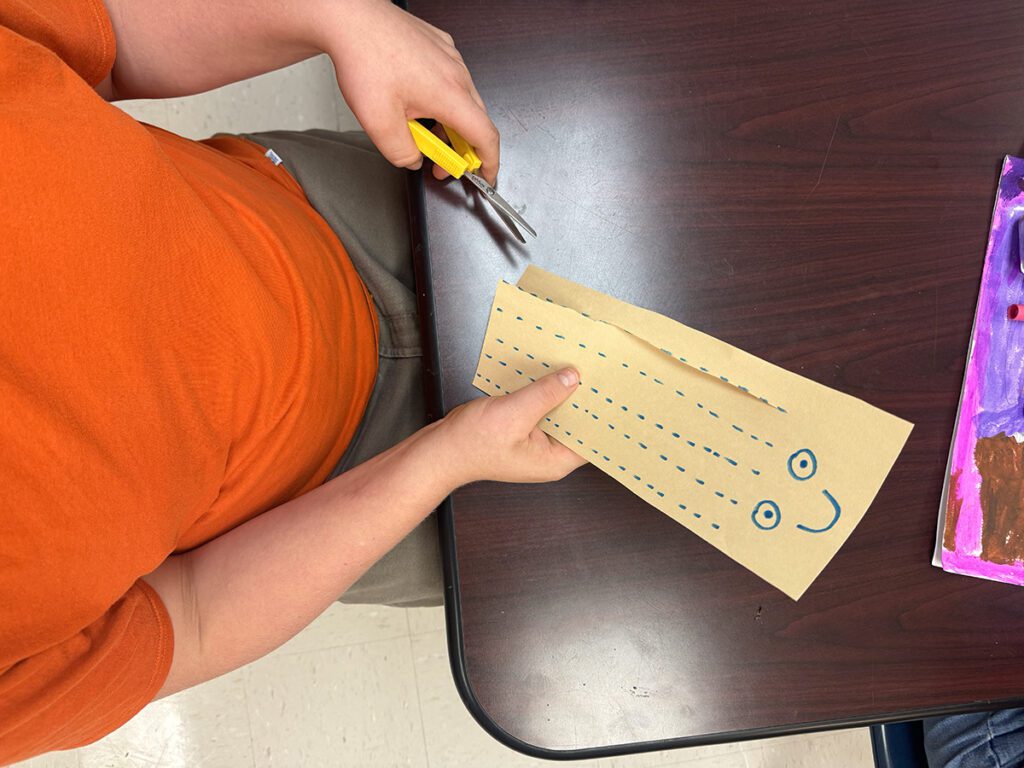
The student will demonstrate an appropriate pencil grip while writing or drawing, achieving at least 4 out of 5 attempts. - Scissor Skills
The student will cut along straight and curved lines with scissors, achieving 80% accuracy in 3 out of 4 trials. - Manipulating Small Objects
The student will pick up and manipulate small objects (e.g., buttons or coins) using tweezers or fingers with 80% accuracy over multiple activities. - Multi-Step Tasks
The student will follow a sequence of two-step directions (e.g., “Draw a triangle, then color it green.“) with 80% accuracy during art activities.

Temple Grandin sums it up well with her quote, “In special education, there’s too much emphasis placed on the deficit and not enough on the strength.” Even with access to IEPs and homeroom special education teachers, it can sometimes to difficult to glean the strengths of each student. That’s where an “I Can!” Checklist comes in! This is an adjustable chart that will show what a student can do, as opposed to a list of what they can’t do. The student will complete this chart with you or their instructional assistant at the end of each unit or on any regular cadence.

If you’re looking for similar rubrics scaled for each grade level and various mediums, check out FLEX Curriculum’s leveled skill rubrics. For grades K-5, use the Process-Based Skills Rubric. For grades 6-8, download the Objectives Assessment and for grades 9-12, try the Progress Log.
2. Make adaptations.
Being an art teacher means wearing a lot of hats and juggling a lot of responsibilities! Lesson planning for your adaptive art classes does not have to take up extra planning time. Remember, there is no need to reinvent the wheel. Give yourself permission to adapt “classic art lessons” and previously successful student-favorite lessons.

Here are four favorite lesson ideas that are simple to adapt to any skill and grade level:
- Self-Portraits
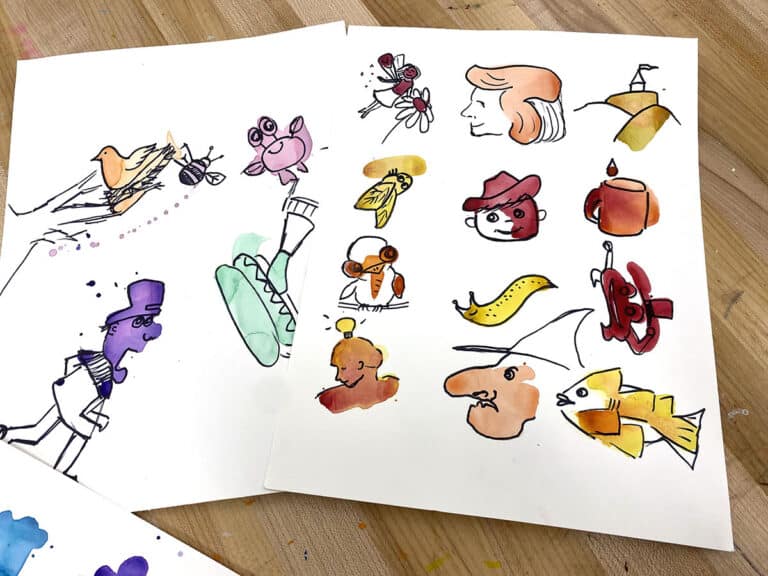
Place a transparency sheet or tracing paper over a printed picture of each student. Students trace their faces on the transparency sheet. For students with limited mobility and/or challenges with fine motor skills, print out their pictures on copy paper and allow them to add color to their faces with a variety of media. - Pinch Pots
The pinching motion can be challenging for any student but especially for those with limited mobility and hand strength. Line cereal bowls with plastic wrap. Create clay vessels by pressing chunks of clay into the lined bowl. - Still Life
There are two ways to scaffold still lifes. First, have fun making a variety of painted papers! Then, use templates of vases, flowers, and table shapes. Trace onto the painted paper, cut out, and arrange on a base paper for a mixed media collage. The second way is to cut or rip still-life items out of magazines and glue them onto a base paper. - Favorite Animal Paintings
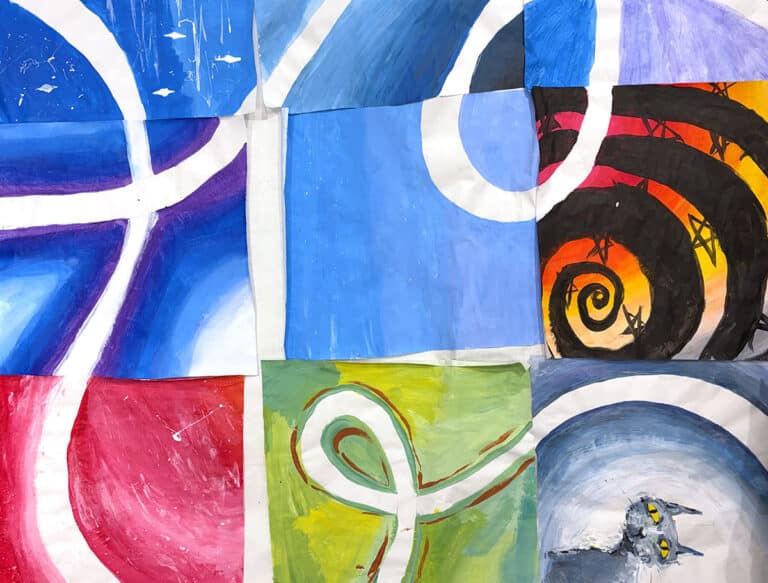
Students choose their favorite animal and make a paper cutout of its silhouette. Place the cutout on a sturdy base paper or canvas. Paint on top of the cutout, treating it as a stencil to demonstrate positive and negative shapes.
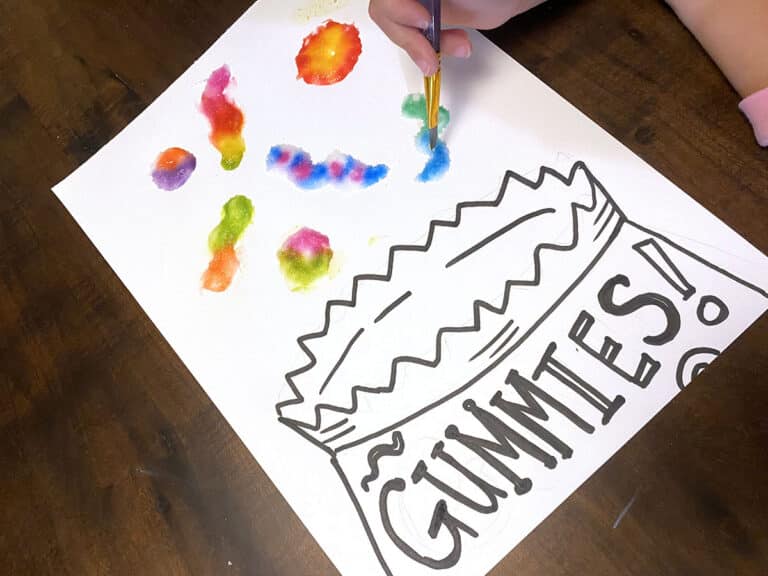
In addition to classic art projects, Process Art is another great option! Sometimes called Sensory Art, this art form focuses on the sensory experience of working with different mediums. It focuses on the process and experience over the end product and a fully realized work of art. Prioritizing engagement through exploration, curiosity, and play relieves the pressure of artmaking and helps students fall in love with art. Examples include marble painting, pressing twigs and leaves into clay, or squishing and mixing different paint colors in a plastic bag.

Although it sounds counterintuitive, planning can help you be more flexible during instruction! Take time to consider challenges and adaptations, or ways to quickly and easily increase and decrease difficulty. Challenges are appropriate for students who typically finish early and can level up their artwork. Adaptations are appropriate for students who are struggling and need ideas to simplify their assignments. Brainstorm a list of ideas ahead of time that you can pull from your arsenal at a moment’s notice!
Here are some universal challenges or ways to increase difficulty:
- Work on a larger paper or surface.
- Increase the number of color choices or mediums.
- Use a smaller brush size to encourage slowing down.
- Boost the number of details or subject matter items required.
Here are some universal adaptations or ways to decrease difficulty:
- Work on a smaller paper or surface area.
- Decrease the number of color choices or mediums.
- Offer multiple breaks throughout class.
- Use a larger handle and/or thicker bristle brush to cover more ground.
- Allow the use of tracers and stencils.
- Ditch the palette and pour paint directly on the paper.
- Try paint sticks instead of traditional liquid paint.
3. Plan ahead for early finishers.
Many art teachers have robust early finisher options or stations for elementary and secondary students. However, have you considered if any of them are suitable and appropriate for adaptive art classes? Coloring pages and play dough are fine to have on hand but there are many ways to take these activities further and practice foundational art skills.
Here are four ways to level up your early finisher activity options:
- Hair Cutting Worksheet
Draw a quick character and make copies. Students practice scissor skills as they cut the paper around the character’s head to make fun haircuts and styles! - Sensory Boxes
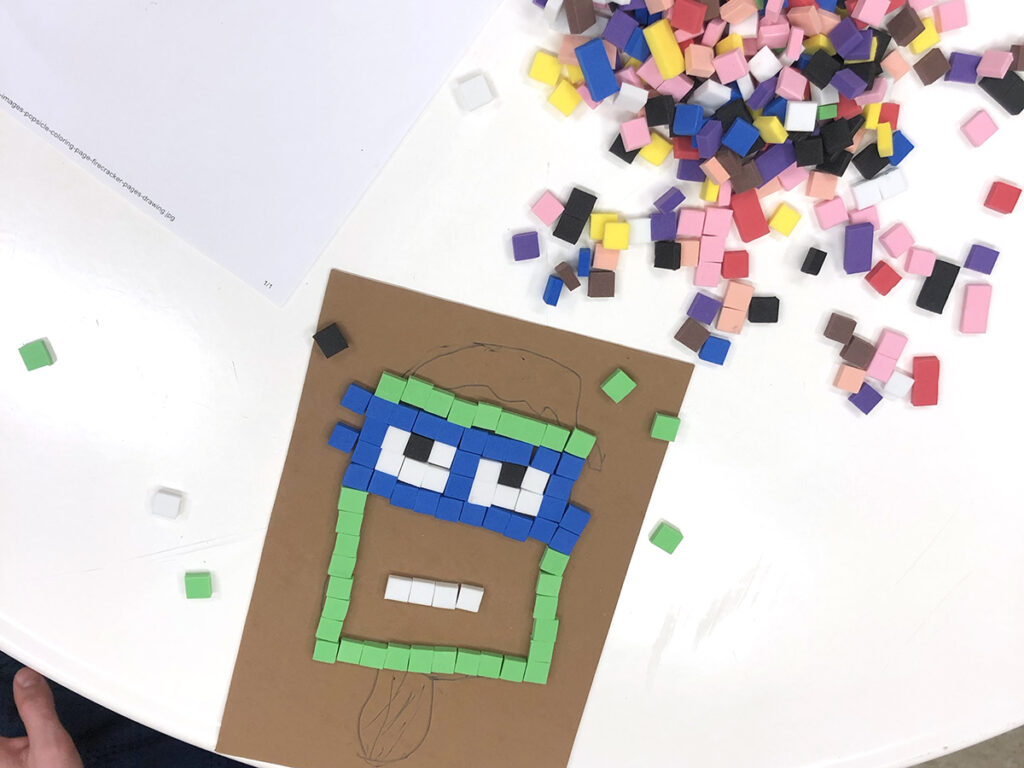
Aside from kinetic sand or rice, try foam tiles and pom poms! Throw in small scoops, sorting trays, and buckets for color sorting and hand grip practice. - One-Color Activity
Assign students one color to find and cut or tear from magazines. Once students acquire enough of one color, arrange them into a monochromatic collage or create a collaborative color wheel. - Painted Paper
You always need painted paper! Include fun texture tools like combs, forks, lace, or bubble wrap to add visual interest and a tactile element.
Whether you are looking to make your art classes more inclusive or you teach a dedicated adaptive art course, there are several ways to make artmaking more meaningful and accessible. When lesson planning, embrace strategies like tapping into your colleagues’ insight and focusing on strengths with an “I Can!” Checklist. Brainstorm ways to increase or decrease difficulty and prep early finisher activities for additional foundational skill practice to set you and your students up for success. Not only will these ideas help students explore their artistic potential and build confidence, but they will streamline your planning and instructional time and keep you organized. Above all, remember that every single student is capable of experiencing art, no matter their skill level, and you have the opportunity to make this happen!
What have you discovered works well with your adaptive art classes?
What challenges or questions do you still have when it comes to adapting materials or art lessons?
To continue the conversation, join us in The Art of Ed Community!
Magazine articles and podcasts are opinions of professional education contributors and do not necessarily represent the position of the Art of Education University (AOEU) or its academic offerings. Contributors use terms in the way they are most often talked about in the scope of their educational experiences.