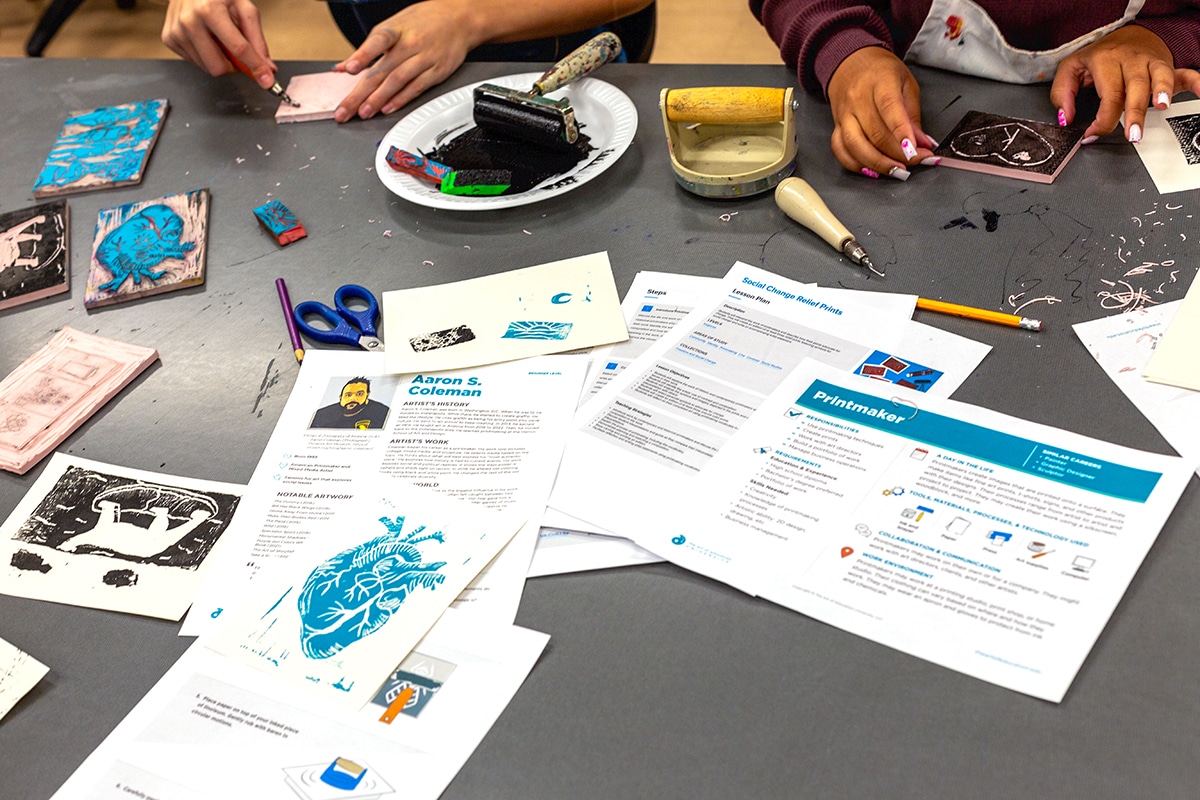
Printmaking is a process of precision. Whether you’re carving a relief block, pulling a screen print, or printing a lithograph, the goal is the same: clean lines, deep ink saturation, perfect registration, and balanced margins. Printmakers obsess over every detail for a reason—the art form demands it. Every tiny choice matters, especially if the goal is to emulate a master printmaker. While we value craftsmanship in the art room, how can we create room for students to make printmaking mistakes and grow from them?
Let’s investigate what constitutes a “failed” print, how we can prompt reflection, and ways students can transform them into masterpieces!
What counts as a “failed” print?
If registration is even a millimeter off, the layers misalign. If the ink isn’t rolled evenly, the texture suffers. If the color choice is off, the print loses its punch. Even the paper itself, the way it’s torn, matted, and presented, can affect the final impression. In professional editions, artists called failed prints remainders or spoils. They flag, archive, reuse, or destroy them to protect the integrity of the edition. Teach students this mindset early on so they understand that not every print is destined for the edition, and that’s not just okay, it’s part of becoming a real printmaker. Plus, showing students how to recognize what makes a print a “failure” helps them strengthen their technical skills and their eye for quality craftsmanship.
Failed prints happen when:
- Registration is noticeably off
- Colors don’t match the planned palette
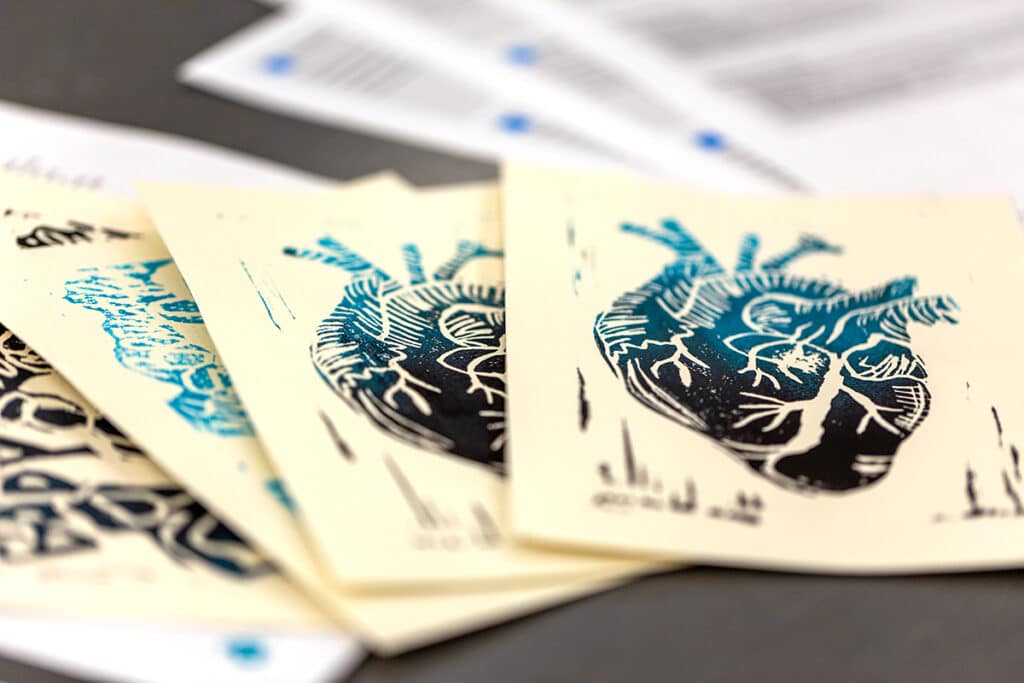
- Ink coverage is patchy, light, or uneven
- Paper tears, wrinkles, or pulls from the plate
- Ghost prints or double images appear
- The image simply doesn’t meet the artist’s standard
Why does using failed prints matter?
As art teachers, we know that failure isn’t the end—it’s the next beginning! The best artists make tons of mistakes, and they don’t waste them. Each mistake is an opportunity to troubleshoot, refine, and innovate! Understanding the role of failure in printmaking is a lesson in art and in life. Students who learn to process mistakes creatively will develop stronger problem-solving skills and greater resilience across all disciplines.
How can we guide reflection before pivoting?
Reflection isn’t just a step after creating; it’s part of building a creative mindset. Shift students’ perspective to see failed prints as an opportunity to hone the process and reinvent something fresh! Before diving into ways to reuse failed prints, pause to discuss why their print didn’t turn out as envisioned. Talk through ideas they can try next time to get the results they want. Then, empower students by brainstorming ways to repurpose their work, using the suggested activities below.
Encourage reflection with these questions:
- Where did my print fall short of my original vision?
- What technical issues led to this result?
- How can I repurpose this print into a new work?
- What new idea does this “failure” inspire?
- How did this mistake help me grow as an artist?

Make the most out of every misstep with these 10 next-level art project ideas!
1. Collages
Give prints a new lease on life by cutting them up and transforming them into bold, dynamic collages. Students can reimagine patterns, textures, and colors in totally unexpected ways. Challenge students to only use their failed prints in a new piece without any other materials. It’s always surprising how creativity thrives within constraints.
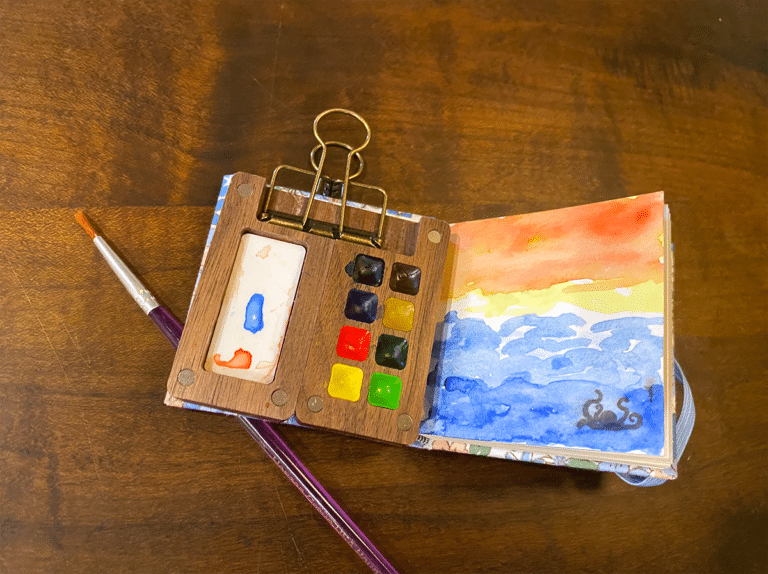
2. Artist Books
Turn a pile of mistakes into a meaningful narrative. Assemble misprinted pages into handmade artist books that tell a story of their creative journey. Incorporate reflection pages where students explain how each print failed and what it taught them. This transforms “mistakes” into documented growth with a chance to practice basic bookbinding methods.
3. Overprinting
A failed print can be the first layer of something even better. Overprinting adds depth, complexity, and abstract beauty that a “perfect” print may never reach. Prompt students to intentionally misregister additional layers and lean into abstraction. Keep adding layers to create stunning, spontaneous effects. Students can also add layers with other media, like in the video below.
4. Paper Sculpture
Paper isn’t just for two-dimensional work—it can bend, twist, fold, and sculpt. Failed prints make incredible raw material for building three-dimensional forms. Merging the world of printmaking with the realm of sculpture can also open new doors of possibility to students. Show students how to manipulate paper with their hands or demonstrate simple processes, such as paper pulp, to transform their work into a new medium.
5. Test Plates
Don’t let that expensive paper go to waste! Use failed prints as a working surface for future experimentation. Test new inks, tools, techniques, or compositions without the pressure of a “blank slate.” Keep a communal pile of “failures” available for warmups, experiments, and risk-taking exercises throughout the year.

6. Wearable Art
Level up paper sculpture into wearable art. Captivate students with artists like Zoe Bradley, who reimagine paper into entire sculptural garments. Collect everyone’s failed prints and collaboratively construct a piece of avant-garde fashion.
7. Woven Textiles
Shred failed prints into strips and weave them into new textile pieces. Students can create print-based “fabric” for wall hangings, flags, or installations. Mix in strips from other recycled materials like newsprint, string, or plastic bags to continue the sustainability conversation.
8. Interactive Installations
Invite students to build an interactive print wall. When they have a failed print, they add it to the wall and watch the wall transform over the semester or year. Invite everyone to rearrange pieces, add drawings, or “correct” mistakes. Keep a bin nearby with supplies that students are welcome to use on the wall.
9. Handmade Puzzles
Cut failed prints into puzzle shapes for students to reassemble into new compositions. Students can mix multiple failed prints together into wild hybrid puzzles!
10. Stop-Motion Animation
Bring failed prints to life by photographing small changes to torn or cut-up prints. Animate them frame-by-frame to create print-based stop-motion films. Use a free app to make animations quick and easy, even for beginners.
When students reflect on their mistakes and see them not as failures but as stepping stones, something powerful shifts. They stop fearing imperfection and start exploring with curiosity and courage. Printmaking, with its layered process and built-in unpredictability, provides a perfect platform for this kind of growth. By repurposing failed prints into new works of art, students build not only technical skills but also resilience, creative flexibility, and problem-solving. Teaching students to embrace this mindset prepares them for your class as well as beyond the four walls of the art room.
How do your students usually react when their prints don’t turn out as planned?
What strategies have you found most successful for helping students process mistakes in a healthy, creative way?
To chat about failed prints with other art teachers, join us in The Art of Ed Community!
Magazine articles and podcasts are opinions of professional education contributors and do not necessarily represent the position of the Art of Education University (AOEU) or its academic offerings. Contributors use terms in the way they are most often talked about in the scope of their educational experiences.