Have you ever opened your supply closet and seen the same untouched art materials year after year? Imagine what would happen if you actually used them—you’d have more space and you’d stretch your creative lesson planning muscles. Keep experimentation, play, and discovery at the heart of your lessons with the inspiration below.
Here are five everyday materials to transform into meaningful and imaginative art projects your students will love!
What’s in your art closet?
The art room is a magical place—and the art closet is even more so. The shelves are filled with items you see year after year. You may not know what to do with them yet, but you know they hold great potential for captivating art projects.
The next time you open your art closet, challenge yourself! Grab an item you typically overlook. It can be something you’re holding onto “just in case,” something unusual, or something you inherited from the previous art teacher. Then, whip up a lesson plan that transforms that material in some way. Bonus points if you put yourself to the test with a timer!
How can you go beyond the worksheet?
Likewise, you probably have stacks or file folders of worksheets in your closet or cabinets. Or perhaps you have file folders or Drive folders of resources. Maybe you wish you had an archive of resources like the one in FLEX Curriculum. Instead of handing out another photocopied resource, consider how you can switch things up to boost engagement, while still covering the pertinent information.
Use your existing worksheets as a tool for exploration and creative thinking with these three ideas:
- Discussion Prompts
Take the questions from any handout and turn them into partner or small group questions. The 3-2-1 Self-Reflection can go from independent work to peer-supported feedback with this quick shift. - Scavenger Hunts
Reimagine the Gallery Walk Guide into a scavenger hunt during a museum field trip, art show, or class critique. - Art History Games
Use any of the Artist Bios as trading cards or collaborative “mystery artist” guessing games.
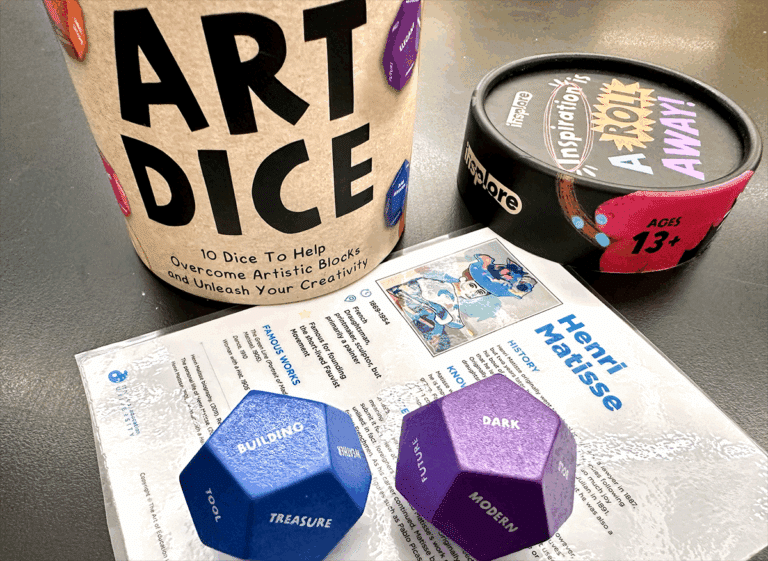
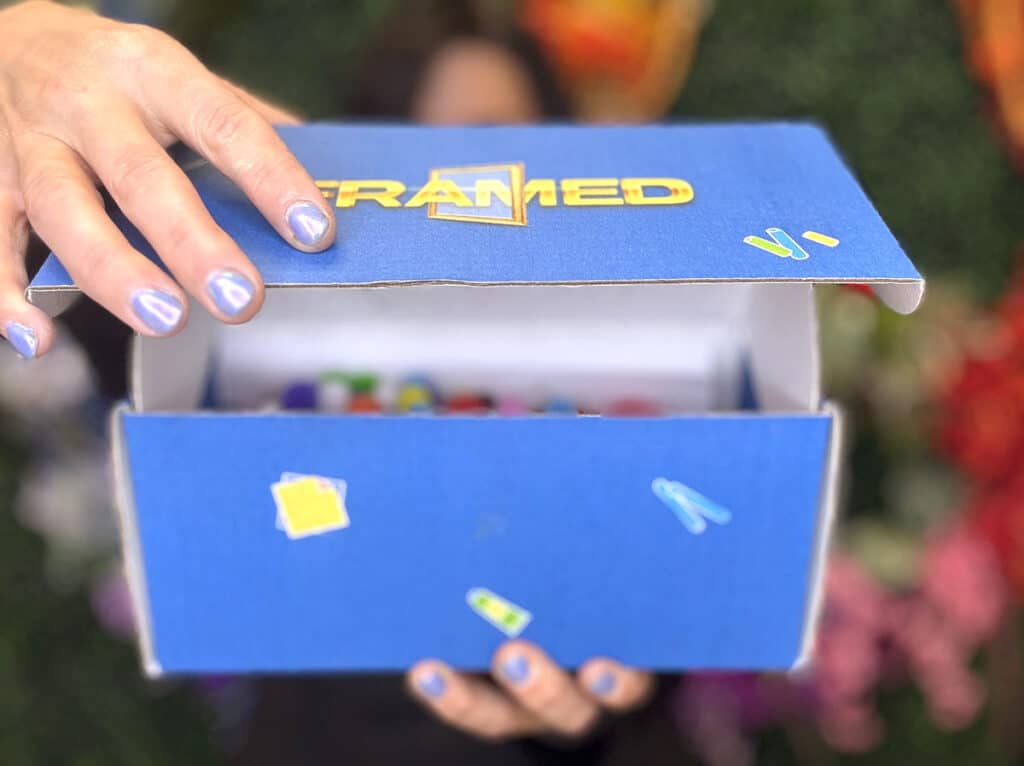
For more ideas on how this can work in your lesson planning, watch The Art of Ed’s newest series on YouTube, Framed. Each episode features three mystery rounds, two art teachers, and one chance to make frame-worthy artworks with a box of mystery art supplies. See how art teachers use unusual, everyday materials and FLEX Curriculum Resources to create engaging lessons and incredible artworks.
1. Fabric
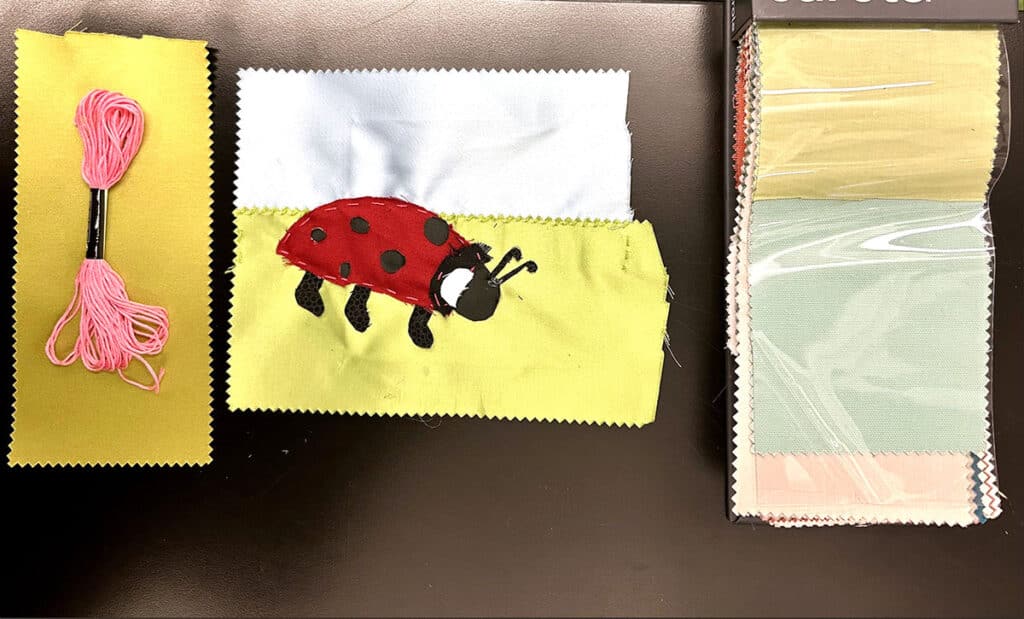
Just like you can pick up paint swatch cards from a local hardware store, you can also collect fabric samples—and they’re perfect for mini fabric projects. While some samples come with tricky paper backings, they still offer a great opportunity to explore color theory, texture, and design on a small scale. You can also collect donations of old clothes with unique textures or fabric scraps from a local craft store.
While you can certainly sew with fabric (or mock sew with hot glue in lieu of stitches), consider the following inventive ways to use fabric:
- Go on a scavenger hunt to match colors, textures, or patterns.
- Use for collage instead of traditional papers.
- Spray with liquid starch and fold into origami.
- Swap for paper towels or rags when painting.
- Roll with ink or paint and then press onto a surface to create unique “stamped” or “printed” textures.
- Stuff into a plastic bag or larger piece of fabric and wrap with tape to construct an armature for a future soft sculpture.
2. Unusual Surfaces
Painting is often the first thing that comes to mind in the art room—but canvas and paper aren’t the only surfaces worth exploring. If you look closely in your art storage, you will find unusual materials that would make perfect painting surfaces. Old CDs or records, wood scraps, tiles, or cardboard sheets can become exciting alternatives for a “non-traditional surface” painting project.
Each surface creates its own “experiment” to explore questions like:
- How do different types of paint react on this surface?
- Should I sand and/or prime the surface first?
- Does the surface warp, and if so, how can I account for it?
- How accurately do colors show up on this surface?
Further switch things up with the Exploring Painting Tools Dice Game Resource in FLEX Curriculum. Add an element of play to your next painting unit as they roll a die to determine their next artistic decision and markmaking exploration!

3. Food Jars and Containers
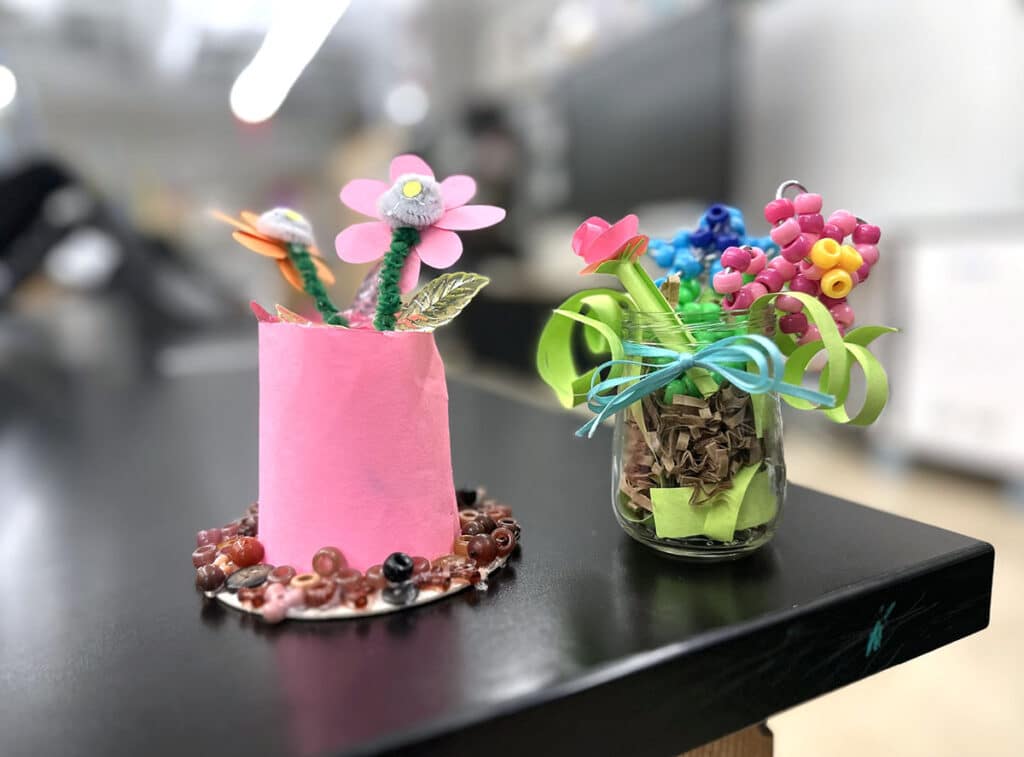
Art teachers love collecting jars and containers—for paint distribution, storage, water cups, medium holders, and everything in between. But have you ever considered using those jars as the artwork itself?
Give those extras a creative twist by incorporating them directly into your next project. Spare jars can become the base for conceptual vessels, scaffolds for sculptures, or carefully broken for mosaic pieces. Instead of letting them stack up in storage, let them become the foundation for creativity. Use the Canning Jar Template Resource in FLEX Curriculum to kickstart brainstorming and planning.
4. Paper
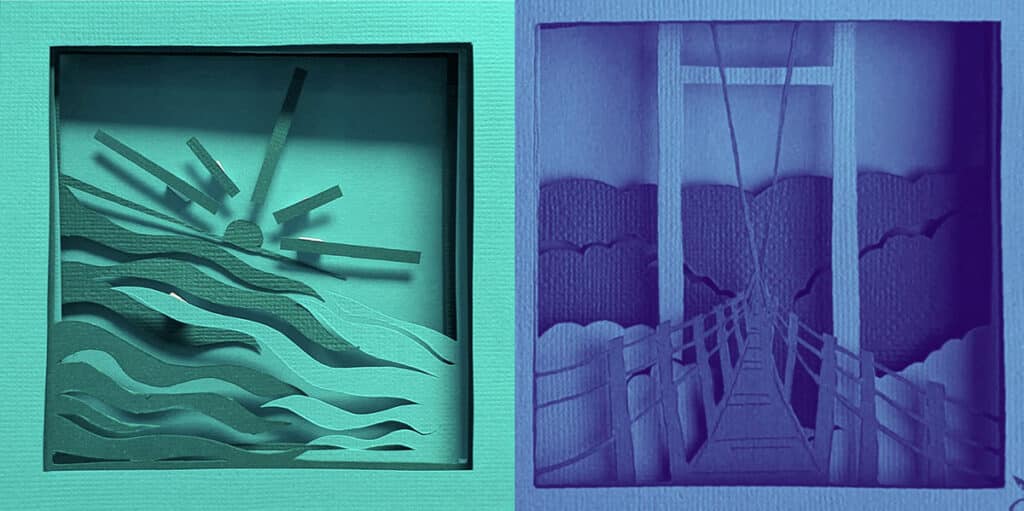
You can probably open your paper cabinets and immediately spot large amounts of paper and leftover scraps from past projects. Instead of using them for drawings or other traditional two-dimensional artworks, consider fresh ways to bring paper to life. Give yourself extra credit if you get creative with what paper you use! Collect wrapping paper, wax paper, junk mail, and more—the possibilities are endless. For more found paper ideas, download the Types of Found Papers Resource in FLEX Curriculum.
Try these techniques and processes with a variety of papers:
- Tear scraps into small pieces for paper pulp paintings or sculptures.
- Construct paper bas-reliefs by layering with cardboard or foam to add dimension.
- Cut into thin strips to make intricate paper beads, coil vessels, or paper quilling.
- Wind, bend, and fold them to create interesting shadow compositions for abstract photographs.
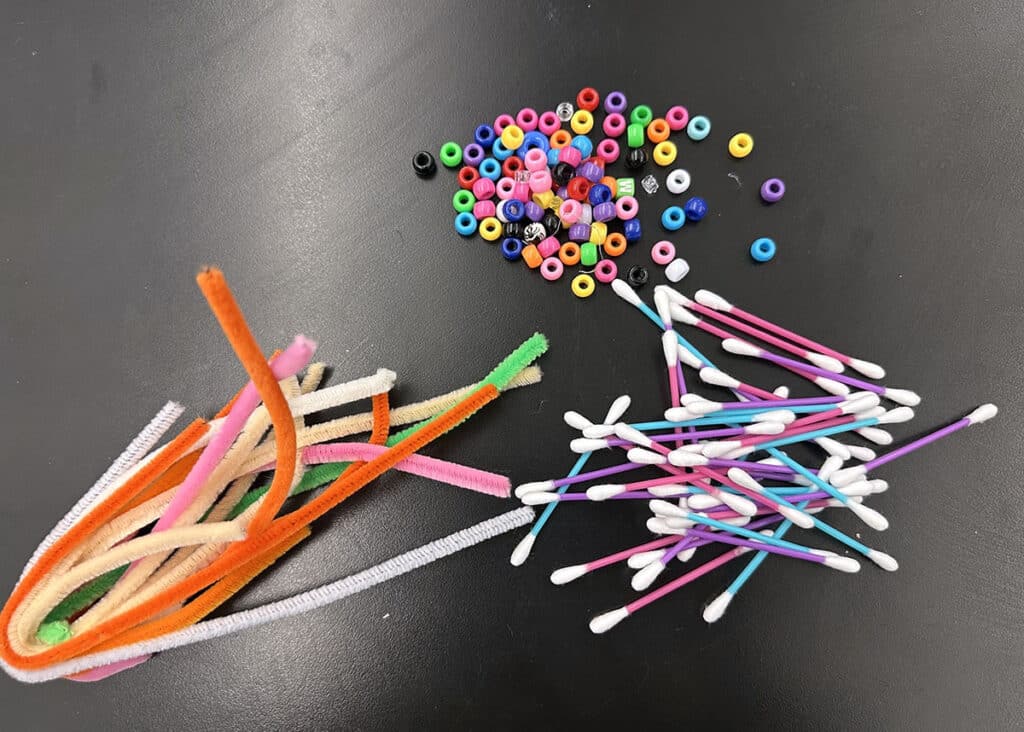
5. Bits and Pieces
We all have junk drawers at home… and in the art room. Purge those spaces and gather various odds and ends to upcycle into amazing creations! Wire, beads, ribbons, and chenille stems can all transform from mystery materials into magical materials under your expert lesson planning guidance.
Have fun with these tiny treasures:
- Glue the materials onto thick cardboard or wood scraps to make texture plates or stamps.
- Tie together to make homemade paintbrushes that leave unique marks.
- Use ribbons, wires, and strings to bind quick sketchbooks for future sketching.
- Challenge students to build a collaborative kinetic sculpture (inspired by FLEX’s Artists Who Make Kinetic Sculptures) that can stand on its own and feature a moving component.
Get those shelves full of forgotten supplies ready for a second life. From fabrics and jars to scraps and construction paper, these simple materials can bring fresh creative energy into your art room and lessons. Consider ways to utilize everyday things as a tool, substrate, or material to make meaningful artworks. Explore the wonder of using an item for a purpose it wasn’t originally intended for—and see what happens. Keep your art teacher energy up with mystery supplies and see what frame-worthy artworks you and your students will create!
What’s the most surprising or unusual material you’ve ever turned into art?
Share a mystery art material you can’t wait to do something with!
To chat about Framed with other art teachers, join us in The Art of Ed Community!
Magazine articles and podcasts are opinions of professional education contributors and do not necessarily represent the position of the Art of Education University (AOEU) or its academic offerings. Contributors use terms in the way they are most often talked about in the scope of their educational experiences.