Paint has earned its keep in the realm of art and is one of the first things people think of. Paint has been around for thousands of years and started with natural elements like earth or rocks. It included additives such as animal byproducts, eggs, or even plant material. Not much has changed since then, including paint’s need for containers.
Whether you are a professional or a student artist, this liquid gold needs a palette before you can dip your brush in it and make your masterpiece. We will look at a lot of practical paint palette ideas for the classroom and your professional studio space, including a way to make your own!
Here are nine palette ideas perfect for the classroom.
Many items on this list are recyclables you can save yourself or ask staff and students to save for you. They are low-cost and abundant, and you are helping save the environment!
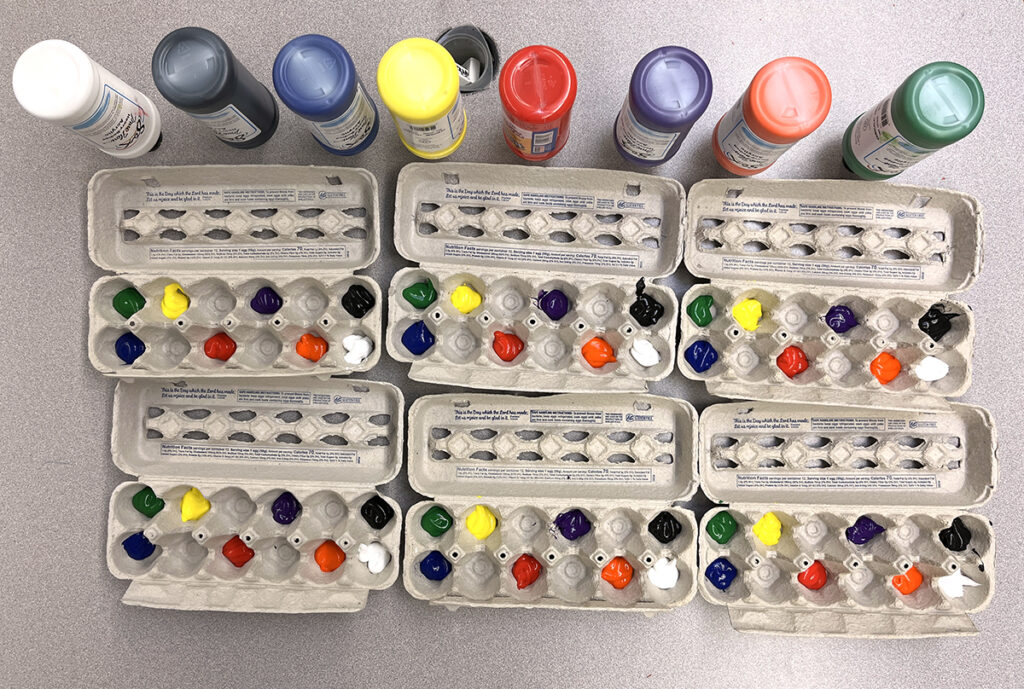
1. Egg Cartons
This is my favorite method for pouring and distributing paint in the classroom. Egg cartons are readily available, have foldable lids, and are completely disposable when the lesson is over. Best of all, they handle any type of paint. Watch the video below to see how Marina Alfera uses them in her classroom.
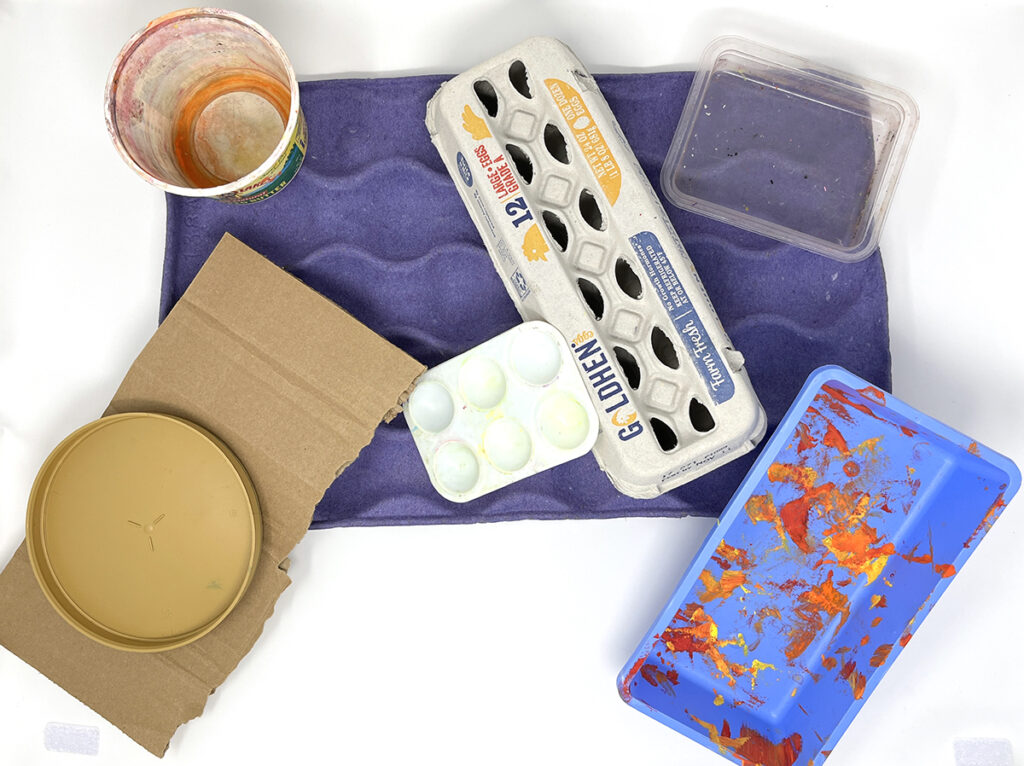
2. Styrofoam Plates and Trays
Some packaging items for fruits and vegetables come with styrofoam or cardboard trays. Ask your cafeteria or local grocer to save them for you. Waste not, want not! The trays work best with acrylic, oil, or other thick-bodied paint.
3. Food Storage Containers
Everything in the food market has a container of some sort. Butter, margarine, yogurt, and cottage cheese containers are all awesome for paint. They come in a range of sizes and usually with their own lid. Old plastic food storage containers work too. Pour any type of paint into these containers.
4. Baby Food Jars
Baby food jars are similar to food containers. Some are glass, so be careful when giving them to students. They are a great size for any kind of paint!
5. Lids
Do you have a bunch of lids but no containers? Pour paint on them! Just like styrofoam plates or trays, lids are best for thick-bodied paints like oil or acrylic.
6. Wax Paper
Rip off a sheet of wax paper for each student, squeeze the pigment onto it, make a masterpiece, and throw the palette away afterward. Stick to oils or acrylics on the wax paper so they don’t run off the edges.
7. Magazines
This one may seem strange, but if you have an abundance of magazines, it will work just like wax paper. Plus, who needs 100 magazines lying around? Ask local offices with waiting rooms if you can have their outdated magazines. Thicker-bodied paints work best. Check out how Jessica Balsley used magazines as palettes, along with several other hacks.
8. Cardboard
Almost everything comes in cardboard, including your art supply order! Rip off a hunk, use it as a palette, then toss it. This all-around art material is best with oils or acrylics.
9. Muffin Tins and Ice Cube Trays
Both of these items are already separated and indented. Many come with lids that can help keep paint fresh and are stacked to save space. You can find them at thrift stores and dollar stores to stay on budget. They are perfect for any type of paint!
There are many other viable options for paint palettes in the art room. Anything disposable is nice because it probably means it’s free to acquire, and it makes cleanup a breeze. If you are looking for more sophisticated palette ideas for advanced art classes or professional use, keep reading.
Here are four paint palettes for advanced classes or professional use.
1. Plastic Palettes
These are cheap and great for introducing art students to the world of color mixing. Additionally, use plastic palettes with any type of paint. The struggle is getting students to clean them out properly. Use plenty of positive praise when they do a good job. Some students may even enjoy washing the palettes, so it can be a special job for them. Check out this article for more tips on palette cleanup.
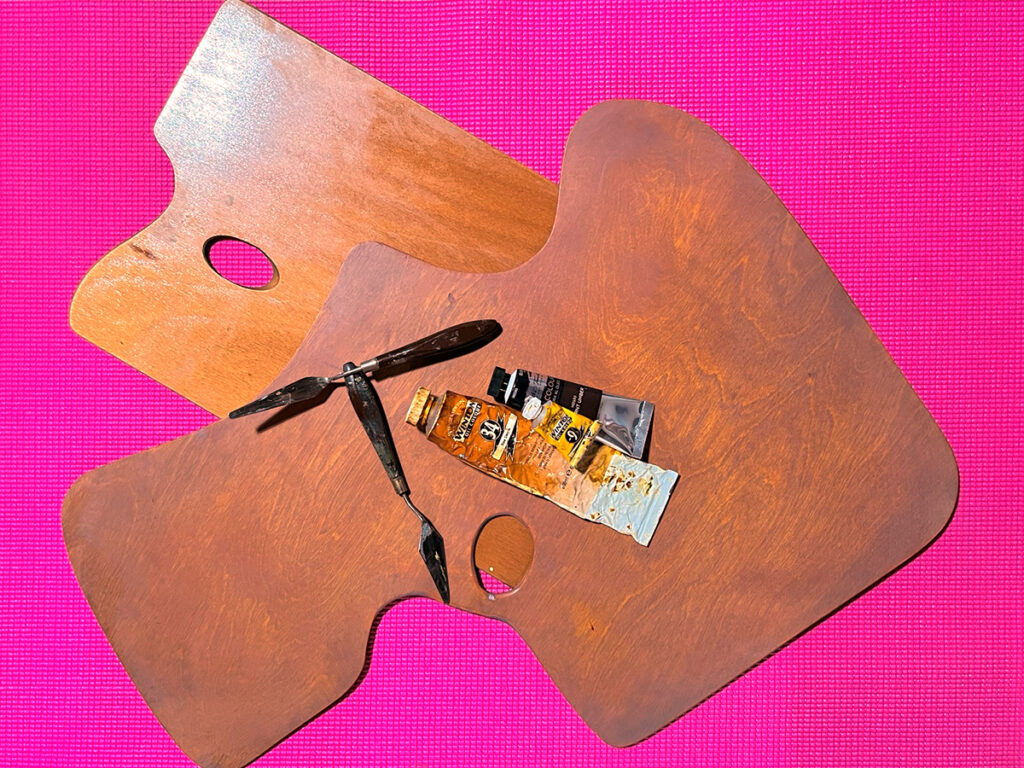
2. Wooden Palettes
More expensive than their plastic counterpart, this is what most people tend to think of when picturing an artist painting. They are extremely beneficial to use when standing with an easel. After painting, scrape the palette with a plastic palette knife and gently wipe off any remaining paint. This prevents gunk from building up. Their flat surface makes them great for oils or acrylics.
3. Glass Palette
A glass palette will give you the most accurate color mixing surface and is easy to scrape clean with a metal palette knife or razor blade. Use water and solvent to wipe it clean. The one downfall is the fragility of glass. But if handled with care, it can last for many years. This type of surface is better suited for oils or acrylics.
4. Make Your Own
If the thought of buying your own palette does not interest you, you can make your own with some simple spare materials. Then, you can customize your palette for your own painting needs!
If you are ready to make your own custom and budget-friendly palette, follow the easy steps below.
Let’s look at the materials and tools you will need:
- Scrap plywood or poplar project board in any thickness
- Sheet of glass
- White paper
- Duct tape
- Circular saw or handsaw
Here are five steps to make your own palette.
1. Determine the size of your palette.
Figure out how big you want your palette to be. This may depend on whether you will use it as a tabletop or stand-up palette. To make it easy, use the same size as your purchased glass so you do not have to cut your glass sheet.
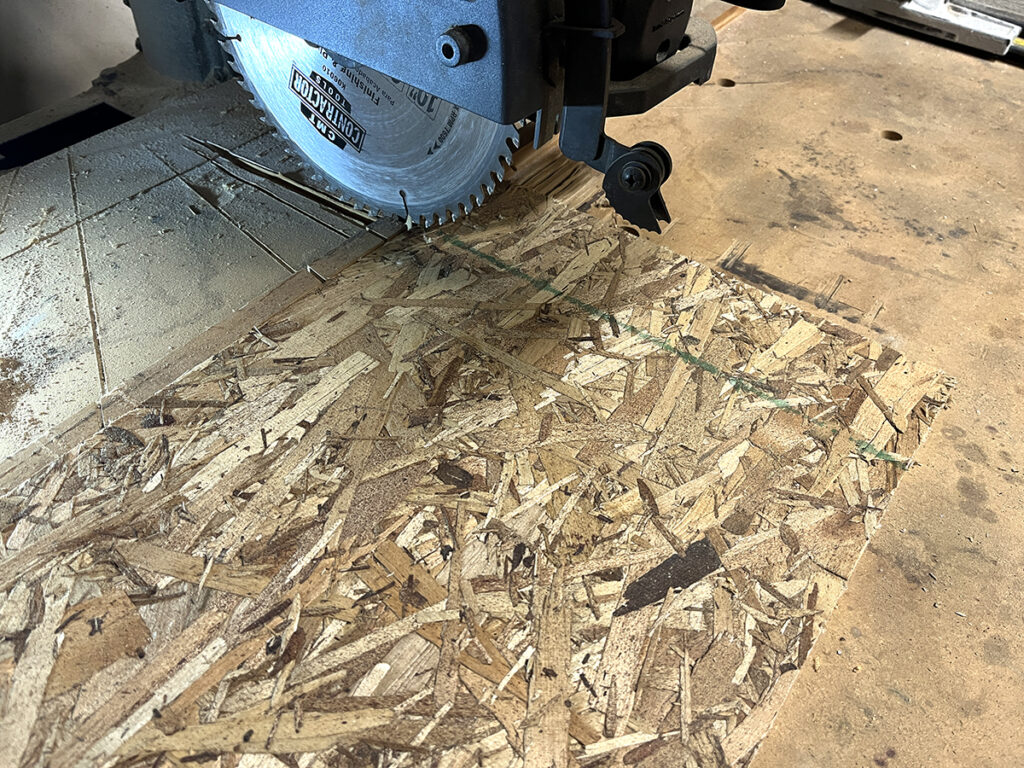
2. Cut your wood to size.
Use a circular saw or handsaw to cut your wood to the size you will need.
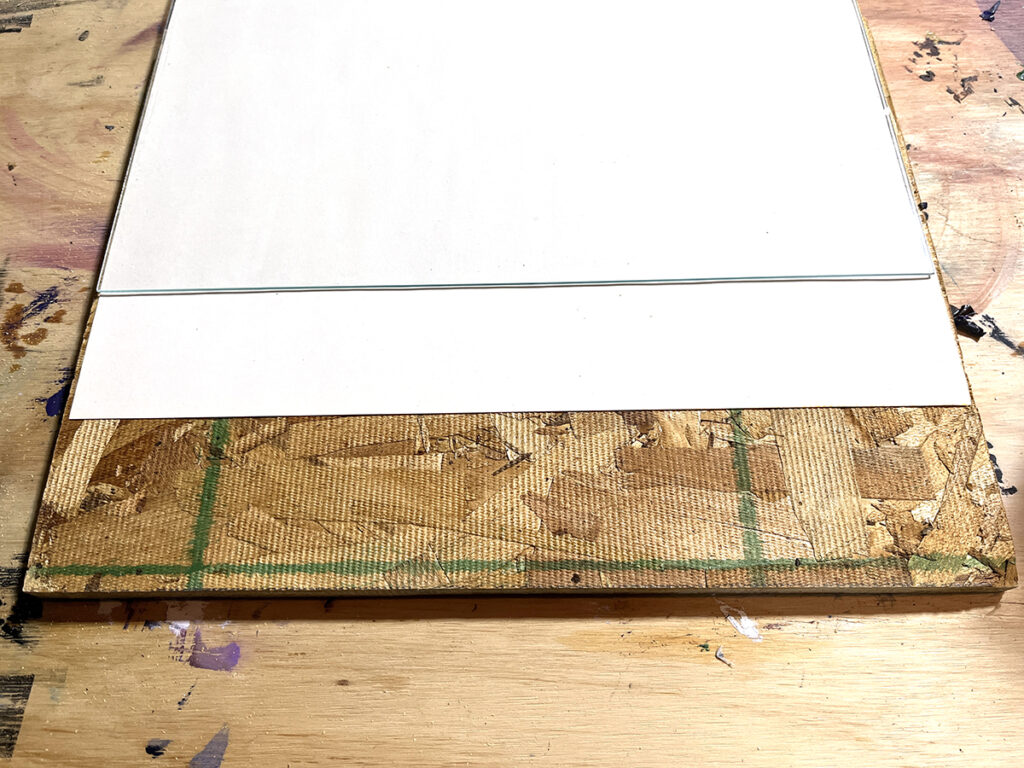
3. Attach your white paper.
Remove all of the dust and debris from the wood. Layer your white paper on top of the wood.
4. Layer the glass on top.
Clean both sides of the glass and then put it on top of your white paper. Essentially, you will be making a sandwich that goes: wood (bottom bread), white paper (lunchmeat), and glass (top bread.)
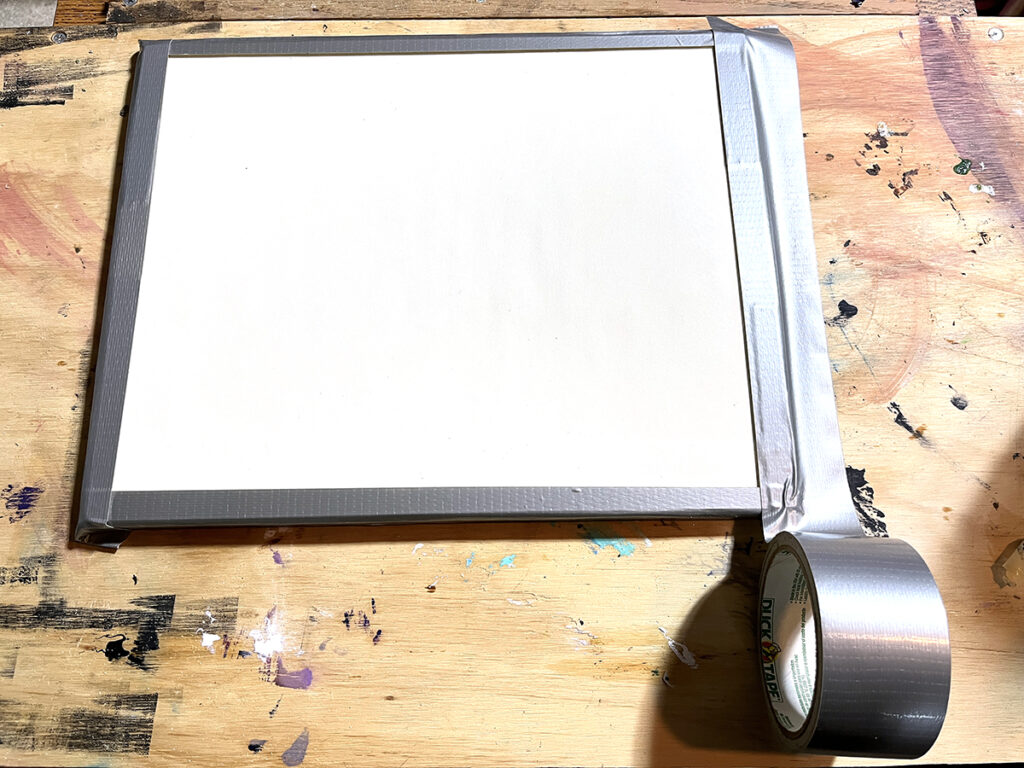
5. Duct tape the edges.
Line up your layers and hold them together. Duct tape the four edges of your palette. This holds everything together and covers the sharp glass edges. Choose a fun color or print to personalize it!
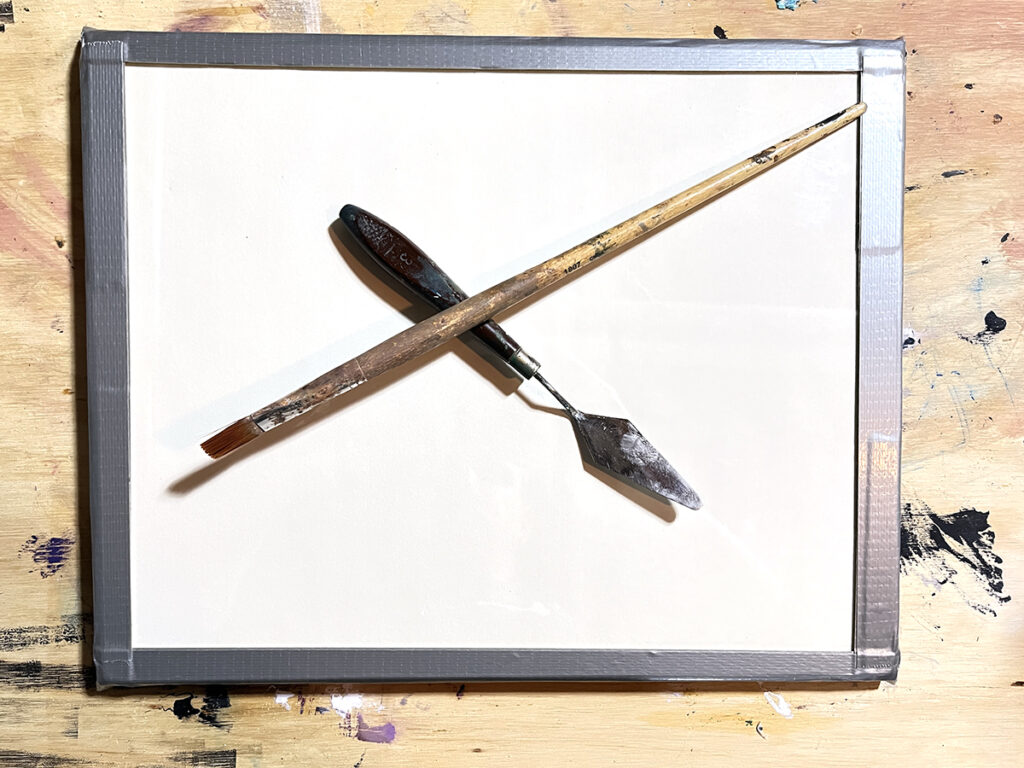
Now you are ready to start using your homemade paint palette! Much like the glass tabletop model, it is an accurate way to mix your colors, takes water or solvents well, and holds up to a good scrape with a metal palette knife or razor blade. If you are trying to be thrifty, you can buy a cheap picture frame, remove the frame, and use the glass and backing. Add some resistance on the bottom with a layer of cardboard in lieu of wood.
No matter which palette you choose—recycled, bought, or homemade—assess your classroom or studio space and determine which one will make the most sense. Analyze factors like the type of paint, storage space, budget, age of your students, and art room setup. If you are going the recycled route, use this as an opportunity to network with the school and the local community. At the end of the day, use whichever palette will best get the job done; it doesn’t have to be fancy to make fabulous art!
Which paint palettes do you use in the classroom with your students?
Which palettes do you prefer for yourself in your own creative environment?
Magazine articles and podcasts are opinions of professional education contributors and do not necessarily represent the position of the Art of Education University (AOEU) or its academic offerings. Contributors use terms in the way they are most often talked about in the scope of their educational experiences.