With brilliant color, creamy blending, and versatile texture there is a lot to love about oil paint. Students find it engaging and challenging, and it is easier to pull off than you think. Read on for everything you need to know to set up an oil paint experience your kids will love!
Gather Your Supplies
Oil painting, like most specific processes in art, requires a fair amount of supplies. However, this doesn’t necessarily mean it has to break the bank. The following materials are broken down into things you need, things that are optional, and cost-saving alternatives.
Needs
Paint
Order student-grade oils in warm and cool primaries. Include a neutral brown, like burnt umber or burnt sienna, as well as black. White is the color used the most, so always order extra. If your budget allows, you can purchase secondary colors. But remember, mixing will help your kids internalize color theory. You can check out a list of brands with pros and cons on WonderStreet.com.
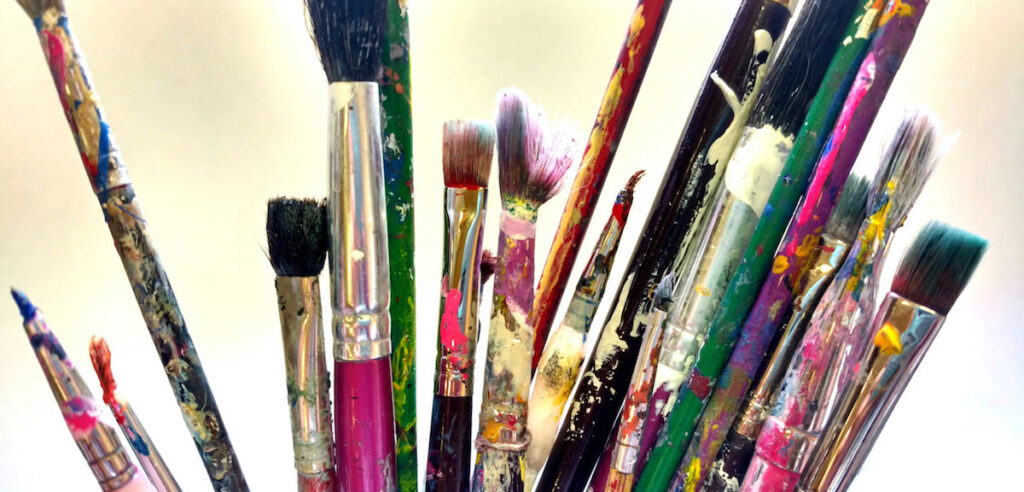
Brushes
Purchase brushes recommended for oils in a variety of shapes and sizes. Although it’s fun to have many different kinds, a nice set of flats and rounds will do. If money is tight, look for brushes that work for both acrylic and oil for more flexibility. You can download a handy brush chart here and dive even deeper into brush anatomy here.
Palettes
Oil paint can stay fresh for days when stored on a covered palette, so make sure to find palettes with lids. You can purchase large palettes for sharing or smaller sizes for individuals. Make sure to lay down palette paper, or one of the low-cost alternatives listed below, before mixing because oil is difficult to remove.
Palette Knives
Having palette knives to mix paint will prolong the life of your brushes. Plus, students can use them for different painting techniques.
Canvases
There are lots of options for painting surfaces including canvas boards, pre-stretched canvases, and the materials to assemble (or even build) and stretch your own canvases. Pick the one that best fits your budget.
Gesso
Gesso is a primer for raw canvas. However, it’s also great to prime drawing paper for practice activities and skill-building exercises.
Solvent
Solvents are used to thin paint and clean brushes. The strong odors and risk of respiratory issues from turpentine and mineral spirits make both of these familiar choices a no-go for most art classrooms. Some alternatives are odorless mineral spirits or odorless turpenoid. Linseed, spike lavender, or rosemary oils are other more expensive options. Additionally, you will need a container with a lid for storing the solvent. Always check your school’s chemical use policy and make sure to properly ventilate any area where solvents are being used.
Nice to Have
Brush Cleaner
While not a true necessity, brush cleaner will make your brushes last quite a bit longer. Look for one that both cleans and conditions brushes. Many will also help with removing hardened paint. This brand is a favorite among artists and teachers alike.
Painting Mediums
Mediums are added to affect the drying time, consistency, or sheen of the paint. One favorite is Liquin Original which speeds drying time and increases paint flow.
Easels
Easels are great because they allow artists to easily see what they’re working on. Table easels work well in classrooms and take up much less space than traditional models. If it’s not feasible for your students to work with easels, insist they hang their work up vertically to analyze composition and proportion at least once per class period.
Cost Saving Alternatives
If the cost of all of these materials has you wondering if you can really pull off using oil paint in the classroom, look below for some cost-saving substitutions! Swapping out even a few items can make a big difference. Plus, you may not even have to buy some of these things. Put an email out to your staff to ask for donations. You’ll be surprised how quickly you acquire what you need!
- Use waxed paper or magazine pages instead of palette paper.
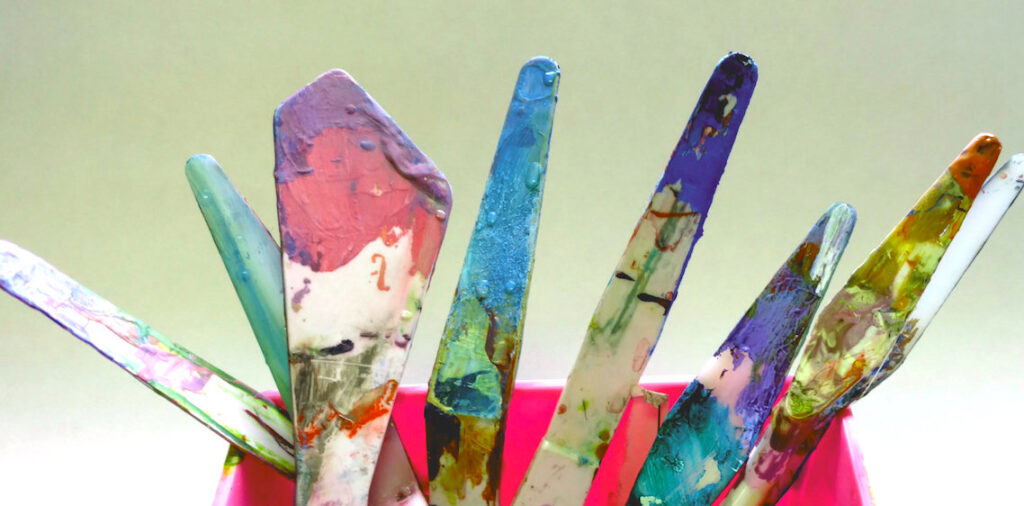
- Use Popsicle sticks instead of palette knives.
- Used cardboard or paper primed with gesso instead of canvasses.
(If using paper, be sure to tape it to the table!) - Use acrylic house paint instead of gesso.
- Use recycled glass jars for storing solvent.
- Use baby oil instead of brush cleaner.
- Ask families to donate colors that get used up quickly, like white.
Plan Your Procedures
Nailing down procedures and expectations is key when it comes to teaching students how to use new media. The specific way you want your students to access materials, organize their work space, and clean up and store work will depend on your unique teaching situation. Below are six questions to ask yourself as you develop procedures.
- Where will the paint be stored?
- How will paint be distributed to students?
- How will students set up their palettes?
- How will you support students to remember expectations like when to get more palette paper, how much paint to take, or how to properly care for brushes?
- How will solvent be stored, and who will be responsible for pouring it?
- Where and how will work be stored? (Remember, work will stay wet between classes!)
Teach Students Techniques
Once you’ve acquired all of your materials and established your expectations and procedures, it’s time to get painting! The following assumes your students have a working understanding of color theory and prior experience with acrylic paint. If your kids could use a bit of color theory review, take some time for a color mixing challenge or another activity so students can brush up on their skills.
After you’ve shown students procedures, get out some gessoed paper and spend a class or two teaching techniques. It can be very helpful here to connect new information about painting with oils to what your students already know about working with acrylics. As you demonstrate each technique, reference how using oil is similar and different.
Have students section their gessoed paper into squares. Then, after you show students how to do each technique, have them practice in one of the squares on their own paper. Give them feedback as they work– now is the time to correct misconceptions. One great tip is to have students set up their palettes with warm colors on one side and cool colors on the other. Ask them to label which side is which – it’s almost a guarantee they’ll forget if they skip this step!
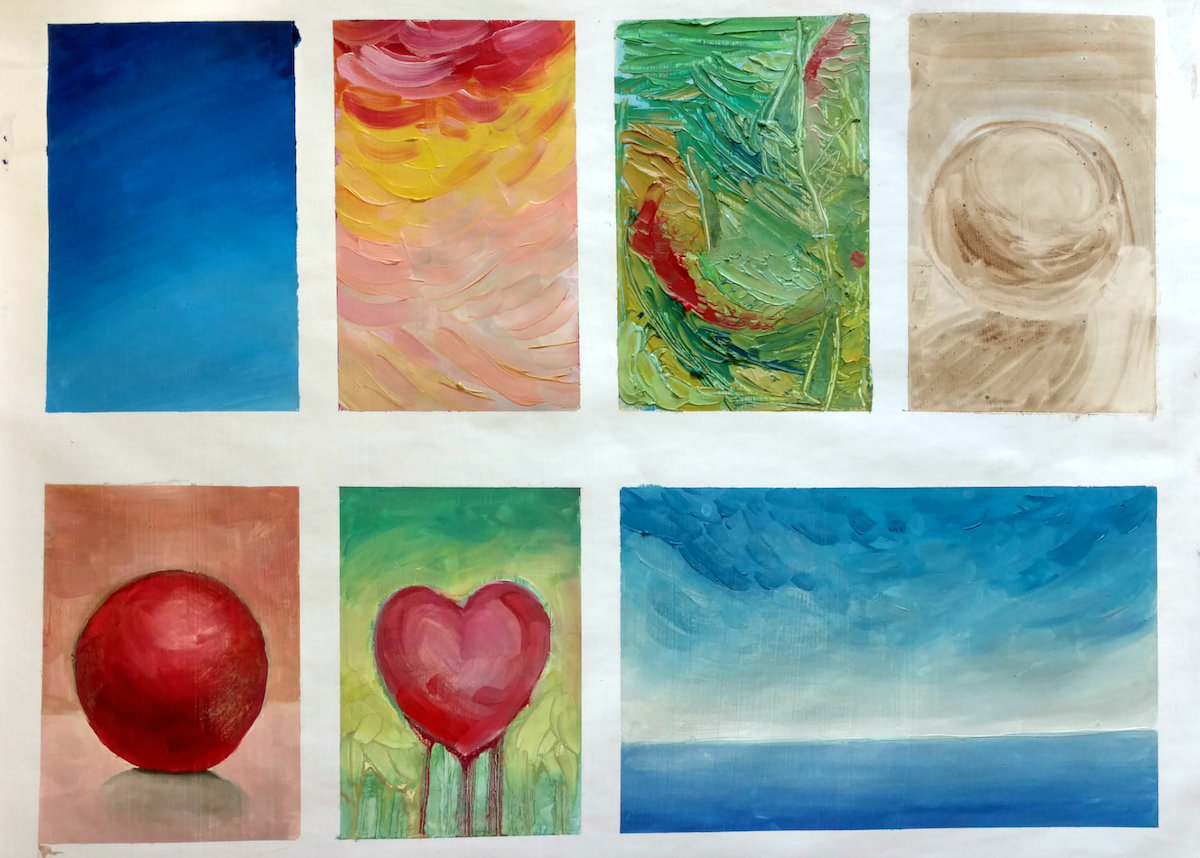
Oil Painting Techniques
Smooth Blending
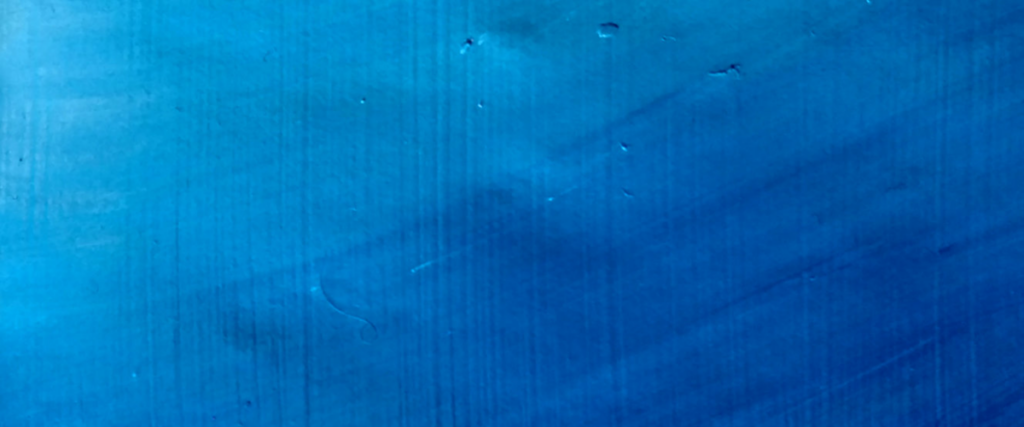
Mastering blending is the key to oil painting! Mix three or more analogous colors and work to create a smooth, even gradient by applying paint and working it with the brush to create seamless blending. Be aware that the consistency of the paint can easily impact blending. If the paint is too thin it will appear streaky, if it’s too thick it will be challenging to work with.
Visible Brush Strokes
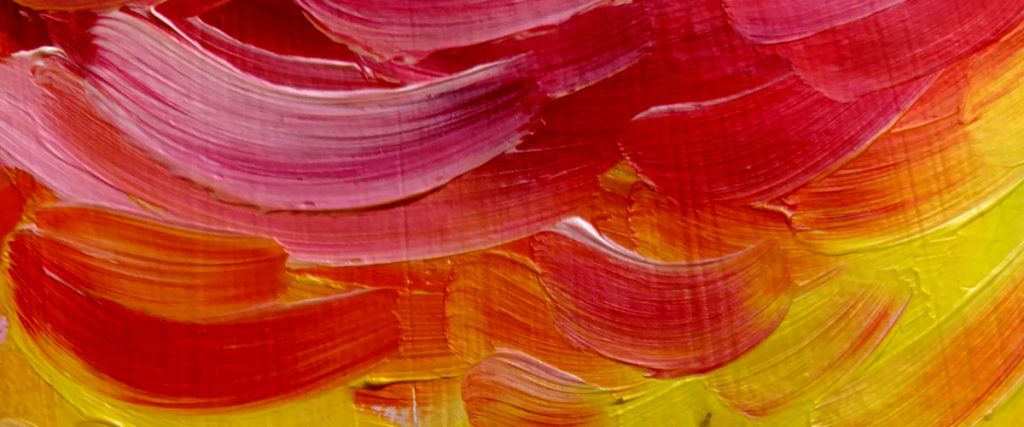
One of the most satisfying qualities of working with oil is the ability of the paint to hold texture. Apply thick paint to create visible strokes by loading a flat brush with one or more colors and dragging it over the work surface. Add more colors and play with the direction of the lines to create texture and repetition.
Underpainting
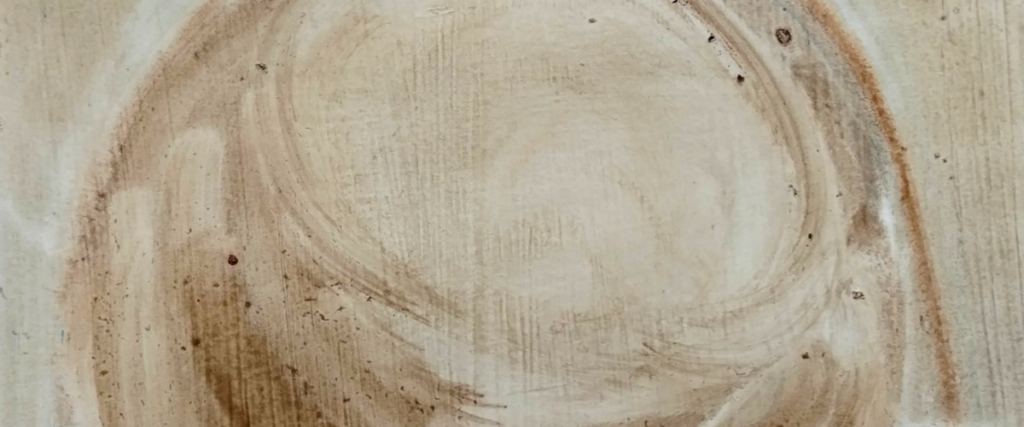
An underpainting is a thin layer of paint, often used to establish shadows. Make a tonal underpainting of a sphere by using one color of paint, thinned with solvent. Block in areas of shadow and wipe away paint with a rag or paper towel to establish highlights. Allow your underpainting to dry before moving on to layering. Drying will likely take a day or more.
Layering
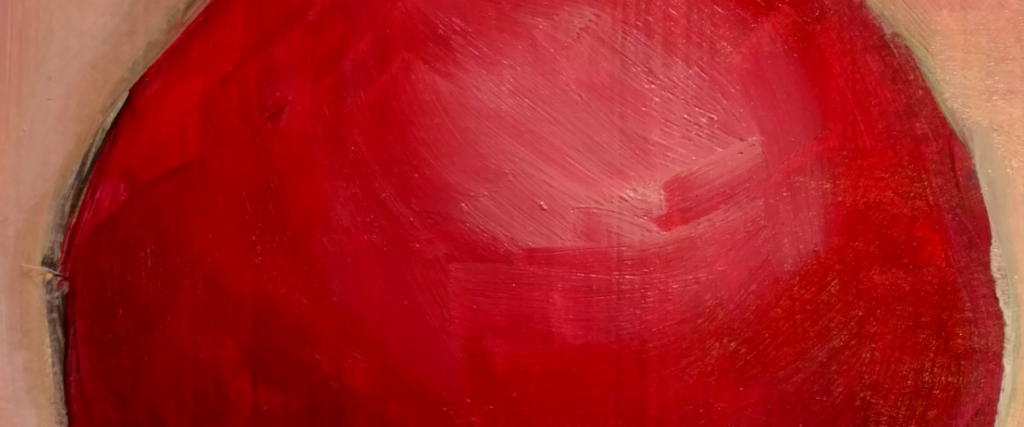
When your underpainting is dry, add a second layer of paint to create a sphere. Mix a gradation of tints and shades and apply them to the sphere to create highlights and shadows. Use smooth or visible brush strokes or a combination.
Palette Knife/ Sgraffito
Mix thick paint and apply it with a palette knife to build up texture on the painting surface. Experiment with different sizes and shapes of palette knives to see the variety of marks that can be made. Try using the knife to scrape away paint to create marks or texture. This technique is called sgraffito.
Dripping
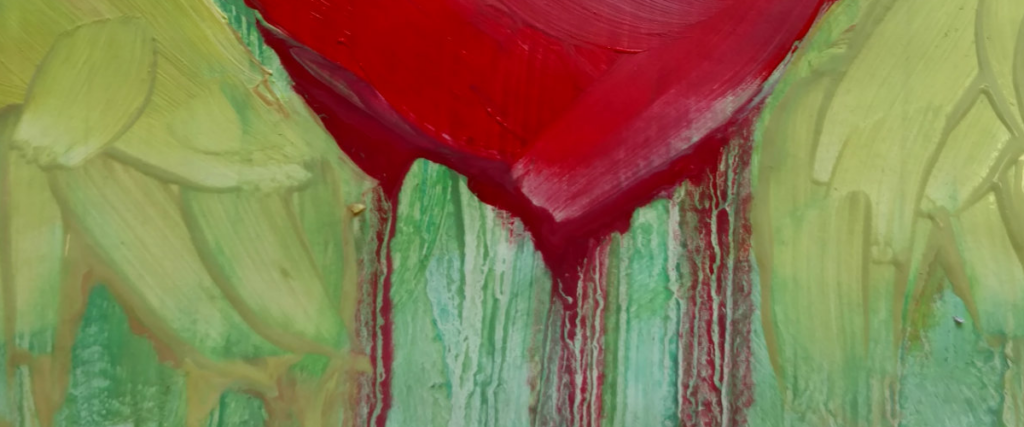
Have students experiment with this technique in one of their squares at the bottom of the paper. Hold the paper vertically, and create drip marks by pressing a loaded brush dipped in solvent onto the paper.
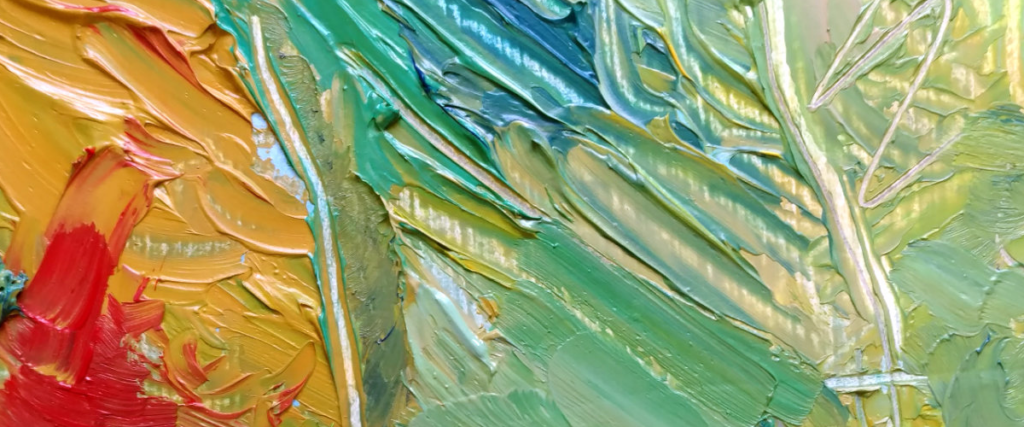
Atmospheric Perspective
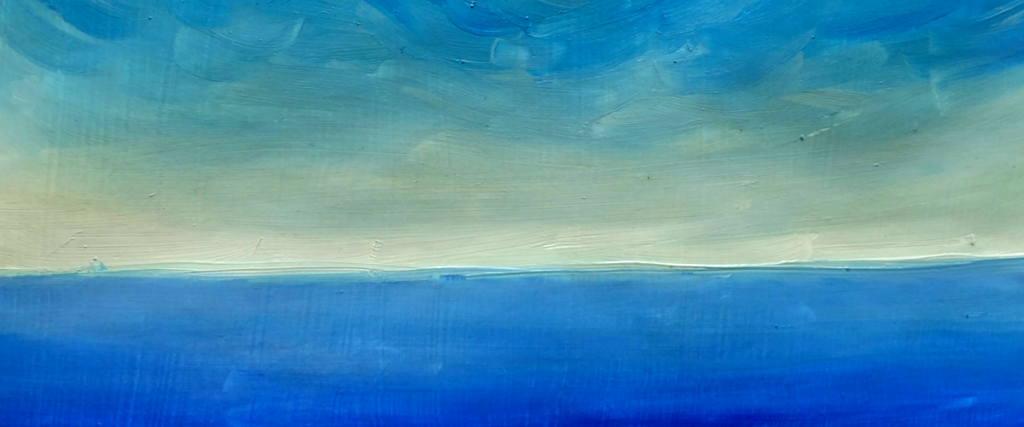
First, do a quick review of atmospheric perspective with your students. Remind them that objects become smaller and less saturated as they move away from the viewer. Allow two spaces for this technique because it is more complex.
Mix a green base color and desaturate it with its complement and white in a gradation. Apply more intense color and thicker paint in the foreground. Gradually lower the intensity of the color as it nears the horizon line. Mix paint and show how the sky loses intensity near the horizon line as well. If time allows, students can add objects like trees or a house. These should be sketched in at the beginning and worked around.
If you have a bit more time, it’s nice to have students complete underpaintings in each square before you begin. Using different tones allows students to compare how the color of the first layer impacts the finished work. With supplies ready, procedures in place, and techniques practiced, all that’s left is to paint!
There is a clear reason why oil paint has been in use by professional painters since it’s development in the early 1400’s; it is unmatched in versatility of texture, bright color, and capability to render light and life. Including oil painting in your curriculum gives your students access to this remarkably flexible medium, as well as a deeper appreciation for the rich and diverse history of its use.
Do you use oils in your classroom? What tips or tricks help make your students successful?
Magazine articles and podcasts are opinions of professional education contributors and do not necessarily represent the position of the Art of Education University (AOEU) or its academic offerings. Contributors use terms in the way they are most often talked about in the scope of their educational experiences.