One great thing about art is that you can turn the most overlooked items into something beautiful. As art teachers, we’re no strangers to stashing random items, like Styrofoam trays from the lunch room, in our storage closets. But sometimes, the problem becomes finding the perfect project to use up all that stuff.
A few years ago I watched the video, Caine’s Arcade, in which a young boy creates an arcade out of cardboard inside of his dad’s auto shop. After watching, I was inspired to bring this learning into my classroom.
Using Caine’s Arcade as inspiration to move through the engineering design process can help your students develop a wide array of 21st-century skills. Not to mention, it will allow you to use up all of that scrap cardboard you’ve been hanging onto!
Let’s dive into how you can use the video, Caine’s Arcade, to inspire your students’ cardboard construction projects!
1. Ask – Define the Problem
The first step in the engineering process is to ask questions to define a problem. Show your students Caine’s Arcade and ask the following questions to help guide their thinking.
- What type of problems do you think Caine overcame to create his arcade?
- What type of art could be created from cardboard and other recyclables?
- What do you think Caine learned from creating his arcade?
- How can creating with cardboard help the Earth?
Getting your students to think on a deeper level will begin to help them wrap their heads around the concept.
2. Imagine – Generate Ideas
After you watch the video and discuss, it will be time for your students to come up with their own ideas. Decide if you want to give your students a prompt to guide their project or leave it open-ended to see where their imaginations take them. In addition, decide if you want your students to work independently or in groups. The amount of supplies you have in stock would definitely be a factor to help you answer this question.
Here are 3 prompts to consider:
- Create a game others can play.
- Design a useful invention to help others or solve a problem we have in our world.
- Challenge: Using only the materials given, create a sculpture.
3. Plan – Select a Solution
Once students have decided what to make, they need to make a plan. Planning helps them practice their higher-order thinking skills as they problem-solve and collaborate with one another. Of course, the design may evolve as they create, but having an initial plan will help get them started and can cut down on wasted materials.
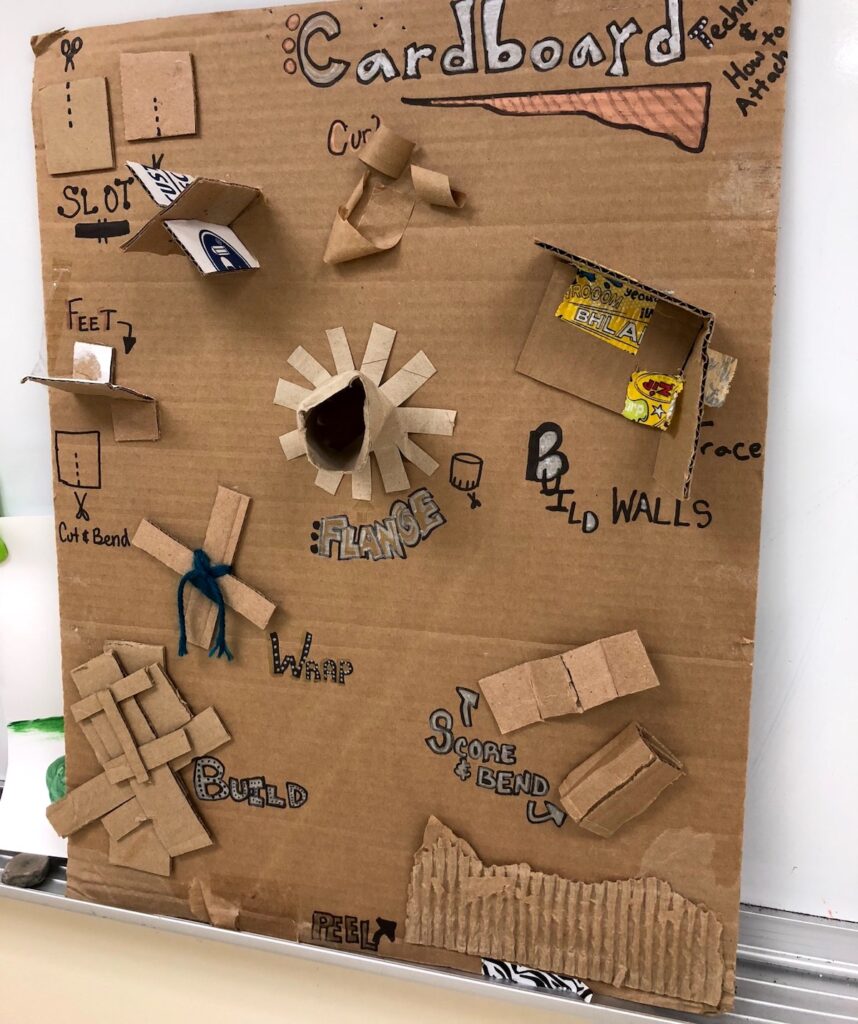
This is a good time to give your students a mini-lesson on the various ways to attach cardboard. This way, they will know what types of attachments and structures are possible.
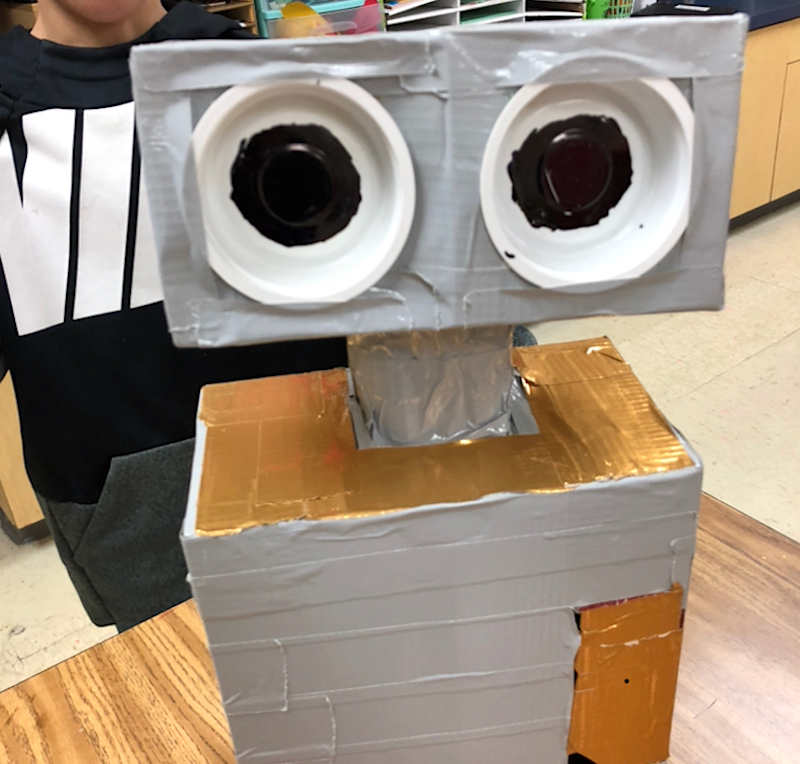
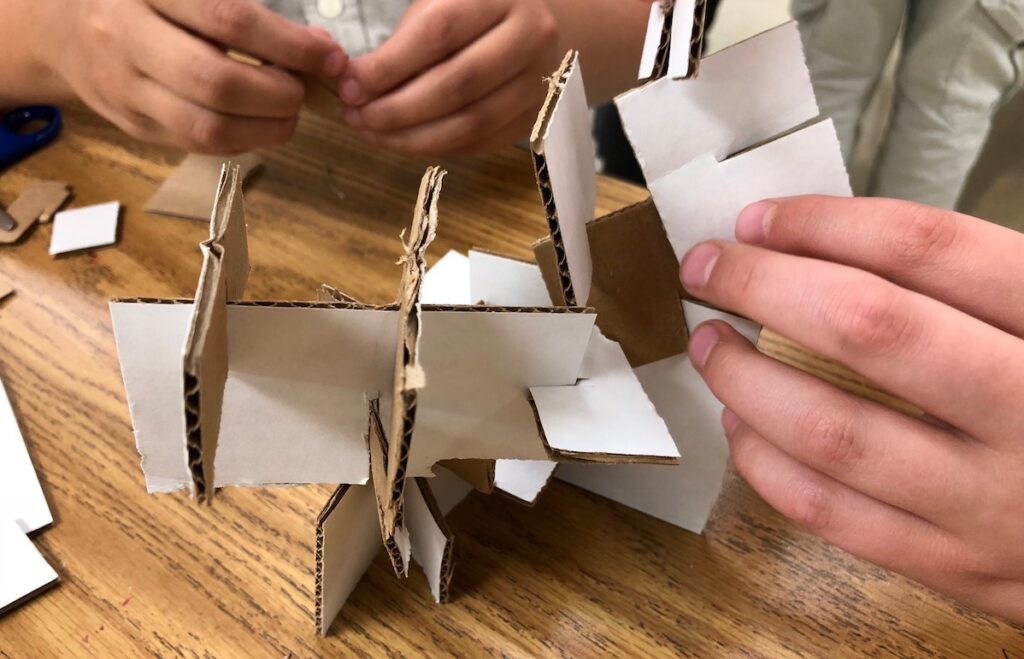
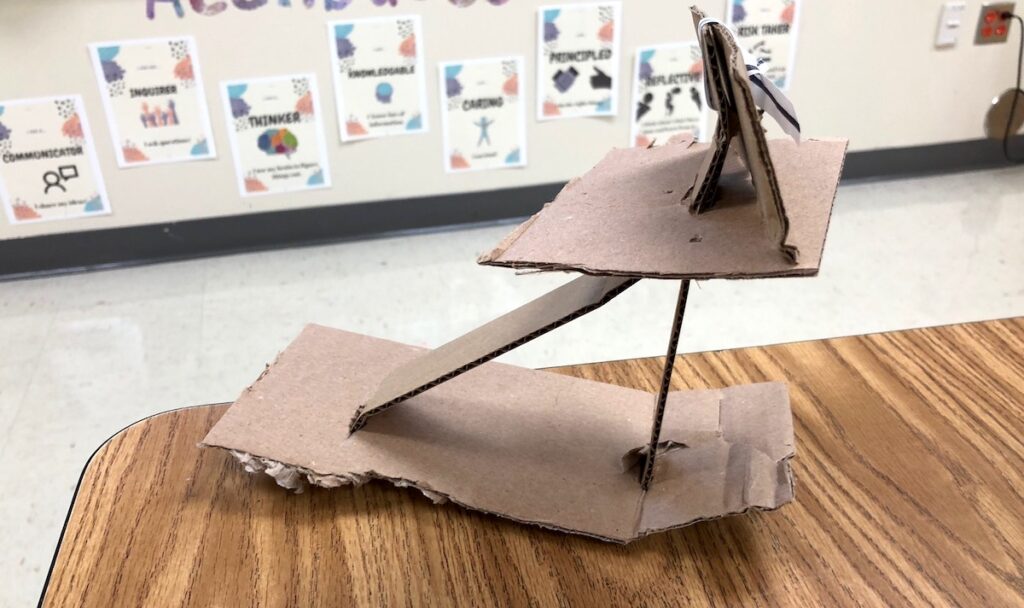
4. Create – Make the Item
When students have a solid plan, it’s time to create. This will be an active time in the art room as students begin to find materials, cut cardboard and focus their efforts on building their creations.
Make sure to have an array of supplies conducive to your students’ creativity and success. Cardboard should be your main material, but adding a few other items can spark new ideas.
You may consider providing:
- Cardboard
Small boxes and smaller pre-cut pieces of cardboard work well. - Paper towel tubes
- Toilet paper tubes
- Egg cartons
- Hot glue
- Masking tape
- Duct tape
- Brass fasteners
- Yarn
- Construction paper scraps
- Paint
- Markers
If you decide to provide hot glue, think about the age and maturity level of your students. You may be able to let them use the hot glue themselves, but be sure to provide gardening gloves or something similar to prevent burns.
5. Test – Evaluate the Item
After students create their items, they’ll want to make sure they work as intended and that everything is securely attached.
Students can shake or turn their design upside down to make sure nothing falls off. If they designed a game, they can play it and see if it works as they planned.
6. Improve – Make Revisions
After testing, allow students to make changes to their work. Be sure to stress it’s ok for a project to evolve; they can make modifications if needed. You may also want to encourage your students to ask their peers for perspective and advice.
This is a great moment to connect student learning with real-world applications and talk about how the engineering process is useful in society.
7. Share – Present the Results
To complete the engineering process, it’s important to have your students share their work through an informal or formal critique. Presenting their work will allow your students to share their hard work with others and give insight into their design process. In this way, students can learn from each other’s experiences.
Here are 5 prompts you may consider for student response:
- What problems did you run into?
- How did you problem-solve to find a solution?
- How did you improve your original design?
- What types of skills did you learn throughout the process?
- If you worked with a partner or team, how well did you collaborate?
No matter how you go about introducing your students to cardboard construction, they will get so much out of the experience. Your students will be engaged from start to finish as they get to build their own creative cardboard designs.
How do you introduce cardboard construction to your students?
Have you already designed a project inspired by Caine’s Arcade? If so, how was it implemented?
Magazine articles and podcasts are opinions of professional education contributors and do not necessarily represent the position of the Art of Education University (AOEU) or its academic offerings. Contributors use terms in the way they are most often talked about in the scope of their educational experiences.