We all know in the eyes of our students, clay reigns supreme. It’s a medium students can’t seem to get enough of. But, do you ever feel like you aren’t showing your students the full potential of clay? It’s difficult to teach every media technique in our classrooms, but it’s important to try new things!
If you’re looking to take your students’ love of clay to the next level, why not try colored clay? Colored clay offers unique visual possibilities your students will love.
A Step-By-Step Guide to Making Colored Clay
Before we dive in, please note there are a variety of ways to mix Mason Stains into clay bodies. Some methods work best for a studio practice, and some work best for a classroom setting. I will be sharing a process your secondary students will be able to handle on their own.
1. Gather Your Materials
To get started with this process of creating colored clay bodies, you will need the following materials:
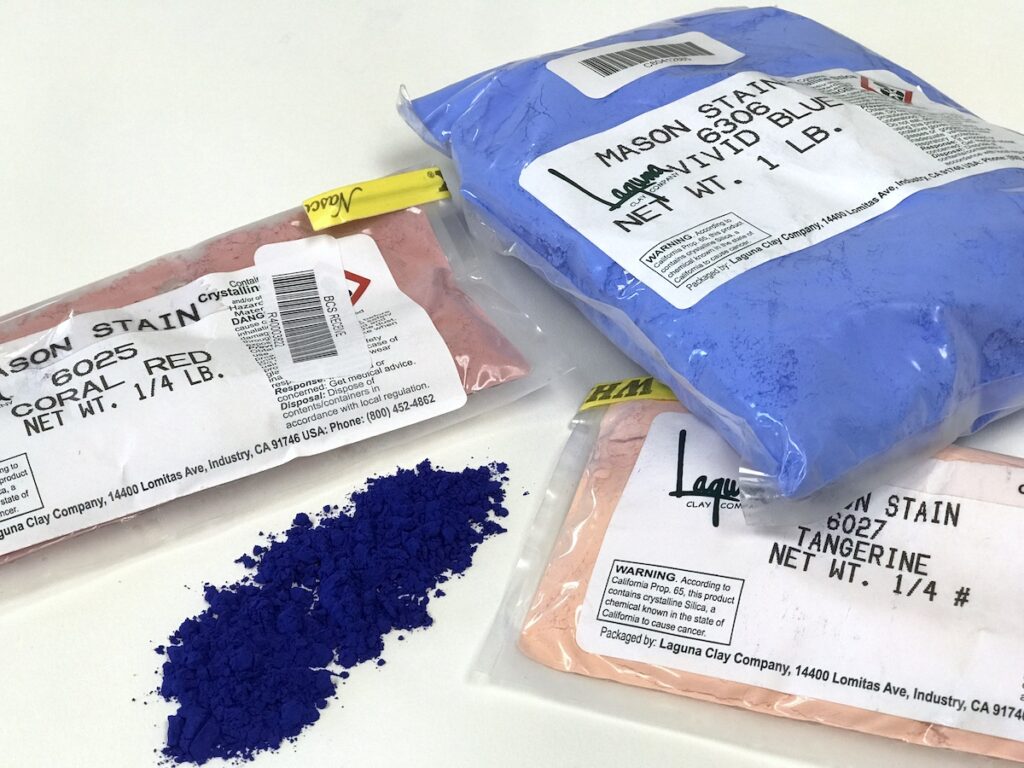
- Mason Stains
- Ziploc bags
- Clay body of choice
- Slip
- Respirator
2. Choose Your Clay Body
When choosing to color clay, you must first determine what clay body to use. Mason Stains will work with a variety of both high and low-fire clay bodies. For more information on chemical makeup and firing temperatures take a look at this chart.
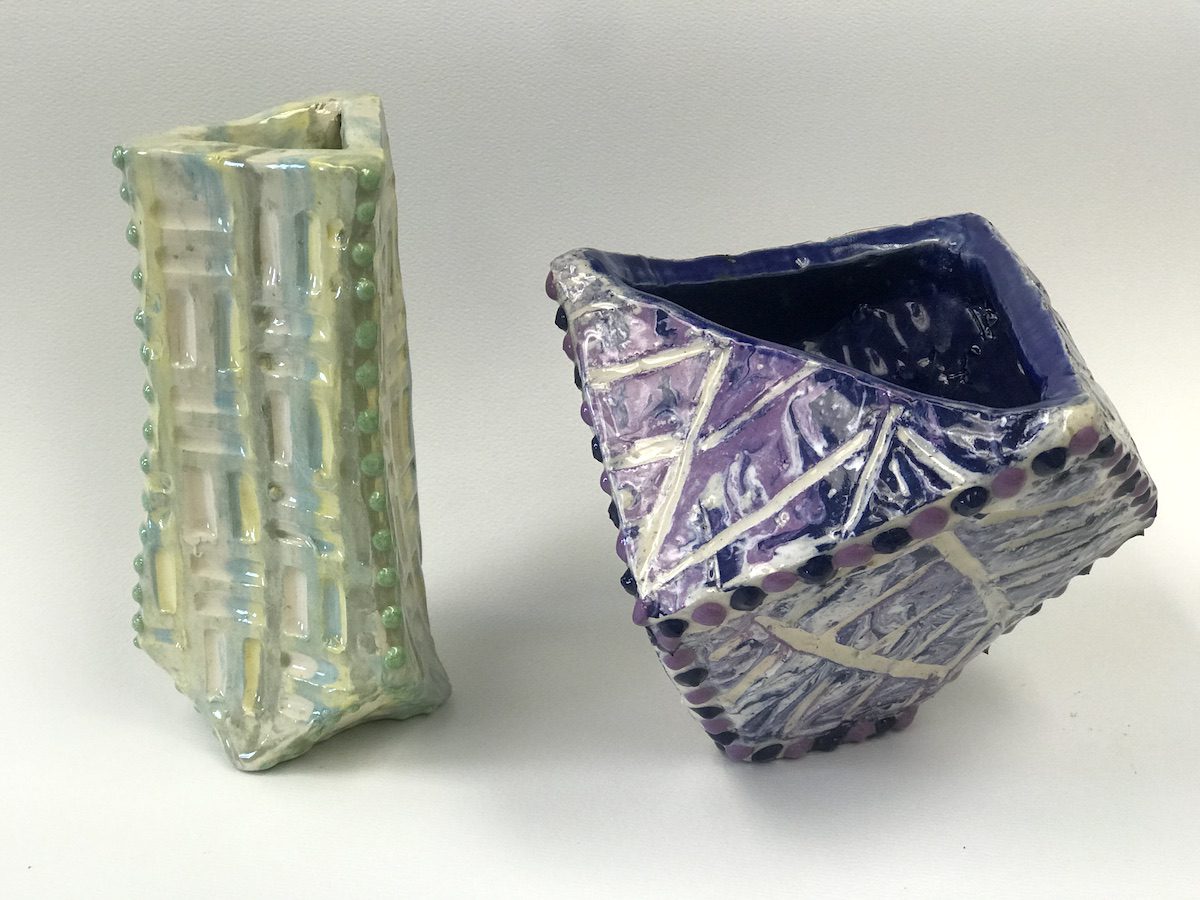
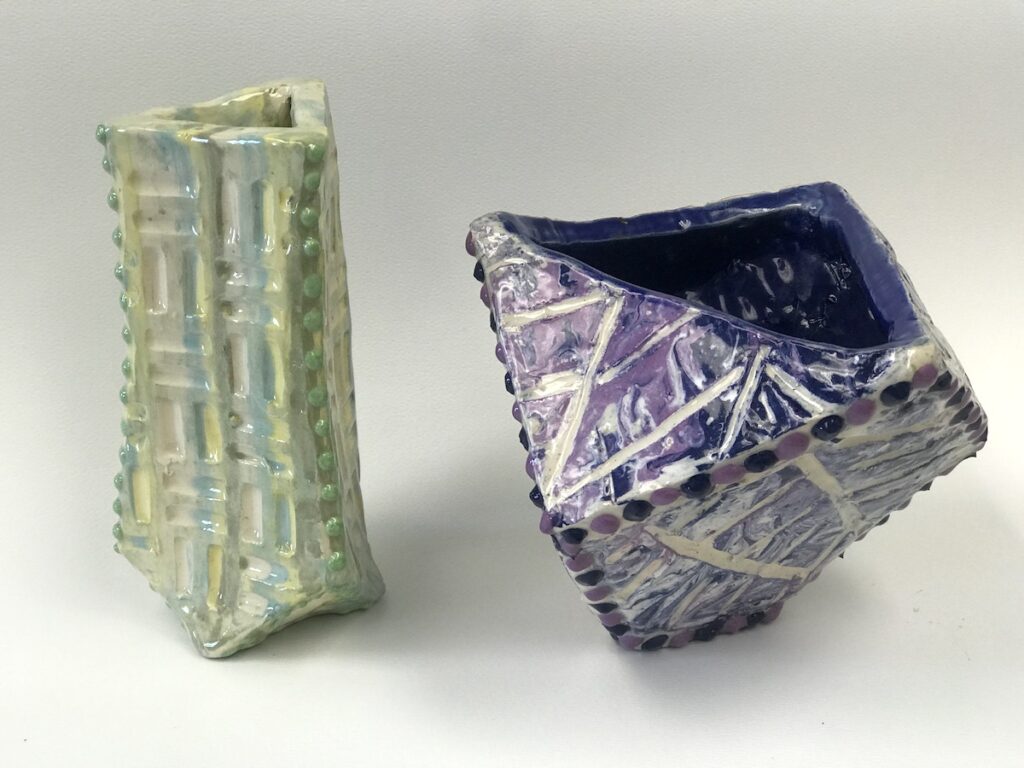
Porcelain is an ideal clay body to use but is not always practical for the classroom setting. Instead, consider using a white clay body you already use in your classroom. All of the clay in the photos in this article use Amaco No. 25 White Art Clay as a base.
3. Mix the Mason Stain
Generally speaking, you’ll want to use a ratio of one part stain to ten parts clay. This means if you are using 100 grams of clay, you will want to add at least ten grams of stain. You’ll probably find you need less for darker colors, like blues and violets, and more for lighter colors, like pinks and yellows to achieve your desired results.

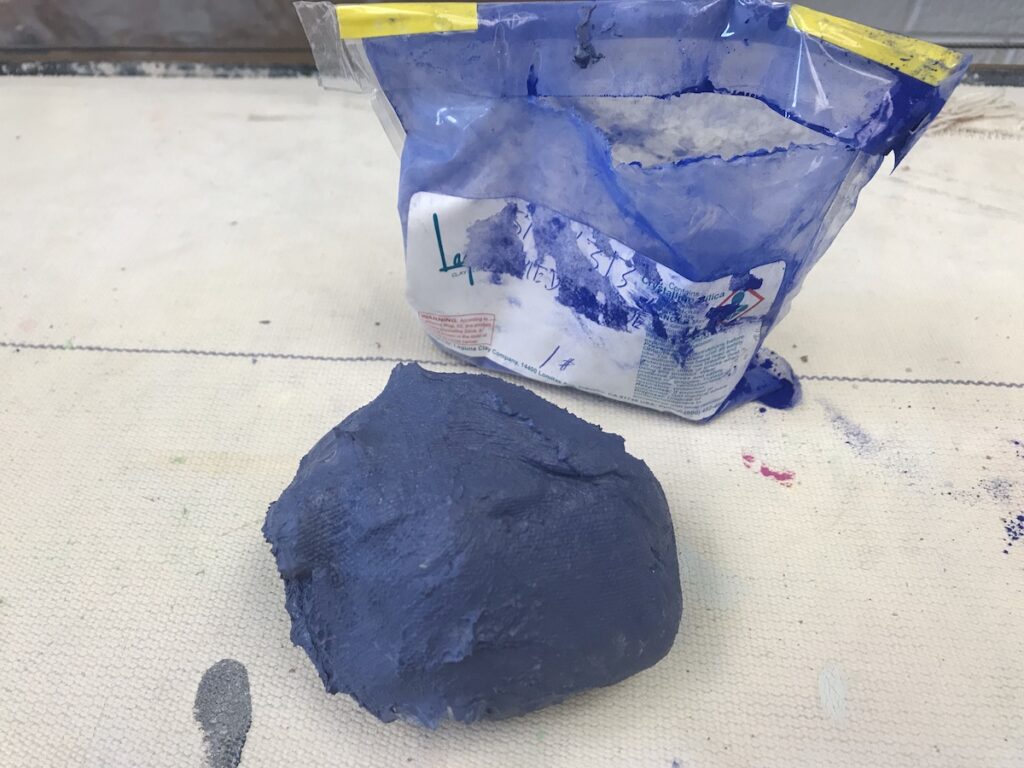
To start coloring your clay, you must first mix the stain. To do this, pour water or slip into the bottom of a Ziploc bag. Make sure students are wearing a respirator when working with dry Mason Stains. Place the stain inside the Ziploc bag and mix the stain thoroughly with the slip or water. You will want the mixture to have a paste-like consistency. If the color does not appear to be as bright or deep as you want it to be, add more stain.
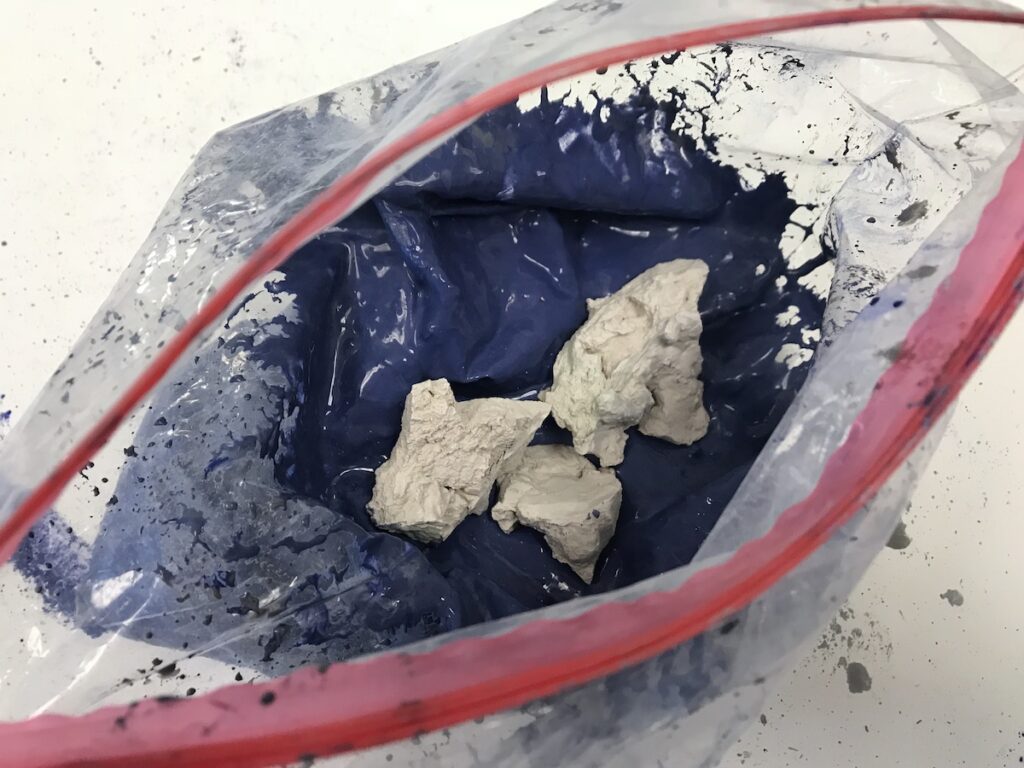
After the Mason Stain powder is mixed, place small bone dry pieces in the bag. It is important that you are using bone dry clay and not wet clay for this step. Wet clay will not break down like bone dry clay. You want to make sure that the bone-dry clay pieces are covered with the liquid stain mixture so it can break down. If it is not, add more water to the mix and let the mixture sit overnight.
4. Create Workable Clay
Once the mixture has sat overnight, check the consistency of the clay inside the bag. If it is still liquid either add more bone dry clay or allow the clay to dry out. Once the clay is in a kneadable stage, begin by wedging it inside the bag. From here remove the clay from the bag and continue to wedge. Once the clay is in a moldable plastic state, you are ready to use the clay.
5. Use Your Colored Clay
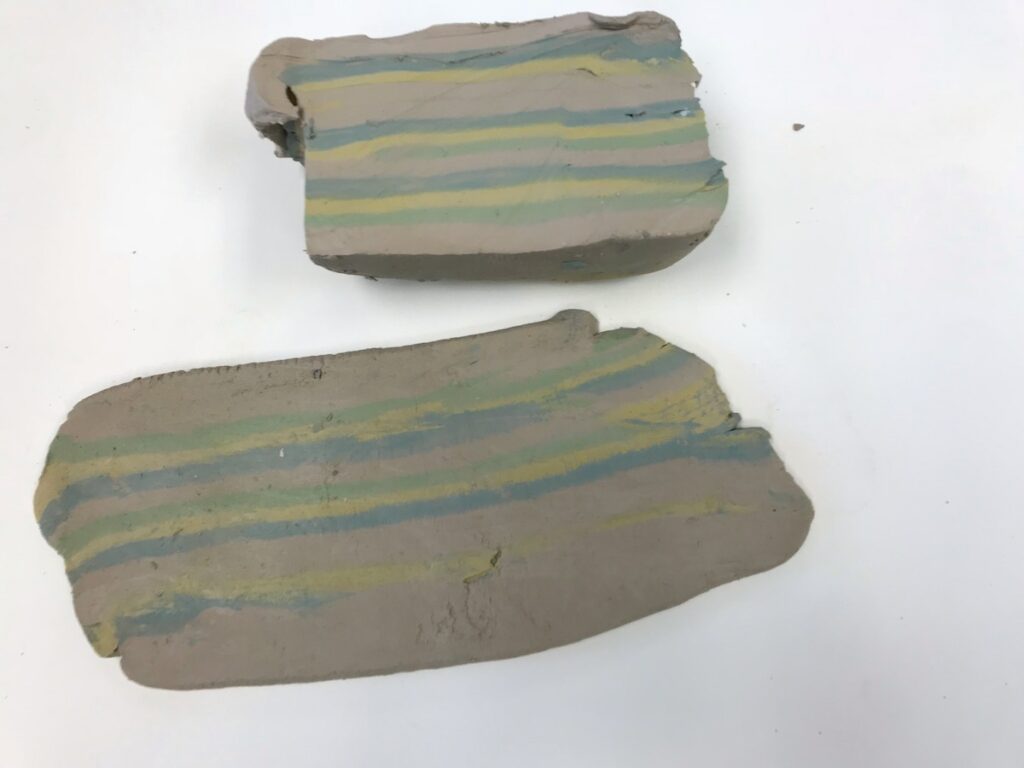
Once the colored clay has been created, you can use any building method to create. Students can combine colored clay to create interesting slabs or even use it to throw on the wheel. The best part about using this clay method is that a simple coat of clear glaze will brighten up the stains and bring the clay body to life.

Coloring clay can be an engaging way to take students’ ceramic knowledge up a notch -and it’s not as hard as it may seem! If you’re looking to learn even more innovative clay techniques, be sure to check out the AOE course Studio: Ceramics. You’ll be able to create resources and examples to use directly in the classroom all while making your own art. Don’t miss it!
Have you ever made colored clay with your students? What tips do you have?
What is your favorite ceramic technique?
Magazine articles and podcasts are opinions of professional education contributors and do not necessarily represent the position of the Art of Education University (AOEU) or its academic offerings. Contributors use terms in the way they are most often talked about in the scope of their educational experiences.


