If they learn nothing else from working with clay, we hope our students remember the phrase “slip and score.” This method is key to keeping pieces securely attached. It’s why so many art teachers keep slip on hand in the classroom. But, did you know slip can have various exiting applications beyond joining clay pieces together? It’s true!
Check out These 5 Creative Ways You Can Use Slip in Your Art Room
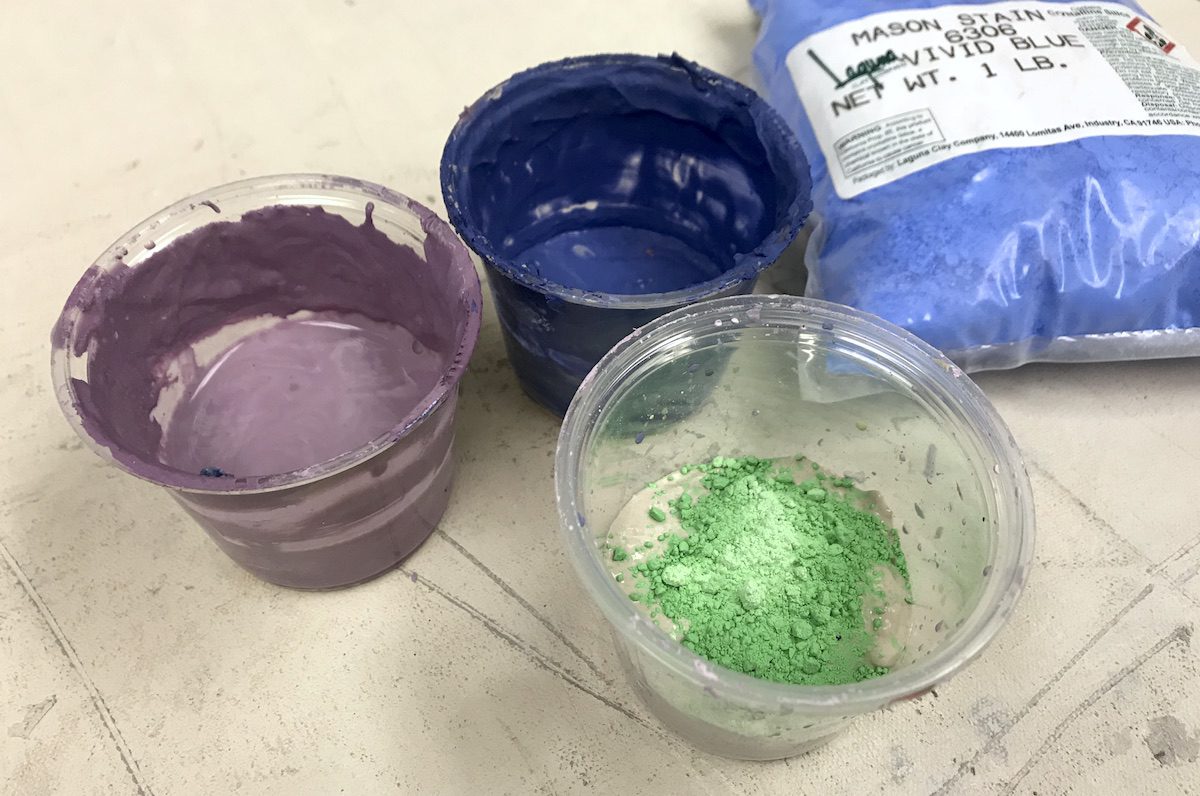
1. Colored Slip

Students love adding color to their clay pieces, especially with glaze. There’s just something magical about that dull, chalky color turning into colored glass. Unfortunately, glaze can be expensive and eat up an art budget.
If you’re looking for ways to add color to your clay without glaze, coloring slip with Mason Stains is a beautiful alternative. You can learn more about using Mason Stains here. The great thing about colored slip is that since it becomes part of the clay body, it can be used in the plastic and leather-hard stages with success. All of the following techniques can be used with both colored or non-colored slips.
And, if you’re looking for even more creative clay processes to use in your classes, take a look at the Studio: Ceramics course. You’ll experiment with a wide range of basic and advanced techniques all while learning how to make historical and interdisciplinary connections for your students.
2. Slip Marbling
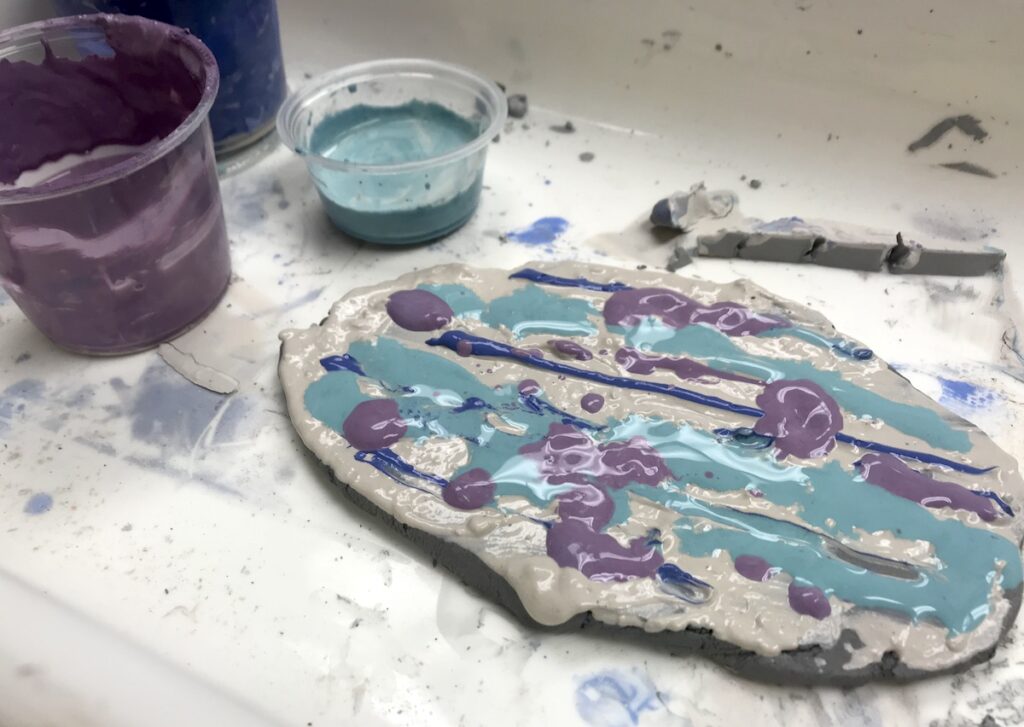
Traditional marbling with paint or inks always interests students. Using colored slips or different clay bodies with the same firing temperature, you can also try this process on clay!
You can create a marbled effect by following these steps.
- Roll out a slab of clay.
- Cover the slab with a thin layer of slip.
- Using pipettes or eye droppers, drop small amounts of slip of another color on top.
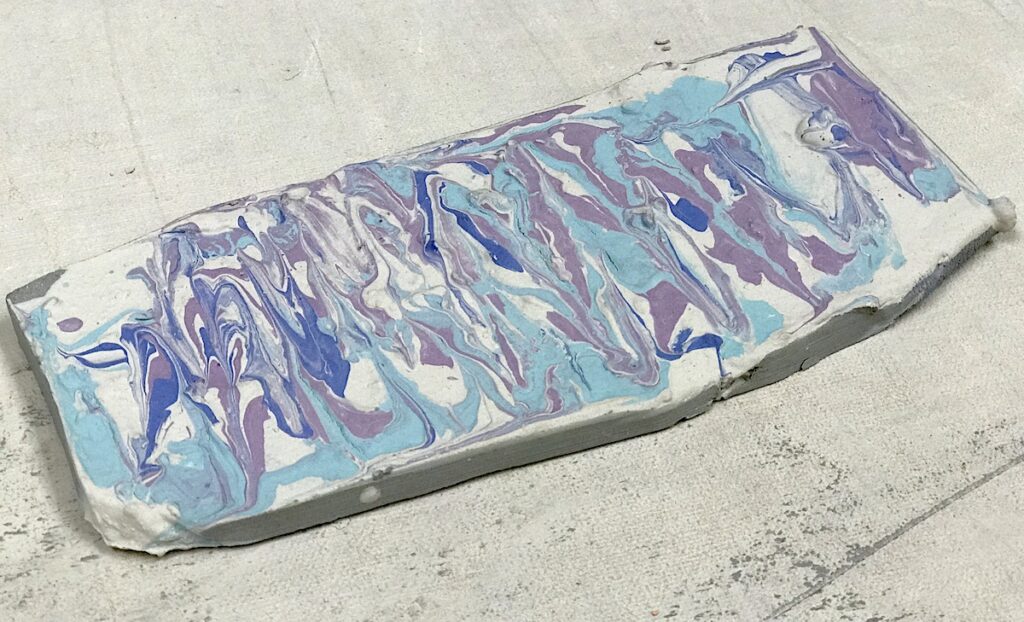
- Use the back of a paintbrush to marble the colors together.
- Cover the marbled slab until the colors have set and the top layer of slip is dry.
- When the slab is in a workable plastic state, build with the clay.
3. Paper Stencils
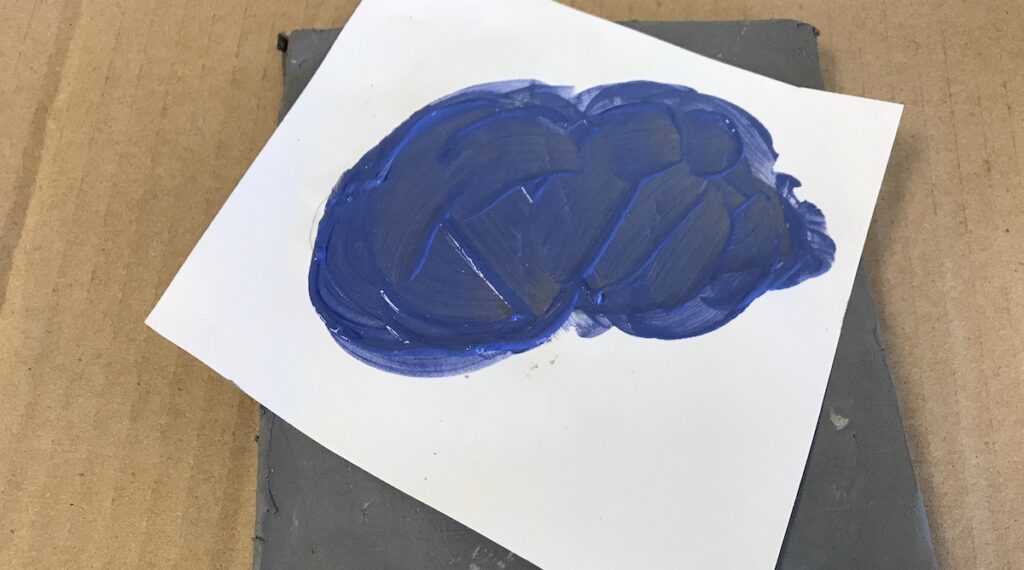
One of the simplest ways to add detail to clay pieces is with stenciling.
You can simply follow these four steps.
- Cut the desired shape from a piece of paper.
- Place the stencil on top of the clay body.
- Paint slip over the stencil.
- Do not remove the stencil until the slip has dried and will no longer spread.
This technique is wonderful for students who are looking to create more complex designs. They can utilize the stencil technique without worrying about carving directly into the clay and making a mistake.
4. Slip Trailing
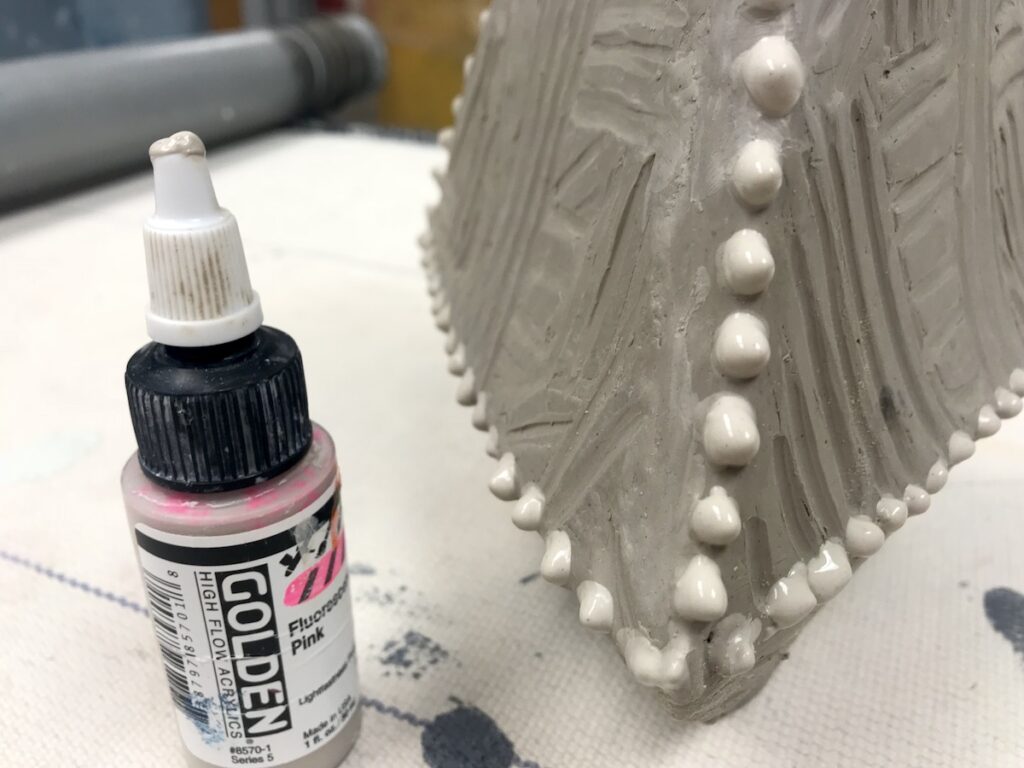
Slip trailing is perfect for your ceramic students who love to draw. With this technique, students can create intricate designs and details using a precision bottle. The best part of this process is that if students make an error, they can wipe away the wet clay and start again.
Make sure to encourage your students to practice on a test piece of clay first to master the technique. It is also essential that this process is done on a piece of clay in either a plastic or leather-hard state.
5. Sgraffito
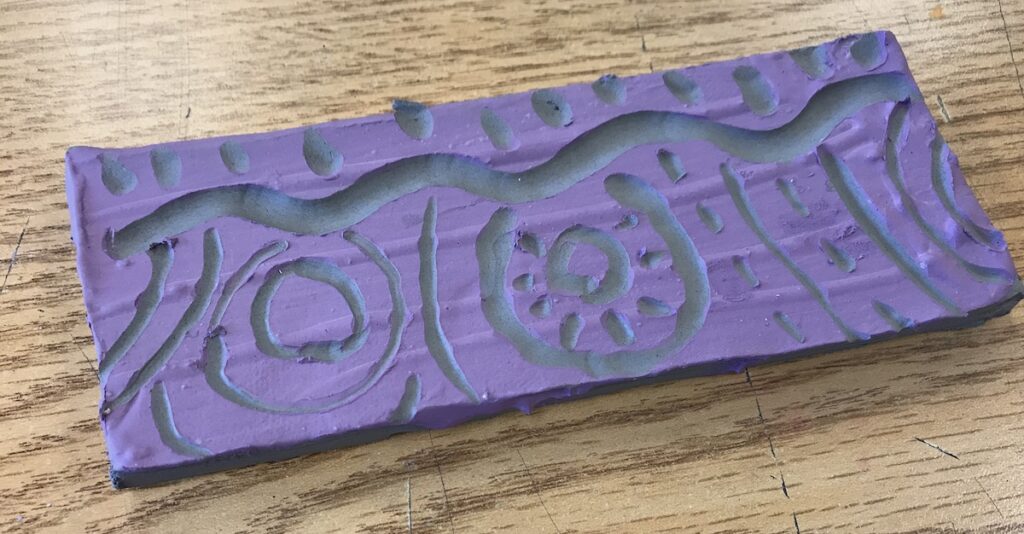
Sgraffito is a simple decorating technique where slip is layered over a contrasting colored clay body. Once the slip layer is dry, students can scratch into the surface to draw in a design. Utilizing tracing paper or stencils can help students achieve even more detailed results with this process.
Using any of these five slip techniques can help teach your students advanced ceramic techniques while exploring their creativity. If you’ve been looking for ways to add details and designs during the clay building process try out one of these techniques for fun results.
What is your favorite way to use slip?
What techniques and process do you use to add designs and details to clay?
Magazine articles and podcasts are opinions of professional education contributors and do not necessarily represent the position of the Art of Education University (AOEU) or its academic offerings. Contributors use terms in the way they are most often talked about in the scope of their educational experiences.


