Note: Be sure to review all resources and preview all artists before determining if they are appropriate to share with your students.
Bright, bold colors evoke a sense of energy, excitement, and pure joy that transcends age and culture. Neon and fluorescent colors hold a special place, capturing this inherent fascination with their luminous intensity. The use of fluorescent colors can instantly elevate an artwork and make it totally rad. While often used interchangeably, these terms actually represent distinct concepts: neon refers to a specific gas used in lighting, whereas fluorescent describes a broader range of colors that mimic that iconic glow.
Learn how fluorescent colors were developed, why they are so bright, and how you can use them in your art room.

How were fluorescent colors developed?
In the early 20th century, neon lights harnessed the unique glow of electrified neon gas within glass tubes. Their vibrant hues and mesmerizing glow quickly captivated the world, transforming cityscapes and advertising. The jump from neon lights to the fluorescent pigments, commonly called neon colors, happened somewhat by accident.
In the summer of 1933, a college student named Bob Switzer hit his head and awoke from a coma with blurred vision. He began experimenting with fluorescents during his recovery in his family’s dark basement. His brother Joe used them for magic tricks! The Switzer brothers came up with a new polymer mixture with fluorescent dyes that allowed them to mix pigments like traditional paints while retaining the fluorescent properties. They used their ultra-bright colors for black light magic shows, advertising, and fashion. Fluorescents were not simply a gimmick—they improved visibility and safety for everyone, from crossing guards to construction workers, and even the US military.

What makes neon colors so bright?
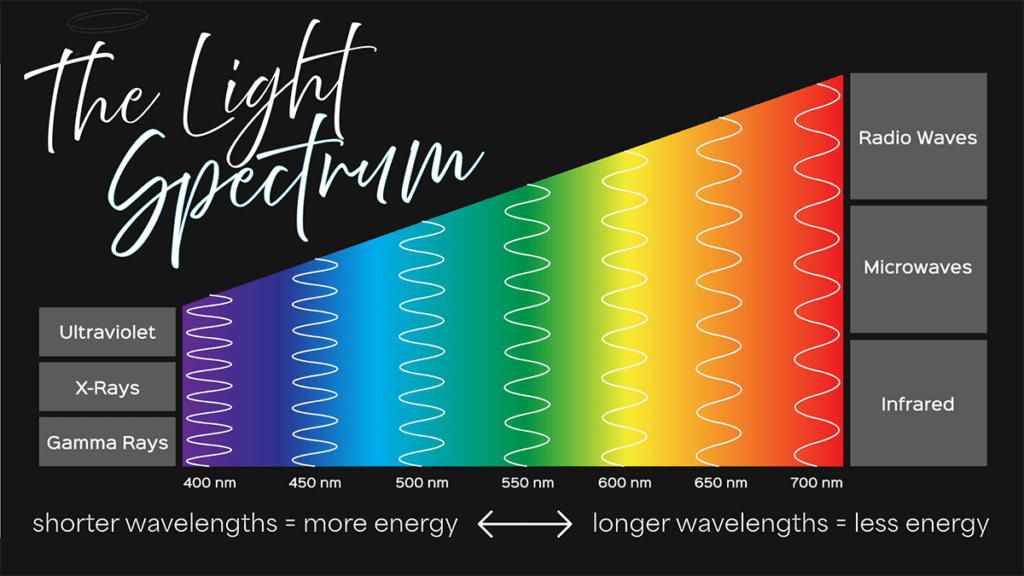
Light consists of a spectrum of different wavelengths which are perceived as different colors. White light has the full spectrum. When you see a color such as the red of a stop sign, the white light hits that sign. The sign absorbs all of the light except for the red waves. The red part bounces off the surface into your eye. The lower frequency cones detect the red. In addition to the colors of the rainbow which make up the visible spectrum, there are wavelengths of light humans cannot see. There is infrared, which is lower energy, and ultraviolet, which is higher frequency.
Fluorescent colors reflect the energy of visible light and also convert ultraviolet light, which is much higher energy, into visible light. The absorbed energy excites the electrons in fluorescent molecules. This increases their energy level! When the electrons go back down to their normal energy level, they emit energy in the form of visible light. This emitted light combined with the normal reflected light means that fluorescent colors are giving off extra visible light.
Can I mix to make neon colors?
You will not be able to create fluorescent colors by mixing traditional pigments. There may be some DIY recommendations, such as soaking the tip of a highlighter in water to extract the ink. It’s generally better to buy fluorescent materials to avoid potential issues with chemicals. Remember, the label indicating a material is non-toxic means it is not expected to be harmful if used as intended. There is a lot of complicated chemistry involved in creating fluorescent materials. This is seen in the story of the Radium Girls—a reminder that there can be grave consequences when things go wrong. If you do choose to experiment with fluorescent powdered pigments, be sure to read and follow the manufacturer’s safety instructions.
Why use fluorescent colors?
Because fluorescent colors emit more energy than those in the standard spectrum, they appear brighter and grab people’s attention. The increased visibility makes them a wonderful tool for advertising and safety. But don’t underestimate the power of the fun factor! The glowing colors as you turn on a black light never fail to elicit awe and delight from students.
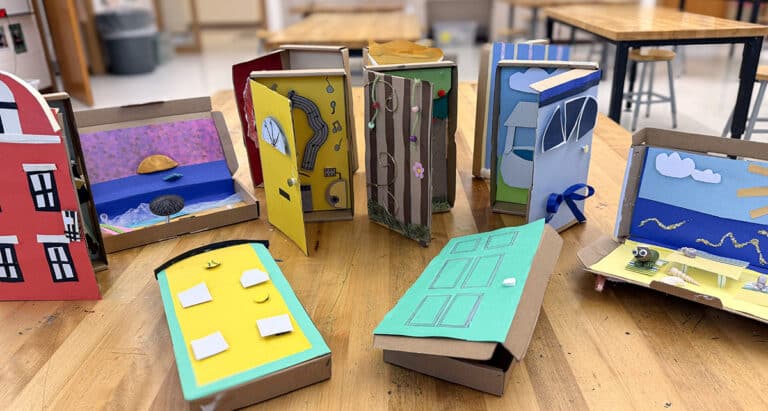
Consider creating a black light room for your art show or create a fun experience with a glow art day. Do a mad scientist theme and fill beakers with fluorescent paints. Kick things up a notch with plastic bugs or animals floating in the glowing solutions! Students can practice observational drawing skills with fun “scientific” drawings documenting every specimen’s detail.

How do I get my colors to gleam?
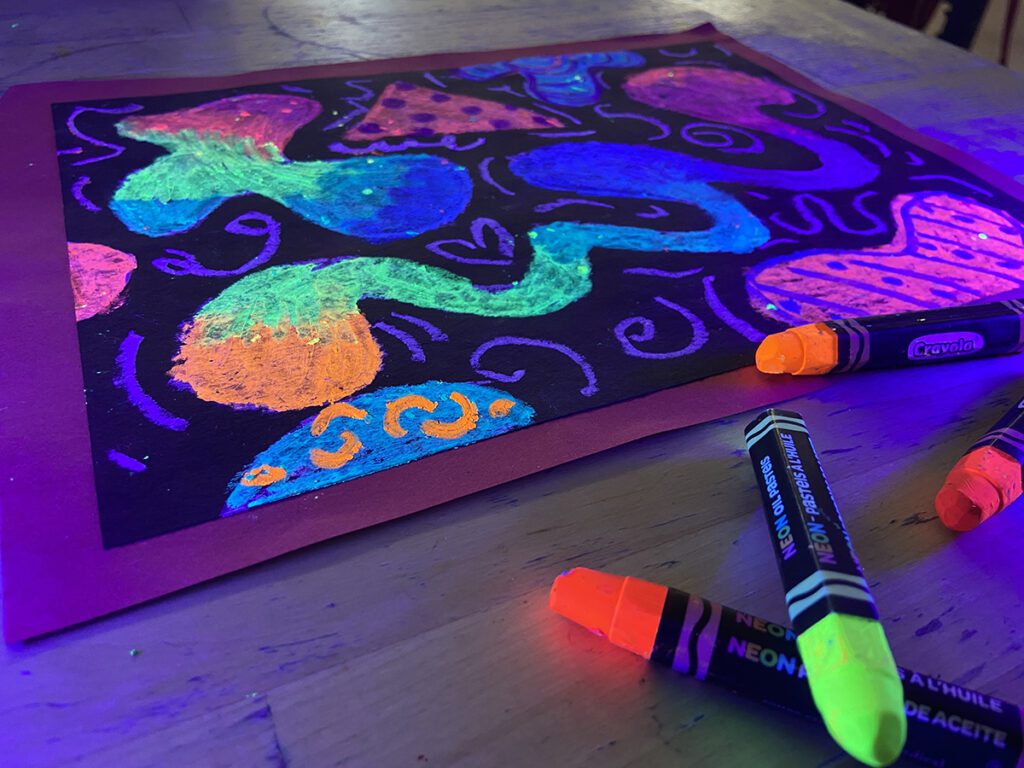
To make your colors really light up, you need black lights and fluorescent materials. The number of black lights will depend on your specific space, but there are numerous options at affordable prices. Remember, ambient light will diminish the effect, so cover windows and shut doors if possible. While there are many fluorescent materials available, including colored pencils, markers, and crayons, the best results tend to come from more opaque media with highly saturated colors. Start with neon oil pastels and fluorescent acrylic or liquid tempera paints for a huge impact!
What should my students make?
Neon colors will bring new energy to just about any project. Swap out one material for a fluorescent version to reignite a tried and true assignment. Use these extra bright colors as an opportunity to introduce wild and fun art movements and artworks into the curriculum. Additionally, harness the vibrant origins and create connections with history and science.
Here are four lesson ideas to try in your classroom:
- Use psychedelic art as a trippy and fun way to connect with art history.
Psychedelic art of the 1960s and 70s was heavily influenced by the Surrealist and Art Nouveau movements. Show your students a collection of artists, including Alphonse Mucha and Peter Max, and discuss how the element of color can affect perception. - Lean into a science connection and explore bioluminescence.
Show a collection of creatures that emit light such as fireflies or the deep sea angler fish. Students select a creature to be the subject matter of their next artwork. - Give abstract drawings a Reggie Laurent-inspired glow-up.
Reggie Laurent shared his story at a previous NOW Conference. Students block out shapes in white oil pastels and then apply neon colors. Add complexity and interest to the shapes by giving each one unique patterns. Draw line designs to fill the negative space. - Explore the fashion world.
Challenge students to create rad 80s- and 90s-inspired looks. If you lived through these trends and survived to talk about it, bring in some old pictures. Sharing a laugh at your blunder years can be a great way to bond with students, especially since these trends are circling back!
For more logistical tips on how to create a black light gallery with lots of bright project ideas, watch the Black Light Art Pack in PRO Learning.
Fluorescent colors provide a unique and exciting avenue for students to explore how science and art intersect. The ultra-bright colors will get your students engaged in any lesson. Whether exploring psychedelic art, delving into bioluminescent creatures, or crafting neon fashion designs, the possibilities are endless! Plus, art teachers deserve to play too—bring these exhilarating colors to your own artwork and see what happens. This year, embrace the brilliance of fluorescent colors and let creativity radiate!
What is your favorite art project that uses fluorescent colors?
To continue the conversation, join us in The Art of Ed Community!
Magazine articles and podcasts are opinions of professional education contributors and do not necessarily represent the position of the Art of Education University (AOEU) or its academic offerings. Contributors use terms in the way they are most often talked about in the scope of their educational experiences.