Knowing how and when to add technology can be daunting because there are so many options! But when used intentionally, the right platform can transform how students document artistic processes, connect ideas visually, and share their work. Since many of our students are visual learners, an online interactive tool like Padlet can be a dream come true in the art studio. This already well-established platform makes it easy, fun, and engaging to bring your creative vision to life in the classroom.
Try these three simple and helpful ways to incorporate Padlet into your art curriculum.
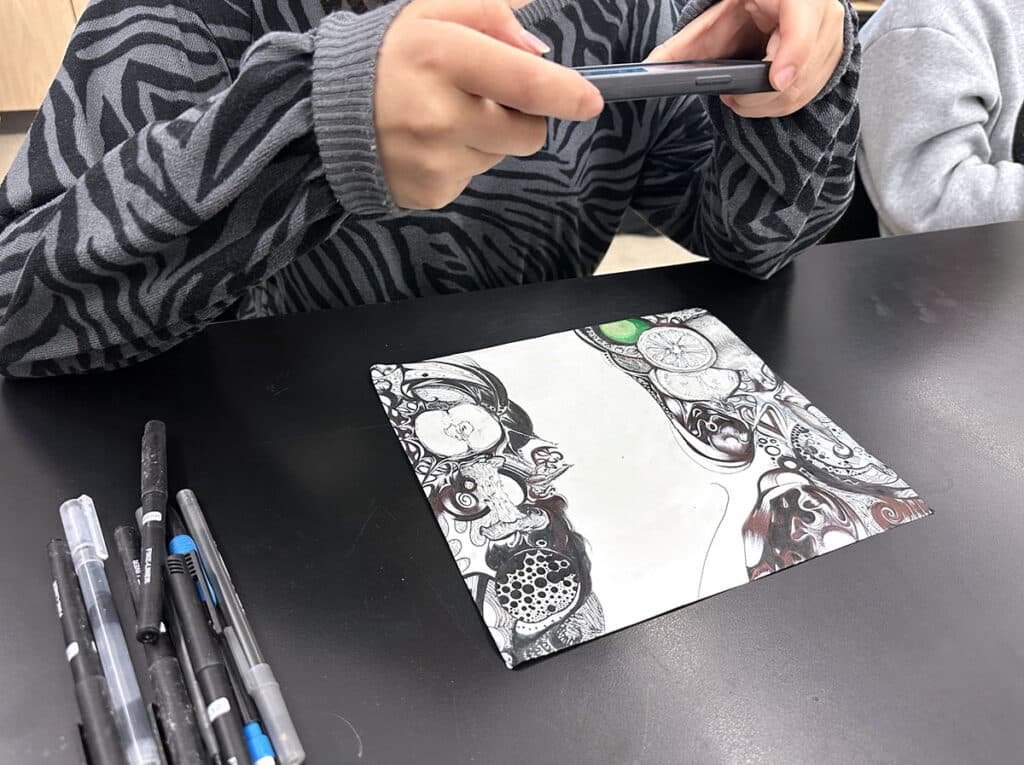
Note: Follow district and school policies regarding technology and cell phone use.
Padlet can foster community and extend learning beyond the classroom. It doesn’t replace in-class gallery walks but provides an alternative space for exchanging ideas. Students can post written reflections and upload images, videos, audio clips, screencasts, or even drawings—all in one place. It can also help you provide timely feedback.
Here are supportive tips if you’re a first-time user:
- Follow district and school policies.
Follow all guidelines regarding technology and cell phone use. If your school has limited direct access, you can also embed it into your lesson plan. - Experiment with the tools.
Padlet offers a variety of features that you can mix and match to fit the needs of your students. Don’t feel pressured to get it perfect right away—exploration is part of the process, and you can learn with your students as you go. - Start with the Basic plan.
The free version includes three active Padlets. Try them out! If you want to stay on the Basic plan, simply archive older Padlets and create new ones. - Use QR codes.
Print and post QR codes around the classroom to make it quick and easy for students to scan and upload their work. - Control content.
Padlet includes moderation tools that allow you to filter posts and approve content before it goes live. - Expect minor glitches.
When many students upload at once, the platform may lag. Encourage patience and model flexibility as part of the digital learning process. - Grade more efficiently.
Padlet can make grading more accessible. You can scroll through student submissions in a central location without lugging piles of cumbersome artwork to and from school. You can leave direct feedback as comments underneath posts.
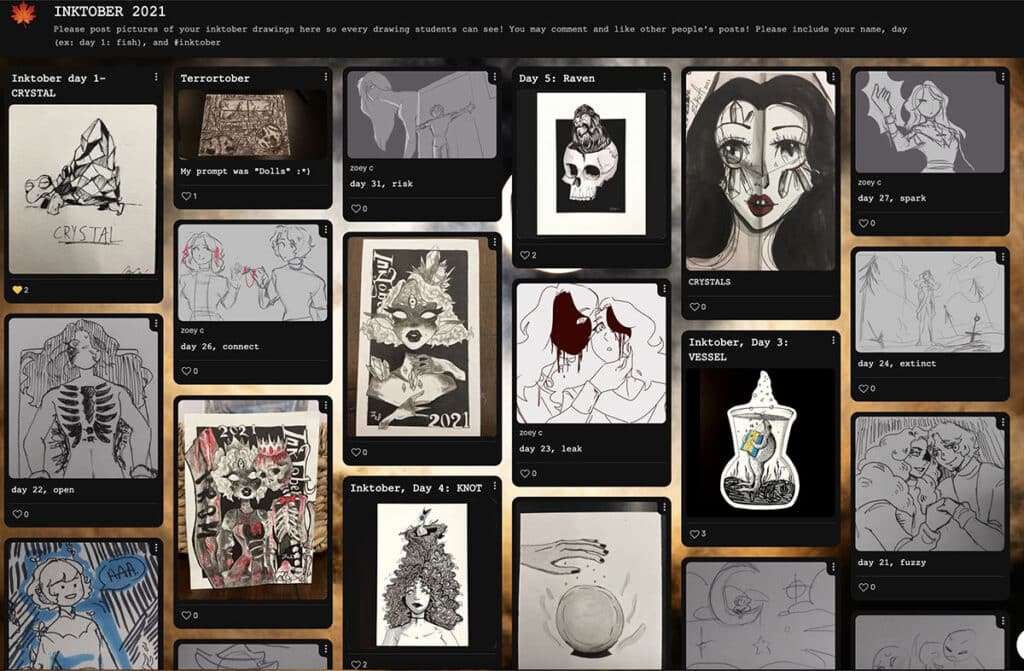
1. Art History Timeline (Timeline Feature)
The Timeline feature is an engaging way to build art history timelines while strengthening students’ research skills. Start with the Padlet Timeline template and assign each group or individual an art movement to explore. This activity works well as a daily warm-up and helps students connect historical movements to visual examples, building both knowledge and digital literacy. Plus, students can refer back to their timeline to make connections for future projects or research.
Follow these steps to make an Art History Timeline:
- Identify the key dates or time range.
- Post an image or artwork that represents the style.
- Use the FLEX Curriculum Resource, Artist Bio Template, as a prerequisite for starting research.
- Write a short description addressing notable artists, historical context, central ideas, and landmark works.
- Cite all sources to demonstrate solid research practices and academic integrity.

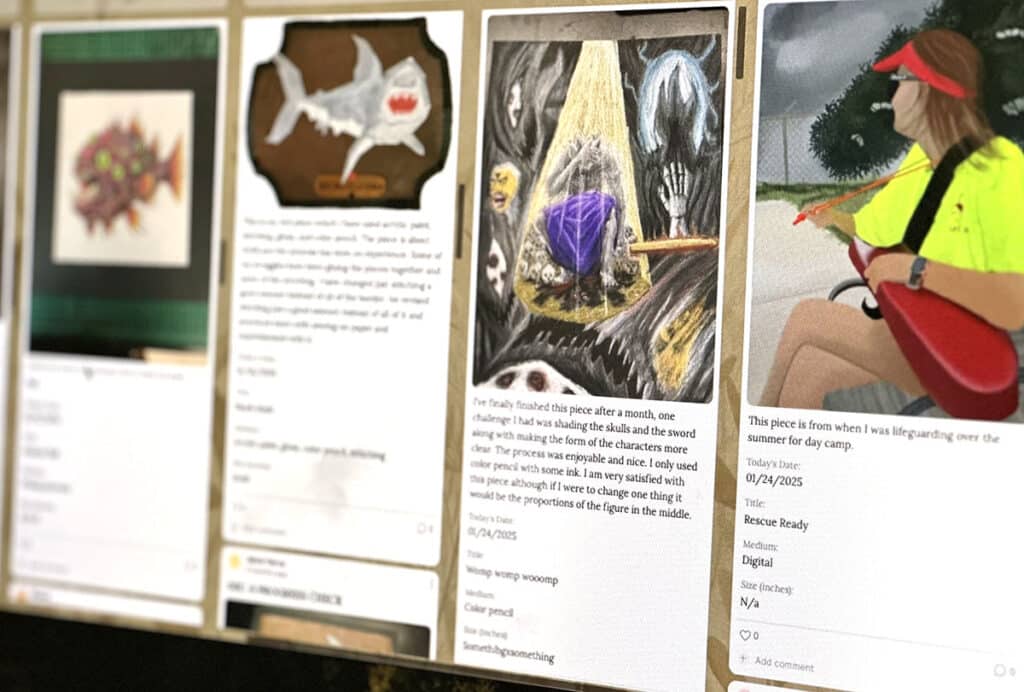
2. Art Project Showcase (Wall Feature)
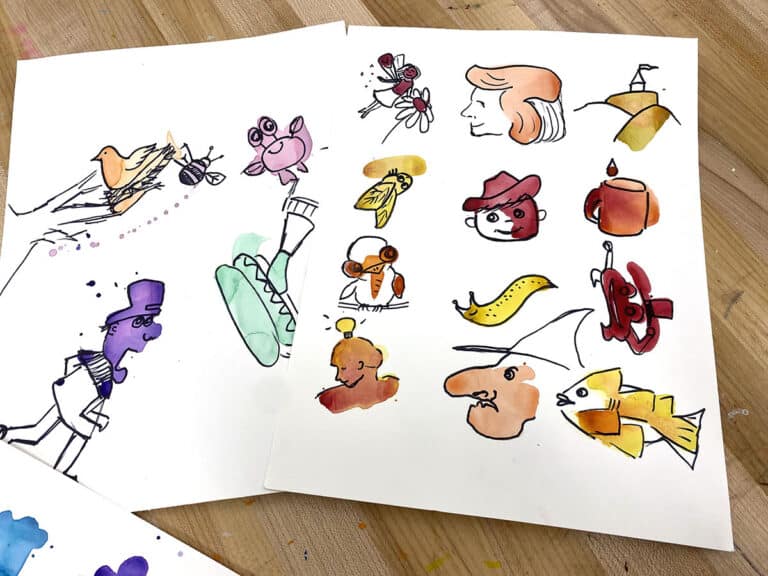
The Wall feature creates a visually engaging collage where students can display images, artwork, and written responses in one central space. Students post their own work to a collective wall so they can share what they’re working on and see what their peers are creating. Select a themed background image to set the tone of the specific topic or challenge to make the digital experience more exciting.
Here are some Art Project Showcases your students can contribute to:
3. Shared Classroom (Grid Feature)
The Grid feature, also known as a Shelf, is ideal for organizing student work in a structured way. Assign each section to an individual student to give them a dedicated space to document their progress over time while also keeping the ability to view their classmates’ work. This feature is also uniquely helpful if you have AP Art students in different class periods. This allows them to interact with their peers beyond the physical classroom, get familiar with one another’s Sustained Investigations, and strengthen their sense of community.
When used with intention, technology like Padlet can open new doors for students to document processes, connect ideas, and share their work. From capturing art history in a digital timeline to sharing projects by topic or activity, Padlet gives everyone an interactive way to spark inspiration, learn, track progress, and provide feedback. Start small, explore its features, and let your classroom community grow through this dynamic tool—one post at a time!
What other online interactive tools do you use in your art room?
Share your favorite way to use Padlet in your curriculum.
To chat about Padlet with other art teachers, join us in The Art of Ed Community!
Magazine articles and podcasts are opinions of professional education contributors and do not necessarily represent the position of the Art of Education University (AOEU) or its academic offerings. Contributors use terms in the way they are most often talked about in the scope of their educational experiences.