
Are you feeling nervous about teaching Pre-K art? The tiniest artists in the building may have the smallest hands, but will bring the mightiest imaginations to your classes. Prepare your room with predictable routines that can help both you and your students feel ready for art. You don’t need your Pre-K students to be ready for your art room—you just need your art room to be ready for your Pre-K students!
Here are six routines to help your youngest artists feel capable and ready to create in your art room.
Get ready to teach Pre-K!
Routines and repetition are vital building blocks for Pre-K students. This is the first time many of them will be in a school setting, so structure is key to nurturing their independence and providing predictability to their day. Because everything is so new, knowing what comes next helps them spend less energy figuring out what to do and more time exploring materials and creating. Getting in the groove will take time, so make your goal consistency, not perfection, and factor in that this is a big chunk of their learning.
If you want to dive deeper into preparing routines for Pre-K, The Art of Ed’s PRO Learning offers tons of professional development resources to grow your skills and confidence. Each PRO Pack offers a completion certificate that you may be able to take back to your district for professional development hours. PRO Learning offers Packs specifically for teaching Pre-K learners, featuring quick webinar videos, FLEX Lesson connections, and handy downloads.
One great place to start your learning journey is the PRO Pack Preparing to Teach Pre-K, which walks you through students’ developmental stages and offers new ideas for planning routines. Make sure you get the most out of this PRO Pack by downloading the included resources, such as the Readiness Survey and Journal, Lesson Plan Template, and My Mantra Poster.
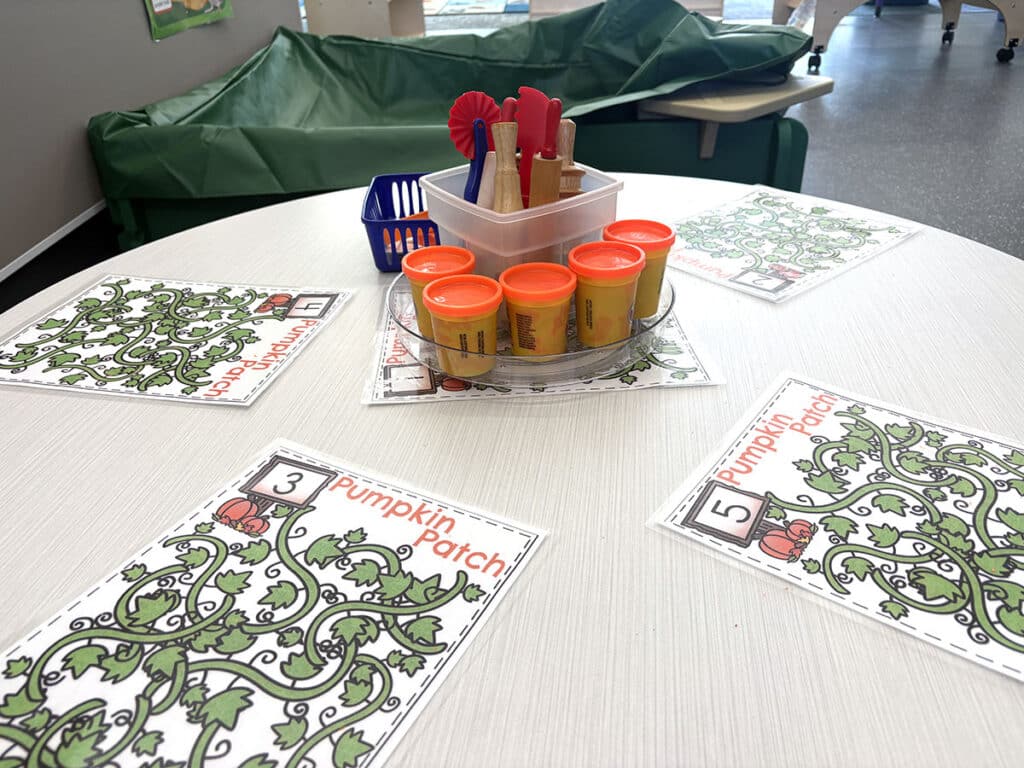
1. Entering
Telling Pre-K students to “come in and sit down” can have many different results: some students will sit on the floor, others will go straight to the tables and chairs, and a few will continue to wander around touching everything! Take steps to streamline how students enter the art room to set the entire period up for success from the start. Talk to their classroom teacher about the morning routine they use so you can make yours as similar as possible.
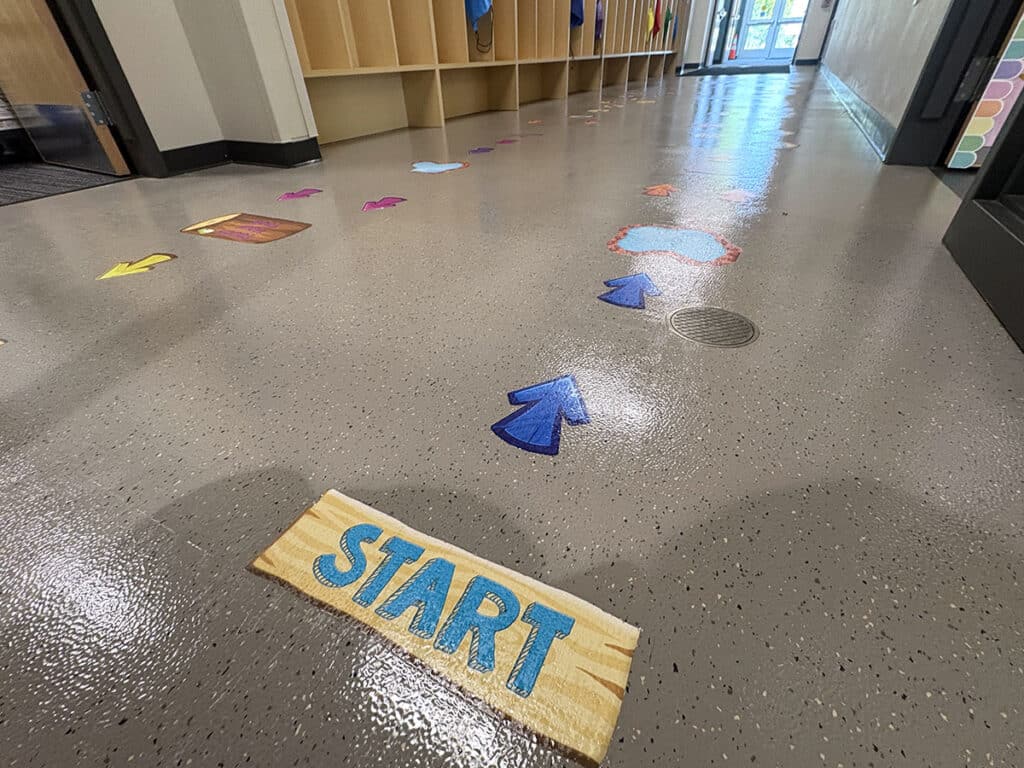
Try the Walk, Park, Look routine with these three simple steps:
- Walk in following the arrows on the floor.
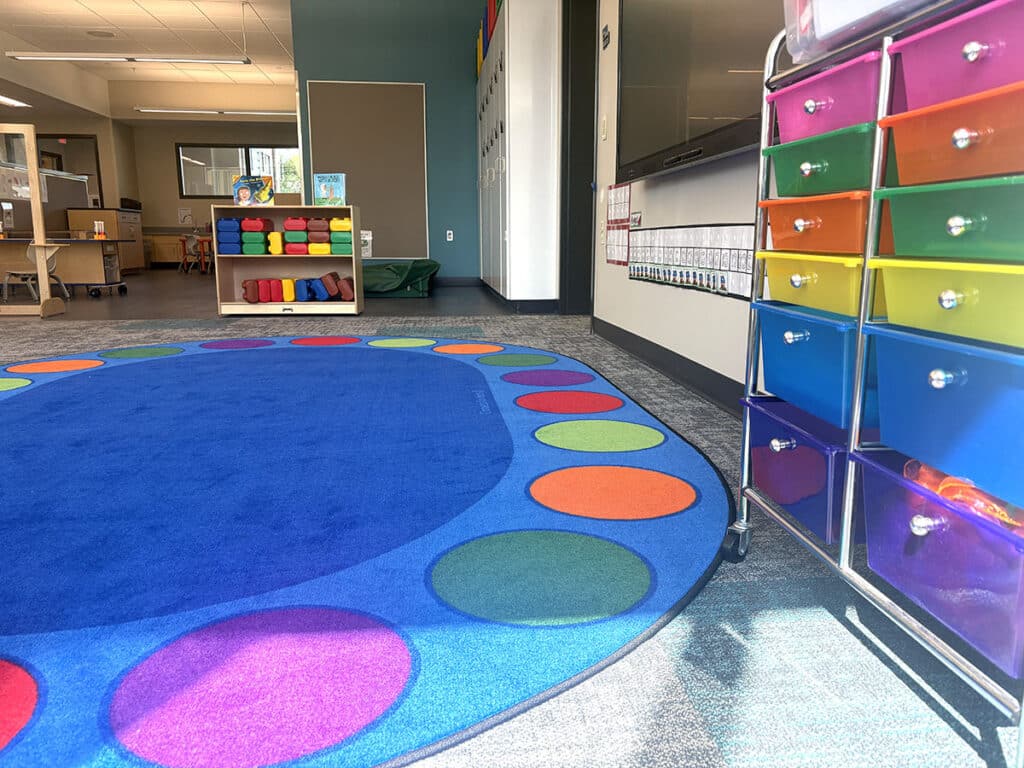
- Park on a carpet spot.
- Look at the visual schedule.
Once everyone is sitting quietly, eyes on the schedule, begin with a joyful greeting to nurture excitement. In the PRO Pack above, Mandy Culver shares her class mantra, which all her students repeat together. This gets them focused and unified, all while developing their budding artistic identities.
2. Listening
Coming to art is so exciting, and Pre-K students are still learning how to shift their attention from one activity to another. Help your youngest students know what it looks like, feels like, and sounds like to listen in your art room using a verbal cue. Establish one or two consistent cues early, such as call and response or movement-based emphasis cues. For example, you can learn more about Mandy’s call and response, “Class, class,” “Yes, yes,” in the Preparing to Teach Pre-K PRO Pack.
Try one of these Pre-K-friendly call and responses:
- Call, “Hands on top,” with a response of, “Everybody Stop!”
- Call, “A hush fell over the crowd,” with a response of, “Hushhh…”
- Call, “All set,” with a response of, “You bet!”
3. Demonstrating
Pre-K artists are also still developing the ability to sustain attention. Your demonstrations need to be short, sweet, and focused. Aim for two to three minutes, and prioritize breaking down a single skill. Discover how to effectively chunk information with the PRO Pack, Pre-K Preparations: Scaffolding and Skill Building.
Implement the Follow, Show, Go to demonstrate one skill per class:
- Follow the traffic pattern to the demonstration area.
- Show whole-body listening that it’s time to learn.
- Go directly to your workspaces.
To see more fun tricks for demonstrating and teaching students how to use supplies, check out Lindsay Moss in The Art of Ed’s YouTube mini-series 1-2-3 A-R-T. In Episode 4, 6 Fun Tricks for How to Use Scissors, Lindsay walks you through how to teach your young artists the correct and safe way to use such an important tool.
4. Exploring and Artmaking
Our youngest artists learn through play and discovery, which can result in artwork that may look a little less refined. That is okay! Mandy shares that she strives to have one or two projects to display, but the remainder of the artmaking is playing. Play teaches students how certain materials and tools work, and it also gives them opportunities to practice valuable social skills.
Use the same Choose, Create, Share routine each class:
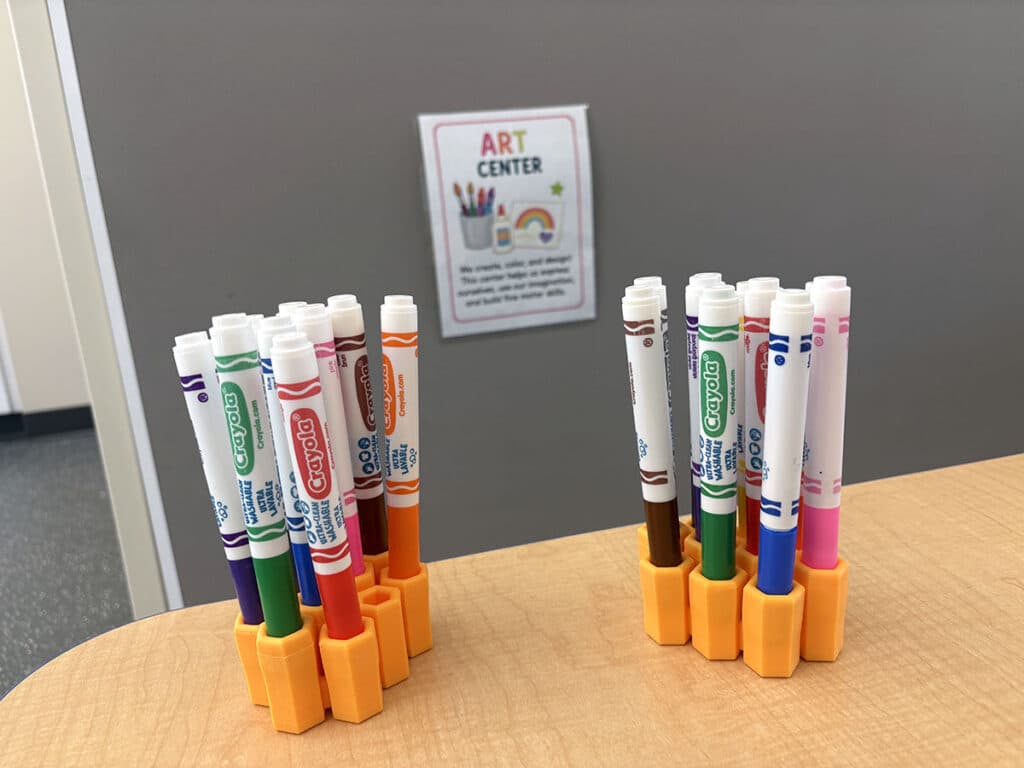
- Choose the right materials needed for the activity.
- Create by exploring and experimenting with the materials.
- Share materials and use your words to ask a tablemate for help.
5. Reflecting
Pre-K students love to share personal stories at the most interesting times. Build in a short reflection so students can still vocalize their thoughts, but in a helpful and productive way. Their discoveries don’t have to be revolutionary to be meaningful. Simply sharing what color they created after mixing two colors is exactly where their developmental milestone should be.
Simple sentence stems, such as the ones below, guide students’ responses and provide evidence of their learning. Keep an ear out to catch examples of engagement, persistence, and skill development beyond the day’s formal objective. The Pre-K Preparations: Evidence of Learning PRO Pack can help you gather meaningful observations of students’ understanding.
At the end of artmaking, choose a reflection sentence stem:
- I made…
- I tried…
- I discovered…
6. Cleaning
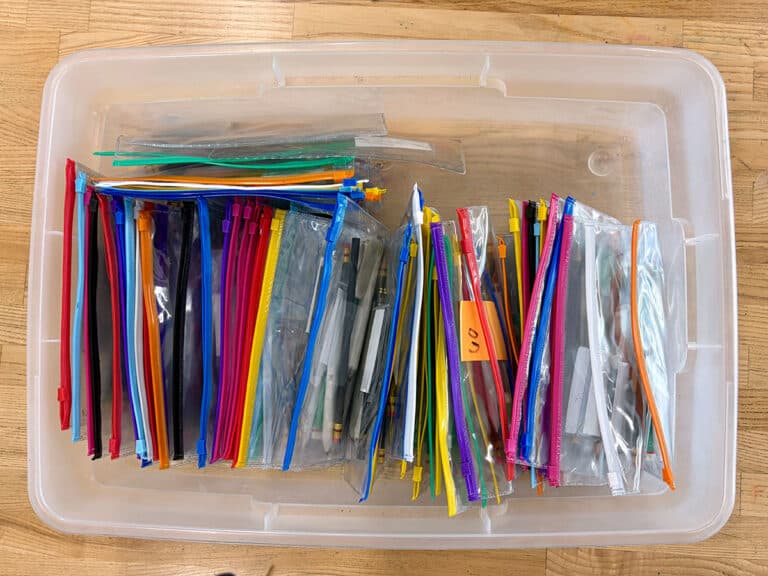
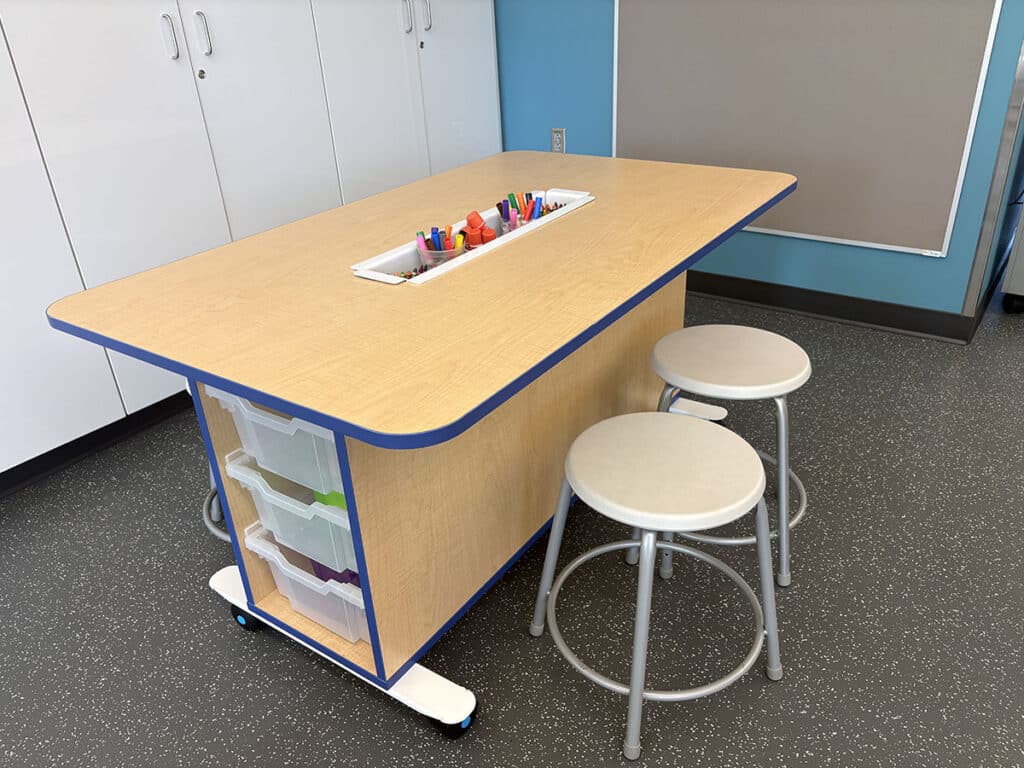
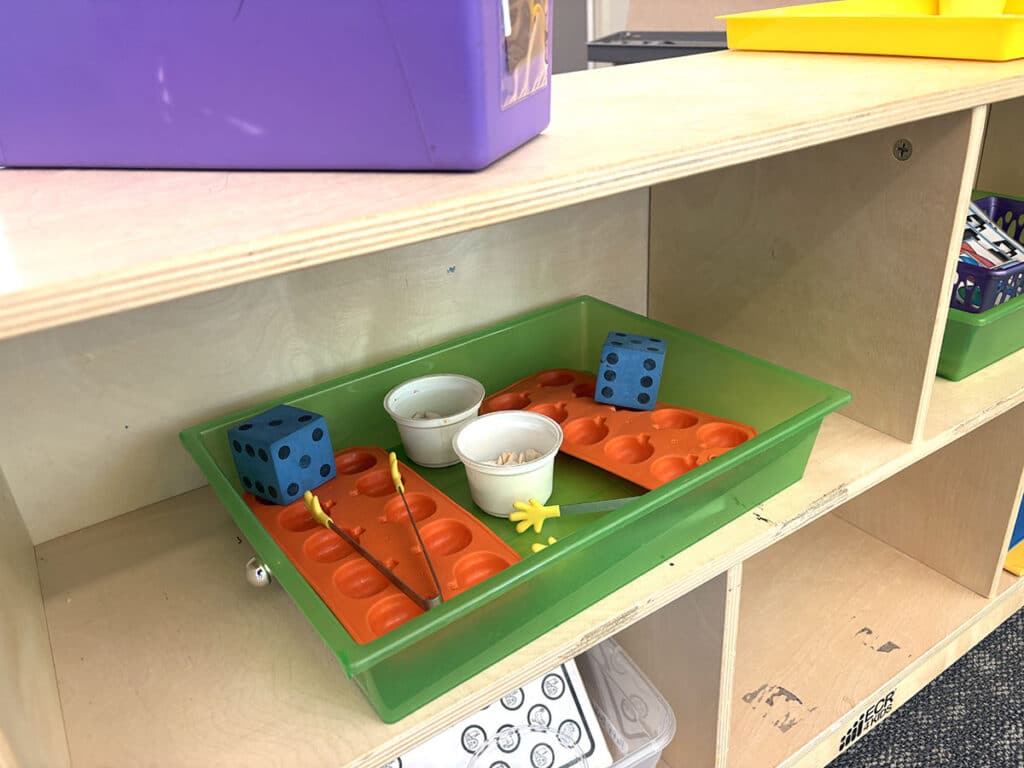
Give everything a consistent home so everyone knows what a clean art room looks like. Use clear bins with picture labels so students can see what belongs where without needing to know how to read. A familiar song or phrase can also help signal to students that it’s time to clean up and reset the room, like in the video below.
When it’s time to clean up, try the Hear, Home, Check routine:
- Hear the familiar cleanup cue or song.
- Home base for all used materials.
- Check the table and floor for anything left behind.
Your Pre-K routine won’t be perfect after the first month—and it doesn’t need to be. Give yourself and your young artists time to try, repeat, and learn how the art room works. The goal isn’t to make Pre-K students fit your art room; rather, it’s to create an art room where Pre-K students can be successful. Start with a few simple patterns that students can practice again and again until they become a routine. When students learn what to expect, they can spend less energy figuring out what to do and more energy exploring and being artists.
What surprised you most when you first started teaching Pre-K?
Which Pre-K routine has made the biggest difference in your art room?
To chat about teaching Pre-K art with other art teachers, join us in The Art of Ed Community!
Articles and podcasts are opinions of professional education contributors and do not necessarily represent the position of the Art of Education University (AOEU) or its academic offerings. Contributors use terms in the way they are most often talked about in the scope of their educational experiences.