There are many techniques and styles of art students need to explore. In order to build a student’s creative capacity, it is essential to give your students choice and time for independent practice. While some kids need more guidance than others, it is our job to continue to help inspire our students.
Pop-up centers are a great way to switch things up in the classroom and let your students try new ways to create art on their own. A pop-up center is a center that’s open for a short amount of time. This could range from a few class periods to a few weeks depending on the media and your students’ needs. Pop-up centers don’t have to be mandatory for the entire class. Simply allow the students who want to try them out to do so!
Are you interested in trying out the idea but don’t know where to start? Don’t let that stop you. Setting up pop-up centers is easier than you think. It’s all in how you organize your materials and present them to your students. Let’s take a look.
How to Open a Pop-Up Center 4 Easy Steps

1. Choose which type of pop-up center you want.
When beginning to think about what type of pop-up center you would like to create, choose something you feel your students are ready to add to their list of skills. There are a variety of options!
Here are some pop-up center ideas to get you thinking.
- Printmaking
- Origami
- Sculpture challenges
- Paper quilling
- Jewelry
- Fibers (sewing, needle felting, etc.)
- Bookmaking
- Holiday-themed centers
- Mobile design
After you have decided what type of pop-up center you would like to have, it is important to know where you plan to set it up. Here are two options.
- Storage container/box
- Designated space in your classroom like a counter or inside a cabinet

2. Gather materials for your pop-up center.
This step will depend on which pop-up center you choose. Sit down and make a list of the supplies you need for the pop-up center you would like to open. Make sure to gather the necessary materials and place them neatly in the area you have designated for your pop-up center.
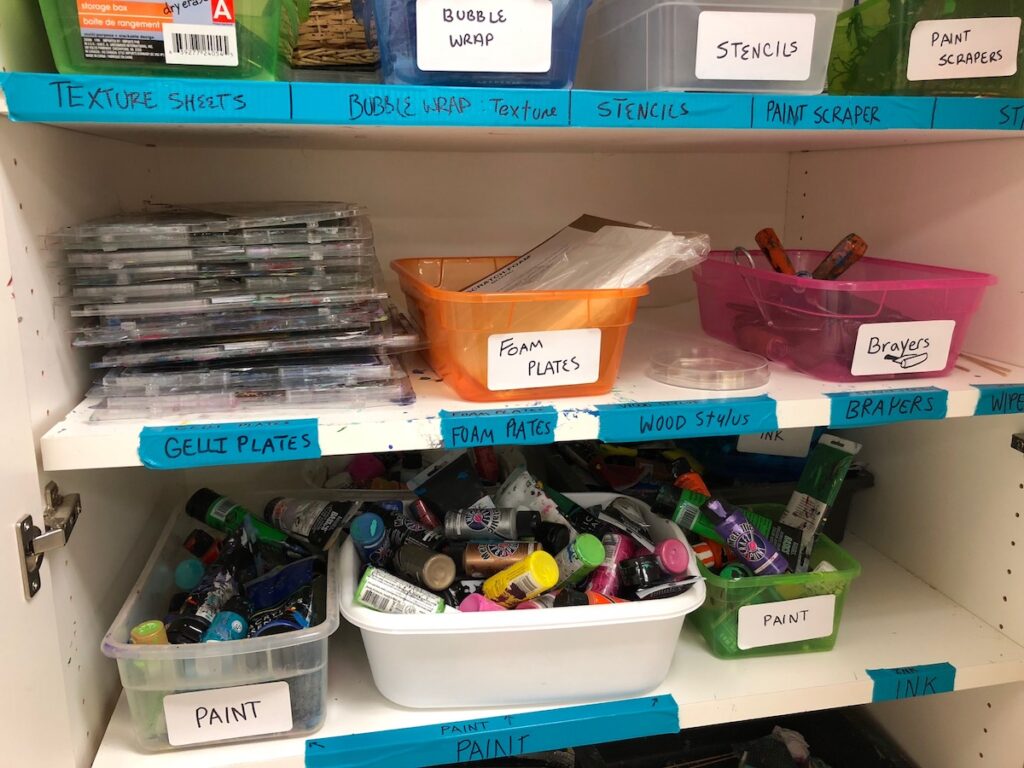
Labeling your supplies in smaller plastic containers is helpful no matter if you are using a larger storage container or a cabinet. Having labels will help students clean up more effectively.
Pop up centers are a great way to add more choice to your classroom. If you’re looking for even more information, be sure to check out the AOE course Choice-Based Art Education. You’ll be able to explore the power of a student-centered curriculum, reflect on how you are currently using choice, and set goals!
3. Create a handout or anchor chart.
For students to use the pop-up center independently, creating a resource such as an anchor chart or handouts for the pop-up center is vital. An anchor chart is a visual reminder of how to use the center and supports students in their learning. (If you’re interested, you can find anchor charts for the following subjects on AOE: Clay Station Anchor Charts, Painting Center Anchor Charts, Collage Center Anchor Chart, Throwing Anchor Charts.)
Make sure this information is easily accessible for your students.
- For a storage container, the anchor charts or handouts can be placed on or inside the container.
- If you are setting up your pop-up center in a cabinet or on a shelf, make sure the anchor chart is located near the materials.
4. Open the pop-up centers.
After your pop-up center is ready to go, it is important to think about how you will introduce and open it. You can introduce your pop-up center through a mini-lesson or an art challenge.
Mini Lesson
Using a pre-recorded or in-class demonstration, demonstrate the steps to your mini-lesson. Illustrate what you have written on your anchor charts, so it is familiar to your students. This visual representation will help students see how to use the pop-up center appropriately.
This option allows students to directly learn about the new media and techniques. After the mini-lesson, students can choose to work at the pop-up station or continue their work at other stations.
Art Challenge
If you feel each student must at least try the center to get a feel for it, use an art challenge to introduce the pop-up center. It could be as short as ten minutes.
For instance, let’s say you want to open a pop-up sewing center. Start by demonstrating how to thread a needle and a basic stitch or two. You could then give the students the materials needed and tell them they have to sew a line into a small piece of fabric. This way, all students will try the material. But, at the end of the exercise, they can choose to go further or not.
Whichever method you choose, be sure to show students the appropriate procedures for setting up and cleaning up the pop-up center.
Remember, the length of time you have the pop-up center in your classroom can vary. It could be for a week, a month or somewhere in between. The choice is up to you and what you feel works best for your students.
Depending on the difficulty level and ability of your students, decide which implementation works best for your classroom!
What type of pop-up centers do you use in your classroom?
What advice would you share with teachers who want to implement pop-up centers?
Magazine articles and podcasts are opinions of professional education contributors and do not necessarily represent the position of the Art of Education University (AOEU) or its academic offerings. Contributors use terms in the way they are most often talked about in the scope of their educational experiences.