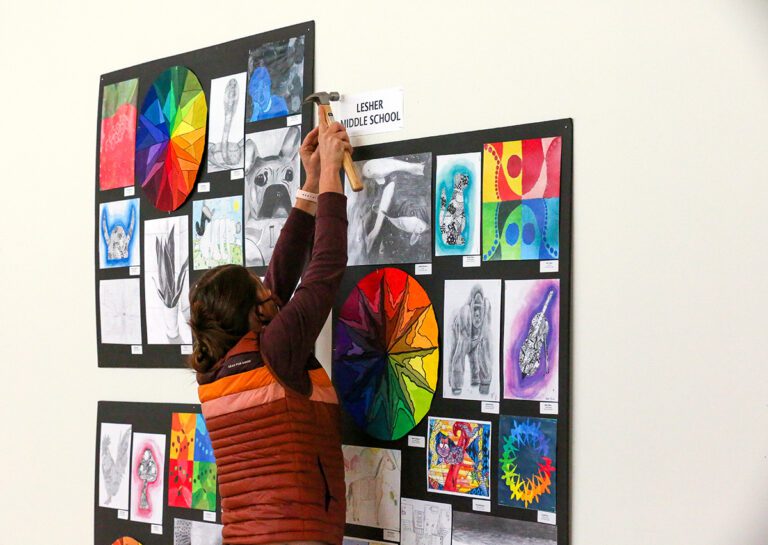
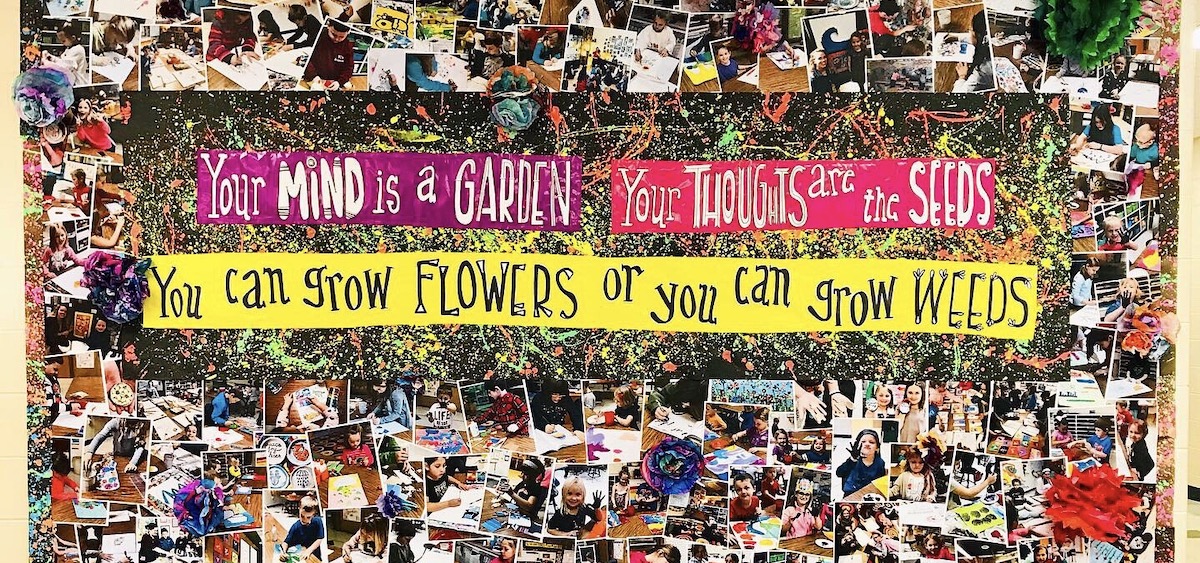
Displaying art in your school and community is a huge part of being an art teacher. It takes lots of time, energy, and planning to make beautiful displays highlighting what your students have been working on in art. But, this time and energy pays off as an incredible advocacy tool for your art department.
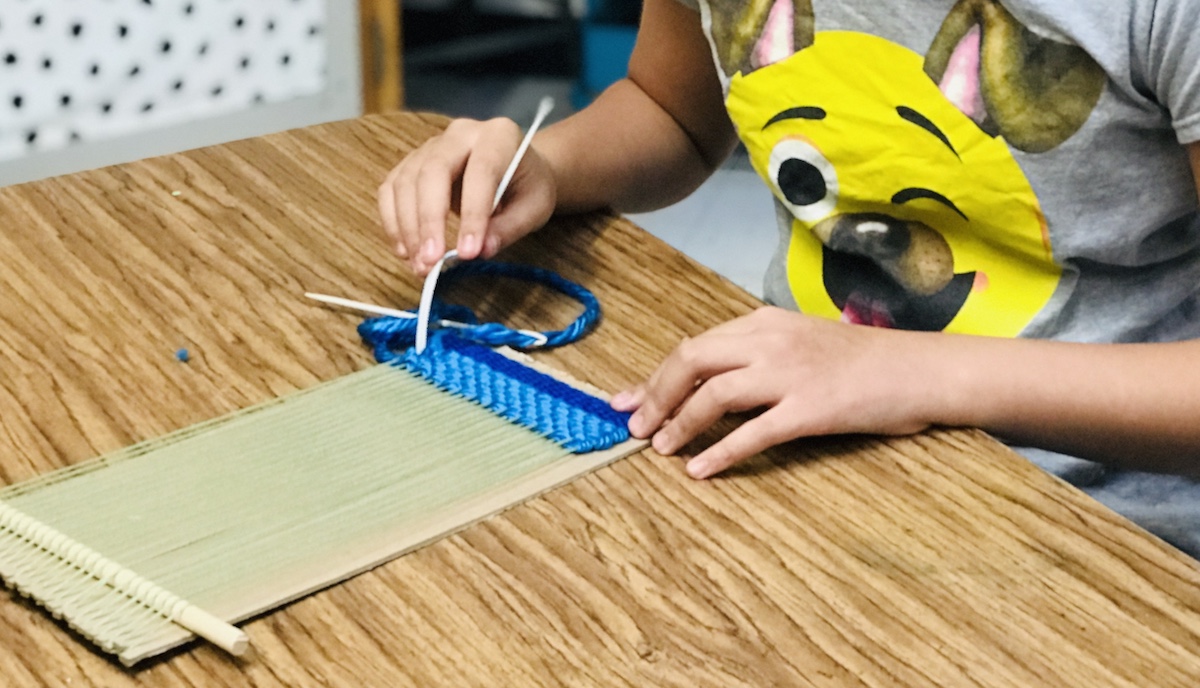
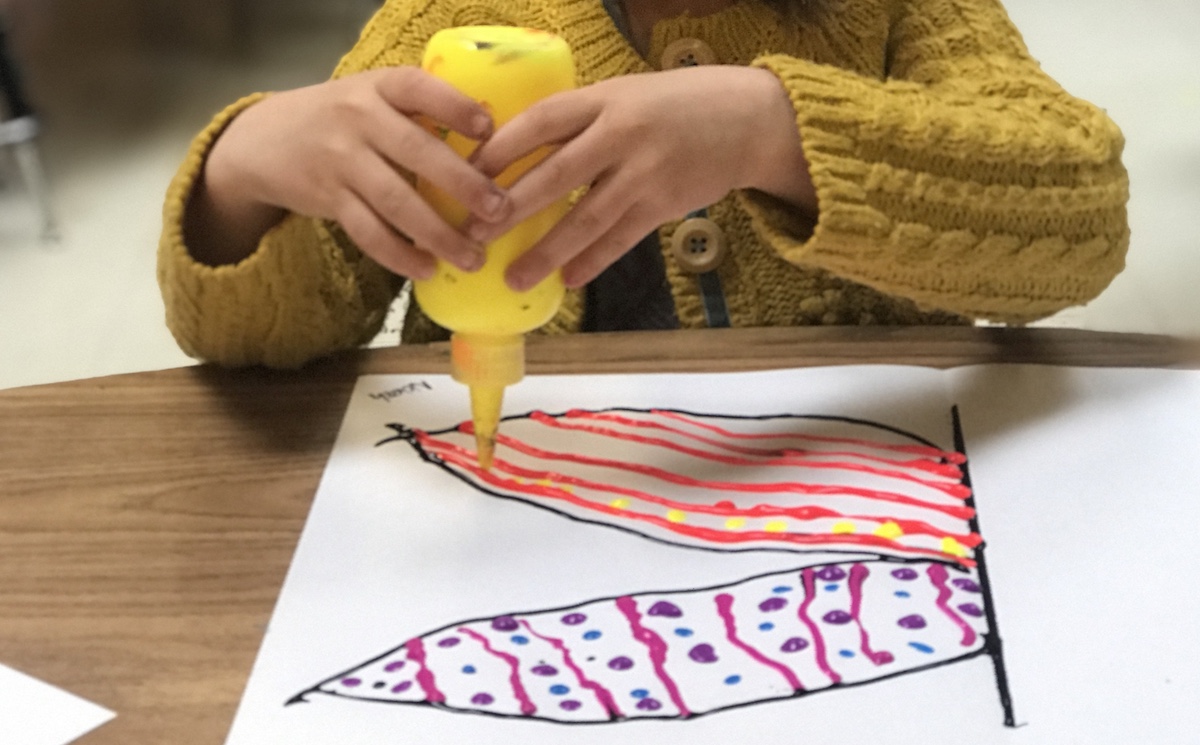
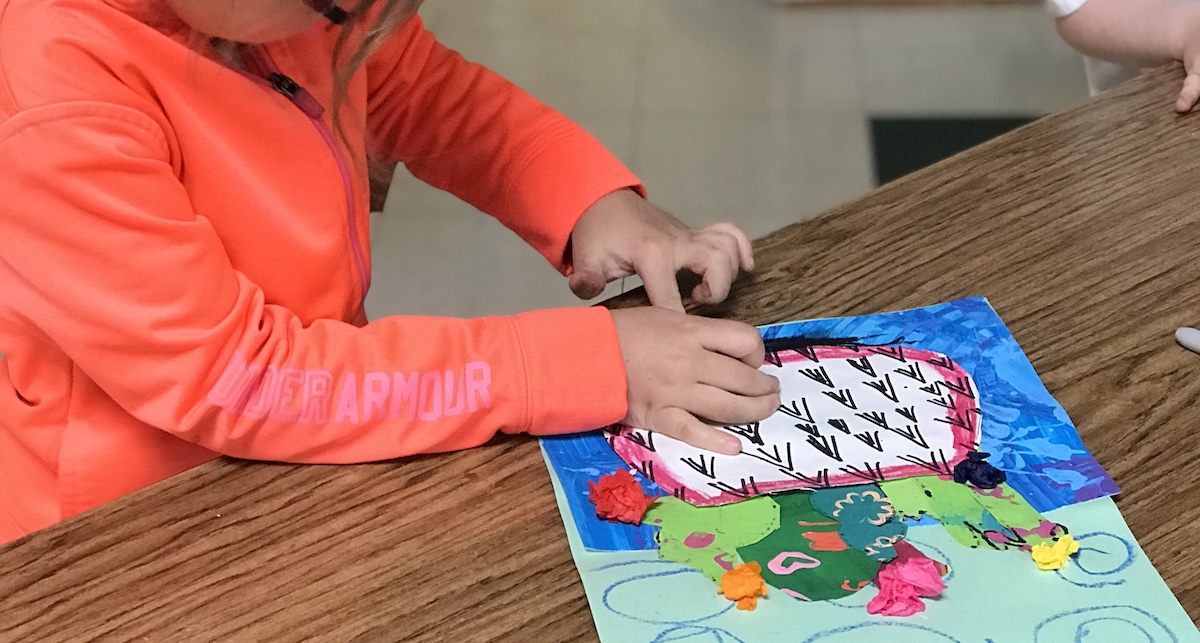
Depending on your current teaching model, you may be working face to face with students, virtually, or a combination of both. Though there are certainly more limitations on what kinds of art displays we are currently capable of creating, it’s worth considering the importance of snagging a few process photos as your students work.
When there is a collection of artwork ready to display, what else do you need to prepare?
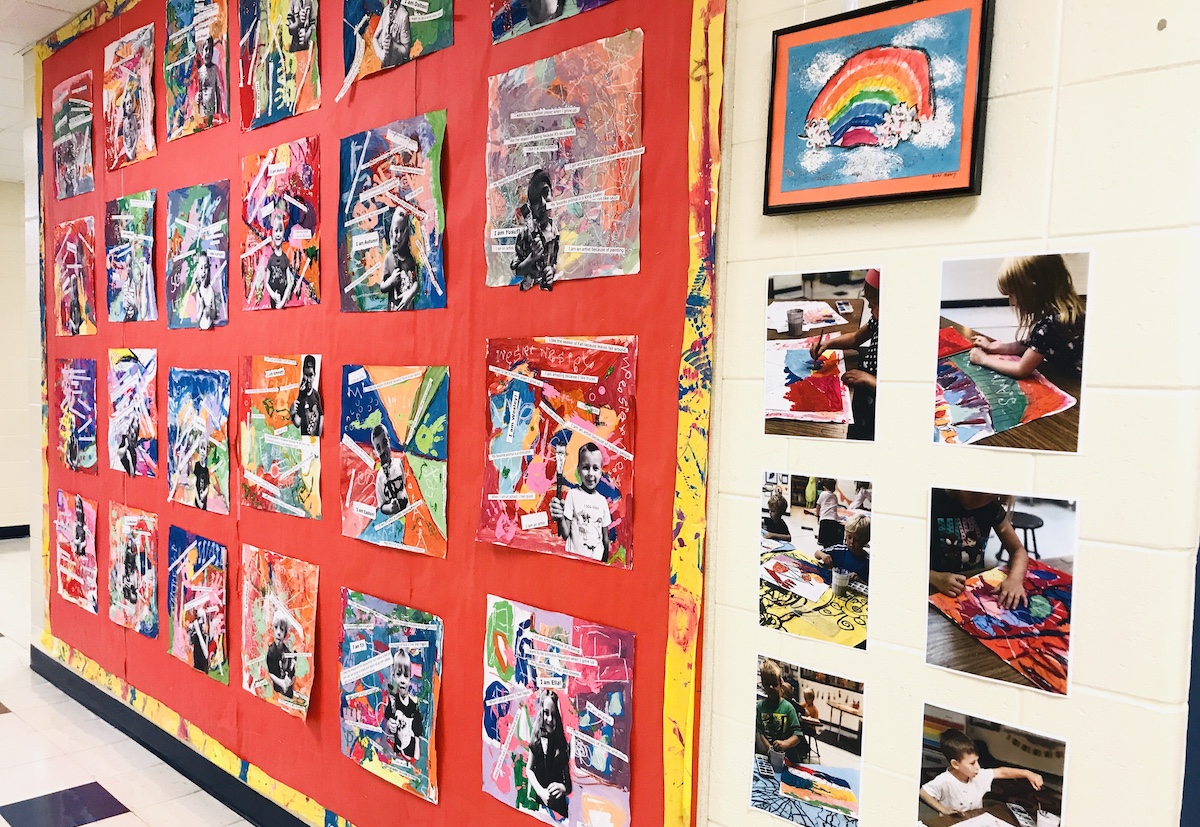
Likely, you take your stack of beautiful student artwork to the display board. If you are teaching virtually, you may have a collection of photographs of submitted artwork from your students. You might have created a detailed description of what your students have been working on, like key concepts, learning targets, and inspirational artists. You may have even made a large banner or a video description of what key concepts were covered. But, have you ever considered adding process photos to your online or in-person art display?
Understand lessons step by step with FLEX Curriculum.
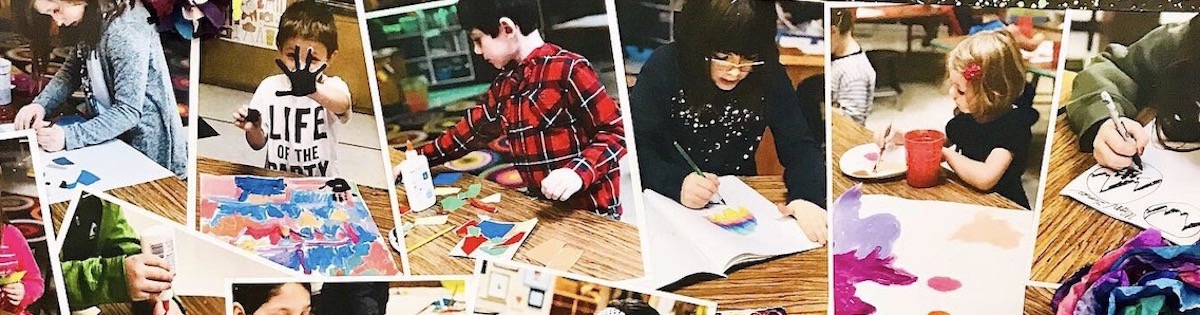
Try taking photos of your students working on their art during the project. If your students are learning virtually, have them experiment with taking a fast motion video, or close-up photograph of their artwork creation. Then, when students complete the project, add the “behind the scenes” photos to the board or to their online art show to give viewers some of the “how it was made” process instead of simply the final product.
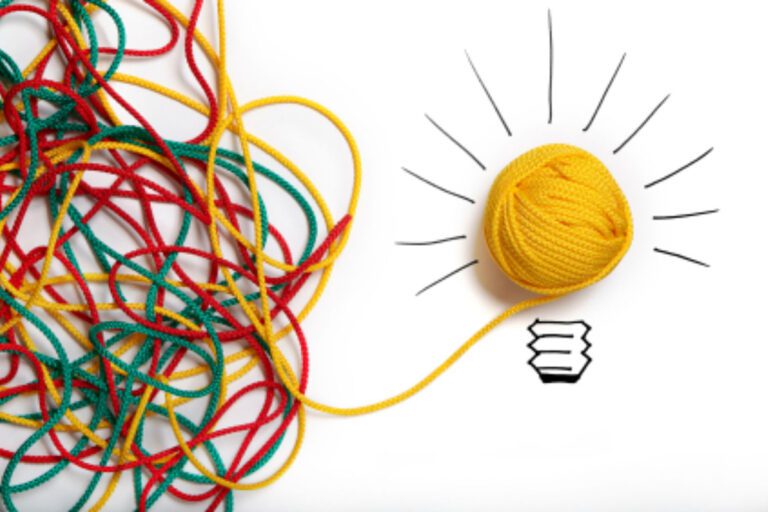
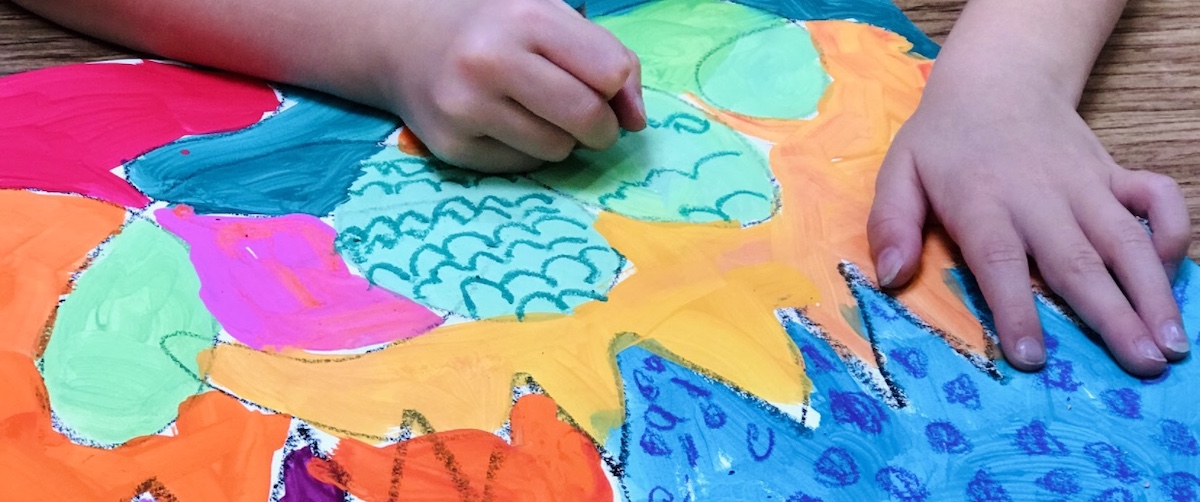
Artmaking is not only about the final product—it is equally about the process of creating.
Yes, it does take a little forethought to make sure you are taking pictures of students working on their projects along the way. It may also take a little extra teaching to show your students how they can use technology to capture process images and videos of them creating their work. It does help to think ahead about which specific projects you will display or already take photos to share on social media, so you are set to go! You may even have a collection of photos you have been taking of students’ working already. Those photos are likely just sitting on your phone, waiting to be shown off to your school and community.
So, what are the benefits of displaying process photos with your art exhibits?
1. Viewers feel like they are in on the action.
Not everyone knows what goes on in the art room, during art on a cart, or what your virtual lessons look like. They see a completed project and focus mainly on the final result instead of all the time and advanced learning that went into completing it. Give viewers a digital glance into your classroom by showing them the work ethic of your students and the processes used to create their projects.
2. It shows the “how.”
We all know those people who walk past an exhibit and exclaim, “Whoa, a first grader made that!? I could never do that!” What they don’t realize is that, if they had an amazing art teacher guiding them, they could! Displaying process pics is a way to visually show people who want answers to the “how” of creating art.
3. Process photos spice up your displays.

Sometimes, stapling up a grid of artwork can make your eyes blur. It is nice to break up the display with process photos and descriptions of artwork—especially if you are displaying artwork outside of school, somewhere in your community. An eye-catching display will draw viewers in to check out the exhibit. Check out this article about how to get your student’s art displayed in the community.
4. Photos increase student ownership and pride.
When students see their artwork displayed, they feel a great sense of pride and ownership over their creation. In addition, seeing a photo of them working hard, smiling, or helping a friend can really encourage an awesome conversation about what kind of behavior is expected. Conversely, collecting images or videos of students working virtually within their learning space is an excellent eye into your student’s creative process.
5. It allows a “behind the scenes” look at complex artistic processes.
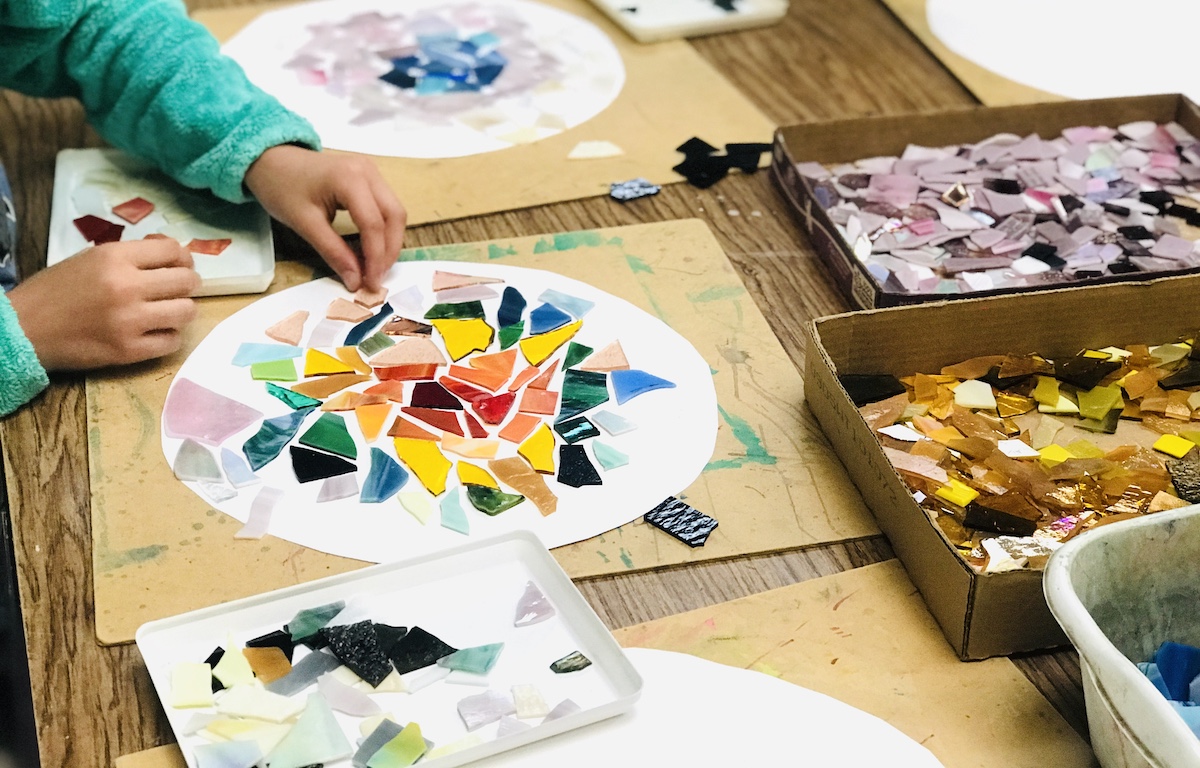
It is especially fun to show process photos of work when students have created something with a more complex process. For example, if you are creating mosaic stepping stones, showing the process of choosing radial designs from glass pieces can be a fun way to highlight a little “behind the scenes” work.
6. You have a display at the ready.
Once you have a collection of beautiful process photos, it feels like a shame to simply recycle them after they have been displayed. So, why not display them all at the beginning or end of the year? Process photos of happy artists are a great solution to empty bulletin boards.
With just a little time and planning, you can take your art displays, both in person and virtually, to the next level! Digitally invite people into your classroom by adding process photos into your display process.
What else do you like to add to your art displays?
What benefits do you see from adding process photos to art displays?
How do you feel process photos and videos can amp up an online art show?
Magazine articles and podcasts are opinions of professional education contributors and do not necessarily represent the position of the Art of Education University (AOEU) or its academic offerings. Contributors use terms in the way they are most often talked about in the scope of their educational experiences.