Take this quiz to find out what art room organization style best fits you! Just kidding—this isn’t an actual quiz. Instead, it’s a chance for you to celebrate the type of organizer you are and learn a few tips and tricks to set up a thriving classroom.
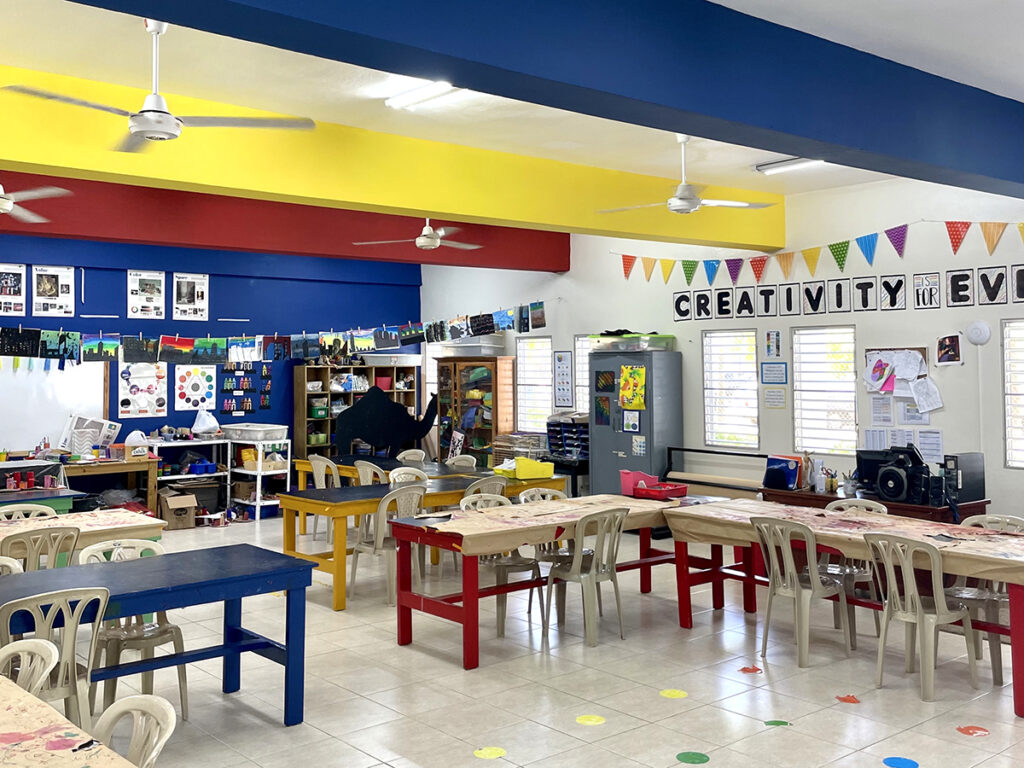
Whether you have spent one week in the art room or fifteen years, you have probably heard organization is the key to success. After all, how else are you going to run a classroom, store art projects, prepare for art shows, inventory supplies, and keep your sanity all at once? Being organized may be the key—but what that looks like is different for everyone.
Organization styles are as varied as teaching techniques. Your way of handling your classroom is unique to you. But no matter your style, there may be room for improvement.
Try these tips and tricks to take your style of organization to the next level.
1. The “Where To Start?” Organizer
You are taking over an art room and setting it up for the first time. The closets are full of half sets of mismatched art supplies. There’s a drawer overflowing with copies of previous art projects. Hanging file folders hold a hodgepodge of curriculum resources. There are collections of everything under the sun. Is that an overhead projector transparency over there?
If this is you, try these tips and tricks:
- Focus on one space at a time.
It can be easy to feel overwhelmed by the scope of the project at hand. By working on one area at a time, you deconstruct the task into achievable steps. - Reduce, reuse, recycle.
Sort through the clutter and evaluate what you find. Consider whether itmes can be thrown away, repurposed, or donated. Don’t overthink it. - Remember: it’s a process.
You won’t transform your classroom overnight. Determine the essential spaces that need to function to get you teaching comfortably. The rest will come little by little.
Here are resources to set up your art room organization for the first time:
- 3 Simple Steps to Reassess and Reorganize Your Art Supplies
- What Do New Teachers Need to Know About Organization? (Ep. 309)
- Organizing Your Elementary Art Room for Success Pack in PRO Learning
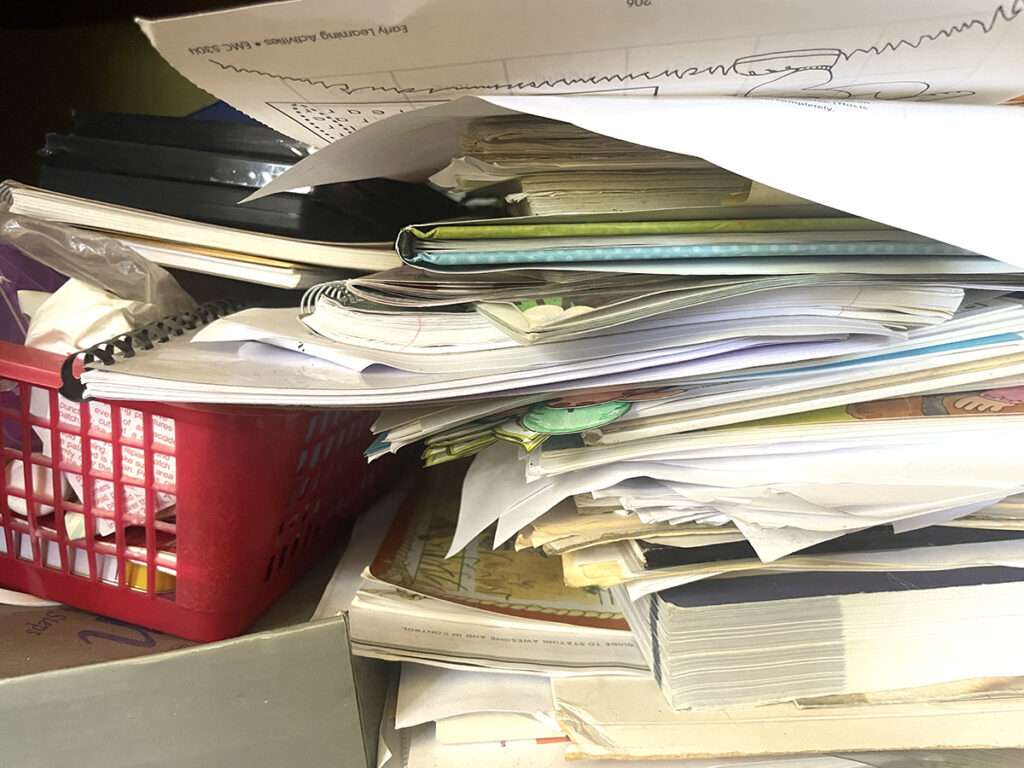
2. The “It’s Here Somewhere” Organizer
You have piles of papers covering your desk—student drawings, extra copies, wayward behavior tracking sheets, you name it. The oil pastel boxes are stacked on top of the paper for tomorrow’s artmaking extravaganza. You have a pile of art projects stuffed in the corner to store. Now, if you could just find the scissors that must be here somewhere…
If this is you, try these tips and tricks:
- Choose a specific area for everything.
By picking a spot for each item in your room to live, you’re more likely to put it there. It will take practice to make this habit stick but, in the end, it’s worth it. - Straighten up before calling it a day.
Spend five minutes at the end of each day putting things back into their proper place. It may be a struggle finding the energy, but your future self is sure to thank you. - Get rid of unnecessary horizontal spaces.
The less surface space you have to accumulate piles of materials, the more likely you are to stay organized. Consider repurposing cluttered horizontal surfaces.
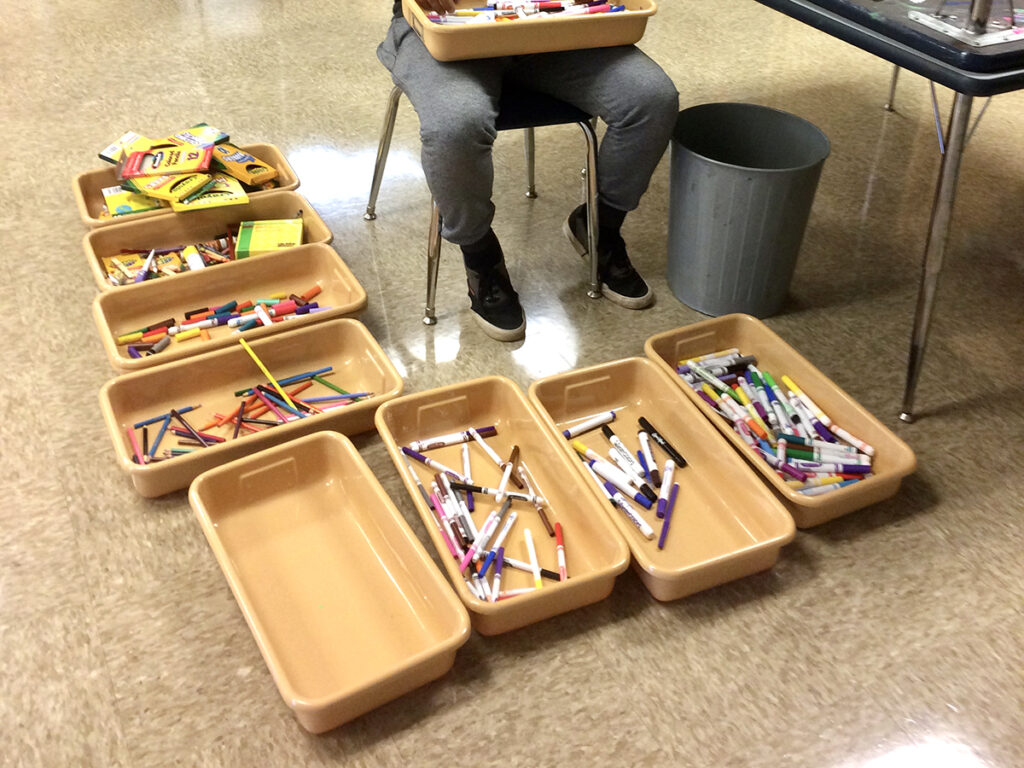
3. The “Method From Madness” Organizer
You store your permanent markers in separate bins of six, one for each group. Paper sits in individual bundles on your prep table. An accumulation of odd-and-end projects sits by the door waiting to go home with students at the end of the day. To the untrained eye, it may look like a mess. But you know better. Don’t move a thing, because there is a definite method to the madness!
If this is you, try these tips and tricks:
- Make sure your students know your ways.
You may know how everything works, but do your students? Your room is more likely to stay organized if you’re all on the same page. - Prepare for when you aren’t around.
You may not always be around to help others make sense of yourmadnessorganizational style. Keep a detailed subfolder with emergency supplies and label frequently used areas and systems. - Check your efficiency.
Sometimes your way of doing things may not be the most effective way. Reflect on how you do what you do to see if there is a system you want to enhance.
4. The “Out of Sight” Organizer
You have pretty good systems up and running. Most materials have their place and aren’t cluttering your surface areas. You feel good about a lot of what is going on in your classroom. Then there is that one filing cabinet, closet, or storage room that makes you shudder. It’s not at all together and could definitely use some work. But it’s fine because it’s out of sight and out of mind… most of the time.
If this is you, try these tips and tricks:
- Set manageable goals to tackle the space.
Come up with small, specific goals to empower you to tackle this monumental task. You will only have to think one goal ahead at a time. - Chunk your time to achieve success.
Chances are you aren’t overflowing with free time to straighten up. Set aside a little time each week to dedicate to what you want to accomplish. A little goes a long way. - Revamp your storage.
There’s a reason this area got the way it is. Reflect on whether you need to make changes to how you use the zone. You can save time later by implementing a new strategy now.
Here are resources to keep the clutter in your room under control:
- Declutter the Art Room Now: 5 Considerations for Meaningful Spring Cleaning
- How Much of a Mess Do You Tolerate? (Ep. 037)
- Rethinking Art Room Space Pack in PRO Learning
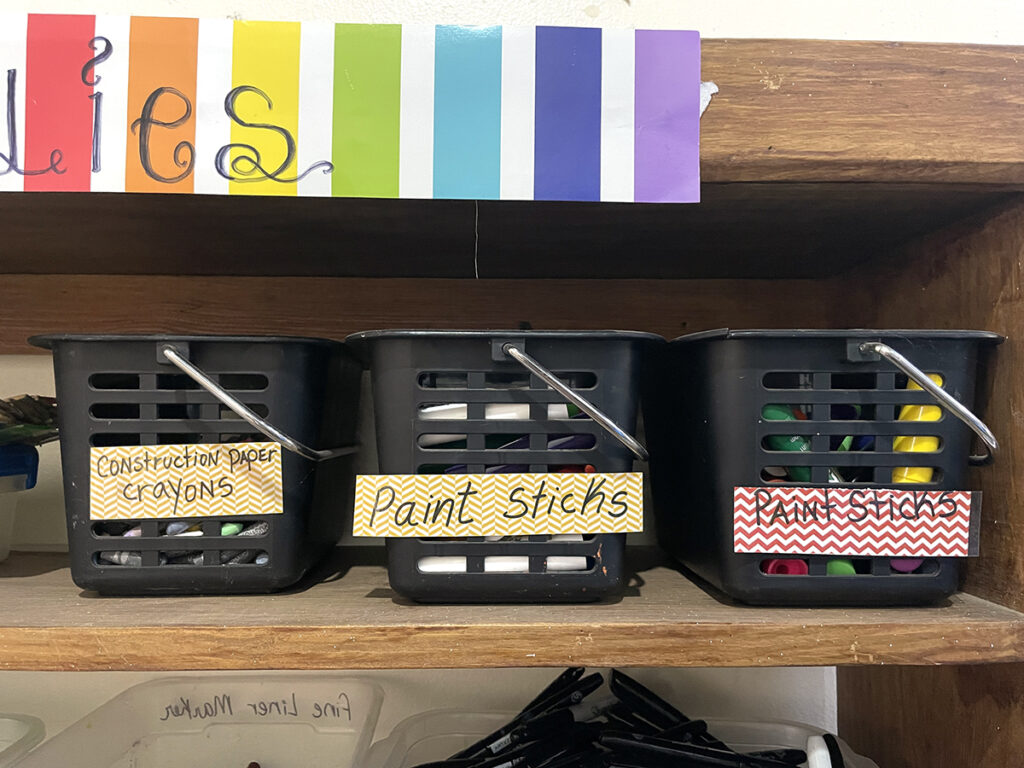
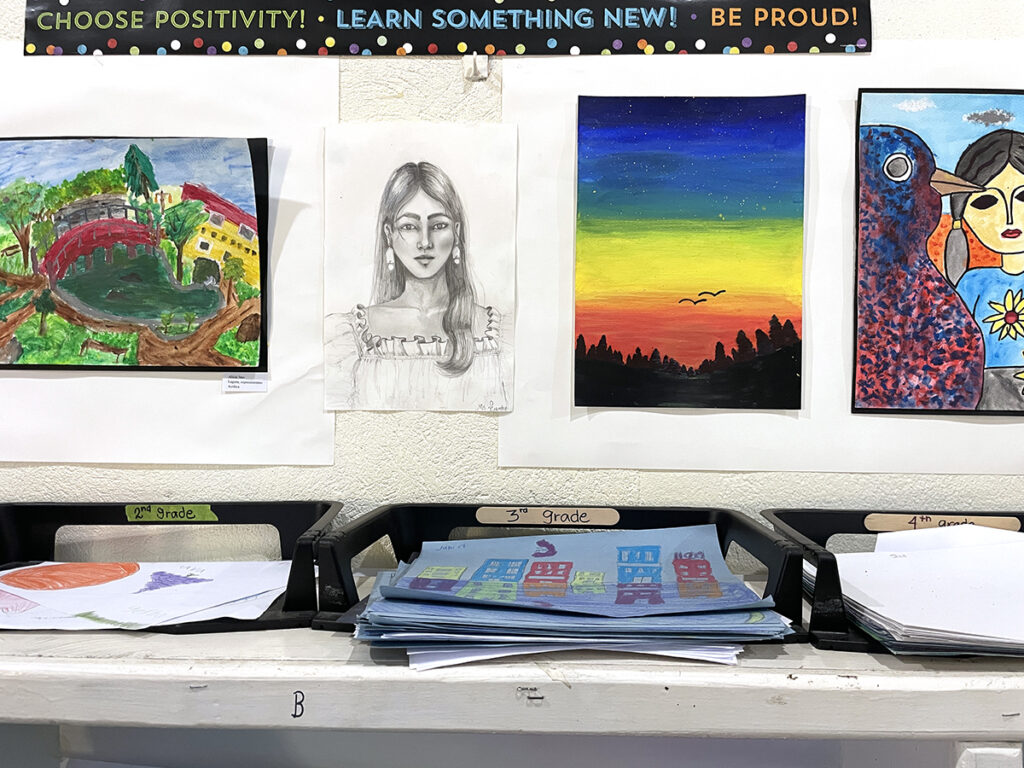
5. The “Everything in Place” Organizer
You are at the top of your game. Your neatly organized supply bins live in medium-specific cabinets. The label maker is like an extension of your hand. You find a home for every item as soon as it comes through the door. Color coding has transformed from a hobby into a passion. There’s no denying that everything is in its place in your art room.
If this is you, try these tips and tricks:
- Give ownership to your students.
Now that you have your approach down pat, open up spaces for your students to access materials. Teach them how to maintain the structure you have established. - Make your systems inclusive.
Consider ways to alter your organization schemas to be less language-reliant. Adding visual cues will help enable all learners in your class to uphold your system. - Share your secrets with others.
You have learned so much on the road to where you are right now. Start posting the tips and tricks you’ve picked up along the way for other art teachers to succeed just like you!
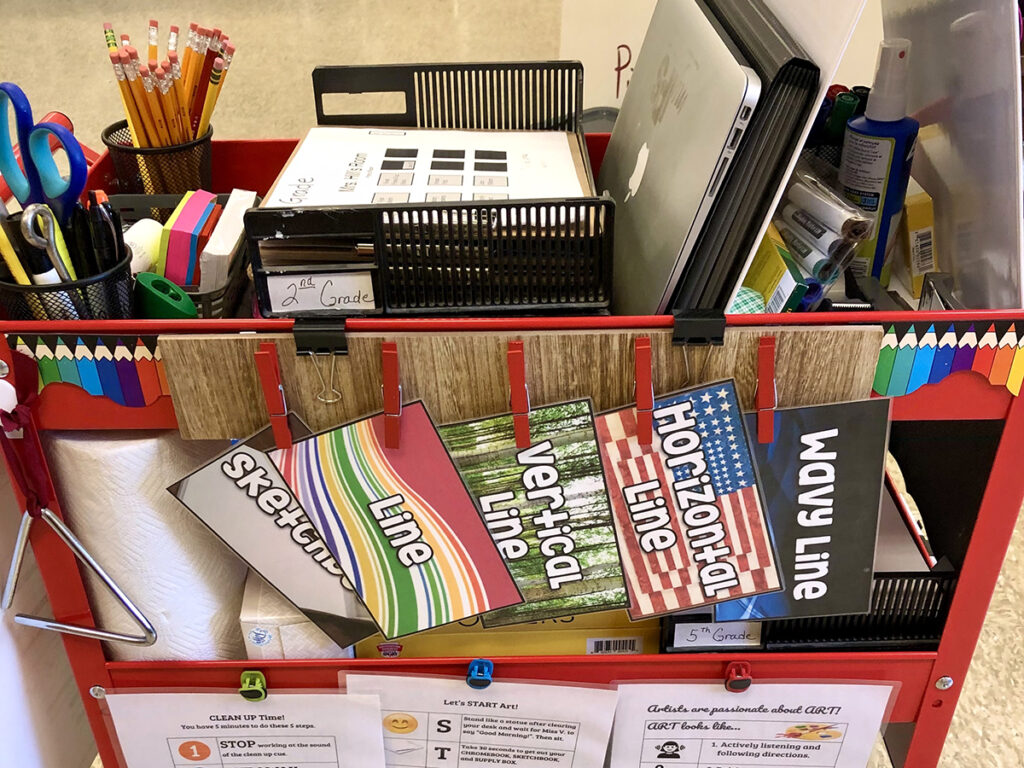
6. The “Art Cart Smart” Organizer
You are a traveling art teacher splitting time between art rooms or you are without a room of your own. The infamous art-from-a-cart teacher lifestyle is your lot. Art supplies and projects pile up on your four-wheeled wagon. You are constantly packing and unpacking what you need for each class period. Working smart is a must for you to survive teaching from your art cart.
If this is you, try these tips and tricks:
- Optimize the space you have.
Get creative when storing art materials and artwork. Look for ways to stack and hang anything you can. Prioritize and categorize items for easier access. - Brainstorm storage solutions with colleagues.
Chances are the teachers around you can help come up with creative methods to meet your needs. From extra shelf space to an unused closet, you will never know until you ask. - Evolve your cart according to your needs.
Try different arrangements for your cart as you go. You will quickly notice what’s lacking and what you can move. Be on the lookout for ways to mix it up.
7. The “Yours, Mine, Ours” Organizer
You are not alone in your art room. Circumstances dictate you share your creative sanctuary or storage area with another teacher. You have limited control over what this partnership looks like. Together you must tackle the ins and outs of preparing to make magic happen in your classes. Navigating what is yours and theirs is a tricky dance that adds complexity.
If this is you, try these tips and tricks:
- Meet with your partner early and often.
Introduce yourself to the person you share space with. Share with each other what your priorities are and what materials you use on a regular basis. Make sure you are on the same page. - Gather the supplies for your week in a selected area.
Communicate to your partner the supplies you will be using. This way, you can be sure you will have what you need when you need it. - Set boundaries politely and kindly.
As you work together, you may have to ask your partner to make changes to the way they do things. Always make sure to consider their needs as well as your own. You are a team!
Here are organizational resources for non-traditional circumstances:
- Organizing the Art Room for Choice Pack in PRO Learning
- More Ideas for Teaching Art on a Cart (Ep. 243)
- 3 Tips to Navigate Sharing a Room With Another Teacher
No matter your situation or style, you can set yourself up for organizational success. Own who you are as an art teacher and as an organizer. Only you know what works for you and fits your classroom needs. Use your style to pick and choose what will best work for you. Tap into the resources above to help you improve. You will be leveling up your organization in no time!
What is your art teacher organization style?
What is the first step you’ll take to level up your organization this week?
Magazine articles and podcasts are opinions of professional education contributors and do not necessarily represent the position of the Art of Education University (AOEU) or its academic offerings. Contributors use terms in the way they are most often talked about in the scope of their educational experiences.