Designing a cohesive and engaging art curriculum across grade levels and media can feel like piecing together a massive puzzle. It’s exciting, but daunting! With so many standards, objectives, materials, skills, and concepts to cover, it’s easy to get bogged down in the details and lose sight of your long-term goals. That’s why an organized art curriculum isn’t just helpful—it’s essential. Taking the time to organize your curriculum will create a clear and intentional guide for the artistic journey ahead.
Learn how to organize your art curriculum from a pile of lesson plans to a clear roadmap for artistic growth.
Note: Follow all district- and school-required curricula.

Consider different themes to organize cohesive units.
One way to divide up the year is into units, which are then broken down into lesson plans. Use themes to dictate your units to create a smoother and more meaningful learning experience for students. Instead of a random assortment of disparate projects, themed units push students to make deeper connections and gain more practice and skill proficiency.
Design units based on a number of themes, including:
- The Elements of Art and Principles of Design
- Media or Subject Matter
- Cultural Understanding
- Cross-Curricular Connections
- Timeline of Global Art History
- Local Artists
- Art Careers
If you have complete freedom with your scope and sequence, consider using the same theme for all your grade levels or courses. At the elementary level, you can do a Clay Week with all of your classes, with each grade level learning different clay processes and making different ceramic products. At the secondary level, you can do a Powerful Portrait unit. Foundations can try grid drawing. Drawing can demonstrate shading and blending with charcoal from observation, and advanced courses can explore conceptual portraits that synthesize media. This allows you to reuse the same displays, anchor charts, and often art supplies all day for less prep work.

Develop clear learning objectives for each unit.
While many art teachers get excited about specific project ideas, it is important to remember that projects are simply the path to reaching curricular goals. Start by identifying the goals for the year and then work backwards. Usually, your district will establish these goals based on the National Core Arts Standards, so there’s consistency across all schools.
Sequence the lessons to build complexity.
Once you establish units with goals, break down each unit into lessons. Consider what foundational skills students need to explore or master before moving on in the unit. Then, choose projects and other experiences to help your students reach those objectives. A well-organized curriculum is a way to advocate for your program. When it’s done, it’s easy to make it transparent and accessible for stakeholders like parents, future and current students, and administrators.

Building a strong, sequenced curriculum is a lot of work! If you don’t have the planning capacity or the hours to pour into this, don’t worry. The Curricula feature in FLEX Curriculum is a curated view of FLEX’s vast archive of thousands of standards-aligned lesson plans and resources. It’s organized by grade-level classes for elementary and media-based courses for secondary. Each Curriculum notes how many hours and lessons to complete. To meet the unique needs of each art teacher and their student population, FLEX allows you to customize your own library. Add a Curriculum, Collections, or Lessons that catch your eye and tweak them for your specific classes.
Curate a collection of lessons and resources you can pull from year after year.
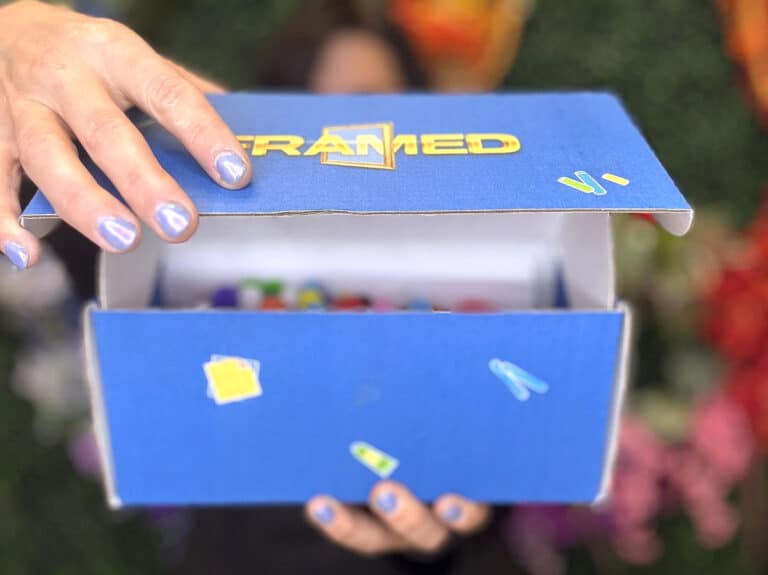
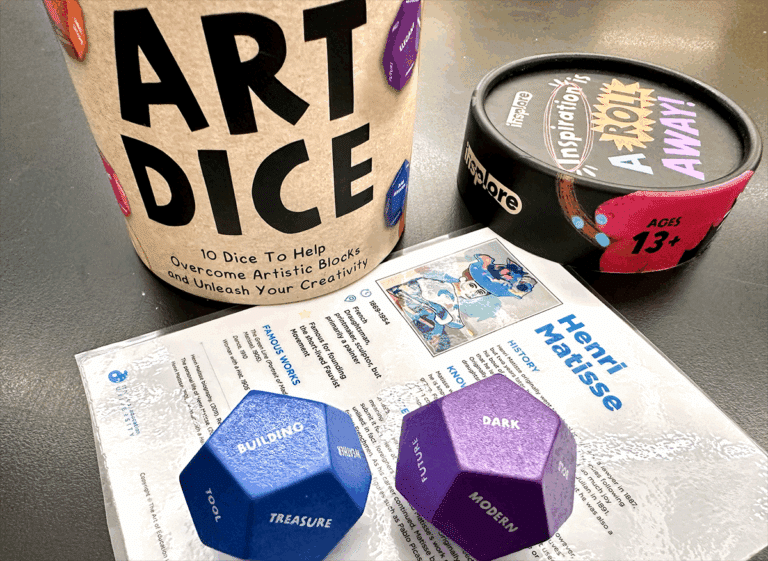
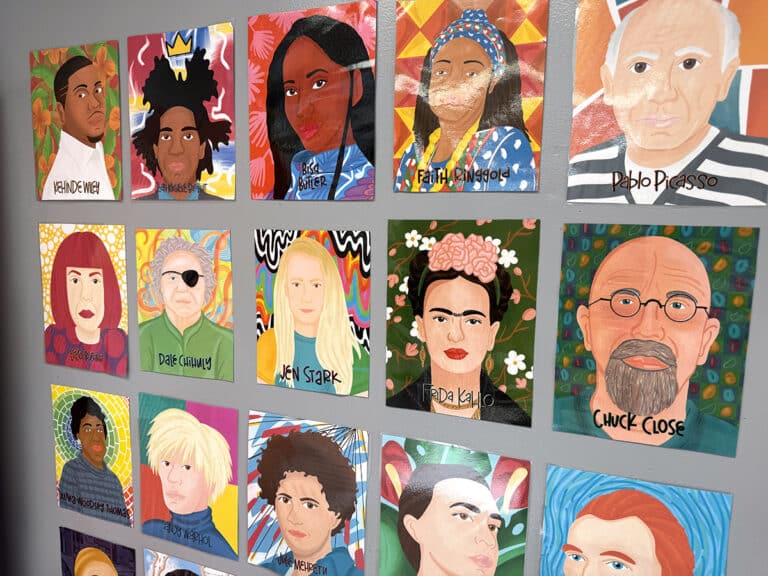
Set yourself up for success with a library of teacher resources. This can include lesson plan ideas, project examples, rubrics, handouts, supply lists, and even inspirational images. It can be a note on your phone, a physical file folder, or the Bookmark feature in FLEX. Investing time in a well-structured system will save you countless hours every year going forward. Every time you see something you like, add it to your resource library. When you’re looking for a way to switch up a stale lesson later, you’ll have inspiration organized at your fingertips.
Customize your curriculum organizational strategy.
The best organizational systems will lighten your workload, not add to it. Unfortunately, there isn’t one ideal system that works for everyone. The best system is the one you will stick to and implement consistently. If you’re a new teacher, it may take some experimentation to see what works for you. If you’re a veteran, consider ways to update your systems so they continue to serve you and your students well.

Here are three approaches to consider:
- The Paper System
Traditionally, teachers filled file folders, binders, and bins with physical copies of instructional materials. For those who have the classroom space and love the tactile experience, this is a great screen-free system! It’s very satisfying to have color-coded files, right in front of you. - The Computer System
Those with smaller art rooms, shared spaces, or working off of a cart may not have the space for the Paper System. Photographing, scanning, and organizing digital files reduces physical clutter and keeps resources nearby with the click of a button. - The Networked System
Moving the files from your computer to the cloud, networked drive, class website, or Learning Management System (LMS) takes things to a new level. This system allows you to easily share curricular resources and information with parents, students, and administrators.
Make small changes for long-term success.
Once the school year gets underway, things get busy fast. It’s easy to let your freshly revised curriculum fall by the wayside with all of your other tasks and responsibilities. Keep yourself set up for success by making small steps on a regular basis. As the year progresses, your curriculum will stay neat, tidy, and full of inspiration!

Here are four small steps to make a regular part of your routine:
- Document student work.
Work samples spark ideas and help students learn from each other. Add a few blank slides to the end of your presentations as a space for student work. Insert pictures of works-in-progress or completed pieces while you walk around the room. - Dedicate small blocks of time to tedious tasks.
Set a timer for 10-15 minutes to tackle unglamorous tasks like uploading, labeling, or sorting. By keeping it short, you will be able to fit it into your daily schedule. After a few weeks, the progress will shock you! - Use a consistent file naming system.
Standard naming conventions make the system work for you. For example, put keywords like grade level, subject, or medium in the names of digital files. This will make them easier to search for in the future. - Create a central hub for quick reference.
After teaching the same thing for several years (or even classes) in a row, often a quick overview is all you need to jog your memory. Hyperdocs, such as a slide deck or spreadsheet filled with links, are the perfect one-stop shop to help you find exactly what you need right before class starts.
Schedule time to reflect and revise.
Our students and the world around us are always shifting. To keep our teaching relevant, our art curriculum shouldn’t remain static. After a big unit, take a few moments to think about how it went. What would you definitely keep for next time? What would you adjust if you did it again? You can even ask your students to provide feedback, too! Note your reflections so you can apply your learnings next time.
The best art teachers are the best students, always seeking to learn and discover new things! Another way to reflect and revise is to keep exploring. Experiment with new media and techniques, visit art museums to find fresh artists, and join other art educators as they share their great ideas and what’s trending. Inspiration is all around, just waiting for you to add it to your curriculum!

Organizing your curriculum is a journey. Your curriculum will continue to evolve alongside your students, teaching practice, and the world! Whether you thrive with color-coded folders or cloud-based systems, the key is to find an approach that works for you. Make intentional choices by working backwards or incorporating themes. Take some time before the school year starts to get your curriculum organized and then schedule small chunks of time to maintain and revise throughout the year. A strong foundation will foster the magic of the art room and keep the artmaking passion alive!
What tools do you wish you had to make organizing your art curriculum easier?
To chat about curriculum organization with other art teachers, join us in The Art of Ed Community!
Magazine articles and podcasts are opinions of professional education contributors and do not necessarily represent the position of the Art of Education University (AOEU) or its academic offerings. Contributors use terms in the way they are most often talked about in the scope of their educational experiences.