Many art teachers pick up and hang onto a lot of inspiring resources. Some art teachers are self-proclaimed maximalists with closets stuffed to the brim. Other art teachers are more minimalistic with digital resources. Whichever direction you lean, teaching art requires a lot of resources! From museum pamphlets to reproduction posters, it can feel overwhelming trying to organize it all. If you have art resources piled up to the closet ceiling or taking up massive storage space on your laptop, keep reading to learn ways to streamline and stay organized.
Take your organization game to the next level and sort, discard, arrange, and store those resources!
For more clever ways to tackle the complex nature of art room organization, watch AOEU’s newest YouTube mini-series, Artfully Organized. Join Paula Liz as she brings together several art teachers to tackle labeling, table caddies, learning target walls, and more. Be sure to subscribe so you don’t miss future videos!
Maybe you’ve seen the classroom poster, “Please excuse the mess, we’re learning!” We’ve all shoved resources in a pile instead of putting them back in the appropriate place. Teaching art comes with a ton of messy art supplies, mediums, artwork, and handouts. Art is often considered a right-brained field because creativity and imagination flow from this side of the brain. The left side of the brain helps order the creative chaos. Consider how you can merge both sides of your brain to be a powerhouse of creative organization! Organizing the resource chaos will allow you to pivot a lesson in an instant, decrease stress levels if you have to unexpectedly move classrooms, and set a guest teacher up for success.
Here’s a list of common teaching resources to consider:
- Handouts and worksheets
- Exemplars (two and three-dimensional; physical and digital)
- Art reproductions and posters
- Books
- Lesson plans
- Artist biographies
- Binders
- Vocabulary cards
- Websites and video links

Follow the short step-by-step guide below to begin organizing your resources.
As you go through this process, remember just that—it’s a process. It will take time and you will not get it done in one planning period or day. Tackle one pile or digital folder at a time. The steps below are a guide and starting point. As you dig into your resources, consider your needs and the needs of your students to determine what you should toss and how to organize what you keep.
Step 1: Embrace the mess.
Just like with any art project, things usually get messier before they get better! With that mindset, find a cluttered spot (any spot!), embrace the mess, and start! If you feel anxious as you look around at the clutter, savor the feeling and tuck it away. Pull that feeling back out when you’re at a museum about to grab a pamphlet to throw in your desk drawer—”just in case.”
Consider if you really need that freebie by asking yourself the following two questions:
- What will I use this for this school year?
- Where will I keep it?
Step 2: Decide if you will go physical, digital, or a combination of both.
There are perks to both physical and digital resources. Digital resources are much less cumbersome to take with you if you’re planning on moving rooms or switching schools. They’re also great if you are a traveling art teacher! Digital resources allow you and your students to work easily from home as long as there is access to the internet and technology. Physical resources give students a break from screens and provide them with something tactile to hold and inspect. Displayed resources decorate the studio walls and indirectly reinforce concepts and inspire new ideas. Watch the video of Marina Alfera below to learn how this traveling art teacher keeps her digital resources organized.
Who says you have to pick just one? You can do a combination of both physical and digital resources for the best of both worlds! If you decide to do a hybrid, a pro tip is to label your physical bins and folders the same way you label your digital ones. This consistency will make it easier to find what you need when you need it.
If you’re tired of sorting through physical resources and spending hours planning lessons aligned to standards, go the minimalist digital route with FLEX Curriculum! FLEX has searchable filters and editable PDFs, so you can kiss the papercuts goodbye. There are thousands of resources and everything is printable; if your substitute needs a paper copy, you’re all set. Search FLEX by Subject, Theme, Medium, Elements & Principles, Movement, and Connection (from other content areas.) If you’re interested in getting FLEX for your school, fill out this quick contact form.
Step 3: Assess storage spaces.
Once you know if you’re going the physical, digital, or combo route, assess the space you have. Take a quick mental inventory of your closets, cabinets, drawers, bins, boxes, portfolios, external hard drives, and cloud storage. You don’t need to go out and buy fancy flat files or plastic tubs. Check with your cafeteria, office, and maintenance staff for free cardboard boxes and paper boxes. These make great bins to store your resources in until you know you have a system that works well. Your space will do a good job of dictating how much to keep.
Then, reflect on the courses you teach and your teaching approach. For example, if you teach an art history course and you move through the curriculum chronologically, you may want to organize your resources by time period and art movement. If you spend a month on each time period, it may make sense to store the resources deeper in your closet. However, if you move through time periods fairly quickly, you may want to keep the resources more easily accessible, perhaps in a cabinet near your bulletin board. Let’s look at another example. If you post vocabulary words by unit for each individual grade level, keep labeled envelopes of pre-printed words for each unit in a drawer close to your word wall for easy access.
Step 4: Inventory, purge, and organize resources.
If you have the time and space to do all of your resources at once, it can be extremely helpful to see what you have. Dump everything on tables and start sorting by the courses you teach and your teaching approach. This is a good way to see how many multiples you have and the sheer quantity of resources you have for a particular artist, topic, or unit. Purge any extra items you don’t need, haven’t used or displayed in the past 3-5 years, or don’t have the physical storage space to keep. If it feels too wasteful to recycle, see if any other art teachers in your building or district want the items.
Doing all of your resources at once may not be feasible. Tackle small piles or bins, one at a time. Ten minutes here and there will add up quickly! If you organize one drawer or one digital file folder a week, by the end of the year, you’ll be well on your way.
Here are some tips as you take inventory and decide what to keep or toss:
- Handouts and Worksheets
Keep one blank example to photocopy or print and one completed example as a reference. - Project Exemplars
These can be quite cumbersome especially if you’ve been collecting artworks for years and have a lot of three-dimensional pieces! Some artworks do not translate well through a photo, so physically keep only the best exemplars. Snap photos of the rest to share digitally. If you have space, it can also help to keep one set per lesson of artwork at each stage of the process. - Posters
If you’re short on flat file space, roll them up and secure the ends with paper clips. Label the back edge with the name and a small picture so you can quickly see what each one is without unrolling it. - Books
Many districts have virtual art textbooks. If you have stacks of old textbooks, ask your department chair or district art supervisor where to move them. For individual art books, keep the ones you reference each year. For the books you haven’t cracked open in 3-5 years, donate to your school library. - Lesson Plans
Most lesson plans are digitally stored. Whether you prefer old-school printouts or typed lessons, add the date and class/period you last taught the lesson to at the top to help with future planning. - Artist Bios
Print a copy of each artist bio and slide it into your folder or bin for the unit or lesson it’s a part of so you don’t forget! Find hundreds of detailed student-facing artist bios in FLEX Curriculum. - Pamphlets, Postcards, and Miscellaneous Papers
If you rediscover a resource, consider if you will use it this school year. If not, toss it! If yes, store it with the unit, lesson, or artist it fits with so you don’t forget about it again. Most information can be found on the internet, so it’s not a huge deal if you toss it and then realize you need it later.

Doesn’t it feel good to pare down and purge? Again, assess what you teach and your teaching approach. This will dictate the best way to organize the resources you will keep.
Here are some common ways to organize your resources:
- Topic
- Artist
- Time period/art movement
- Medium
- Grade level
- Elements & Principles
For example, if you decide to organize your resources by topic, you can have an Architecture bin. It can include the following resources:
- Blueprints of your school
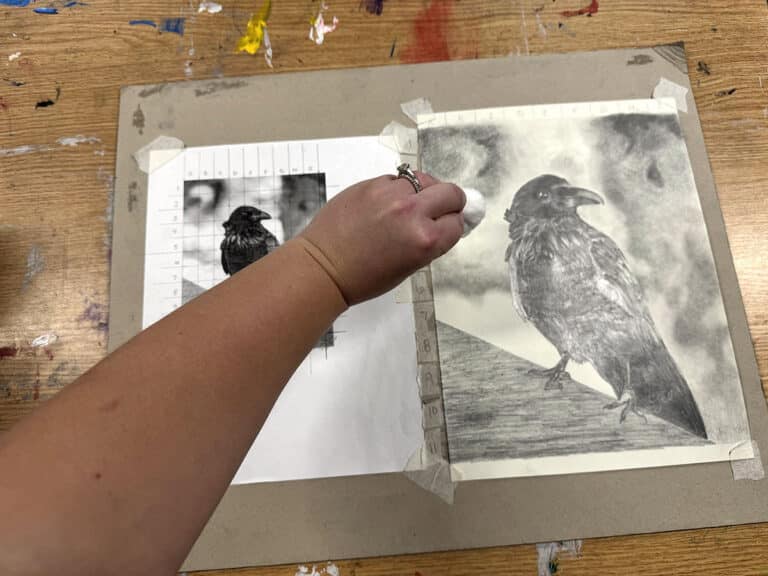
- Grid paper
- Iggy Peck Architect book by Andrea Beaty
- Books and 3-D printed models of Egyptian pyramids
- Frank Lloyd Wright’s artist bio from FLEX Curriculum
- Books about Chinese pagoda buildings
- Posters of Greek column designs
- Lesson plans from the Exploring Architecture FLEX Collection
- Student exemplar of an upcycled sculpture of the Taj Mahal
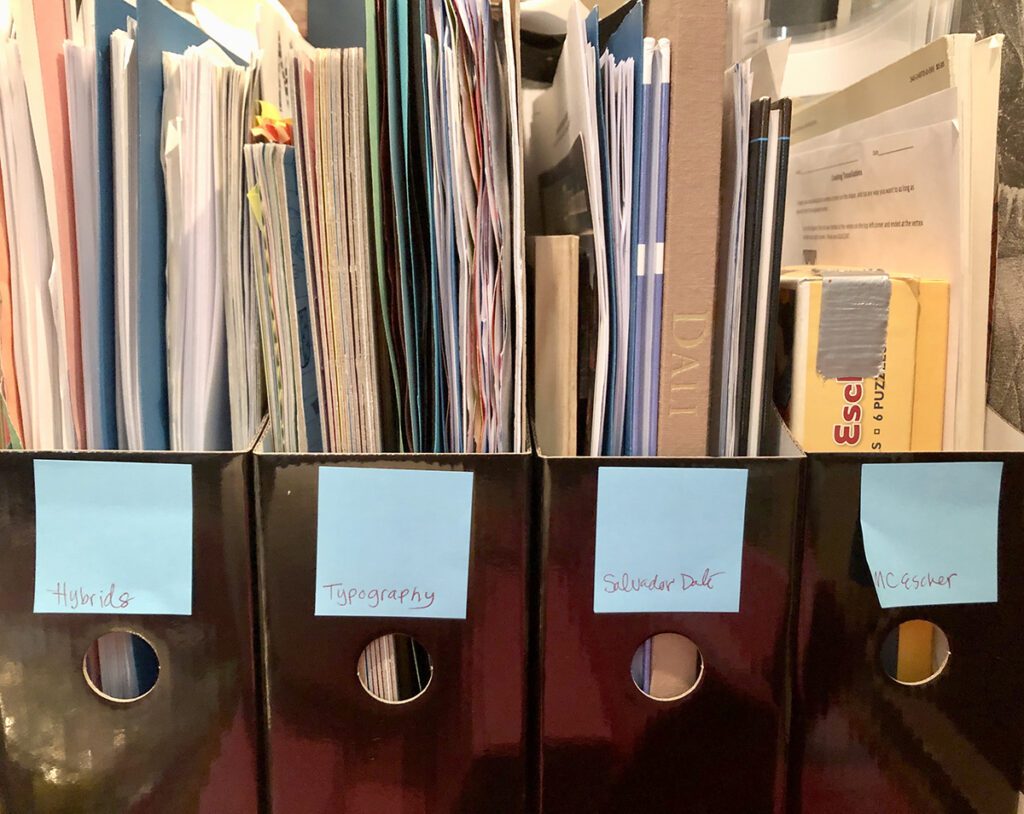
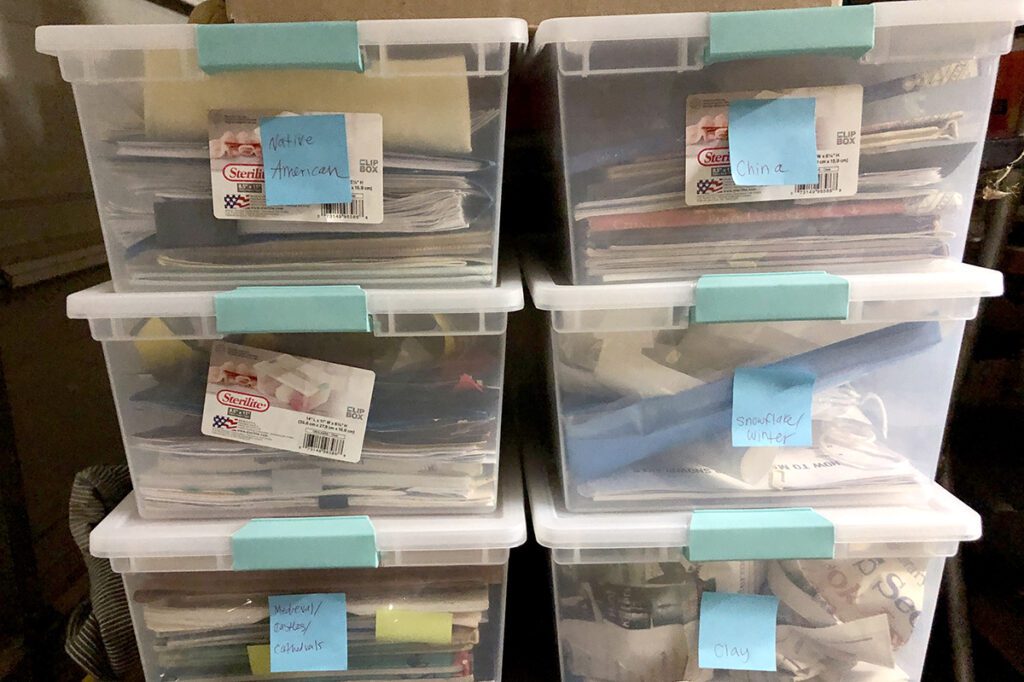
Step 5: Label resources.
Once you have what you’re going to keep, it’s time to label them. It may seem pointless because you’re going to remember where everything is. This is probably true, however a guest teacher, the teacher after you, parent volunteers, student teachers, or student helpers will not!
Labeling also helps to keep your storage spaces tidy because everything will have a home. Labels do not need to be expensive either. Simply print large signs on copy paper and stick them on your boxes with masking tape. Sticky notes are great for color coding and labeling; use the same color sticky note per unit, grade level, etc. If you keep resources in multiple spots in your room, having a color-coded system can be helpful.
A great end-of-the-year job for responsible students is to make labels for your resources. Your bins get labeled and students learn about the content in each container, practice hand lettering and typography, and gain ownership of the art room.
Organizing all of your resources does not have to be done all at once! Take it slow and start by carving out 10 minutes a week from your planning period to organize resources. By the time the year ends, it will be finished! Organization that lasts is a marathon, not a sprint. Embrace the inevitable mess and dig into your pile (or mountain!) of resources. Follow the five steps above to keep you focused and make the process manageable. Once you get into the organizing groove, you’ll experience a shift in mindset. As you pass your next table of conference freebies, you may find yourself thinking, “Do I really need that? Where will I put it?” You will be well on your way to curating the best resources for your students and being a more efficient and less stressed art teacher. Get your organizing caps on—it’s time to sort it out!
How do you organize your art resources?
Describe your organization style in three words!
Magazine articles and podcasts are opinions of professional education contributors and do not necessarily represent the position of the Art of Education University (AOEU) or its academic offerings. Contributors use terms in the way they are most often talked about in the scope of their educational experiences.