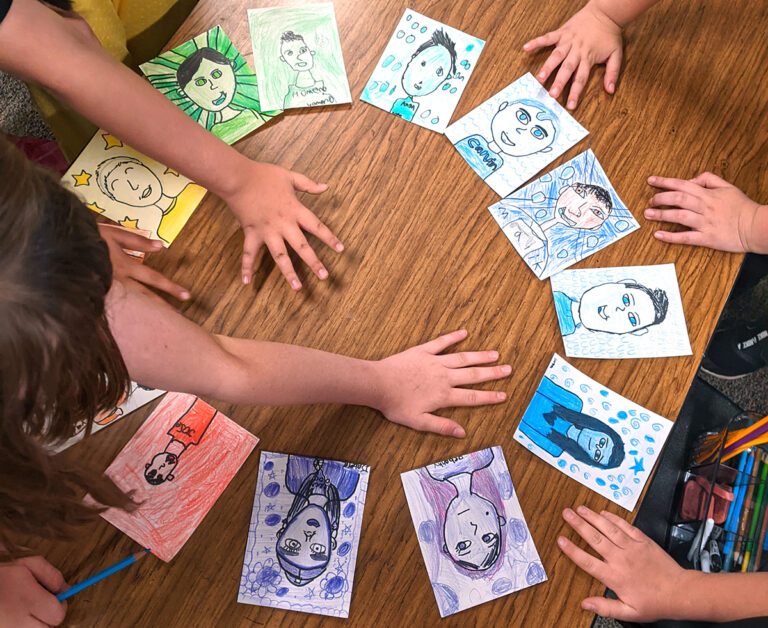
We know collaborative projects have so many positive benefits for our art students. They build skills like patience, empathy, cooperation, communication, and humility. Working collaboratively encourages students to consider different points of view and diverse perspectives. It also gives them an opportunity to practice problem-solving skills in a safe, controlled environment. Teamwork makes the dream work! Collaboration is a win but how do we group our students so they are challenged, feel comfortable, and are set up for success?
Do you need to shake things up in the classroom? Below are 10 ways to group students in the art room for collaborative projects.
1. Team or Table
This is a go-to option if your classroom is table-based. This cuts down on students moving all over the room. Most likely, students will know each other because of proximity however, if they don’t, add in an icebreaker game for the day’s bellringer!
2. Interests
Play a game like Four Corners to get students out of their seats, active, and interested. Ask a question, such as “What is your favorite medium we’ve done so far this year?” Students will move to the corner that represents their answer. For example, Corner A is Paint, Corner B is Oil Pastel, Corner C is Graphite, and Corner D is Fibers. Keep the students in these four groups or break them down into smaller sections.
Another fun Four Corners question is, “What artwork would you like to spend a day inside?” Corner A is The Scream by Edvard Munch, Corner B is Infinity Mirror Room Fireflies on Water by Yayoi Kusama, Corner C is Guernica by Pablo Picasso, and Corner D is The Boating Party by Mary Cassatt.
3. Random Digital Generator
Use an online tool to assign groups of students randomly. This is a good opportunity to talk students through a real-world scenario. One day, they may end up in a group or on a team with someone they don’t know or like but they’ll need to make it work to complete the project.

4. Popsicle Sticks
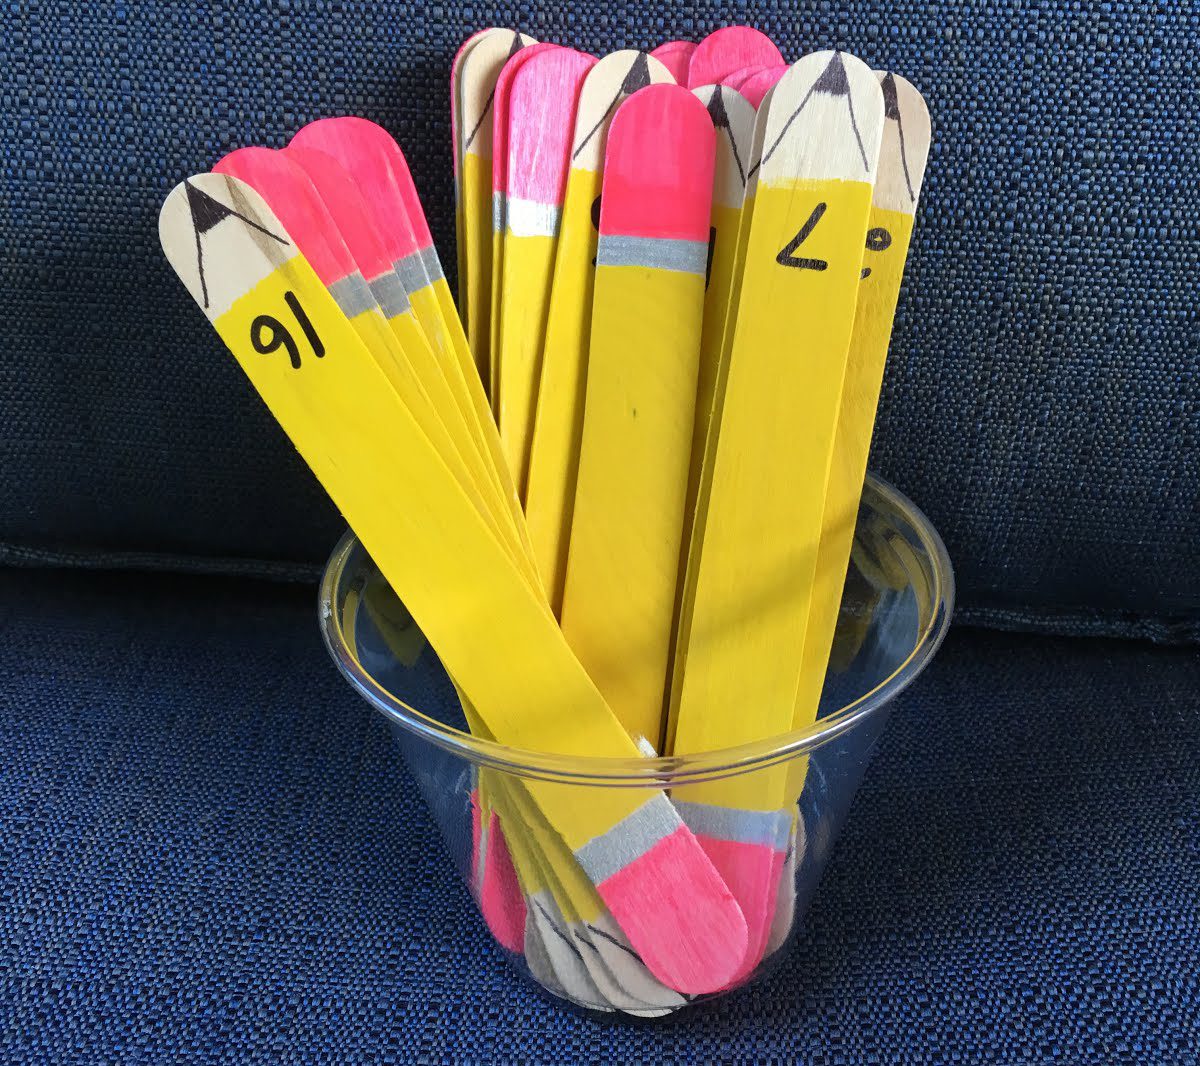
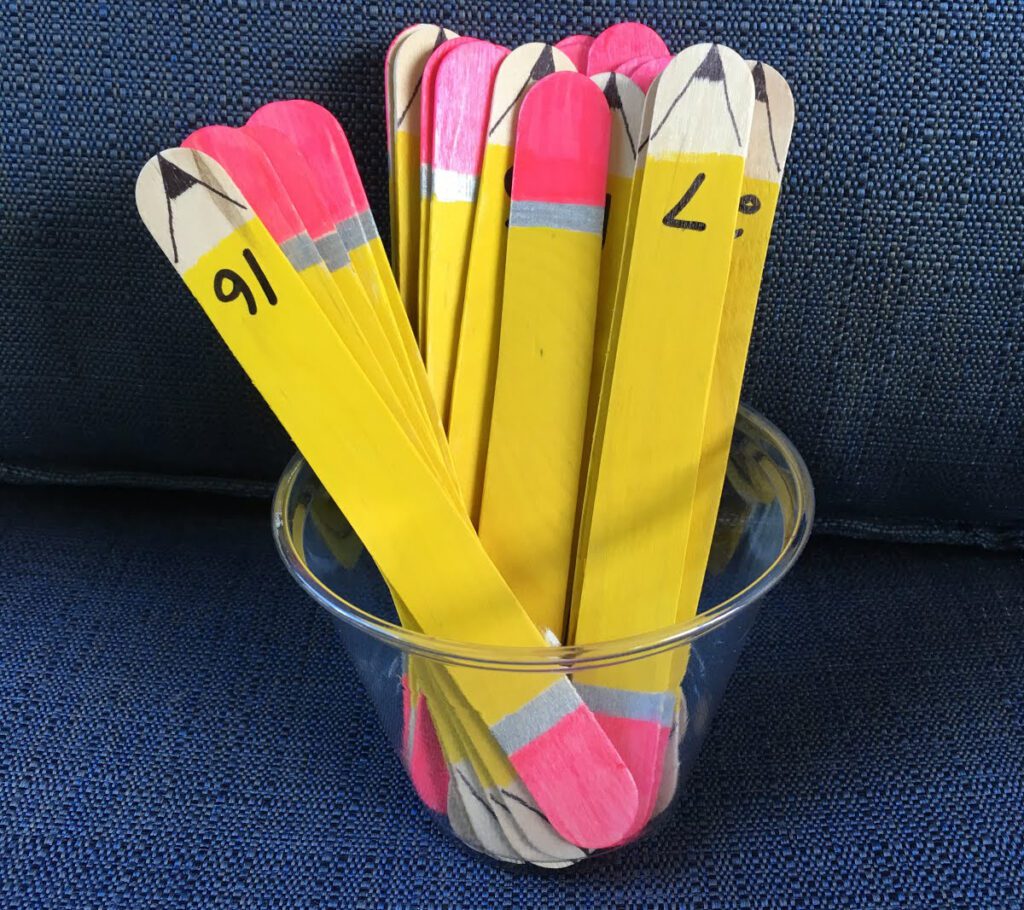
Give each student a number based on an existing seating chart or roster. Label individual popsicle sticks with the same numbers. Decide how many students you would like to be in a group. Randomly draw popsicle stick numbers to assign teams.
5. Student Choice
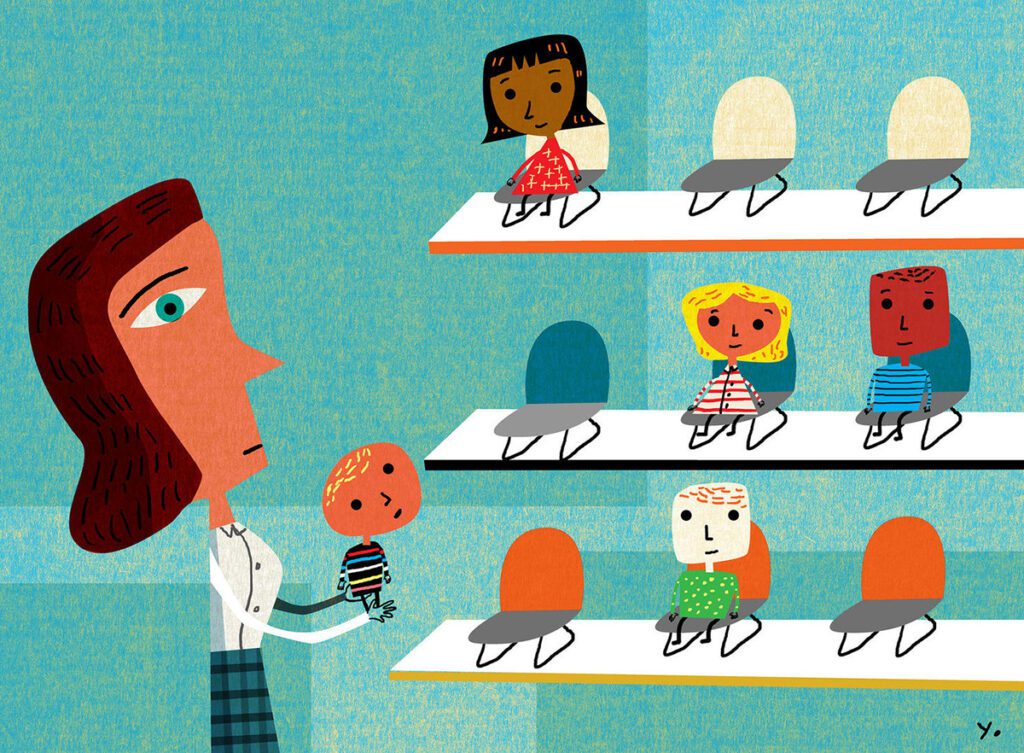
This is definitely a wild card, but a highly sought-after option for students. As soon as the teacher says “Group,” many students give their friends “the look.” We know exactly what this means—they want to pair up with their buddy! Letting students choose their groups can be great for student morale. Set the expectations that if the teams are off-topic, they will have to work individually. Be mindful of students who may not have a friend in class. Consider how you can set up student choice so all students feel included and excited.
6. Teacher Choice
Teachers can pinpoint who is a strong leader and who is an intuitive helper. Harness your students’ strengths when determining groups. For example, if one classmate excels at patiently explaining instructions, group them with a student who has trouble focusing. Pair together a student who is peppy and encouraging with a student who is tentative and nervous.
7. Learning Style
Group students by their learning style. Basic learning modes are visual, aural, verbal, and kinesthetic. Visual learners learn best by reading or seeing images. Aural learners are most successful through listening, questioning, talking, and recalling. Verbal learners process well through reading or listening. Kinesthetic learners thrive with physical activity, getting hands-on, or watching a demonstration.
8. Prior Knowledge
Introduce the next unit’s topic to the class with a quick survey. Students respond by raising their hands, standing up, filling out a digital poll, or voting on slips of paper. Grouping students by what they currently know is a great tool to see what you need to pre-teach or skim.
9. Creative Pairs
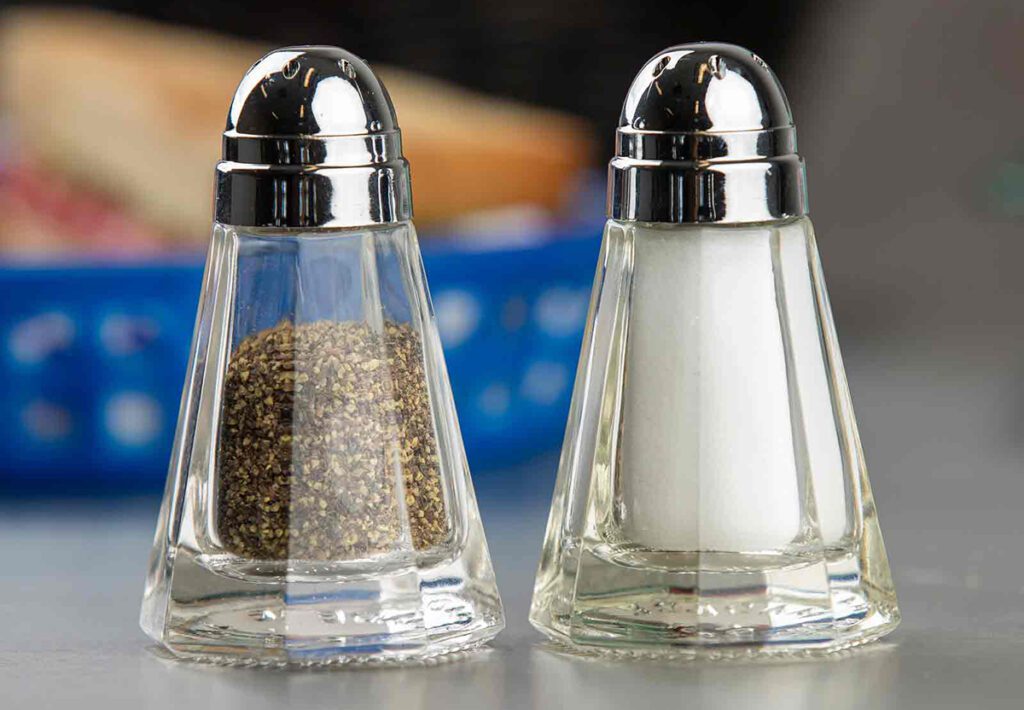
Get creative and gamify working in teams through creative pairings, like food. Hand out slips of paper to each student with either a word or a word and an image. Students find the other person with the matching food pair to become a team. For example, one paper will have a salt shaker and the other will have a pepper shaker. The pair possibilities are endless! You can also do villains and heroes, complementary colors, sports teams and mascots, or famous artists’ first and last names.
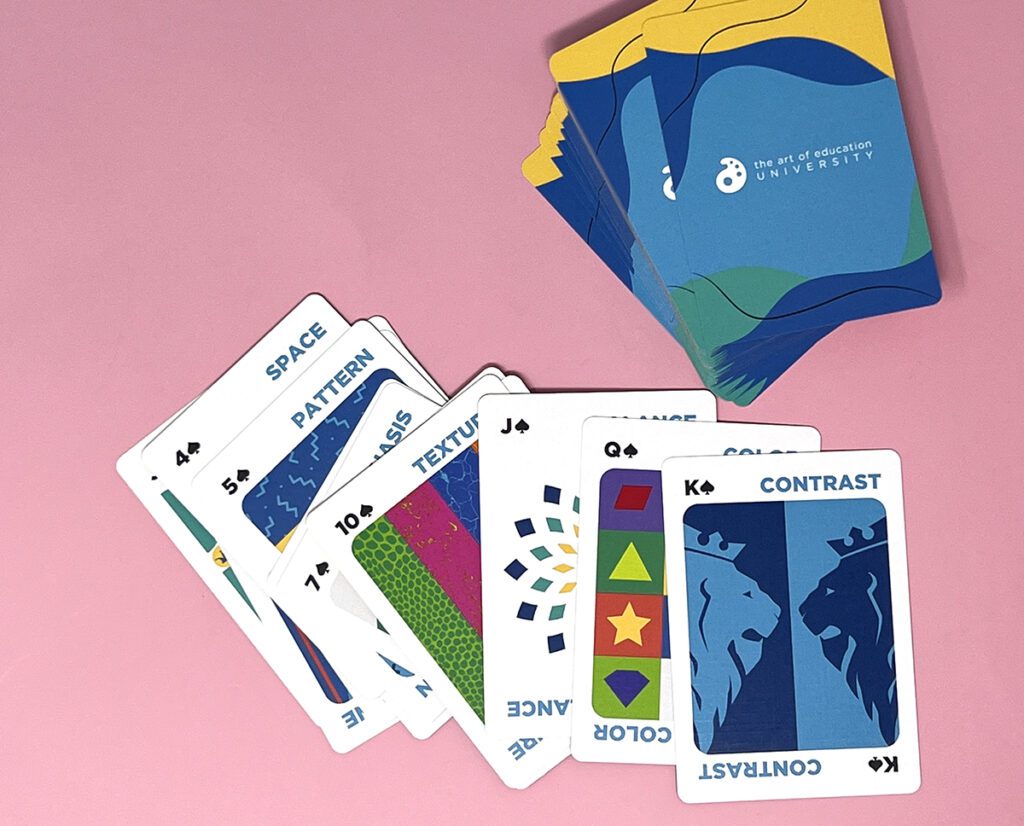
10. Card Deck
Remove the two Jokers before distributing one card per student. Students find the other students who have the same number or face card. Each deck of cards contains four of each, so groups will be no more than four.
Now that you’ve grouped your students, here are some helpful tips and fun collaborative projects for them to work on:
- 4 Ways to Incorporate Collaboration in the Classroom
- Collaboration in the Art Room Pack in PRO Learning
- Looking at Ideas for Collaboration (Ep. 285)
- How to Help Your Students Collaborate on Big Projects
- Exploring Collaboration Through Writing
Group work can change the class dynamic for the better! Students are often in fresh seats, moving around to different parts of the classroom, and interacting with students outside of their norm. Switching things up in the art studio is necessary for a thriving classroom environment. Whether you group students by interests, randomly, or by teacher’s choice, working together is an exciting challenge that makes the period fly by. Keep exploring new ways to group your students and celebrate the collaborative pieces your students create this year!
What is your favorite way to group students together?
Share a student-favorite collaborative project.
Magazine articles and podcasts are opinions of professional education contributors and do not necessarily represent the position of the Art of Education University (AOEU) or its academic offerings. Contributors use terms in the way they are most often talked about in the scope of their educational experiences.
