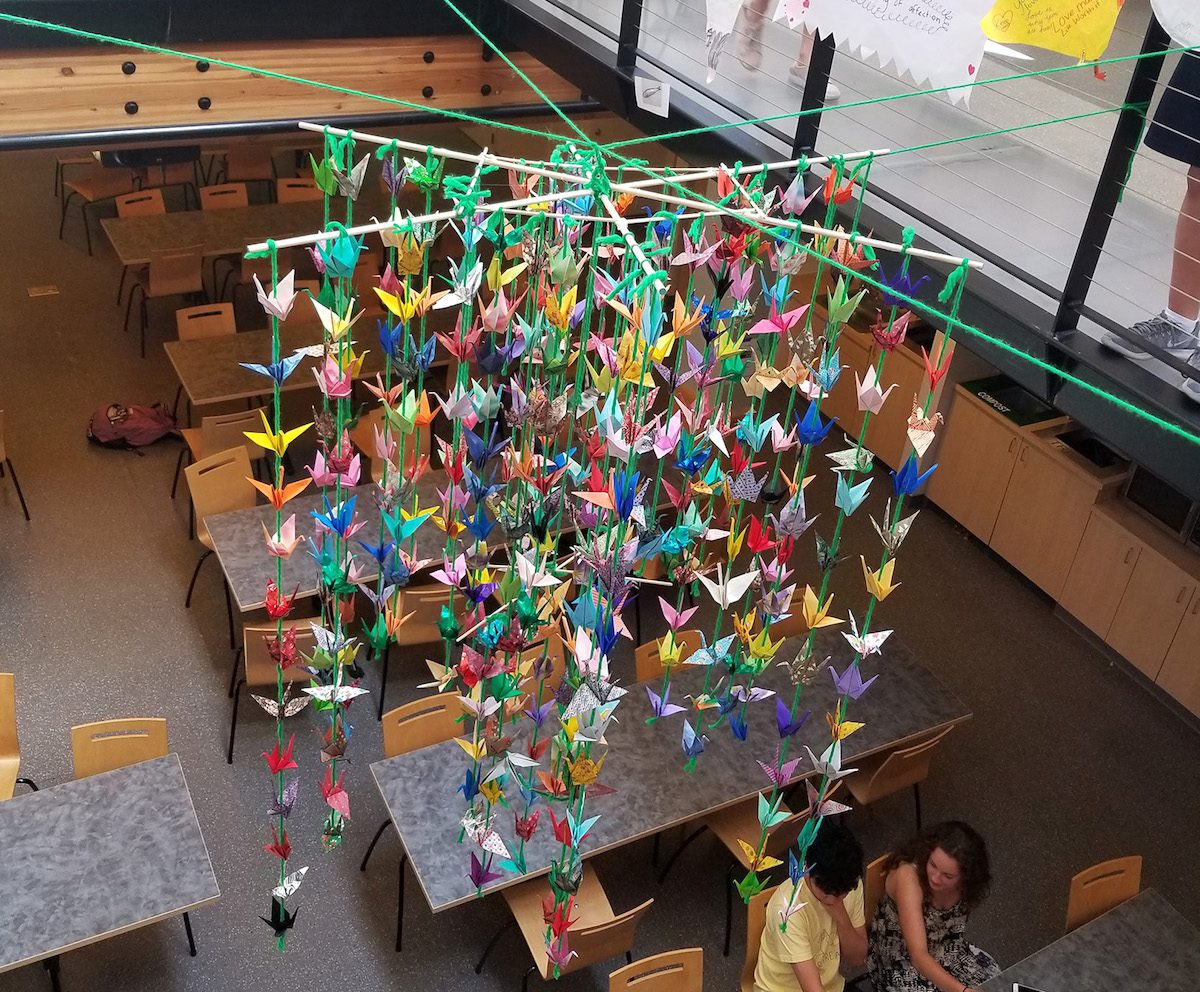
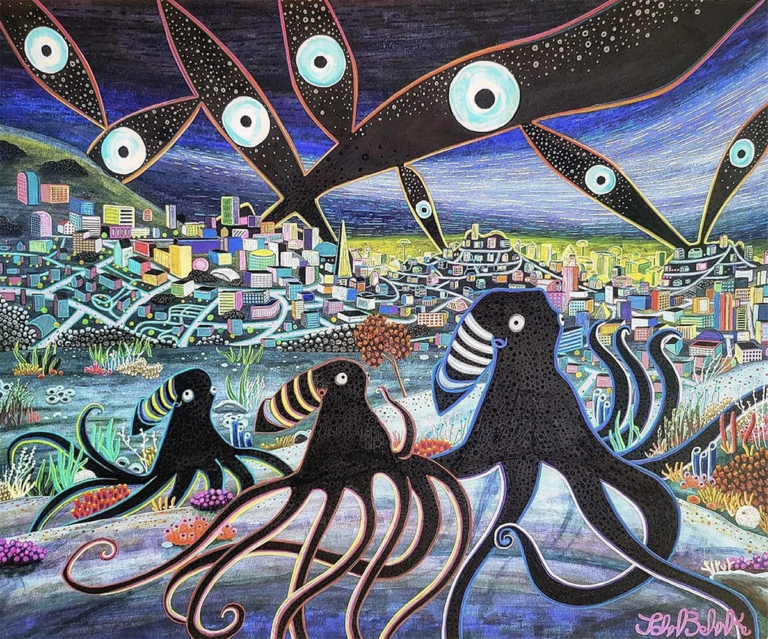
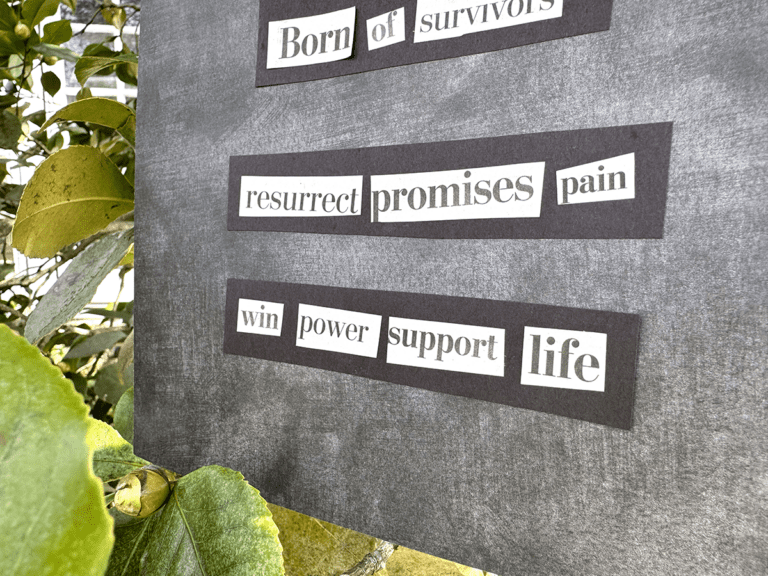
Teaching students how to collaborate is something that will benefit them beyond the classroom for their entire lives. An installation or sculpture project is the perfect opportunity to showcase the skill of collaboration.
Rather than confining students to a single flat surface, 3-D work allows students to build and assemble a unique shared vision. Today, we’re looking at how you can create successful collaborative installation sculptures in the art room. But first, let’s dig into the why collaboration is so important.
Why Collaborate?
There’s no real secret as to why collaboration is beneficial in the art room.
Collaboration has a range of benefits including:
- Cooperation
Collaborating helps students develop patience and empathy for their peers. Having to work with others at a pace that might be faster or slower than what they are normally accustomed to builds flexibility. - Idea Generation
Working with peers leads to exciting and interesting work individuals might not ever land on. More brains at work mean more ideas generated! - Practicality
Sometimes you just don’t have the space to store twenty to thirty large sculpture projects in your room. Having students work together reduces the number of projects for which you have to find storage.
In short, collaboration is good for both you and your students!
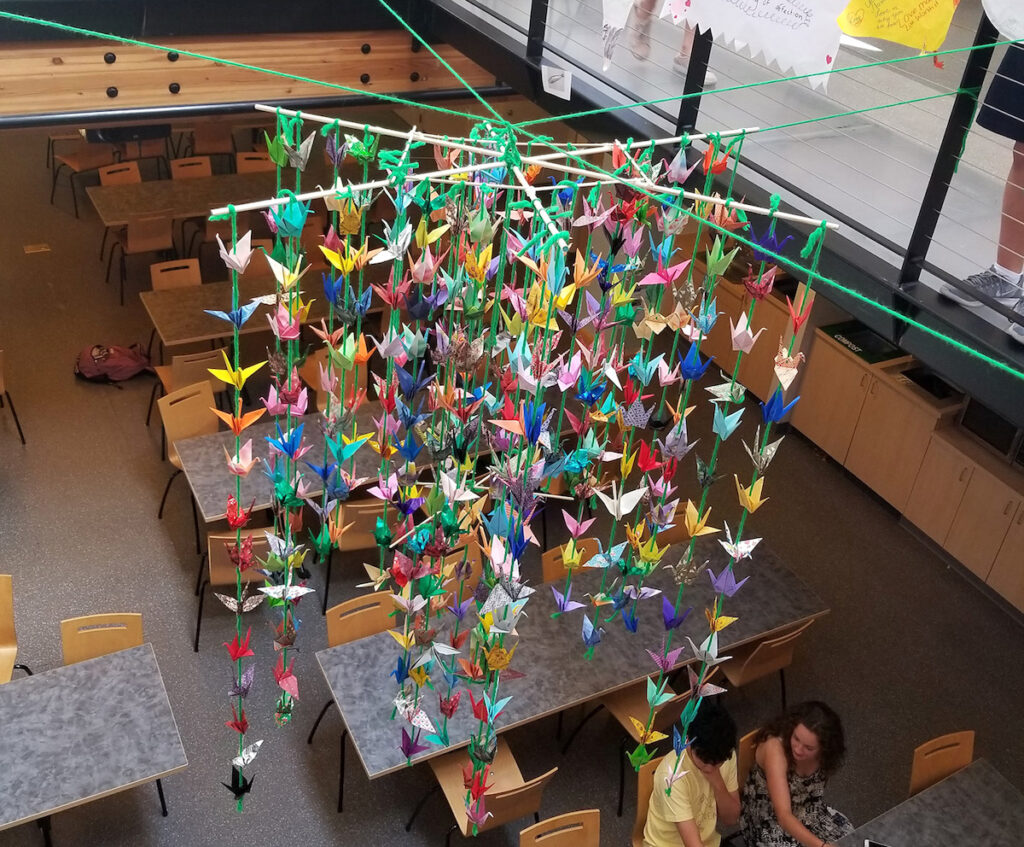
Creating Installation Art with Your Students
Finding Inspiration
Before starting an installation project, it’s beneficial for your students to experience installation art themselves. Check out your community and surrounding areas to see if there’s a sculpture or installation you can visit. At a minimum, gather some images to inspire your students.
In my room, we started off with a field trip to view site-specific installation projects here in Seattle at the Olympic Sculpture Park. While there, we saw a range of large-scale works designed for outdoor spaces. Students then used the outdoor space and the artworks as inspiration for their own pieces that would be installed at our school.
Helping Students Work Harmoniously
A challenge that arises with this kind of project is the balance of both work and ideas among group members. It’s rare that a group of students will all have the same ideas and creative direction.
Balancing ideas and finding ways to incorporate them into a cohesive vision requires compromise and flexibility. Additionally, sometimes when students get together to work on projects, the workload can become unbalanced.
As the teacher, you can combat these problems from the start. I like to carefully structure the brainstorming process and clearly define some working roles. These two strategies can help to overcome some of these challenges.
Structured Brainstorming
A structured brainstorm process I use starts with the following prompts written on large pieces of paper that are put up on the wall:
- How were you inspired by the artworks we saw today?
- What imagery/themes emerged for you?
- How could you see those ideas come together in a sculpture?
- What spaces could you utilize in the school?
Students respond with small sticky notes. Once they have written their initial ideas, they move around the room reading the various sticky notes, placing colored dot stickers on the ideas in which they’re most interested. From there, those ideas that have generated the most interest get picked up as project starters, and students can choose groups in which to work.
Of course, this is just one rough outline of a method to facilitate project starters. Do what works for you and your students!
Defining Roles
As students get to work, assigning roles in the process helps to ensure equity.
Here are three potential roles:
- Notetaker
Keeps ideas organized - Materials Master
Tracks supplies and makes sure everything is put in the right place at the end of class - Statement Maker
Writes the artist statement for the group
This doesn’t mean any one person is the only one involved in that part of the process, but it does help to give everyone something specific to do. As they work, keeping an eye on the balance of roles and how each member of the group is participating is important to ensure all voices are heard.
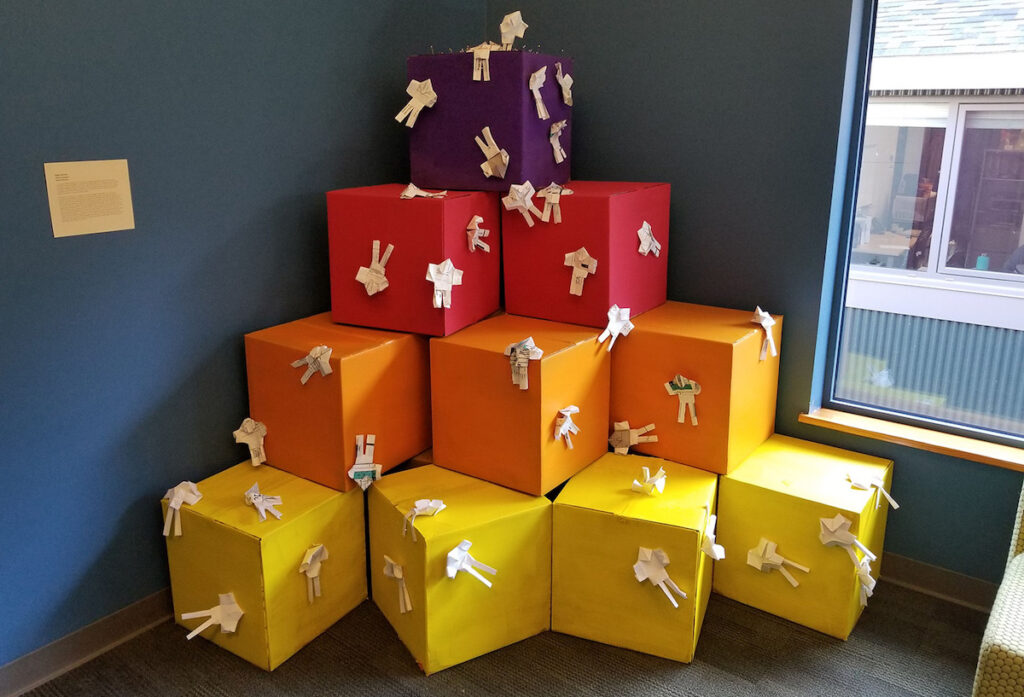
Installing the Work
After finishing the project, the students install their work around the school. Depending on the spaces they’ve chosen, you might want to clear things with your school’s engineer or facilities person.
We did a gallery walk of the building to talk about the work and conduct an informal critique. The most frequent comment I hear about this process form my classes is that being able to work with others improved the overall process and project.
If you don’t have the room to create a large-scale 3-D installation at your school, don’t panic! There are other ways to get your students working together. One idea is to devote a class period or two to doing exquisite corpse drawings. This short exercise still helps students develop important skills. Or, you could get more complicated like computer science teacher, Jeff Solin, and have each student create a unique piece that gets assembled into something bigger. You can read more about his cool Chicago Flag Mosaic Project project here. They key is to get your students working and creating together in whatever ways you can!
How do you bring your students together to collaborate on projects?
What ways does sculpture present new opportunities for collaboration?
Magazine articles and podcasts are opinions of professional education contributors and do not necessarily represent the position of the Art of Education University (AOEU) or its academic offerings. Contributors use terms in the way they are most often talked about in the scope of their educational experiences.
