Crayons, markers, and erasers are the familiar basics of every art room—the supplies we know we can’t teach without. But beyond the essentials are some key non-art art supplies. These are the behind-the-scenes budget-friendly tools that support creativity and keep everything running smoothly. These unsung heroes enhance your learning environment, simplify logistics, and help both you and your students create more seamlessly.
Include these nine non-art art supplies to stretch your budget and round out your classroom toolkit.
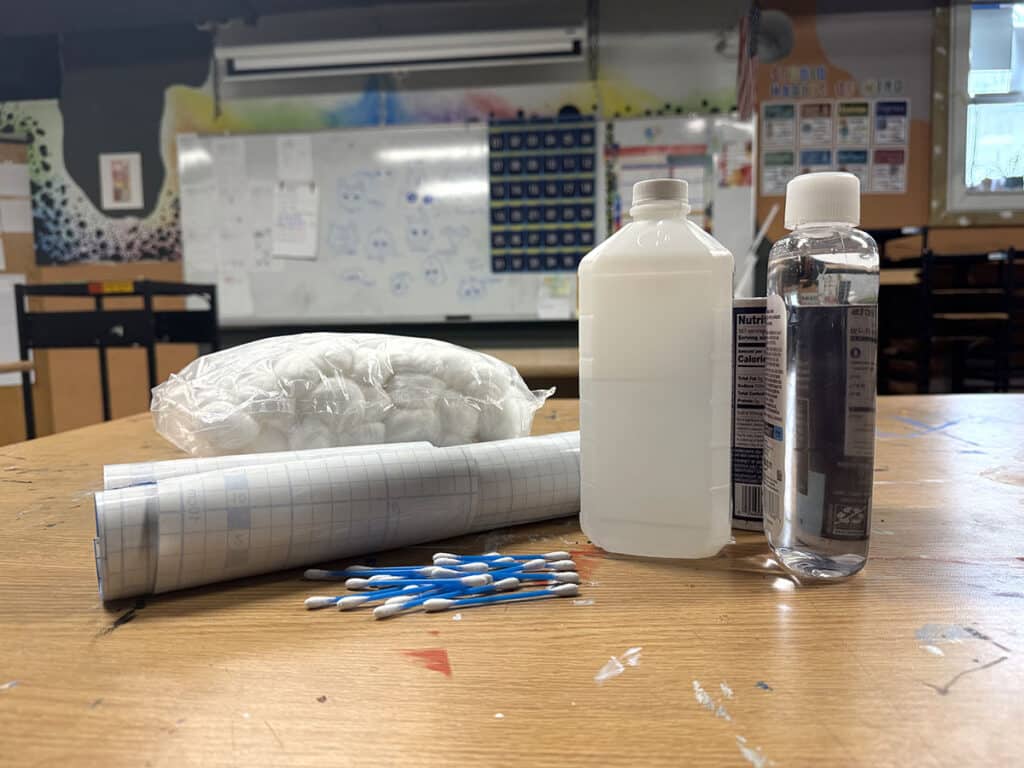
1. Rubbing Alcohol
Rubbing alcohol is a super cost-effective additive that you can use to supplement multiple mediums! A small amount can dramatically alter material properties, allowing students to explore texture, blending, and unexpected effects. Because it is inexpensive and easy to control, it also supports low-risk experimentation, helping students build confidence as they discover new ways to manipulate familiar media.
Here are three mediums to use with rubbing alcohol:
- Watercolors
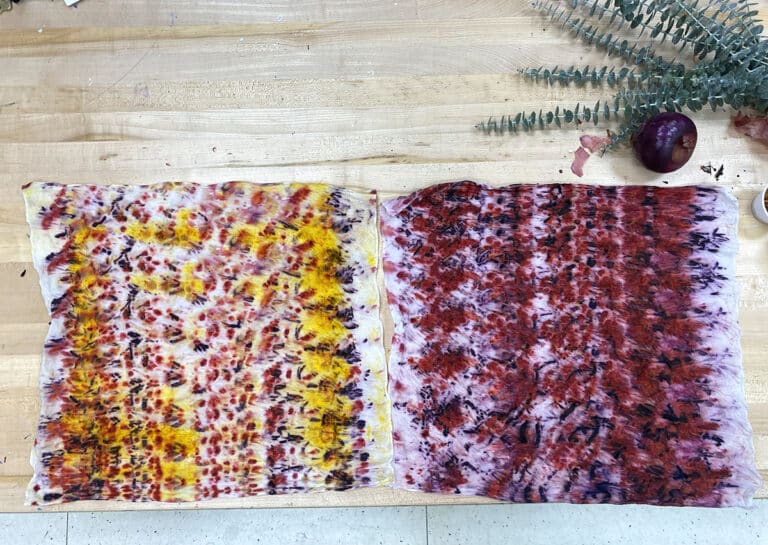
When watercolor paint is still wet, apply a small amount of rubbing alcohol. This will create a tie-dye effect that will wow your students! - Colored Pencils
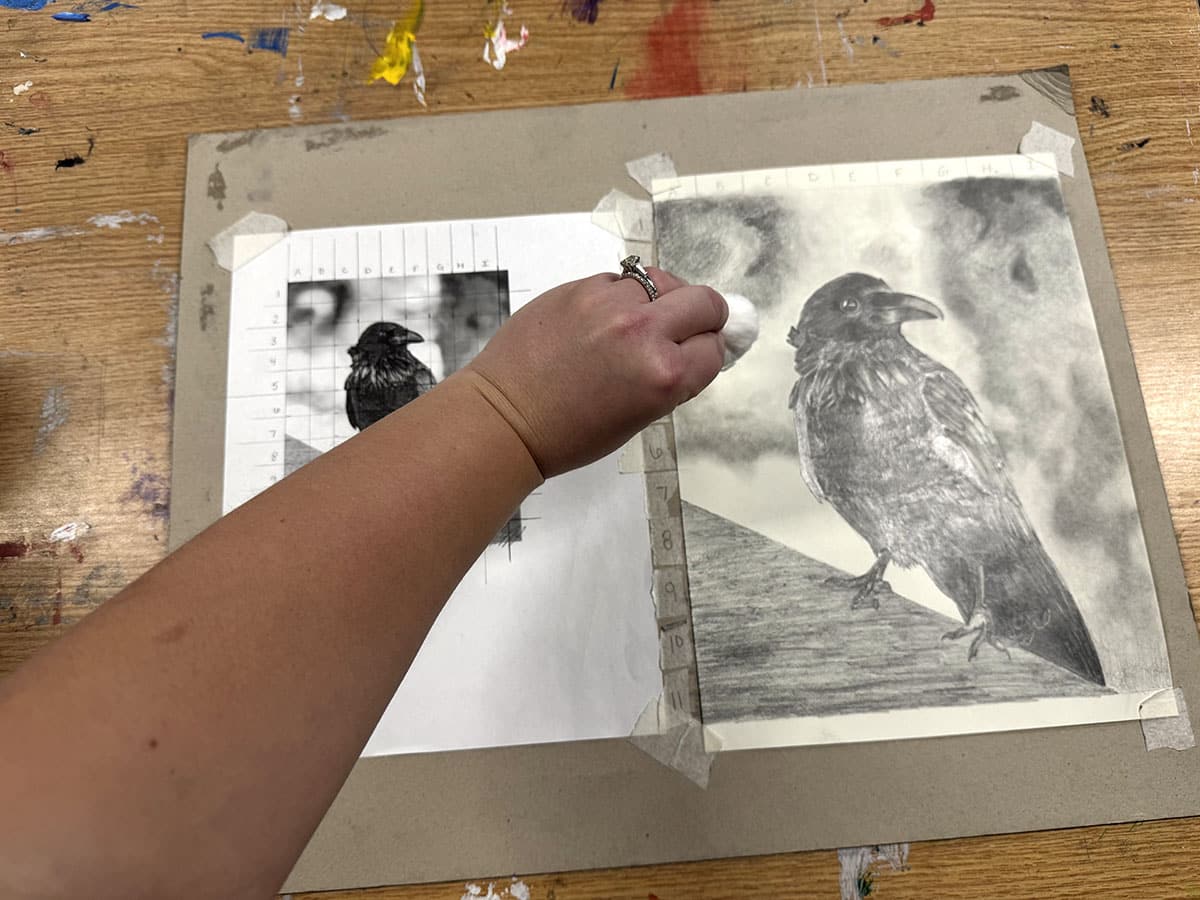
Blend colored pencils like magic with a cotton swab dipped in rubbing alcohol. This makes streaky strokes disappear and seamless color gradients. - Ball Point Pens
Start with pen drawings that use hatching, cross-hatching, and stippling. Spray the drawings with rubbing alcohol and watch them start to smear and bleed. Once dry, brainstorm how to proceed with the drawing by adding additional layers.
2. Baby Oil
Baby oil is another cost-effective, everyday art supply to keep in your cabinet. It’s terrific for cleaning anything from brushes to gel printing plates. It can also remove stubborn stickers and labels from almost any surface.
If you’ve been hesitant to break out the oil pastels because they’re messy, baby oil is your missing ingredient to falling back in love with this medium. A little bit of baby oil can go a long way with cleanup, blending, and student engagement. Plus, it smells great!
Here are some ways to use baby oil to level up oil pastel work:
- Cleanup
Do you have smashed oil pastel on the floor or tables that are difficult to scrub off? Simply add a touch of baby oil to loosen the pigment. - Blending
Dip a small, stiff brush, fingertip, or cotton swab into baby oil. Gently rub it across the oil pastel to create smooth shading, blending, and color gradations. - Painting
Mix a little baby oil with shaved oil pastels until you achieve a paint-like consistency. Students with sensory sensitivities may prefer to “paint” their oil pastels. Plus, paint is automatically an exciting medium for most students!
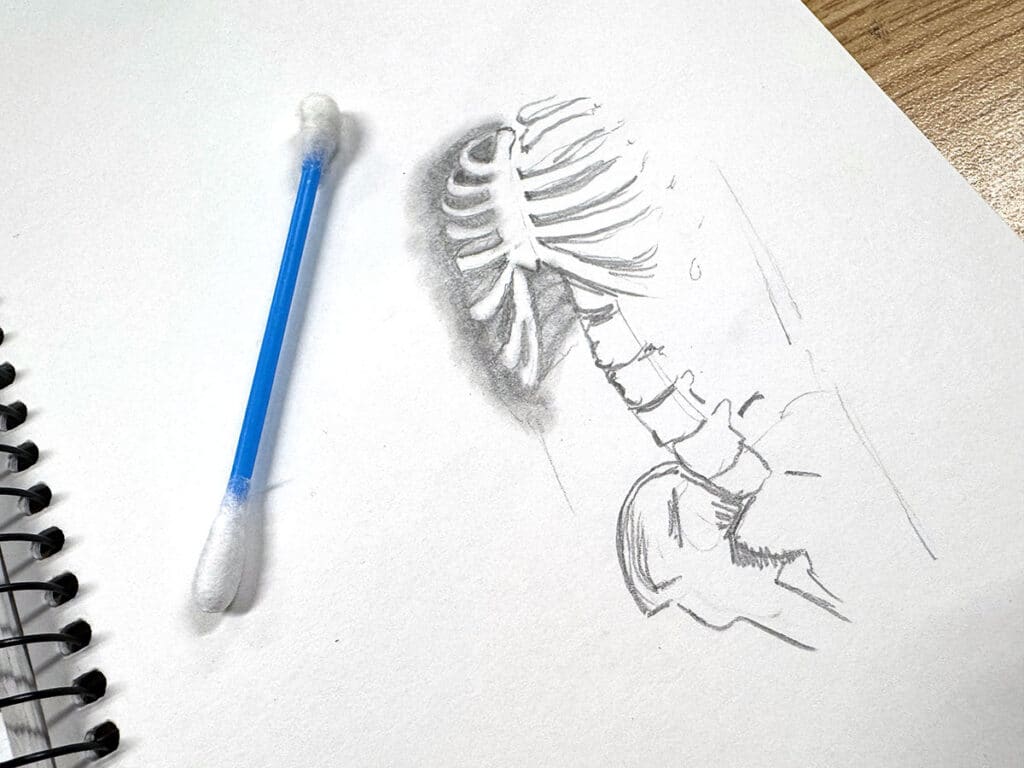
3. Cotton Swabs & Balls
Cotton swabs and cotton balls are another great staple to keep on hand. They’re incredibly versatile when teaching drawing and mixed media, and you can pick up several bags for just a few dollars.
Here are some ways to use cotton swabs and cotton balls in the art room:
- Blending
Use to blend graphite, charcoal, or colored pencil smoothly. Cotton swabs are a great dupe for expensive blending stumps, and cotton balls can quickly blend large areas of value or color. - Controlled Application
Both pair perfectly with rubbing alcohol or baby oil. Students can apply small, controlled amounts to specific areas of their artwork without over-saturating the surface. - Clean Up
Use cotton balls to clean up, so fingers (and brushes) don’t get bottlenecked at the sink.
4. Sandpaper
A well-rounded, multi-use supply that everyone needs in their classroom is sandpaper. It’s useful for more than just sanding wood; students can sand bisqueware in a well-ventilated area or press into clay or paint to alter the surface. Purchase bulk packs of a variety of grits and cut them down into smaller pieces to stretch your budget further.
Here are some ways to use sandpaper in the art room:
- Texture and Distressing
On student drawings, paintings, and sculptures, sandpaper can add texture and distressing. - Reductive Artmaking
Introduce sandpaper as a tool for subtractive processes to refine, alter, or rethink their compositions. - Sharpen Crayons
Cut small pieces of sandpaper for students to sharpen their crayons for fine details.

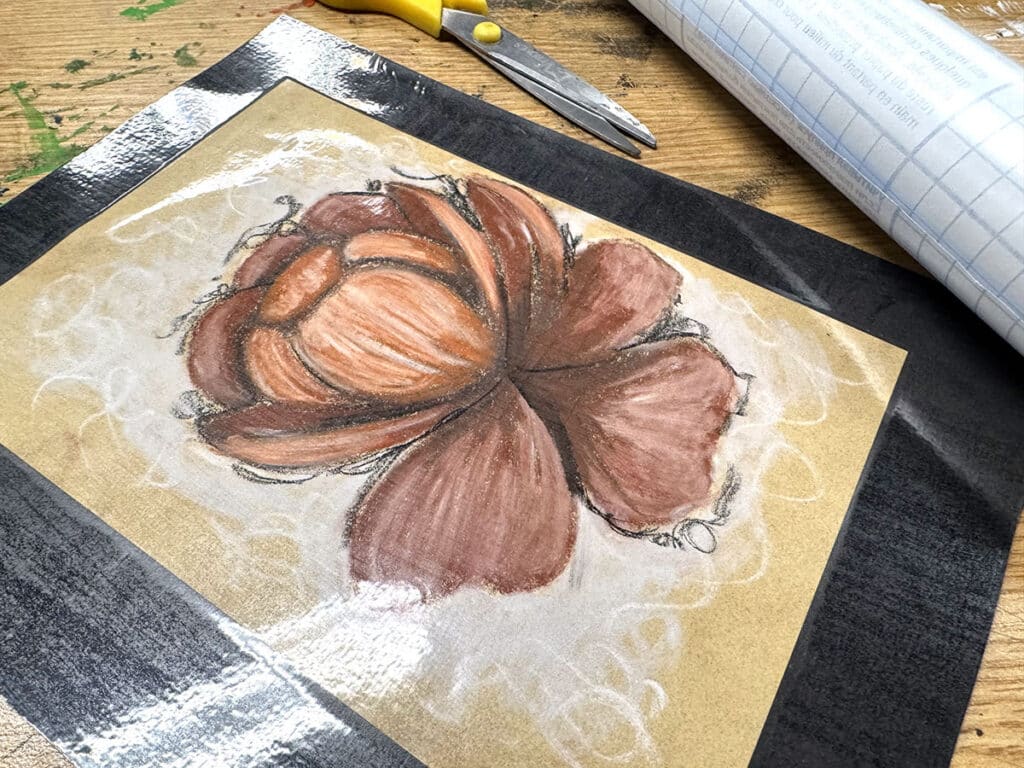
5. Contact Paper
Contact paper is a surprising item that can solve many art room challenges. From protecting delicate surfaces and enhancing the presentation of student work to boosting your classroom decor, this staple is a favorite for both teachers and students.
Here’s how contact paper can be of service in your art room:
- Chalk Pastel Sealant
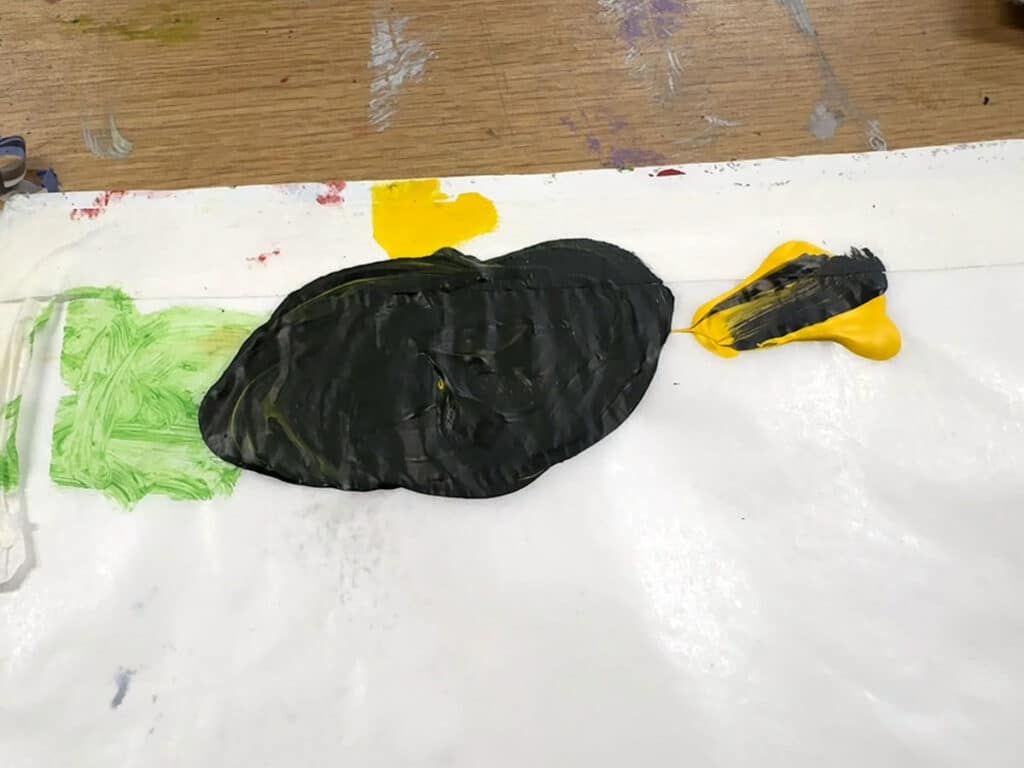
Are you hesitant to use chalk pastels in your art room because they’re so easy to smudge and smear? Mount your finished drawings on larger backing paper. Lay clear contact paper on top to seal all of the dust in with this framing hack! - Image Transfers
Press clear contact paper over magazine images, ensuring it adheres well. Place it in a bowl of warm water to dissolve the magazine paper. You may need to use your fingertips to speed up the dissolving process. Once complete, you’ll have the ink from the image on the contact paper, which you can transfer to another project. - Classroom Refresh
Contact paper is also a great way to spruce up your art room! Find fun patterns and colors to add to your cabinets and shelves, creating a more welcoming, personalized space.
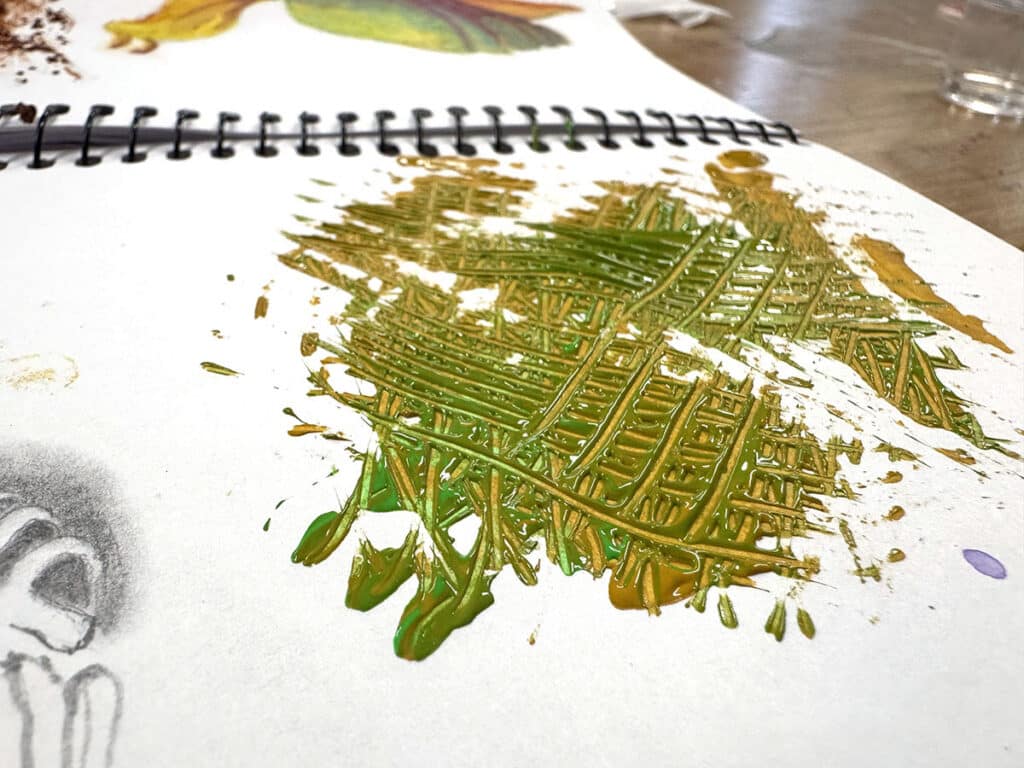
6. Toothpicks
This resourceful non-art art supply is great for both 2D and 3D media. From paint to crayons to clay, toothpicks can save the day in so many ways! Use them for markmaking, cleaning, or as shims or armatures for sculptural pieces. Plus, they take up very little storage space and cost almost nothing to stock.
Here are ways to make use of toothpicks in the art room:
- Remove Brush Hairs
How often do you hear, “There’s a hair in my painting?” Use a toothpick to fish out those pesky brush hairs without smudging the project. - Sgraffito Tools
Create smooth layers with crayons, oil pastels, or paint. Then make marks on the surface with a toothpick for cool scratch art or sgraffito. - Relief Print
Get really fine details in your styrofoam relief prints without any fancy printmaking tools.
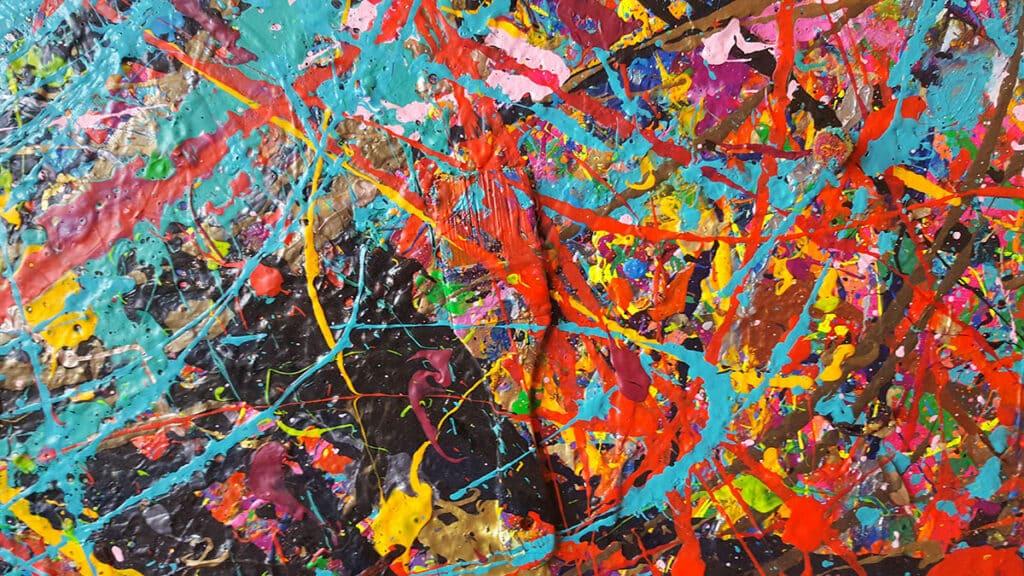
7. Straws
Splatter art is a timeless favorite—much to many art teachers’ dismay. The paint goes everywhere, and it’s a huge mess to clean up. Plastic straws are an easy fix for this problem! Students water down the paint color of their choice and place it on a shallow paper plate or a thick piece of scrap paper. Use the straw to carefully blow and splatter the paint on the artwork. Practice on additional scrap paper, in their sketchbooks, or over the trash can first!
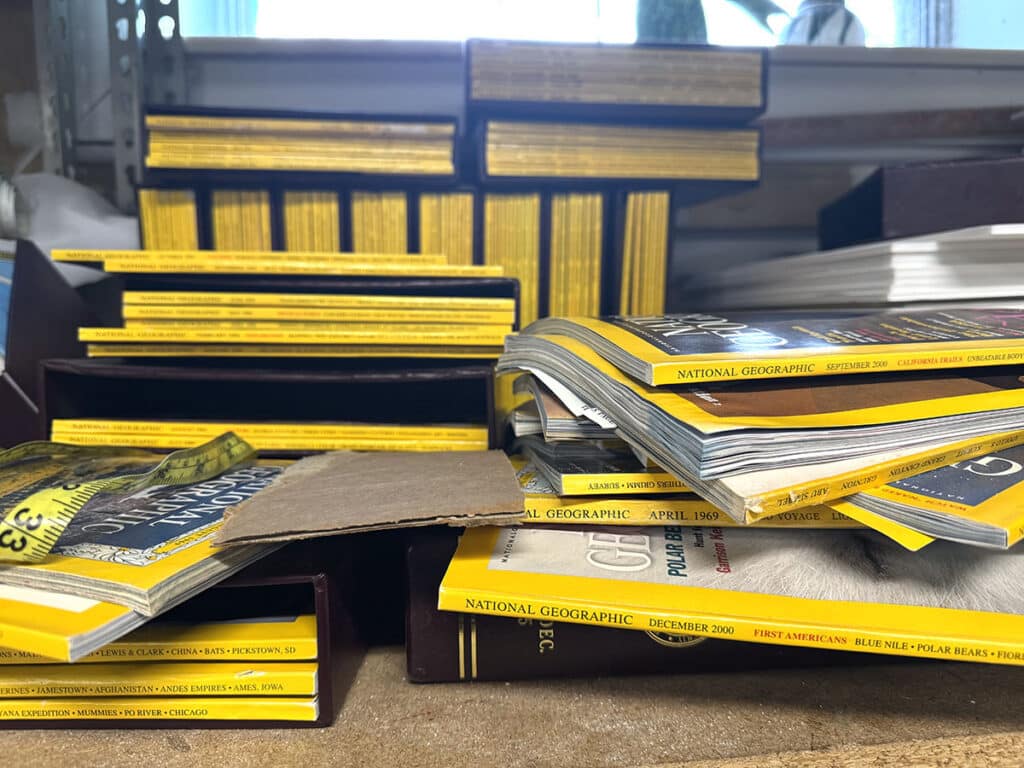
8. Magazines
Magazines in the art room are for more than just collage. In addition to mixed media uses, magazines are a free way to streamline paint systems in your art room. Plus, it’s entertaining for students who are so saturated with screens—it’s surprising how many students you’ll catch intently reading an article!
Here are some less common uses for magazines in the art room:
- Disposable Paint Palette
Use magazines as a disposable paint palette or for ink when block printing. - Blackout Drawings
Magazines are also great for blackout drawings. Students choose a page and “black out” parts with a marker or paint. Then, create a new image or message, similar to blackout poetry. - 3D Artforms
Cut pages into colorful strips, then roll them tightly with glue to create paper beads for jewelry or coils for sculptural vessels.
9. Parchment Paper
Parchment paper makes for a great disposable, non-stick surface for glue, paint, and even clay! Parchment paper works especially well with wet and sticky materials and is a cheap alternative to palette paper. It reduces sink clogs, scrubbing time, and wear on classroom tools.
Here are some ways to use parchment paper in the art classroom:
- Paint Palettes
Avoid cleaning messy paint palettes at the end of the period and destroying your plumbing. Use parchment paper as a disposable palette for acrylic paint! - Glue Station
Lay down parchment paper under the artwork. Students don’t have to worry about extra glue bonding their work to the table, and it saves your tabletop from sticky residue and spills. - Clay Work
Place parchment paper under small clay projects to prevent sticking. It also makes labeling, moving, and storing work easier.
Non-art art supplies may not be the first thing that comes to mind when stocking up your closet, but they will make a huge difference in your teaching. These simple, inexpensive tools support creativity, problem-solving, and smooth classroom routines. Keeping these supply heroes on hand allows you to focus less on logistics and cleanup and more on meaningful artmaking. With a little grocery store run, you will find that ordinary items can unlock extraordinary learning!
What are some other must-have non-art art supplies?
Share an art supply hack you use to stretch your budget.
To chat about art supplies with other art teachers, join us in The Art of Ed Community!
Magazine articles and podcasts are opinions of professional education contributors and do not necessarily represent the position of the Art of Education University (AOEU) or its academic offerings. Contributors use terms in the way they are most often talked about in the scope of their educational experiences.