Are you up to your elbows in mud and have clay dust taking over your workspace? Are your students’ pile of clay creations growing, eagerly waiting for their turn in the kiln? Ceramics can be a bit daunting for even the most seasoned art teacher. But fear not! We are here to help you hack your way to the top of the pottery charts. In today’s article, we are sharing the best cheats, hacks, and tips to level up your clay game in the classroom and make you feel like a true pro. So, roll up your sleeves, secure your apron, gather trusty buckets and sponges, and let’s conquer the world of clay with confidence!
Why choose ceramics?
Wheel-throwing and hand-building are dynamic in the art room for several reasons. First, ceramics imparts invaluable skills to students—from mastering the art of shaping and molding to practicing patience. Clay can be remarkably cost-effective and sustainable because the scraps are reusable. Plus, hook your students as soon as they walk into the room once they see clay on the table! It offers a tactile, hands-on experience to spark creativity and curiosity. To learn more about how to bring clay into your art program and the benefits it can provide for your students, enroll in the Studio: Ceramics course!
Keep reading for our top ten cheats and hacks for your next ceramics unit!
For more hacks, be sure to catch up on the Art Room Hacks mini-series on YouTube. Matt Young, a high school art and ceramics teacher shares some clever hacks for working with clay!
1. Create wheel-throwing visuals.
Create visual aids to illustrate the basic hand positions for wheel throwing. Laminate them so you can easily wipe off any drips or clay splatter. Display them where students can see them while sitting at the pottery wheel. If you don’t have wall space, place laminated anchor charts on portable music stands and put them in front of each wheel. Students can also stick their sketchbooks on the stands so they can easily reference their sketches or notes! Dig into the Basic Wheel Throwing Pack in PRO Learning for several pre-made anchor charts you can download, print, and post.
2. Scaffold with pre-tests.
Use playdough or recycled clay to conduct pre-tests on fundamental techniques and processes like pinch, slab, and coil. Make it a fun challenge or competition to motivate students! This gradual scaffolding allows students to master basic skills before moving on to more complex projects.
3. Make your own molds.
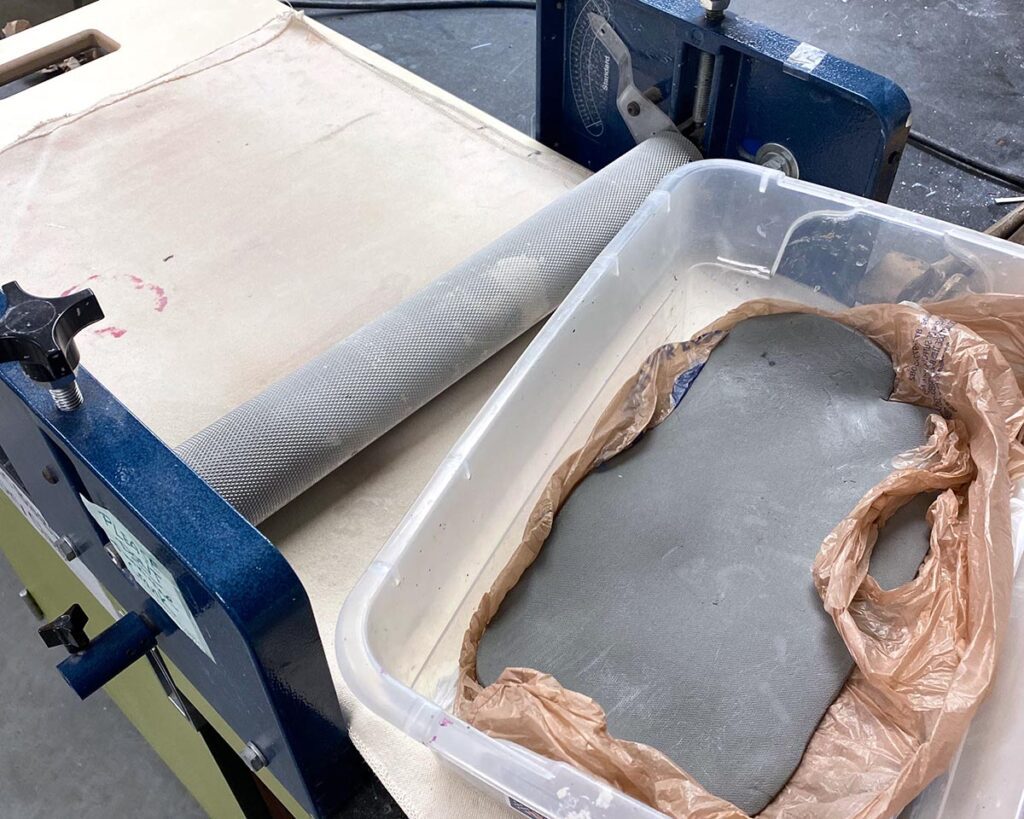
The slump or hump mold process requires a slab of clay to take on the form of a mold which is usually a piece of plaster or a bowl. This is a very simple way to make a uniform, repeatable vessel. Instead of purchasing pricey plaster molds, make your own! Use powdered plaster, a lubricant, and a cheap bowl from your local dollar store. Alternatively, ask your cafeteria staff if they have old bowls, trays, or plates they can donate to your program. Also, check your local thrift stores or social media free groups for pieces to use as molds.
4. Craft your own tools.
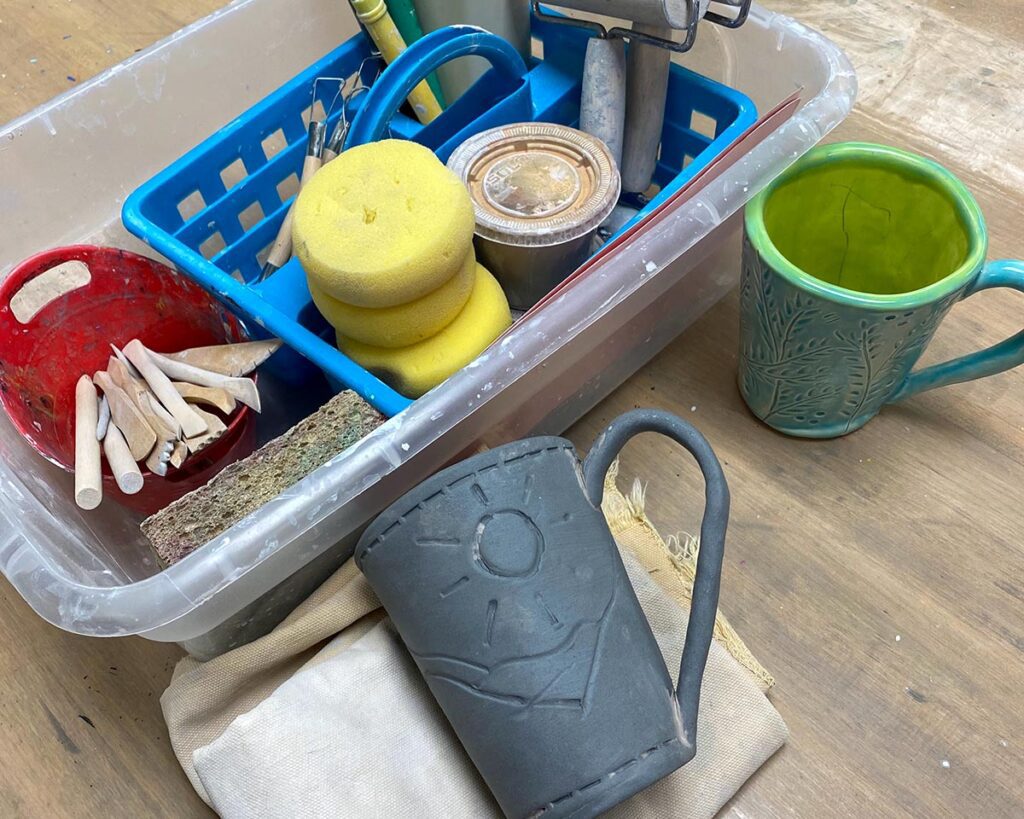
Ceramics tools can get expensive when buying enough for a whole class set! While you work on building up your stash, repurpose everyday items to make essential tools. Many of the materials are probably already available in your building. Ask colleagues to collect these and drop a donation box in the staff lounge.
Create tools with the following:
- Unfolded paper clips taped to a wooden stick make great needle tools.
- Bamboo skewers or plastic forks aid with scoring.
- Used-up gift cards make sturdy ribs.
- Plastic bags cut into pieces make a chamois substitute.
- Sponges attached to sticks make water removal efficient on the wheel.
- Unused tarps or thick plastic drop cloths can make DIY waterproof aprons.
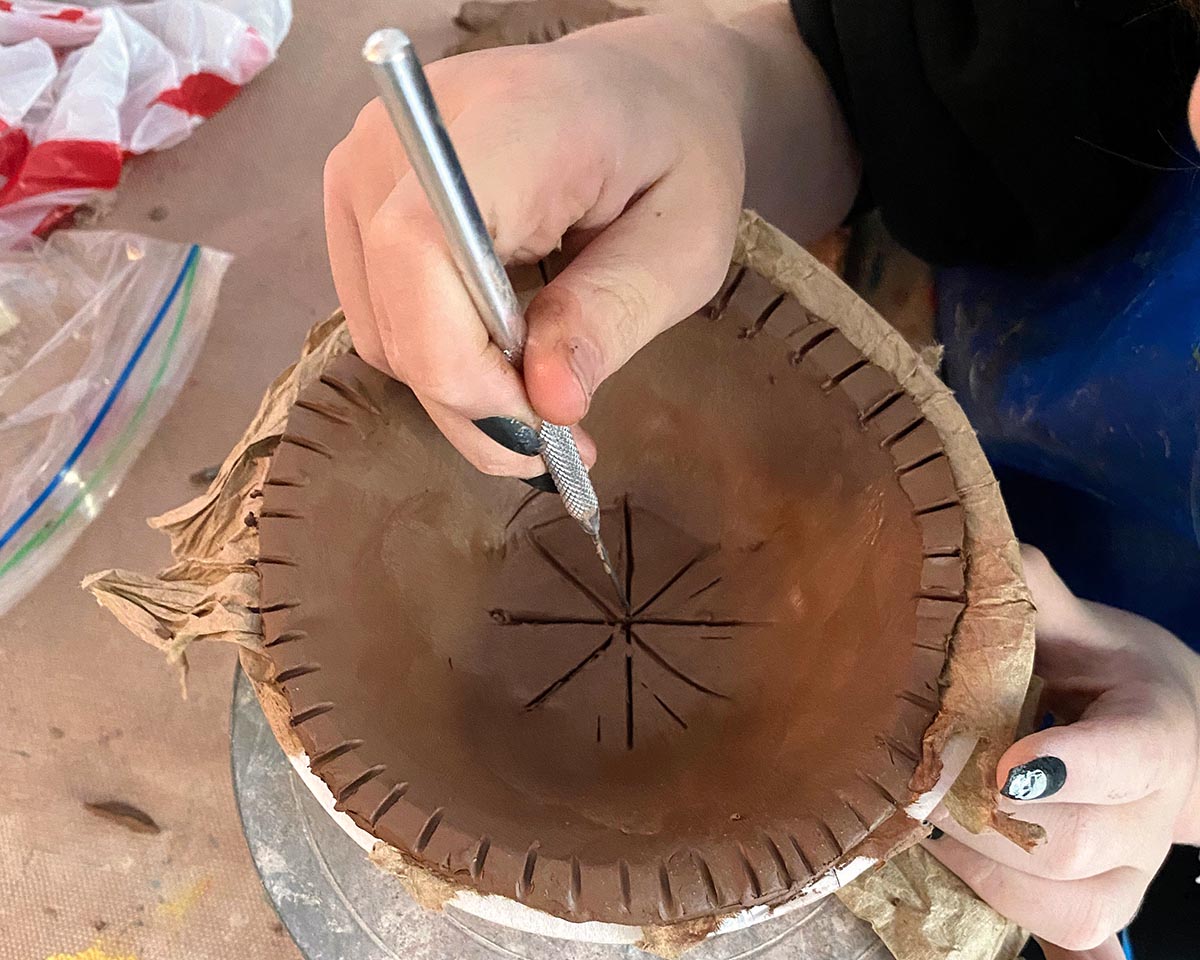
5. Find texture supplies.
Explore various textured materials to add depth and interest to clay projects. Experiment with pasta letters, lace, doilies, curtains, rope, yarn, combs, string, rocks, and even hot glue on rolling pins. All of these will create unique textures and patterns on the walls of a pot or the slabs of a box.
6. Invest in lotion.
Keep a supply of lotion in the classroom to help students (and you!) combat dry and chapped hands. Soft, moisturized hands make for a more comfortable and enjoyable pottery experience. Purchase lotion in bulk to make the price more affordable for your classroom budget. Use lotion bottles with a pump dispenser so students are more likely to use an appropriate amount.
7. Use paper templates.
Paper templates are helpful when cutting pieces out of slabs. Cut templates out of scrap paper and laminate them. You can provide an assortment or students can design and make their own.
8. Add FLEX to your curriculum.
Let’s face it—clay prep can be a lot of work! Make the workload more manageable by using FLEX Curriculum for standards-aligned ceramics lessons. Each lesson plan has an exemplar photo, step-by-step instructions, and tons of helpful student-facing resources. There’s no need to reinvent the wheel and FLEX ensures your clay curriculum is comprehensive, engaging, and diverse.
Here are some FLEX Collections that will make bringing ceramics to your students a breeze:
- Creating with Air Dry Clay
- Coil Pottery
- Pinch Pottery
- Slab Pottery
9. Simplify clean-up.
Clay dust seems to settle on everything and leave a film that won’t disappear! Simplify cleanup and use a mixture of vinegar and water to wipe down tools and surfaces. This eco- and budget-friendly solution is effective in removing clay residue and ensures a tidy workspace for the next class. If you do not teach a ceramics-focused class, embrace the chaos and have all of your classes do clay at once! See how Sarah Krajewski tackles clay during Clay Week in the video below to streamline material prep, firing, and clean-up.
10. Batch your firings.
It may seem like you’re always loading and unloading the kiln. Optimize kiln usage by batch-firing your projects. Instead of firing after each class finishes a project, only to run the kiln a few days later because a student turned in their work late, fire only when you have a full kiln. If you’re doing a bisque-firing, carefully stack projects so you can maximize kiln space!
The world of ceramics offers exciting and limitless possibilities for artistic expression and learning. While we know this, sometimes we can be reluctant to break out the clay because of the mess and hassle. Use the tips above to make preparing for and working with clay easier and more enjoyable! Additionally, harnessing FLEX Curriculum’s vast library of clay resources and lesson plans will elevate your next ceramics unit while minimizing your planning load. Pass along the delight of clay to your students and watch their abilities and passion for this 3D medium grow!
How do you incorporate clay into your curriculum?
Share your favorite ceramics cheats and hacks!
Magazine articles and podcasts are opinions of professional education contributors and do not necessarily represent the position of the Art of Education University (AOEU) or its academic offerings. Contributors use terms in the way they are most often talked about in the scope of their educational experiences.