Printmaking is an exciting art form that deserves a place in every art curriculum. But, with so many concepts and processes involved, it can be difficult to scaffold a progression that makes sense. How do you know which processes to include? How basic is too basic? How much is too much?
Let’s take a look at a sequence to help students develop both a conceptual understanding of printmaking as well as a foundation of basic skills on which to build. The sequence is organized in a way that introduces concepts in a progression to help students build on prior knowledge.
Concept 1: A print is a copy.
This basic concept is the foundation of nearly all printmaking processes, from crayon rubbings to lithography. The idea of creating a copy of an image can be taught through simple processes like stamping and rubbing.
Stamping
At its core, stamping is the easiest printmaking skill. However, it can be scaled to challenge any age level with the right materials. Because it requires minor fine motor skills, it’s ideal for young students and also ideal for special education students who have mobility challenges. But after students learn the basics, you can introduce concepts of layering and embellishing to take it even further.
Here are some stamping materials to try:
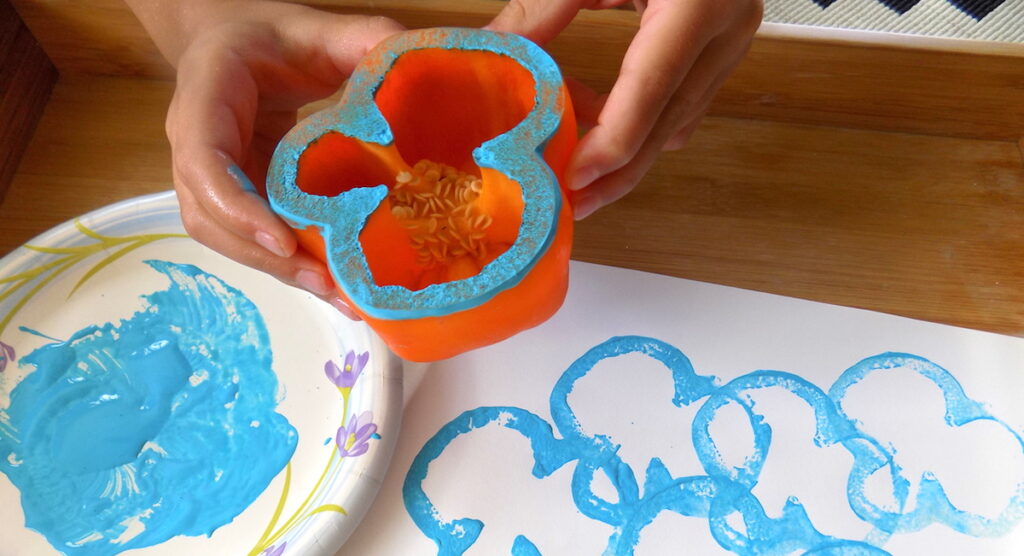
- Fruits and vegetables
- Toys (LEGOS, stuffed animals, things with wheels to roll through the paint/ink)
- Traditional stamps
- Sponges
- Fingers/Hands
- Recycled materials
- Playdoh or Clay
Rubbing
A rubbing is made when paper or other material is placed on top of a surface. Pressure is applied with an artmaking material to record the resulting textural design. Although a rubbing is another basic printmaking concept, it does require a bit of hand-eye control and the ability to apply even pressure.
Try creating rubbings of these things with your students:
- Natural materials like leaves, flowers, bark, etc.
- Found objects like coins, keys, the bottom of a shoe, etc.
- Homemade or purchased texture plates
Concept 2: You can create a printing plate in order to make multiple copies.
After students understand the very basics, it’s time to introduce the concept of a printing plate. Here, you are buildings skills because now students must also understand the idea that the resulting print is a reverse of the printing plate. The processes or techniques used to create a printing plate can vary based on the age and skill level of your students.
Look at the list below, listed from least complex to most complex, to determine which techniques might be best for your students.
Monoprinting
Monoprinting works well for any age level. Simply apply ink to a surface, press the paper on top, and pull your print. For a traditional monoprinting experience, try plexiglass, Gelli plates, or any other smooth surface. You can even pull prints directly from the table top!
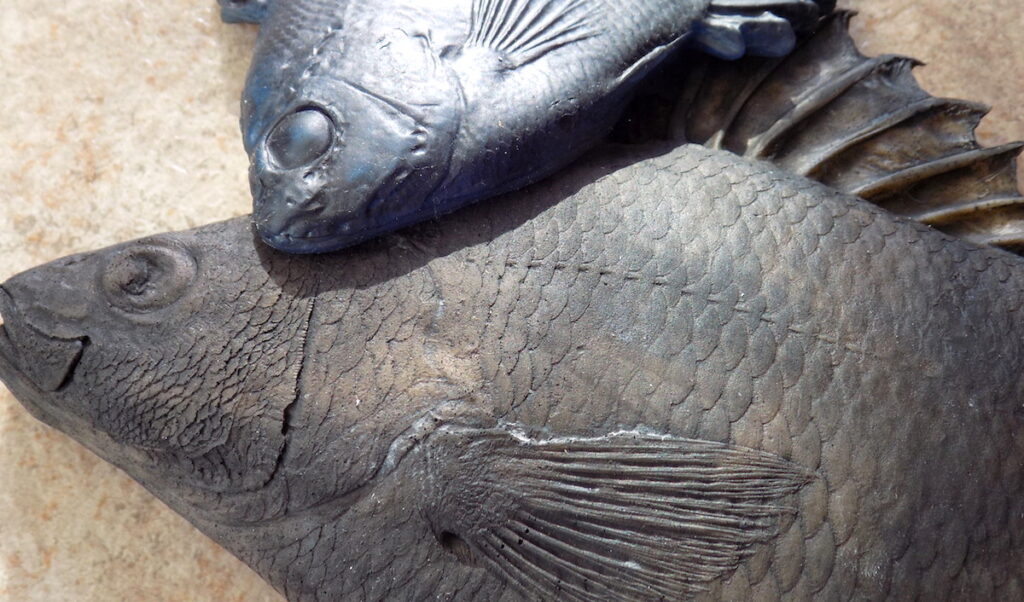
You can also pull monoprints from textured surfaces. Have your students create collagraphs, use materials you have on hand like texture plates, or look to nature for inspiration with a process like gyotaku.
Have your students experiment with making multiple copies by pulling ghost prints of the remaining ink after the first print has been pulled.
Relief Printing
With relief printing, areas of a printing plate are carved away and the ink sits on the raised surface.
Here are some methods to create relief plates, from basic to advanced:
- Press into Styrofoam plates with a pencil.
- Carve into gum erasers using linocut tools.
- Use linocut tools to carve into linoleum or into a more forgiving surface like E-Z-Cut.
- Carve into wood blocks using the appropriate tools.
- Try kitchen lithography as a safer alternative to traditional methods.

Intaglio Printing
Intaglio is the opposite of relief. With intaglio printing, the ink is forced into the recessed areas of the plate. Intaglio processes are best suited to older students as they must cut, scratch, or etch into a metal plate.
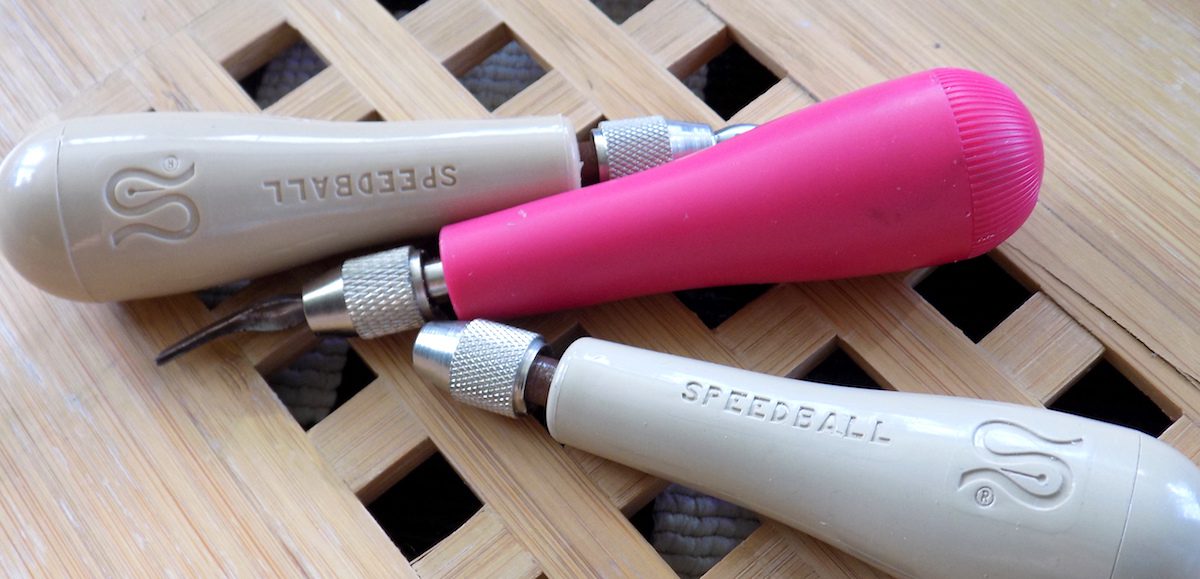
Concept 3: Printmakers use a variety of specialized tools.
While printmaking, students may come across tools and materials that they have never encountered before.
Here is a sample list of materials to introduce:
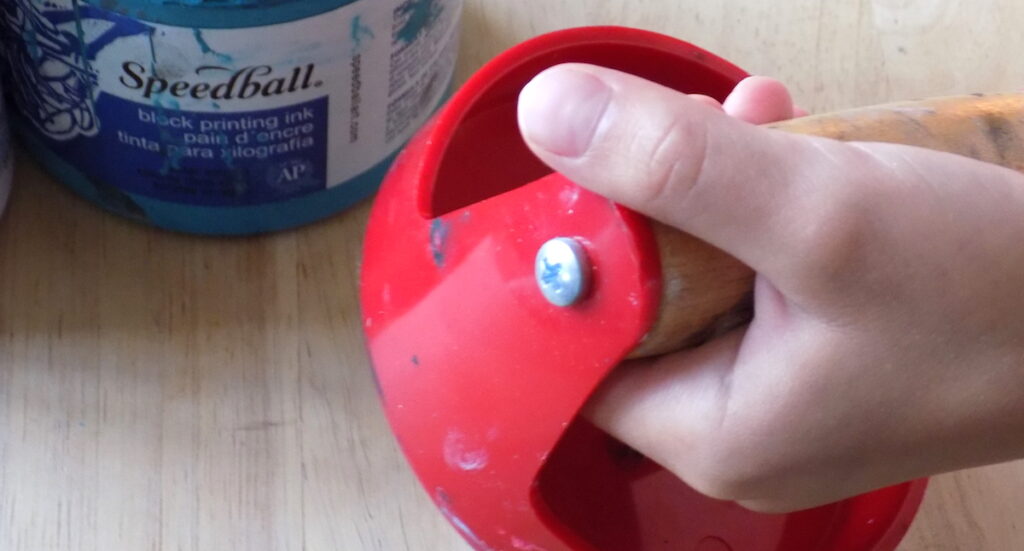
- Ink
While you can technically get away with using paint for some processes with younger students, it’s nice to allow students to experiment with the nuances of ink. - Brayer
After students have mastered stamping and rubbing, introduce this tool as a way to apply ink. - Block or Plate
Share a variety of examples. - Baren
Whether it is their hand, a spoon, or a traditional baren, introduce a tool that can help apply pressure during the printing process.
- Printing Press
After students understand the role of a baren, enhance their understanding with the introduction of a basic press. - Carving Tools
Usage of these tools should be extensively demonstrated and closely supervised because of their potential for causing injury.
Concept 4: Prints are signed and numbered for a reason.
Older students can begin to understand the idea that one-of-a-kind art pieces are more valuable than multiples. This idea helps them understand why prints are signed and numbered.
To introduce this idea, examine prints as a whole group and explore the artists’ signatures. Help students see how artists typically sign their prints to claim ownership but not distract from the overall image. Next, introduce the idea of edition numbers and demonstrate how to accurately number a series of prints. Have students number and edition their prints.
You may even want to have a printmaking exchange in your room to emphasize the usefulness of editioning through a real world example.
Concept 5: Printmaking can bring fine arts to the masses.
Personally, this is my favorite aspect of printmaking. While many art forms are one-of-a-kind, with price tags to match, prints can be affordable for the everyday person. It’s like an equalizer for the art world. In addition, printmaking makes its way into things like advertising and advocacy, which are great avenues for students to explore.
Here are a few ideas to help students make those connections:
- Create wearable art by introducing freezer paper printing as a screen printing alternative for younger students.
- Graduate to authentic screen printing for a real or theoretical client.
- Create advocacy fliers or posters using any printmaking technique. (Think Shepard Fairey.)
- Research the history of propaganda posters and appropriate their imagery for modern issues. (Think: World War I and II imagery.)
- Reframe copy machines and computer printers as fine art tools.
This progression just scratches the surface of everything you can do with printmaking. The key is to remember by starting simply, you can begin to introduce printmaking techniques to even your youngest students. With time and experience, they will be able to master more advanced techniques and deepen their understanding.
If you’re looking for some inspiration to bring into your classroom, be sure to take a peek at the course Studio: Printmaking. There, you can try out various monoprint techniques, image transfers, traditional and nontraditional linocuts, collagraphs and many other unique and alternative processes—no press or chemicals necessary!
How do you help your students develop printmaking skills over time?
What concepts or techniques would you add to this progression?
Magazine articles and podcasts are opinions of professional education contributors and do not necessarily represent the position of the Art of Education University (AOEU) or its academic offerings. Contributors use terms in the way they are most often talked about in the scope of their educational experiences.