I’ve always felt overwhelmed when it comes to the printmaking process. For me, it has always been a struggle to get my students to wrap their minds around the different facets this art process has to offer. Plus, the amount of materials that have to be prepped also wears me down.
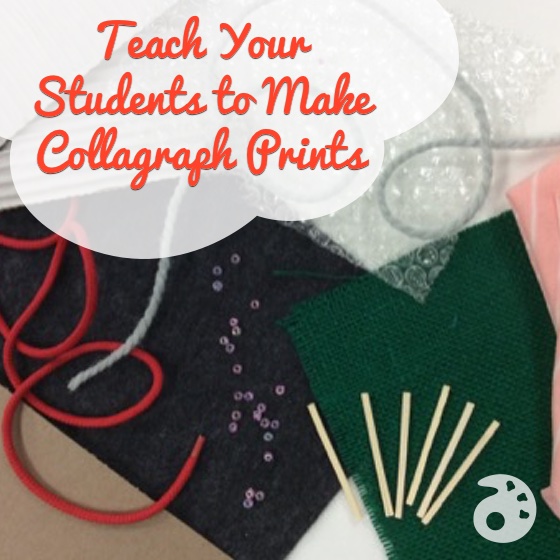
Thankfully, my high school art teacher introduced me to collagraphy, and I’ve been crazy about the process ever since. If you’re unfamiliar, collagraph is a term coined by artist and educator Glen Alps in the 1950s. He didn’t invent the process, but he most certainly helped develop it and gave the process its name. Essentially, a print is created from a collection of textures that have been collaged onto a rigid surface.
If you’re interested in creating a collagraph plate with your students, then read on for simple step-by-step instructions.
Collagraph Supplies
Before beginning, you’ll want to gather the following materials.
Base your choices on what is most appropriate for the grade levels you teach.
- A variety of items with different textures
- Tempera paint or ink
- Elmer’s glue or hot glue
- Brushes and/or sponge brushes
- A rigid surface, such as cardboard or chipboard, for each student
- Spray bottle filled with water
- Printing paper
- Printing press or brayer (optional)
Making a Collagraph Print
1. Dig out any materials that have good textures for your students to utilize.
This is a great time to clean out and use up those random materials that have been collecting dust. Encourage your students to bring in some of their own found materials to use as well.
2. Have students sketch their designs onto their collagraph plates.
You may want to have them do some research or pre-planning first (see lesson ideas below).
Collagraphs are a great, budget-friendly way to introduce your students to printmaking. If you’re looking for even more doable methods for classroom use, take a look at the Studio: Printmaking course. You’ll be able to explore various monoprint techniques, image transfers, traditional and nontraditional linocuts, collagraphs and many other unique and alternative processes—no press or chemicals necessary!
Or, for something a bit quicker, dive into the Relief Printing Basics PRO Learning Pack!
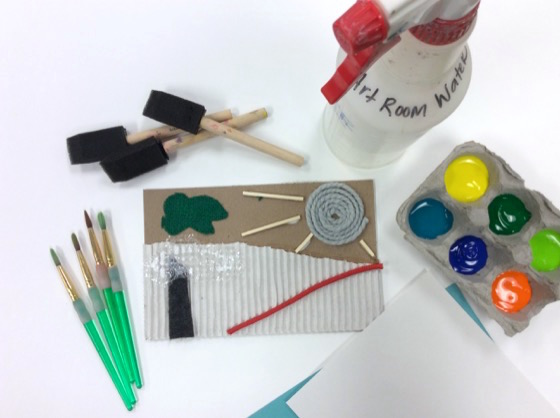
3. Have students cut out and glue their textured items onto their collagraph plates.
Encourage students to use a variety of textures and to fill the space. Make sure students don’t glue items that are super tall. To ensure successful printing, the surface should remain relatively even.
4. Select a wet medium to work with depending on the age level you teach and what you have available.
I usually utilize tempera paint because it is cheap and there are many vivid colors from which to choose.
5. Have students apply the medium to their collagraph plates using regular brushes or sponge brushes.
Although students are encouraged to move at a swift pace to keep the paint from totally drying, the next step can save your slower students.
6. Spray the finished collagraph plate with a water spray bottle to re-moisten the medium.
The plate just needs a touch of water. It doesn’t need to be soaked.
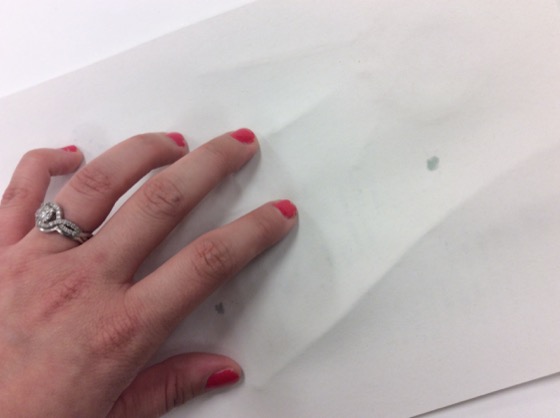
7. Have students center the paper over the plate and use their hands to gently rub and press the paper.
Once they’re certain the print has been made, have them remove the paper to reveal the print. Encourage your students to pull more prints to make a series. Paint may need to be reapplied.
If you have a printing press or brayers you can certainly utilize these, but I’ve found that hands can do an even better job printing. Plus, you don’t have to get out as many materials!
Project Ideas
There are so many different ways you can take this project. Here are two sample ideas.
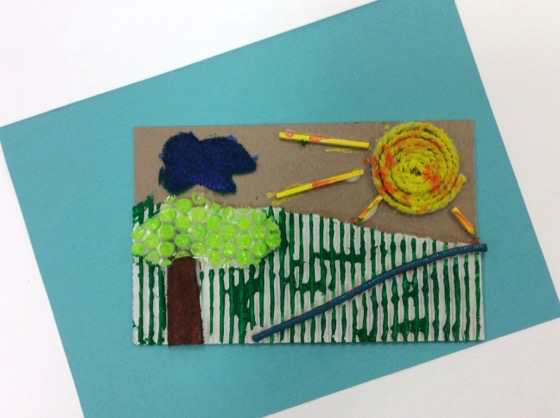
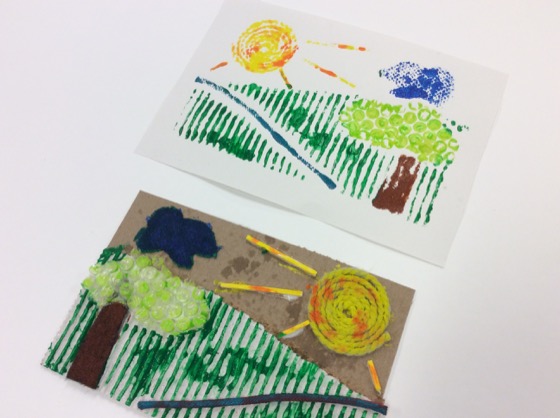
Elementary
Create some sort of “scape” – landscape, seascape, cityscape. All of these ideas work well! Looking for an even easier collagraph process? Just use yarn!
Secondary
Have students select a country or state and design a composition based on the landscapes or landmarks from that particular place. This is a nice tie-in to a social studies curriculum.
No matter which materials you use or which direction your students take their projects, making collagraphs is a ton of fun. It’s a nice way to introduce the printmaking process and experiment with texture to boot!
Which printmaking process is your favorite?
What are some tips you have to make the printing process easier?
Magazine articles and podcasts are opinions of professional education contributors and do not necessarily represent the position of the Art of Education University (AOEU) or its academic offerings. Contributors use terms in the way they are most often talked about in the scope of their educational experiences.