The beginning of a new school year is full of change for most students. Many are entering new grades with new teachers while others are switching schools altogether. With all of this sudden change, it can be difficult for students to invest in their new school community. The art room is a perfect place for students to come together and build a strong sense of community, starting on day one.
So how can you build a positive school culture that impacts everyone? Check out this stencil project that is sure to brighten someone’s day!

1. Use Street Art as Inspiration
It’s no secret that students find interest in street art. The work is relatable, accessible, and captivates their attention. Discussing how street art is used to spread a message will inspire students when planning their projects. These 12 street artists would be excellent to introduce at the beginning of this lesson. The Street Art Stories series on YouTube also provides a fun way for students to learn about the work of street artists.
2. Push Positivity
Before students can start their project, they need to determine what they want their message to say.
Use this list of questions to help guide students:
- When you’re having a bad day, what makes you feel better?
- What is one thing that always makes you smile?
- What is one thing that people should hear every day?
- What is your favorite positive phrase or message?
Once students have determined the direction of their message, they can begin designing a stencil with a phrase, message, or word.
3. Gather Materials and Create a Stencil
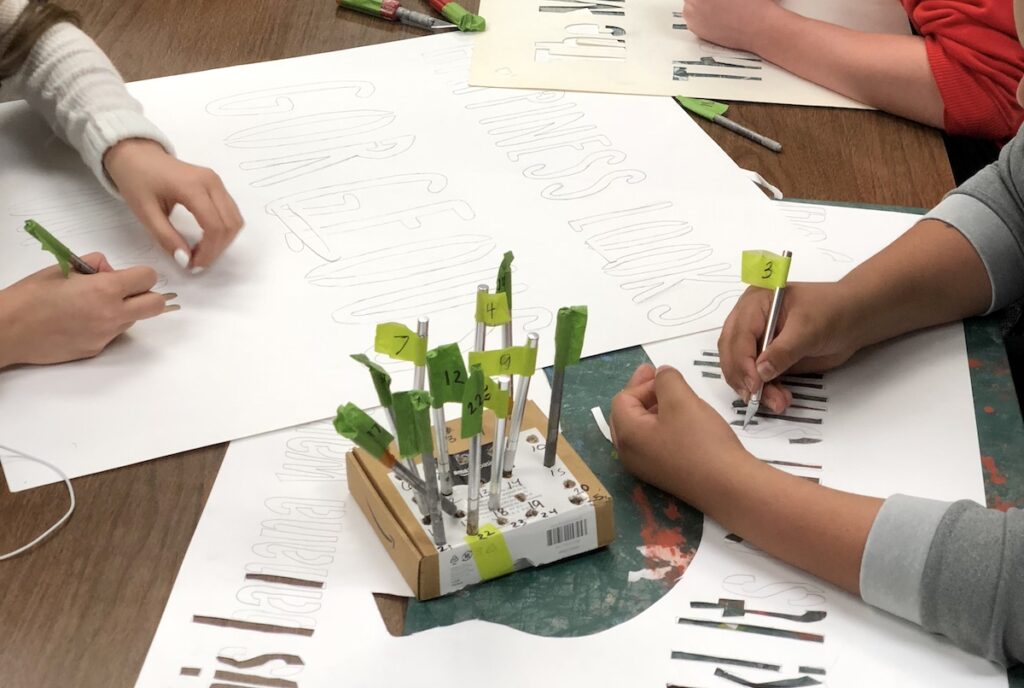
Here are the materials you will need to create the stencil.
- Oak tag or other heavyweight paper
- X-ACTO knives
- Drawing materials
- Computer and printer (optional)
- Spray chalk
Creating the stencil design is the fun part. However, it does take some planning. If you have access to technology, this is a great project for integration. This lesson could serve as a way to introduce students to typography and imagery. If technology is not available, students can design their stencils using their drawing skills.
When designing stencils, it’s best to have students design in black and white so they can visually see any problem areas. The black parts should represent what will show up when the stencil is cut out. Stress the importance of all of the white of the paper connecting. It’s essential that no part of the stencil is an “island.” If everything isn’t connected, your students will have problems when they begin cutting out their stencils.
4. Cut Out Stencil
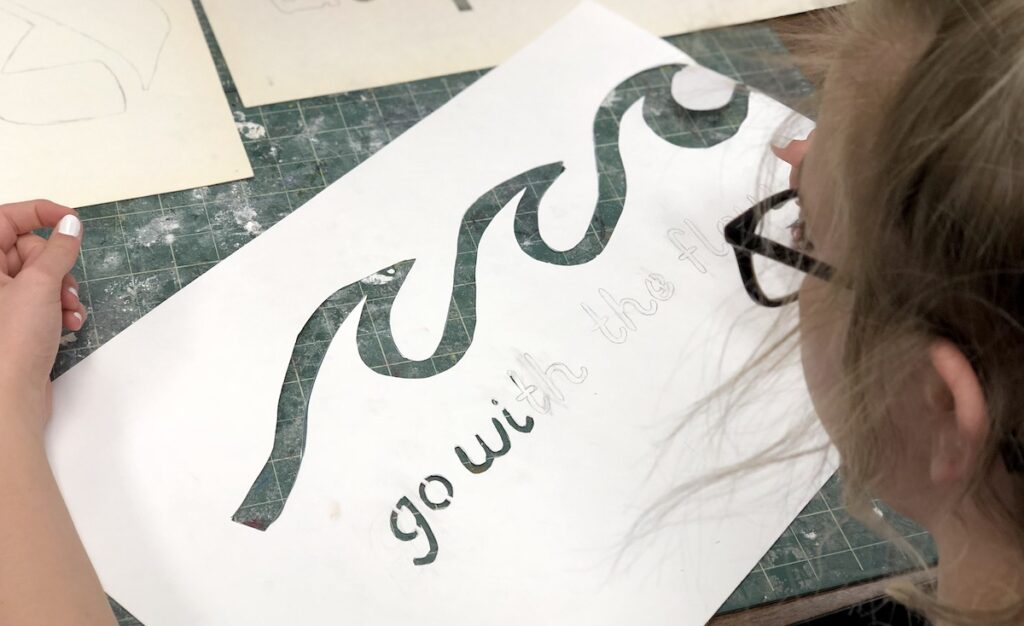
In the creation stage of the stencil, it is best to use a heavyweight paper like oak tag. You can use this opportunity to talk about X-ACTO knife safety in the art room. Other methods like using scissors may work, but students will be most successful with an X-ACTO knife.
5. Go Outside and Leave a Message
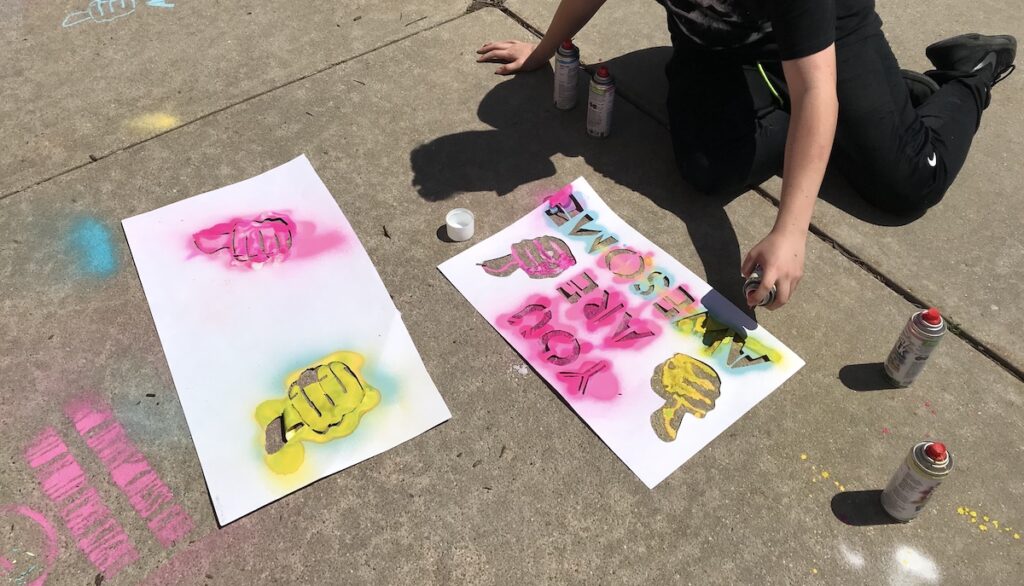
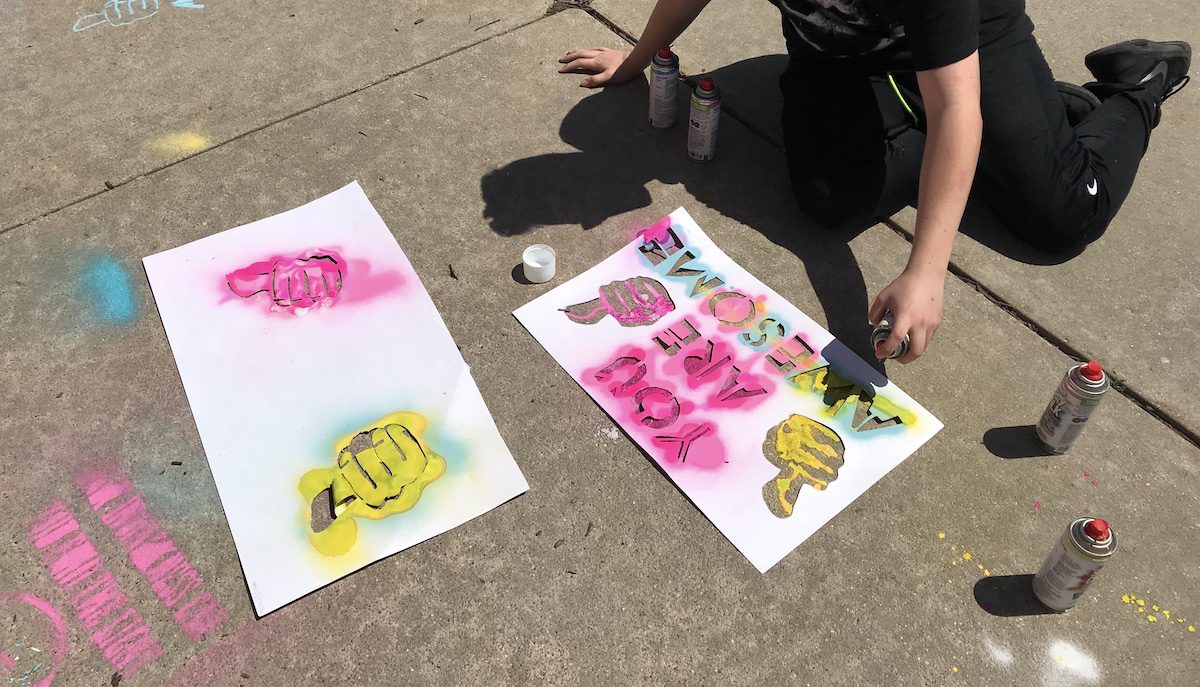
Once students have cut out their stencils, they can make their mark on the sidewalks of your school campus. Using spray chalk will make it feel like students are using spray paint, but it won’t leave any permanent marks. Students might also choose to use regular sidewalk chalk to fill in their design. You might even consider making your own spray chalk with any leftover chalk pieces in your classroom. If going outside isn’t an option, consider using the stencils to create messages that can hang throughout the school.
Our students have more on their minds than we know. Trying out this project will allow your students to be greeted by a positive message to remind them of how awesome they are!
What is your favorite project to do at the beginning of the school year?
How do you spread positivity in your school through art?
Magazine articles and podcasts are opinions of professional education contributors and do not necessarily represent the position of the Art of Education University (AOEU) or its academic offerings. Contributors use terms in the way they are most often talked about in the scope of their educational experiences.
