In the past, we have talked a lot about clay on AOE. But today, I’d love to share the nitty gritty of clay project organization:
- How do you make sure you order the right amount of clay and glaze?
- How do you keep track of potentially dangerous tools?
- And how in the world do you keep track of hundreds of projects at a time?
Drawing on a few of my own mistakes, I’ll share my favorite ways to keep clay projects manageable.
How To: Order the right amount of clay and glaze every time.
Clay
The first time I had to make a clay order, I had no idea what I was doing. So, I did what any new teacher might do, and I asked another art teacher for help. My thinking was that he and I both taught the same number of students, and therefore probably needed the same amount of clay. Boy, was I wrong. When I had over 1,000 pounds of clay left at the end of the year, I realized that I needed to budget for my clay usage, not someone else’s.
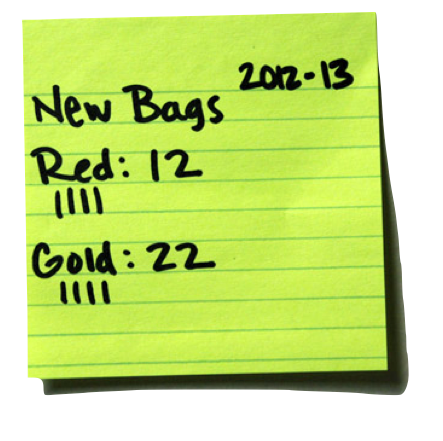
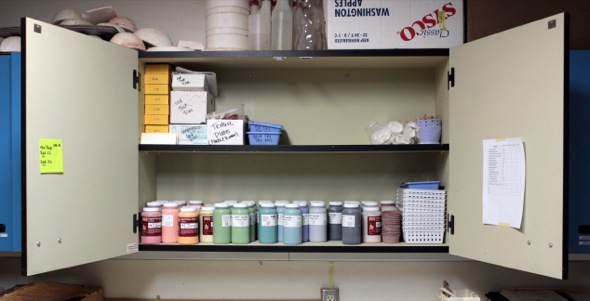
My solution? A sticky note. Yep, the humblest of all record keeping devices helped me accurately gauge my own clay use. Every year, I write down the number of bags of clay I start with. Each time I use a bag, I make a tally mark. At the end of the year, I count up how many are left to make sure my numbers match. Since I do similar clay projects with each grade each year, I know exactly how much more clay I need to order for the following year. Easy.
Glaze
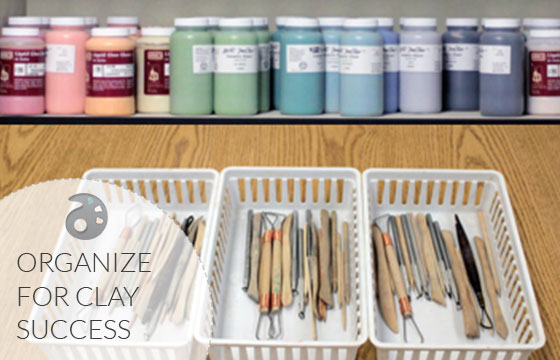
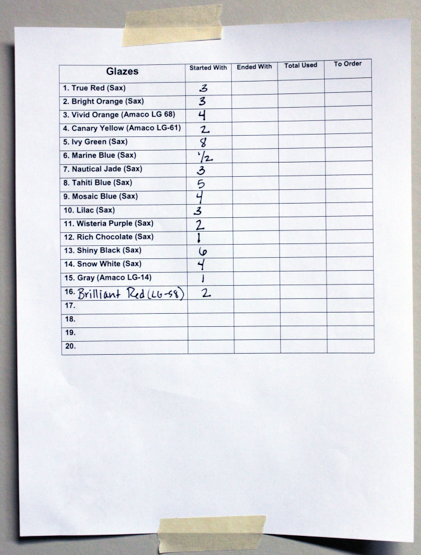
I once ran out of blue glaze in the middle of a project. Needless to say, quite a few of my kiddos were not happy. Naively, I had ordered the same amount of each color of glaze. I had not taken into account that some colors would be more popular than others. So, like my clay solution, I developed a document that could easily help me track my glaze usage. If you’d like, you can download your own copy right here. To keep things even neater, I organized my bottles of glaze in rows (in rainbow order, of course) so that I could see what I had at a glance.

How To: Keep Tools Organized and Safe
Two years ago, at the end of a school day, I noticed that a needle tool had disappeared from the art room. Has this ever happened to you? All I could think about was the perpetrator running wild in the school poking everyone in sight. Days later, I realized that I had shoved the needle tool in my pencil cup on my desk. The perpetrator was me. That fact didn’t make me feel any better though, because I realized that my system for dealing with dangerous tools was not good enough.
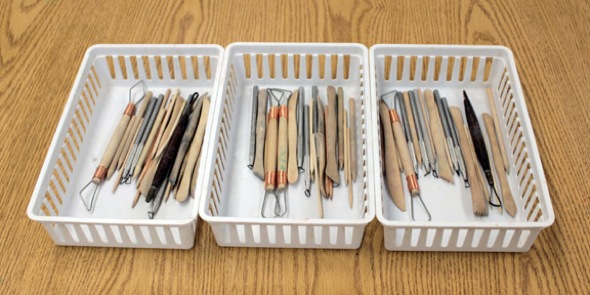
Now, I organize my tools (a mix of wooden sticks, silverware, and more traditional clay tools) in nesting baskets which students share at tables. While one basket may have one more fork or stick than another, all tables have the exact same number of needle tools, which must be accounted for before a table is allowed to line up at the end of class.
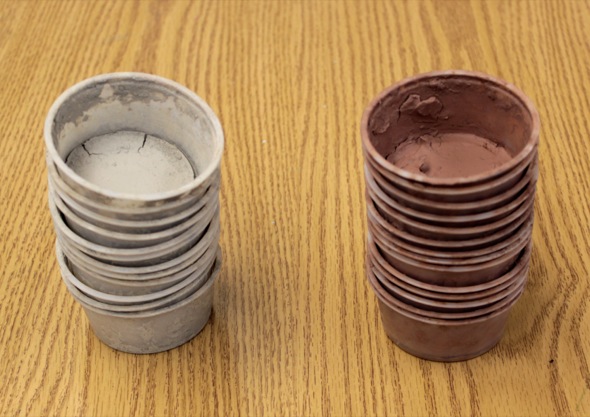
I organize slip in similar stackable cups. I keep the slip cups on a tray during projects, but then let them dry out for storage.
How To: Easily organize hundreds of clay projects at a time
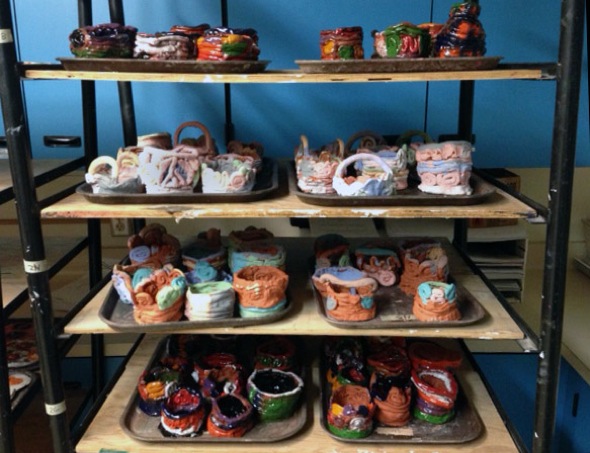
I realize that there are many options for storing clay projects, but for me, using individual bags never seemed practical. In my room, I use what I have dubbed the “tray method.” It works like this. The projects for each class are stored on old lunch trays, which are labeled with the class code, for example “3S” for Ms. Smith’s 3rd grade class. Trays of projects in progress get put into large garbage bags to keep them workable. Projects waiting to be glazed or sent home simply sit out on the trays, ready for me to grab before the class enters the room.
I find that this system makes clay projects much more manageable. Instead of having twenty-five individual bags to keep track of for each class, I only have two to four trays, depending on the size of the projects. These trays sit on rolling shelves in my office, making everything even neater. Below is an example of second grade coil pots in various stages stored on the trays.
Putting it All Together
I keep all the parts of my clay organization system in one area of my room. The glazes, tools, slip cups and other clay related supplies all sit on one shelf, while the clay is stored below. This makes it very easy to keep track of everything I have. My post-it note system and glaze sheet are taped to the inside of the supply cupboard for easy access.
Tell us, what pitfalls do you have when it comes to the logistics of teaching clay?
What are your favorite ways to organize during clay projects?
Magazine articles and podcasts are opinions of professional education contributors and do not necessarily represent the position of the Art of Education University (AOEU) or its academic offerings. Contributors use terms in the way they are most often talked about in the scope of their educational experiences.


