The winter months are a great time to try out some Chinese calligraphy in your classroom. (This year, the celebration falls in late February.) However, getting started with a project like this can be daunting, especially if you don’t have much experience with the art of calligraphy in the first place. If you’re thinking Chinese calligraphy is something you might want to try with students but aren’t sure where to start, have no fear!
Today I’m sharing 4 steps to teach your students Chinese Calligraphy.
Step 1 – Gather Your Resources
A complicated idea, like doing calligraphy in another language with an unfamiliar writing style, requires a lot of frontloading on your part. In other words, you have to teach students about Chinese calligraphy before you can teach them to do Chinese calligraphy.
For a quick introduction, I really like the video below. It shows students how Chinese characters have evolved over thousands of years.
I also like to show students some footage of children and adults (starts at the 30 second mark) practicing calligraphy. This way, they can see the mechanics of holding and moving the brush up close.
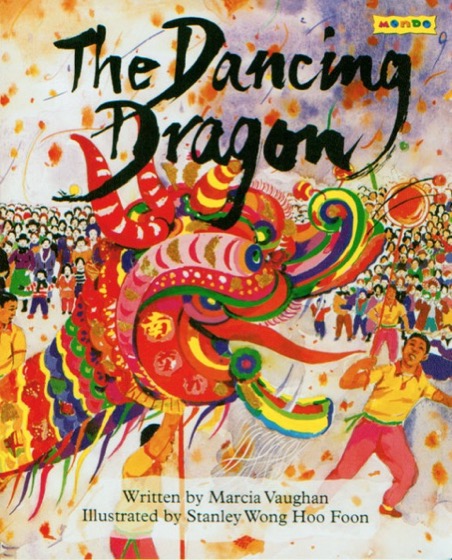
Finally, if you’d like make a social studies cross-curricular connection with Chinese New Year, there are many great resources out there. A few of my favorites include YouTube videos of traditional Dragon dances and Lion dances, as well as read-aloud books. One of the most engaging I’ve found is called The Dancing Dragon by Marcia K. Vaughan. As you read it, the pages open up accordion-style and the dragon gets longer and longer!
Step 2 – Gather Your Materials
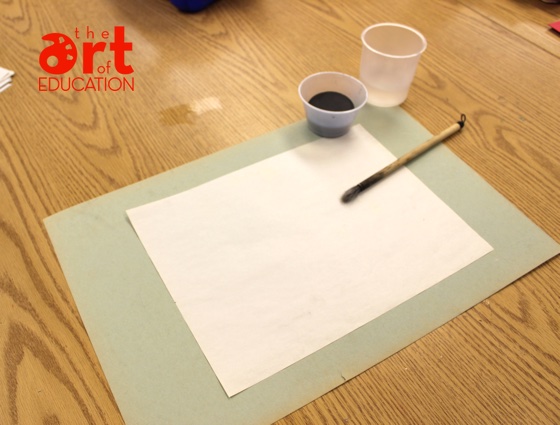
Having the right materials for Chinese calligraphy makes all the difference. I would highly recommend getting a set of real bamboo brushes. A student-grade set will save you money and meet your needs. You just can’t make the same strokes with other brushes. Plus, your students will go nuts. For the rest of the supplies you can do your best to substitute. (Unless, that is, you have a magical budget where you have enough money to buy ink stones, ink and rice paper for all your students. Then, by all means, go for it!)
Here are the supplies I like to use in my elementary classroom.
- Bamboo Brushes
- Black Tempera Cakes
- Construction Paper Placemats
- Newsprint For Practice
- Nice Drawing Paper or Rice Paper for Final Pieces
- Small Water Cups
- Folders with sample Chinese characters for each table group
Step 3 – Practice, Practice, Practice!
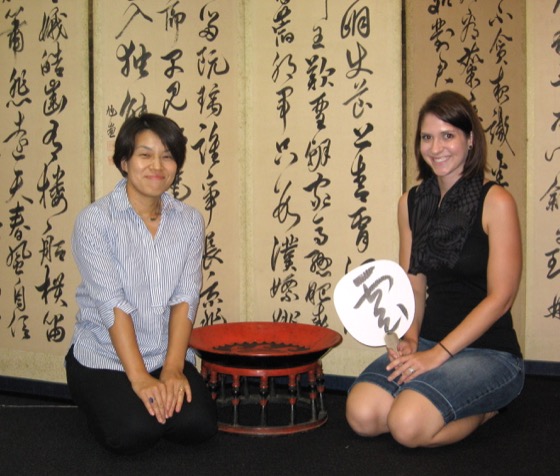
I was insanely lucky and got to take a calligraphy lesson in Japan a few years ago, but you don’t need to travel around the world to pick up some basic skills. Community ed programs, museums and even staff members or parents are good places to start searching for lessons. If you can’t get a hands-on lesson, do your best to pick up some tips online.
The wonderful video below goes through some very basic strokes and philosophy of Chinese calligraphy.
Remember that it takes a lifetime to become a calligraphy master. Breathe deeply and try your best.
Step 4 – Teach Your Students!
I like to make my Chinese Calligraphy project stretch out over a few days.
DAY 1
On day one, I like to introduce students to the idea of calligraphy, do a demonstration and have students practice.
After having students set up their work spaces, I demonstrate different brush strokes and have students follow along. This would be a great time to break out your document camera if you have one.
During practice time, I start with prompts such as “make the thinnest lines you can,” “make a mark that starts thin then gets thicker,” and “make a dot” to get them comfortable with the brush. (Note: Some of your perfectionists will need a lot of encouragement. It’s good to talk about how learning a new skill is tough for most people!)
If you need an extension, you can lead students through creating a simple character on day one, but I find that an introduction, demonstration and practice time are more than enough activities to fill the class period.
DAY 2
On day two, we start with a review and again warm up with the bamboo brushes. Then, I show students how Chinese characters are written in certain ways. I created a set of characters that show the order and direction of the brushstrokes so students can follow along. They are a little bit like “how to draw” pages for Chinese characters.
Students then have independent work time to practice characters that are interesting or meaningful to them.
When they feel ready, students can create their favorite characters on final sheets of real rice paper or nice, thin drawing paper.
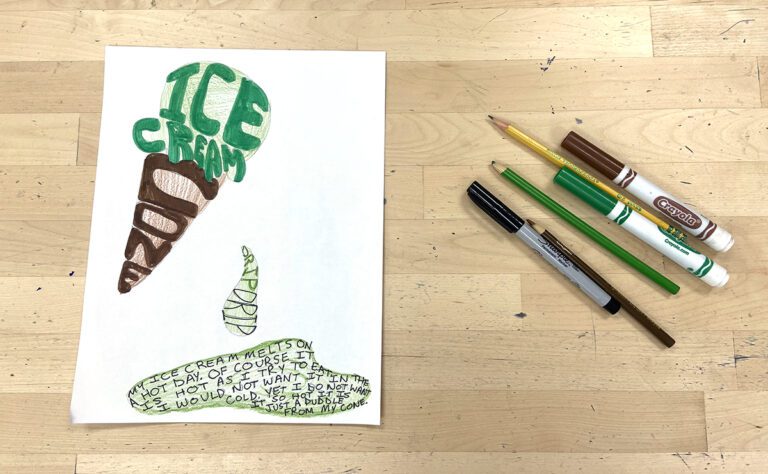
Note: There are many ways you can incorporate the art of Chinese calligraphy into your lessons. I’ve had students create single characters, but I’ve also had students create a set of three characters with a red and gold border for something a bit more involved. Other ideas include creating a cover for a journal, creating a clay tile, or even trying to combine a few characters to tell a story. The options are endless.
I hope that I’ve given you enough to get started with Chinese calligraphy in your own classroom. It’s one of those lessons that’s just challenging enough to keep your students highly engaged throughout the entire class period. Take a chance. Try something new! You just might be surprised at how much you enjoy it!
Tell us, have you done Chinese calligraphy in your classroom?
What tips do you have to share?
Magazine articles and podcasts are opinions of professional education contributors and do not necessarily represent the position of the Art of Education University (AOEU) or its academic offerings. Contributors use terms in the way they are most often talked about in the scope of their educational experiences.
