Getting your students’ art out into the community can be a powerful experience for everyone involved. A few years ago, our city of Suwanee started something called a “SculpTour” where outdoor sculptures are arranged along an approximately mile-long walking path for the public to enjoy. I was immediately excited to incorporate this idea into my 3D art curriculum and went to work figuring out the logistics.
Ultimately, my students worked in groups to research artists and create large sculptures which were then displayed in our school. Thus a new favorite tradition was born! As an added bonus, our City Hall ended up displaying 12 of the pieces for the summer. Yes!
If you’d like to present your students with a similar challenge, here’s what to do.
1. Have students research master sculptors.
Exposing students to amazing sculptures is a great way to help them get inspired. In my room, students research master sculptors and put together PowerPoint presentations to share with the class. Students work in groups and choose a style or an artist on which to focus.
Here are some styles/artists you might consider suggesting:
|
|
|
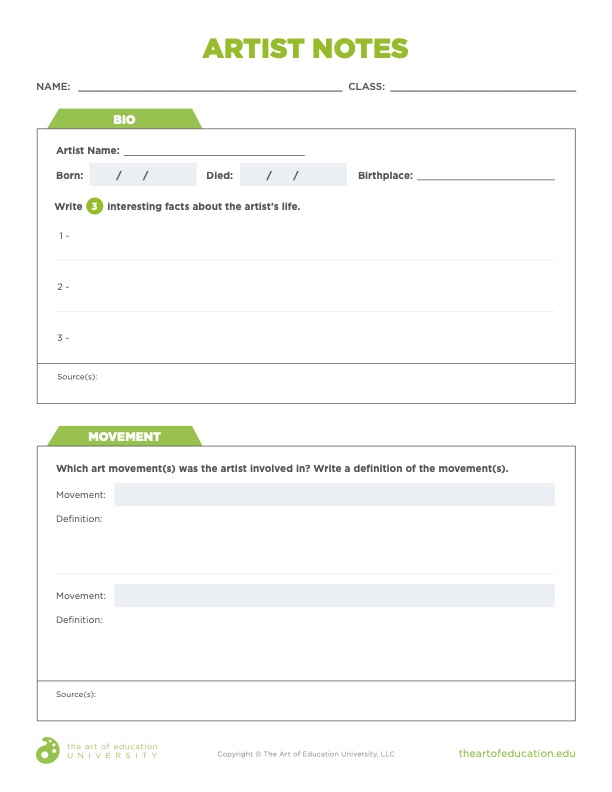
And here is a download to help keep your students on track during their research time. (Click to see both pages.)
This is a fun way to teach art history! Instead of lecturing for days, the students are the ones researching, presenting, and learning from each other. Presentation time is always exciting because not only do the students learn new things, I inevitably walk away learning something new myself! Encourage students to choose a style or artist that really hooks them because it will serve as inspiration for the next step.
2. Explain the assignment.
Working in groups, students will be required to create a life-sized sculpture in the style of the artist they researched for their PowerPoint.
3. Set the guidelines.
Only you know how much storage you have, so think ahead of time about what size requirements or limitations you will have. Personally, I wanted to challenge my students to create pieces that were at least 4 feet tall. You’ll want to remind students the armature will be incredibly important, as the final piece has to stand on its own. As a final requirement, it should be fairly apparent which master artist inspired the piece.
4. Get to work!
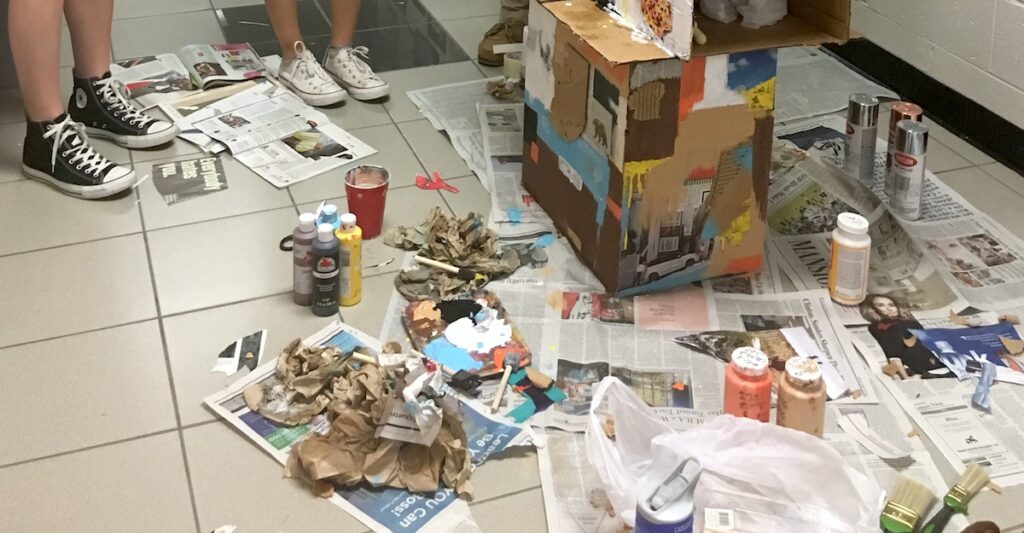
And so a new lesson begins! In my room, I give my students three weeks of class time to plan, experiment, and finish their pieces. Students have the freedom to use almost any medium they want.
Here are some things you might want to have on hand:
- Cardboard
- Wood
- Foam Board
- Recyclables
- Staple Guns
- Hot Glue Guns
- Paper Mache Materials
- Collage Materials
- Odds and Ends
- Fabric
- Acrylic Paint
The great thing about presenting students with so many choices is that there is a lot of trial and error. Taking risks is part of the process and highly encouraged!
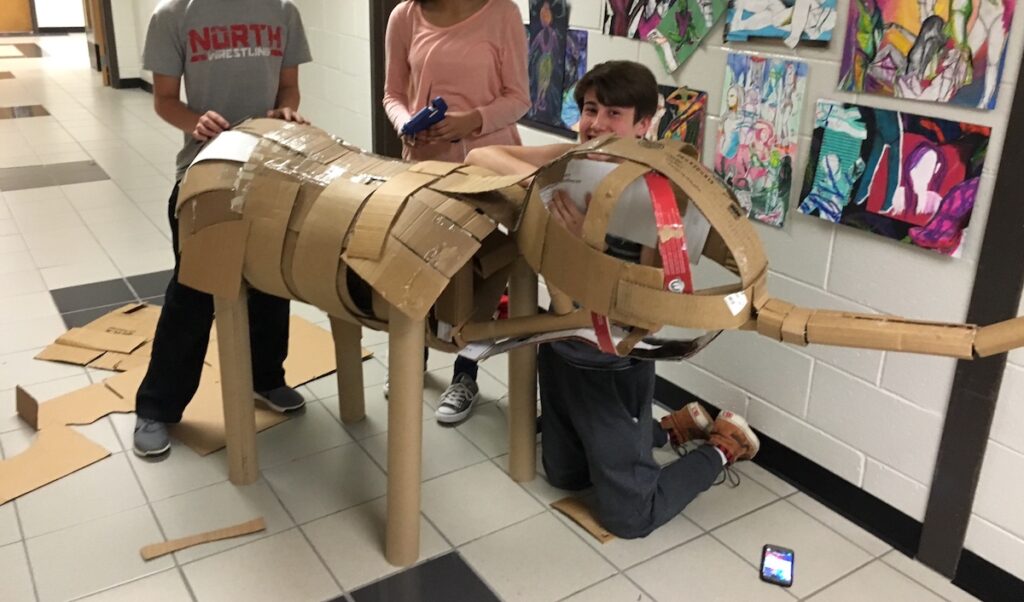
Students are SO motivated by this project. they completely throw themselves into the planning and creation and the final results are always amazing.
5. Set up your sculpture garden.
In our school, we set up the sculptures in the main commons area creating our very own North Gwinnett High School Indoor Sculpture Garden. Then, we took group tours through the exhibit where students explained their work. The students were so proud and smiled the entire time from all of the positive attention.
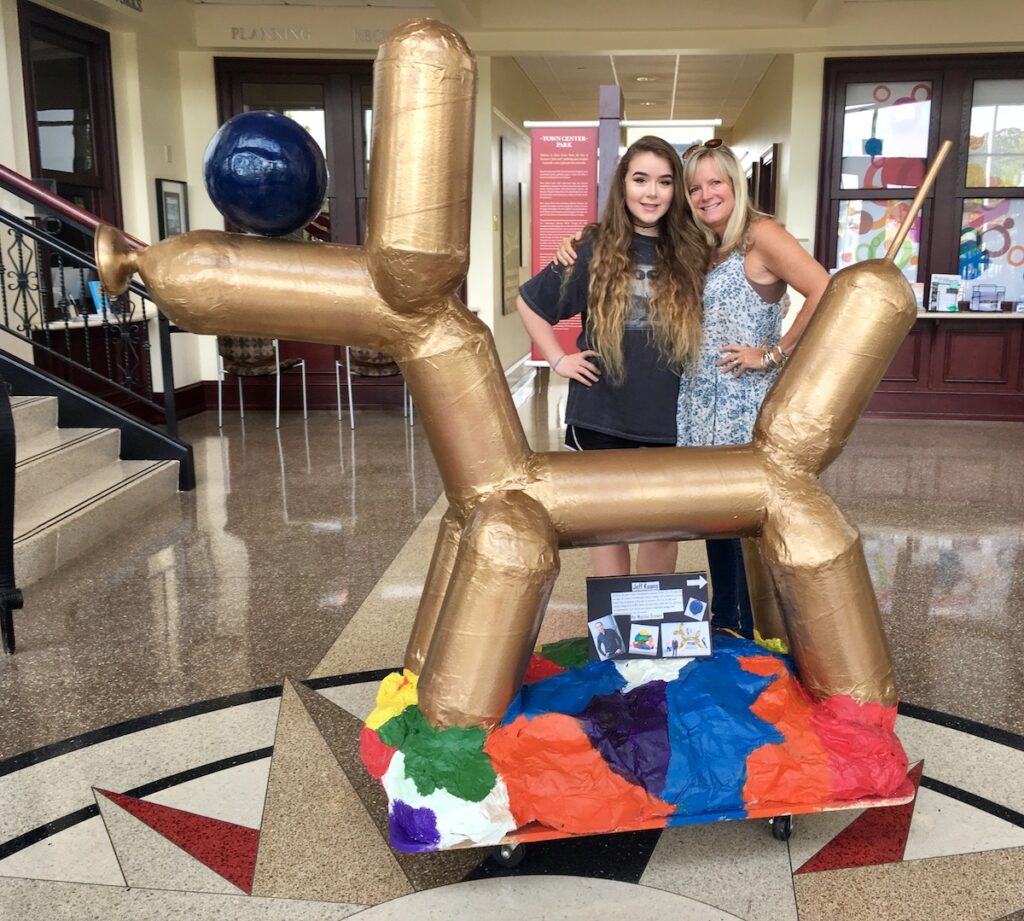
6. Partner with your community to further display the pieces.
I love posting my students’ work on social media and this project was no different. I had been posting pictures of their in-process and finished work when our City Hall contacted me. They wanted to exhibit some of the sculptures in the building over the summer. The students were thrilled!
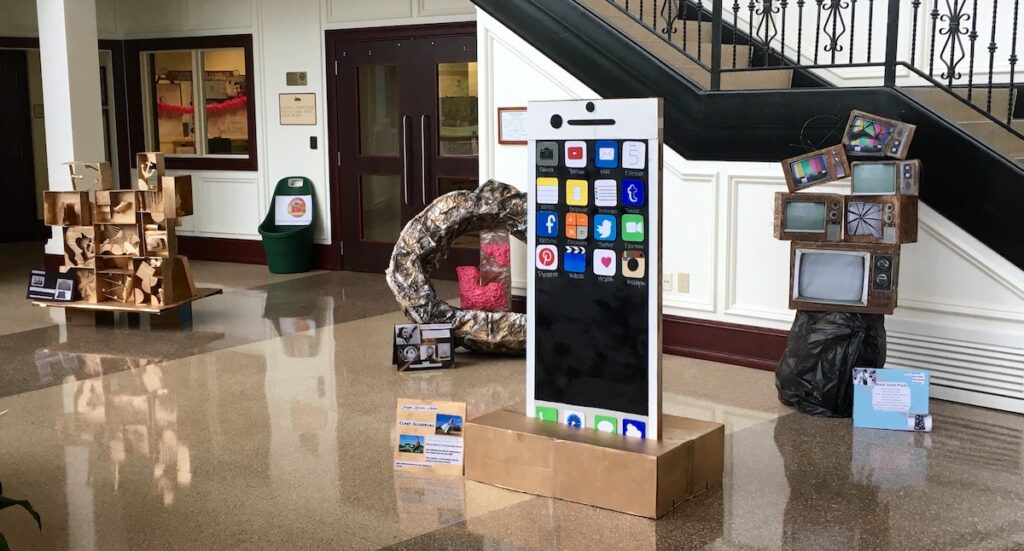
You might look to your own community to see if you can give your students’ work a wider audience. City Hall, local libraries, local business, and other community buildings would all be great places to reach out to.
This project has so many benefits. First of all, students get to work collaboratively and on a larger scale than they’re used to. It’s a great design thinking challenge as students figure out how to plan and build their sculptures. Finally, it becomes a wonderful advocacy tool for your community. Give it a try in your classroom. I know your students will love it!
Would you ever consider having your students work on such a large scale?
How do you display art throughout your community?
Magazine articles and podcasts are opinions of professional education contributors and do not necessarily represent the position of the Art of Education University (AOEU) or its academic offerings. Contributors use terms in the way they are most often talked about in the scope of their educational experiences.

