It’s no secret getting kids to engage with art history can be like pulling teeth. In my county, our common assessment is full of art history questions our students are required to know. As their art teacher, I feel like it’s my duty not only to ensure my students know the material but that they understand and appreciate it as well.
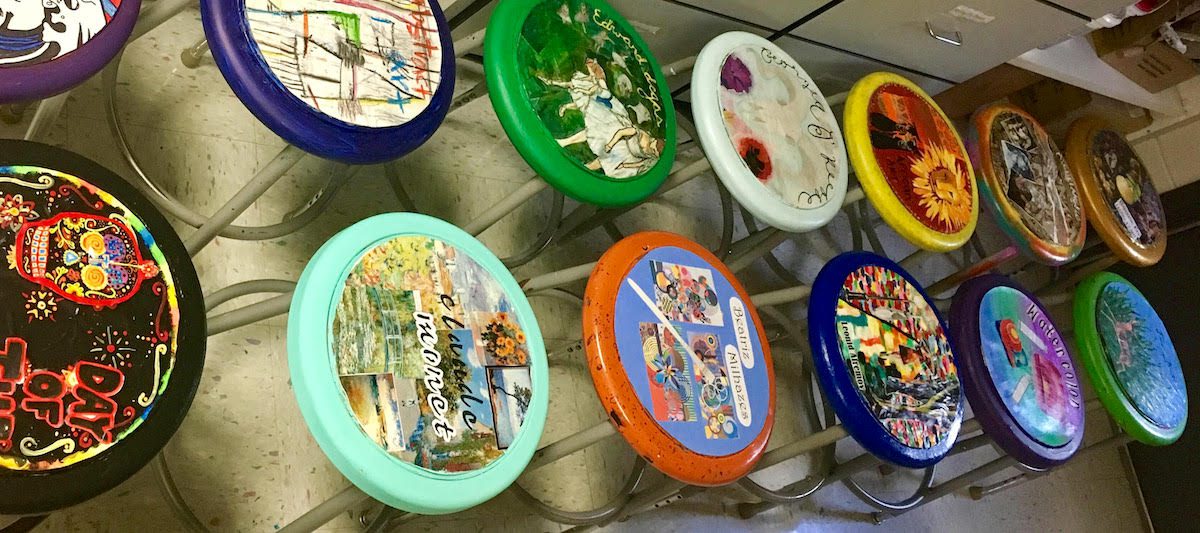
Several years ago, I noticed our art class stools were in need of a face-lift. I put two-and-two together, and art history learning stools became a reality!
This project is a foolproof way to get kids invested in art history. It’s proof art history can be fun! And, it can be done in three easy steps.
Art History Stools in 3 Easy Steps
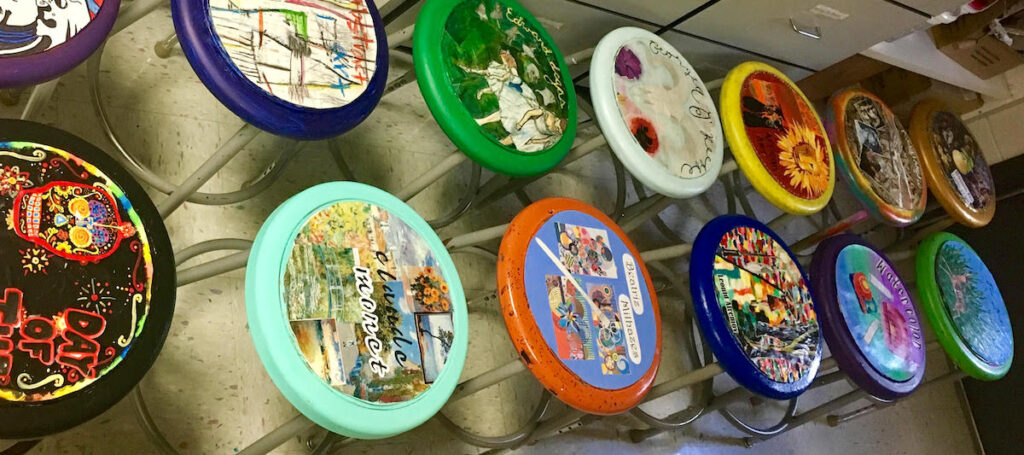
Step 1: Research
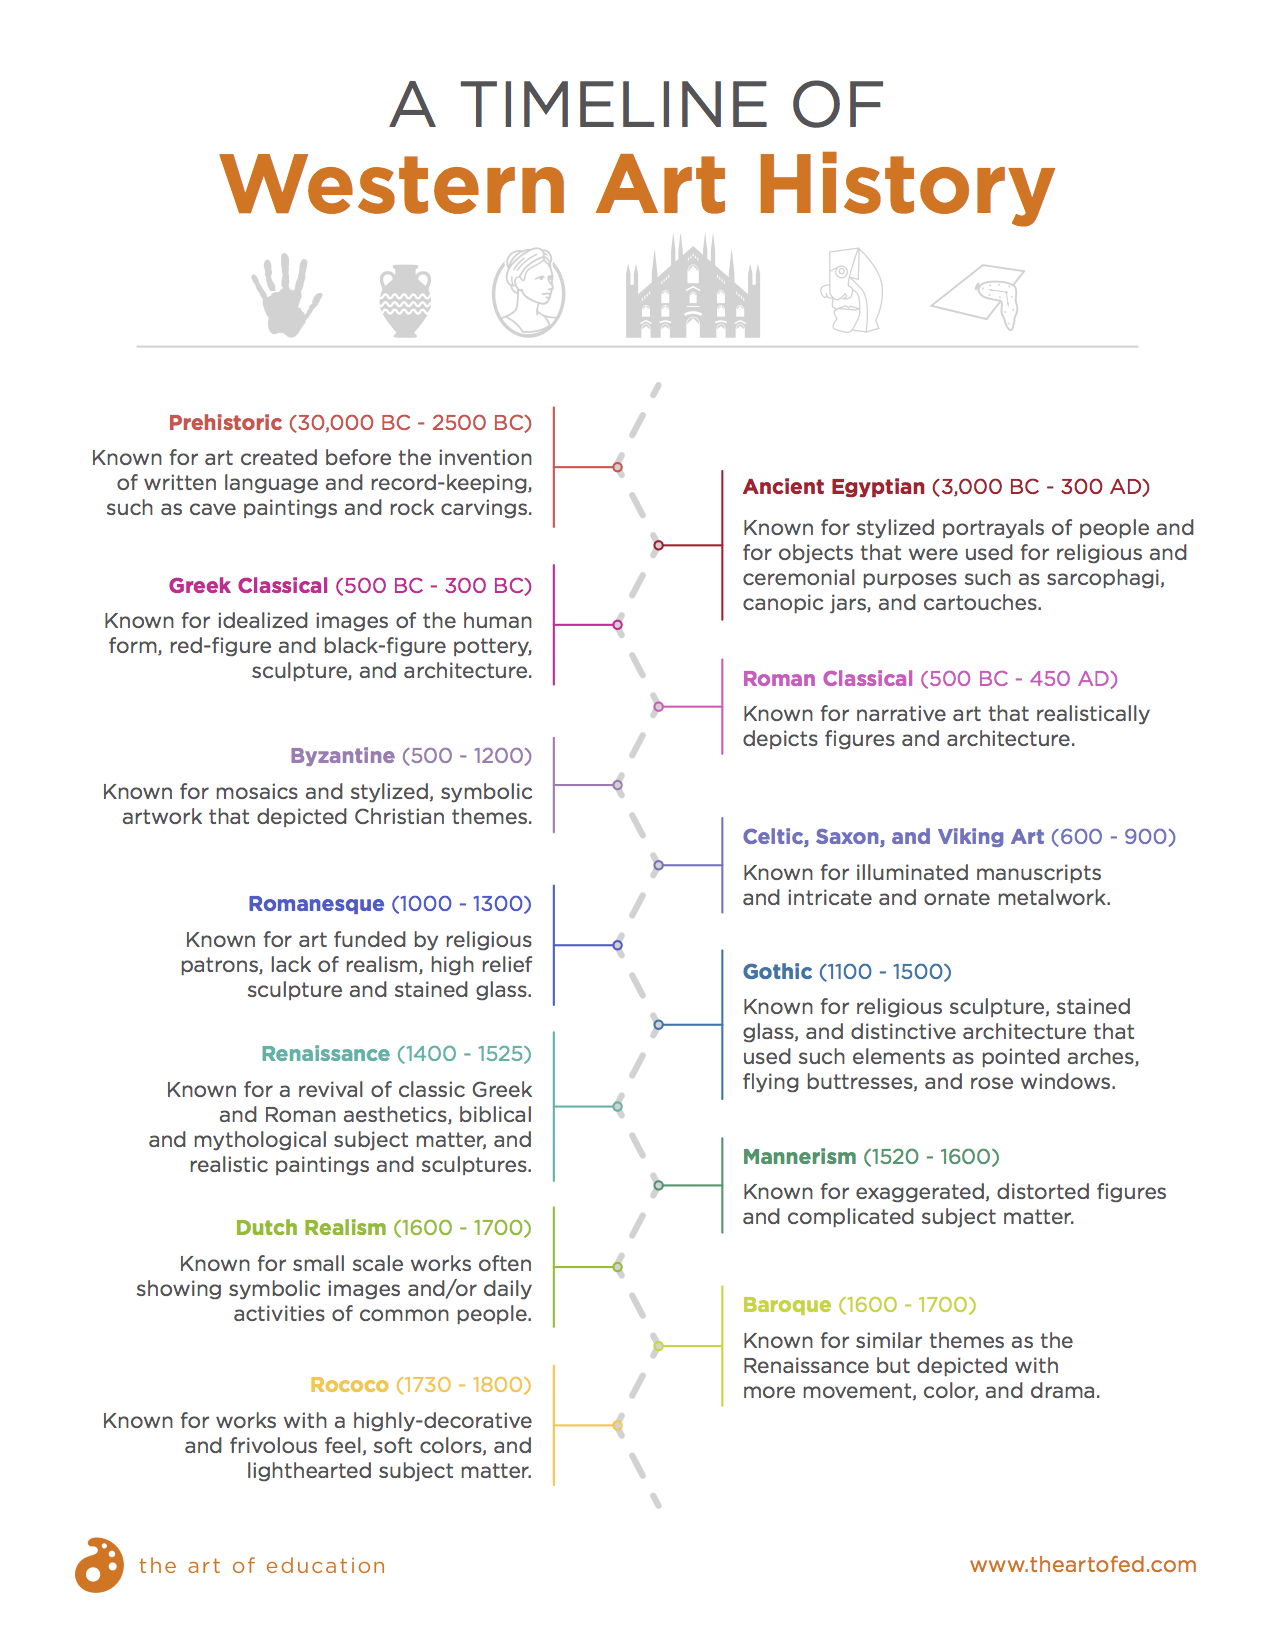
The first step is to introduce your students to the span of art history, from pre-historic to contemporary art. Using our county’s assessment as a starting point, I put together a document similar to the one below as a quick reference for my students. I also make sure to highlight a plethora of female artists and artists from all different cultures. This gets students thinking about the full range of artists and movements available for inspiration.
Download Now!Then, students select an art era or a specific artist and conduct their own research.
I have my students gather the following information:
- Date and Place of Birth
- Education
- Associated art style/movement with dates
- Where we might be able to find their exhibited art
Once students have this information typed up in their own words with citations, they are ready to begin Step 2.
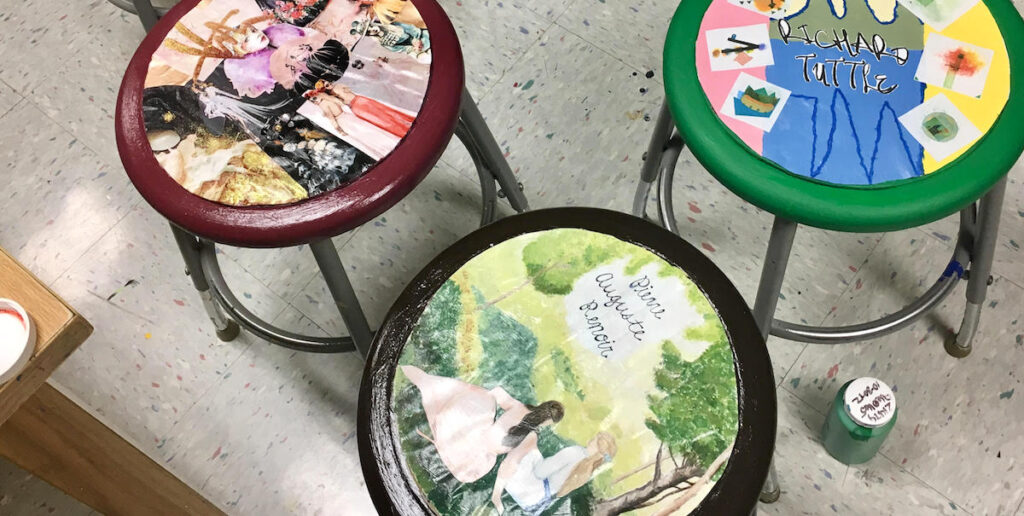
Step 2: Create
After students research, they are challenged with creating a circular piece of art that shows what they have learned in their own artistic voice.
First, students trace their stool seats onto white drawing paper and neatly cut out the circle. I require a mixed media approach where students must include a graphite drawing, pen and ink or rendered painting, collage, and text.
You could change the requirements based on your students and your objectives. However, by having students incorporate collage into their composition, they have the opportunity to use imagery of actual works done in that era or by the master artist. The text can help reiterate the inspiration for the piece as well.
Finally, have students glue their circles onto the top of the art room stools and seal them with a protective coating. Sealing stools is an excellent job for National Art Honor Society students or other volunteers. Polyurethane or another weather-proof sealant will ensure they last throughout the year.
As an option, students can paint the rim and legs of the stool to match the top, creating beautiful finished pieces.
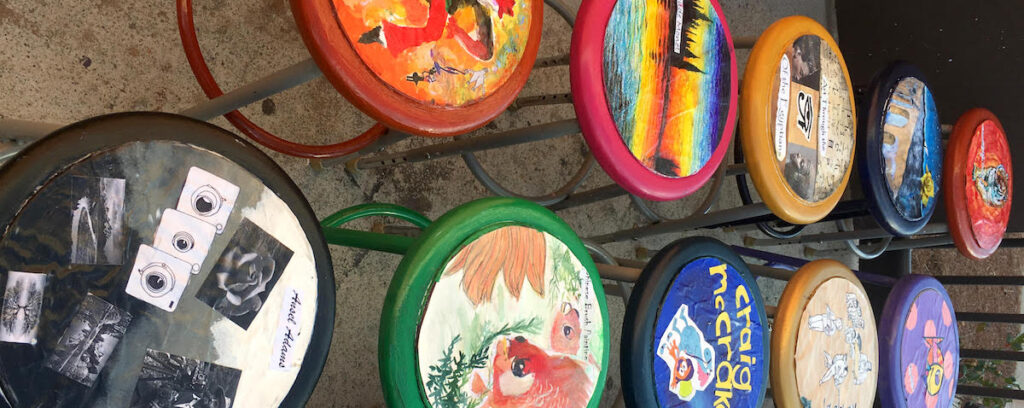
Step 3: Finish and Display
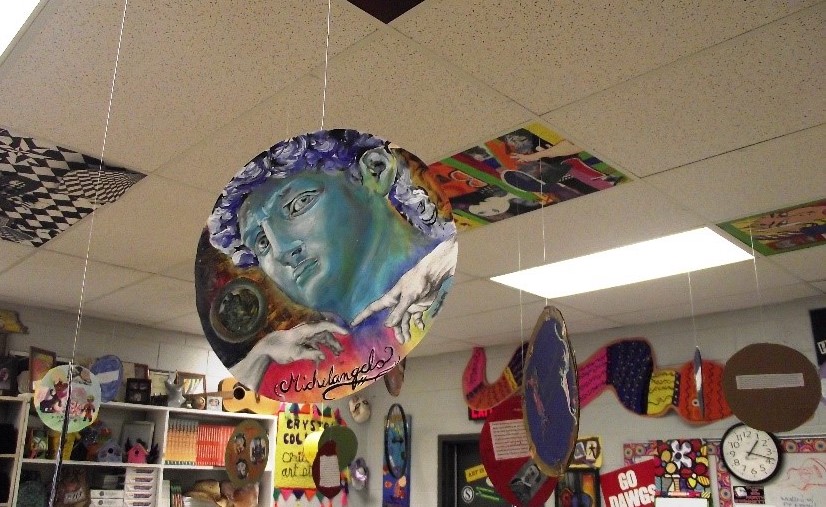
Since I teach this lesson to all of my intro art students, I have more art than I do stools. I hang the remaining circles from the ceiling with fishing line and adhere the research to the back, making an engaging art history exhibit. These are hung in both the art hallway and in the classroom, ensuring that all students get a chance to see the fantastic work.
With the stools, you can have students laminate their research, cut it into a circle, and hot glue it to the underside of the seat. By doing this, the class stools become interactive learning devices!

This project has become a favorite for our department, and it’s exciting to see a hands-on art history lesson take our students test scores to the next level! Who knew art history could be so fun?!
How are you creatively teaching art history to your students?
Have you ever considered using your stools in a meaningful way?
Magazine articles and podcasts are opinions of professional education contributors and do not necessarily represent the position of the Art of Education University (AOEU) or its academic offerings. Contributors use terms in the way they are most often talked about in the scope of their educational experiences.
