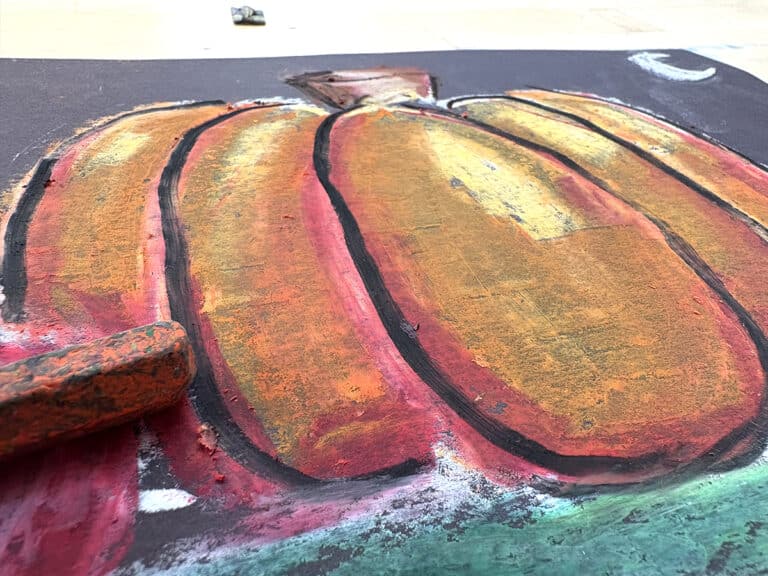
There’s something about working in 3-D that fascinates and engages our students. When students have the opportunity to take two-dimensional ideas and build them before their eyes, fantastic learning takes place. Creating sculptures is the best way to do this, but it can seem daunting when you don’t know where to start.
Today I’m going to share a sculpture project that is suitable for all grade levels and easy to implement!
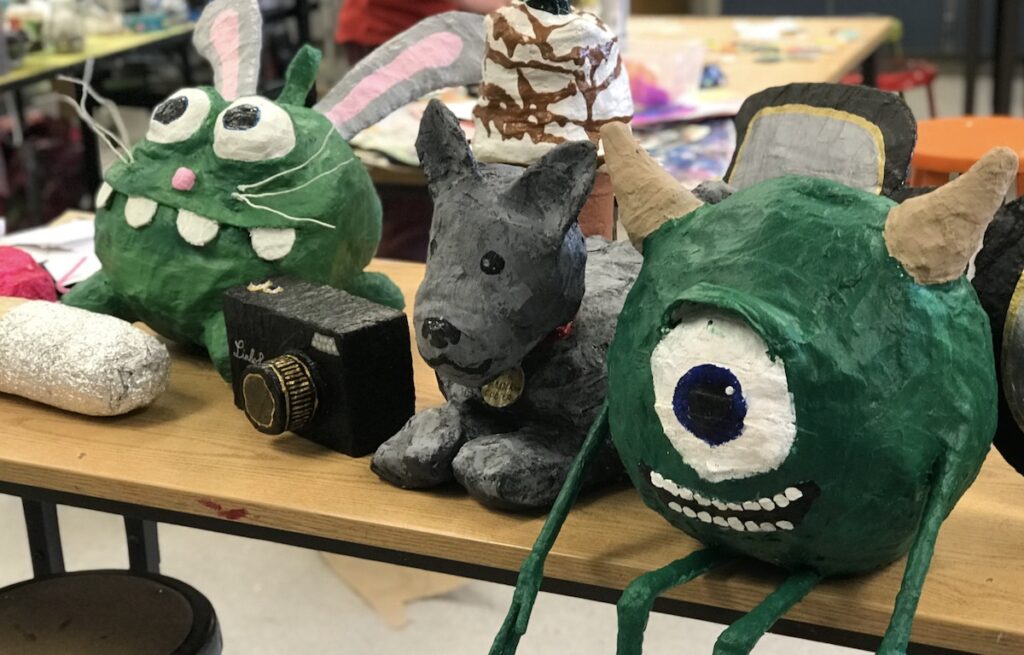
Introducing “Trash to Treasures”
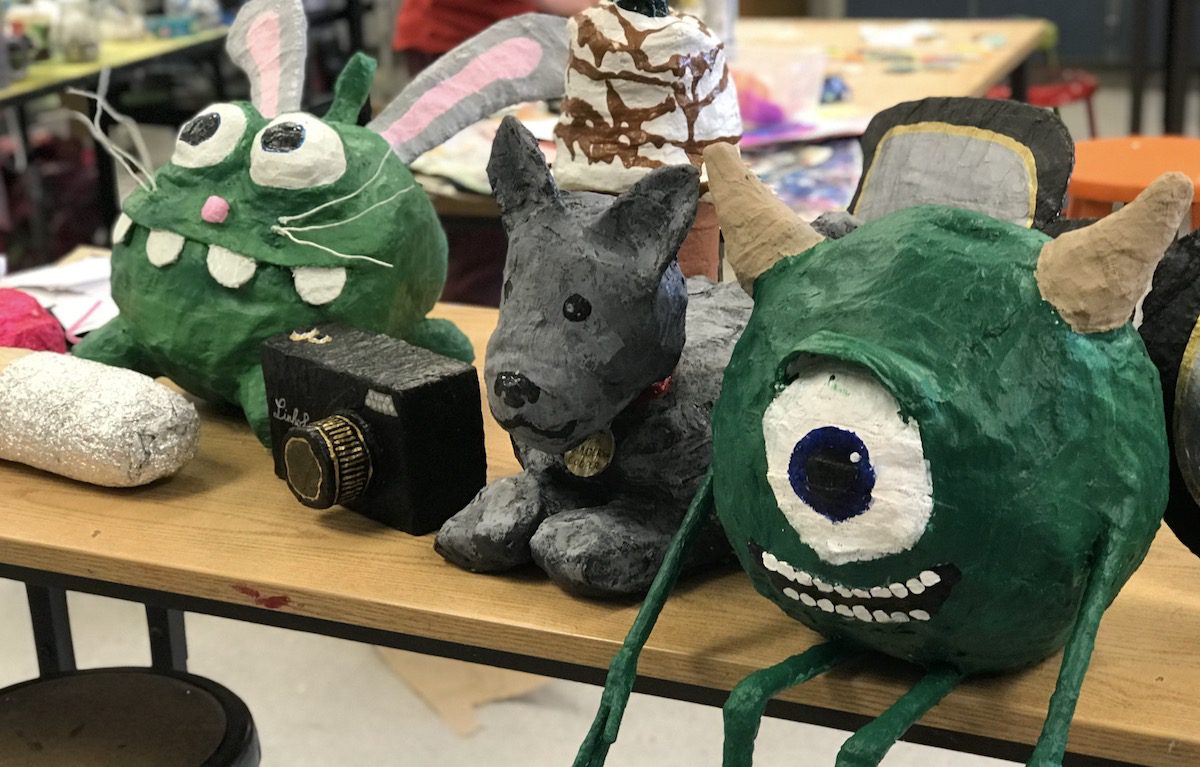
The old saying goes, “One man’s trash is another man’s treasure.” With this sculpture project, your students can explore this idea in a literal sense. Using recyclable materials, students can not only create artwork but also practice good citizenship by taking care of their natural environment.
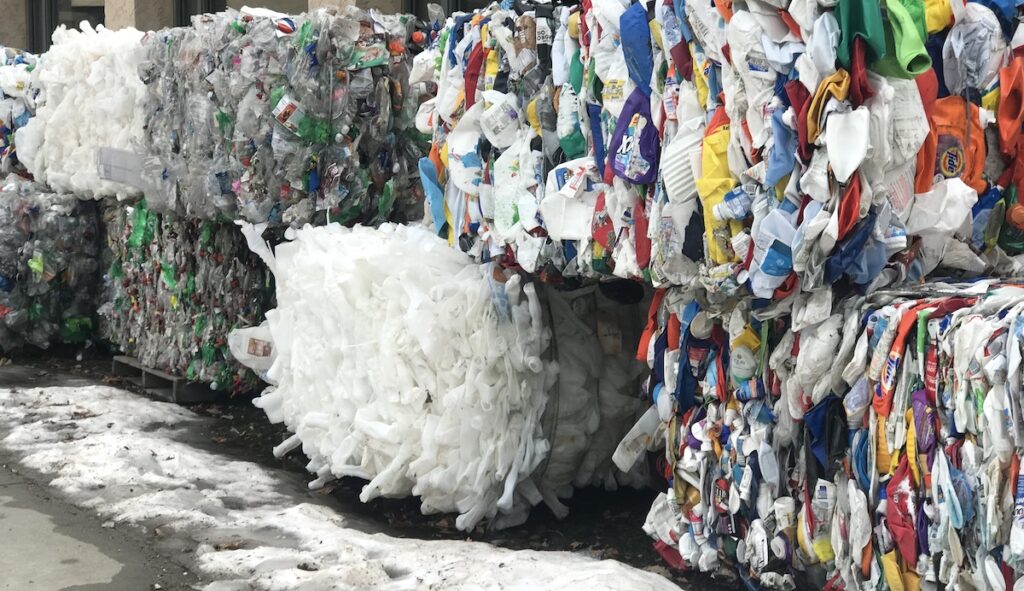
This project is a great way to bring awareness to the importance of recycling. To date, humans have created 8.3 billion metric tons of plastic. That’s the same as the weight as 1 billion elephants! This number will only continue to grow without consumer changes. What are we doing to inform our students about the significance of this in our environment? Creating art is an excellent way for students to enact change and bring awareness!
Here’s how to get started.
1. Gather materials.
To start this project, you’ll want to gather a variety of recycled items. Your students will go through quite a bit of material, so make sure you have enough. Reach out to your staff, students, and parents to start collecting. Don’t forget to check with your school’s kitchen staff for cardboard, as they are receiving deliveries almost every day!
Here are some of the popular items with which students love to build:
- Newspaper
- Cardboard
- Plastic silverware
Have students collect these during lunch instead of throwing them away. - Aluminum cans
- Plastic bottles
- Paper towel rolls
In addition to recyclable materials, you will also need:
- Masking tape
- Newspaper
- Scissors
- Plaster gauze
- Gesso (optional)
- Paint (acrylic is recommended)
2. Inspire your students.
Next, you’ll want to inspire your students with some contemporary artwork.
Here are 5 artists to check out:
3. Plan the sculpture.
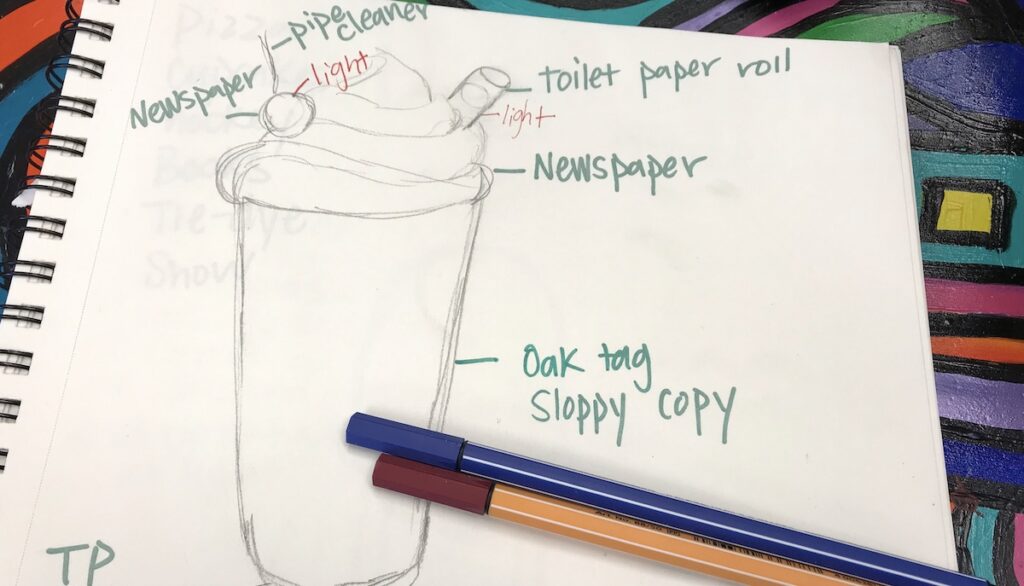
Before students begin to build armatures, they will need to develop a plan in their sketchbook. Encourage your students to create a drawing of their sculpture, keeping in mind what materials they will use where. During this stage, it is important for students to know what materials are available, so they can begin thinking about how they will use them to create their piece.
4. Build armature.
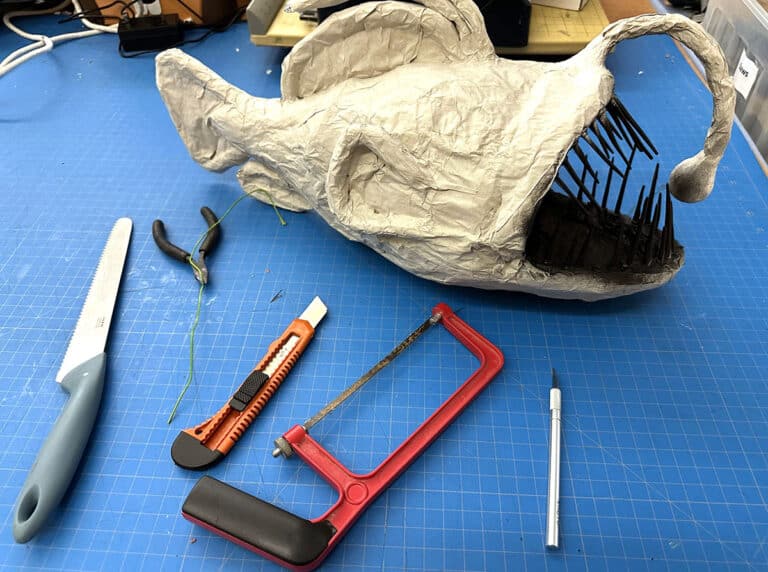
Once sketches are complete, it’s time to build! It’s important to demonstrate techniques like creating curved and rounded forms with newspaper and masking tape. Students tend to use a lot of masking tape during this step. Show them they don’t have to cover the entire armature in tape if they are using it in only the essential spots.
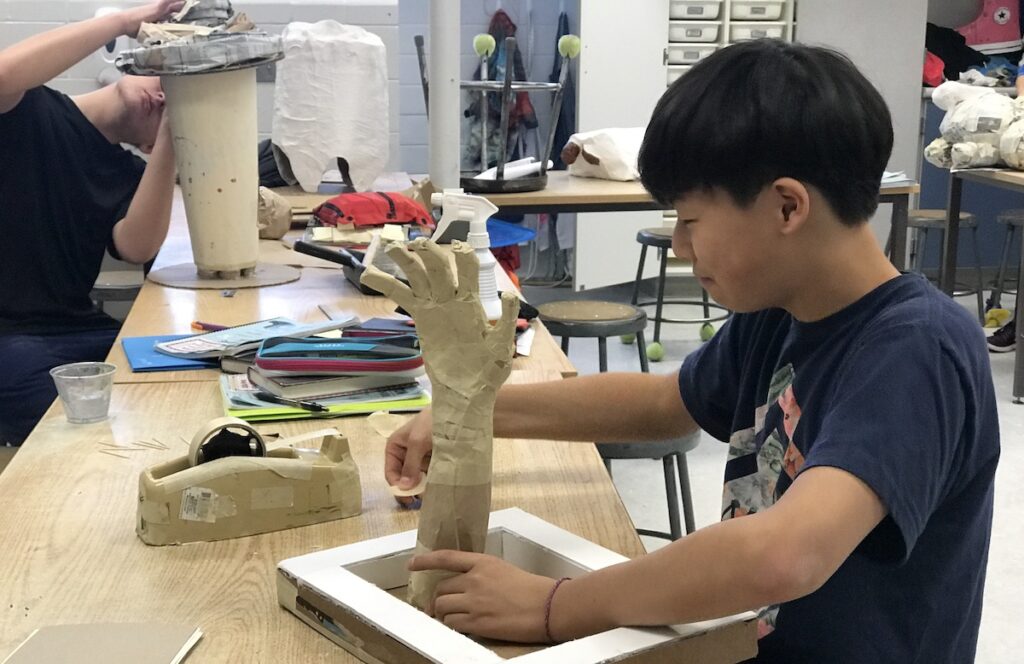
The building process can get out of hand quickly, and larger-than-life sculptures will start to take over the art room. If you are limited on space or materials or want to adapt this to lower grade levels, limit your students’ sculpture size. You can do this by limiting the size of materials you provide or providing dimensions the sculpture must fit within.
5. Cover the armature in plaster gauze.
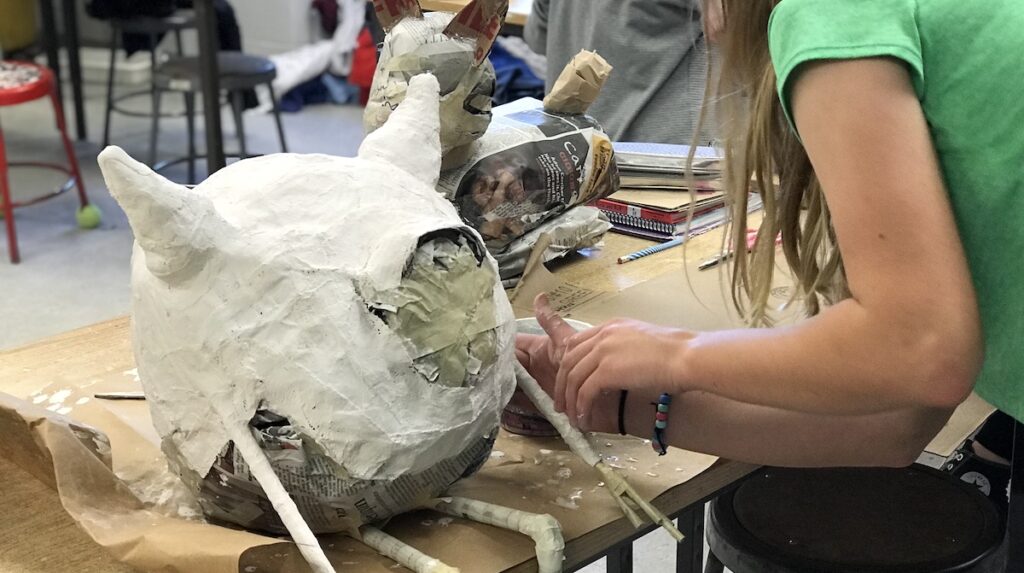
When working with a sculpture project like this, there are a variety of ways armatures can be transformed into a more permanent state. My favorite material to use is plaster gauze. It allows flexibility in the work without worrying about drying time or having to rush through the application process.
Remind your students of the importance of rubbing out all of the plaster holes and wrapping the gauze tight, so it doesn’t hang from the sculpture. Make sure when students cut the plaster they are cutting over a container to collect the dust. The plaster dust can be used to fill in any holes that were not smoothed out in the application process.
6. Add color.
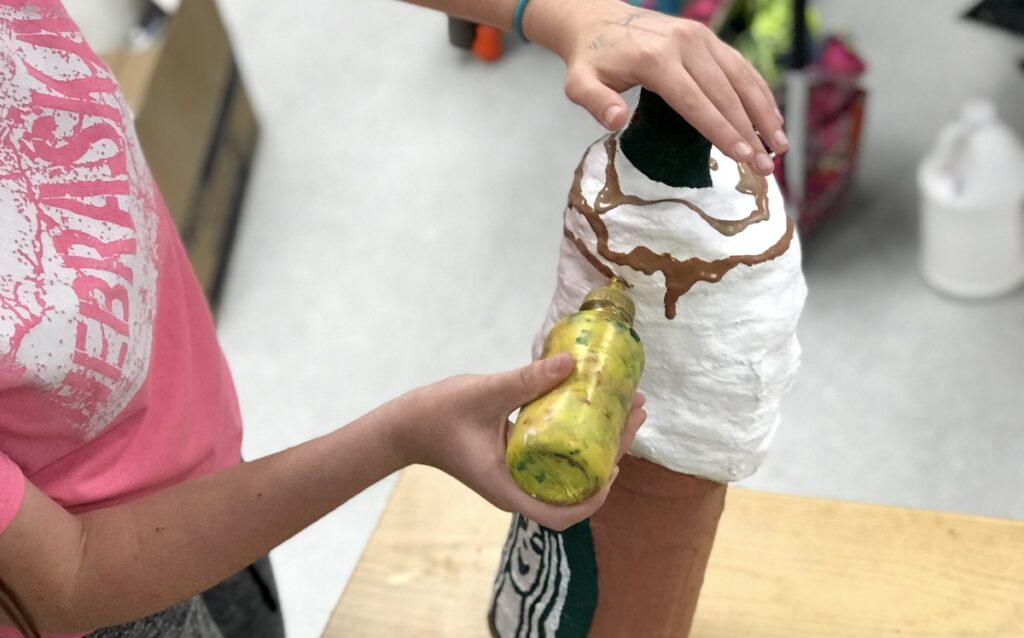
Once the plaster gauze is dry, students can begin to add color with paint. If painting directly on plaster, the finish can become very dull as it absorbs into the surface. To get a more brilliant finish, apply a layer of gesso to the sculpture first. When the gesso is dry, students can begin adding details with paint. Acrylic paint works best, but some brands of tempera paint can work without cracking especially if the sculpture is treated with gesso.
7. Bring the sculptures to life.
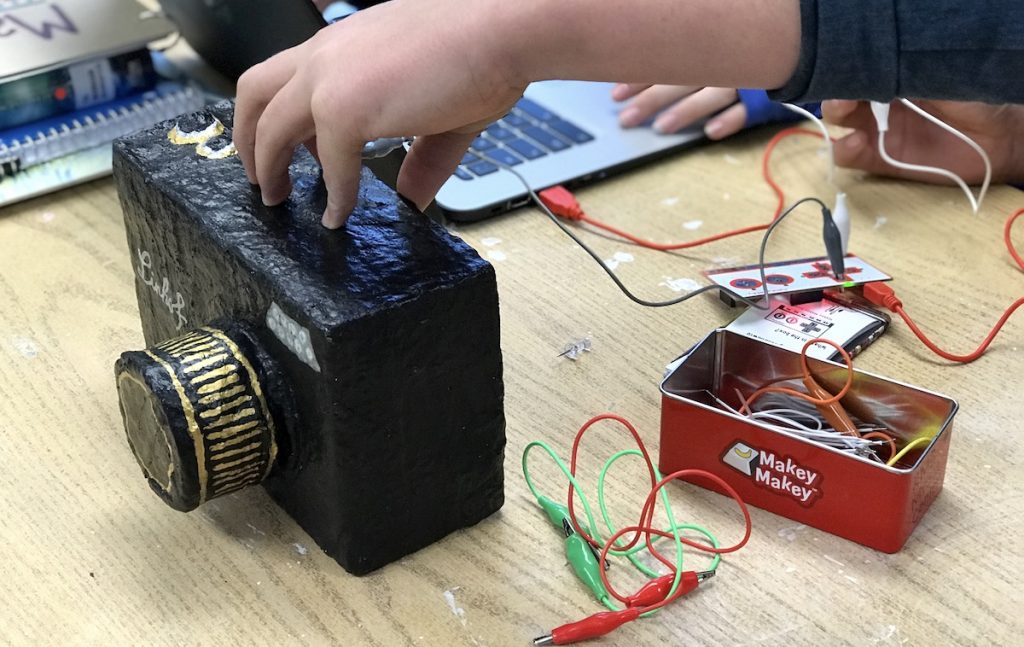
If you’re looking for a way to differentiate this project for more advanced learners or create an extension, try using technology. Using the Makey Makey device students can code to bring their sculpture to life and create an interactive experience for viewers. Students can record and create sounds to go along with their sculpture or record an artist statement to explain their process! To see this idea in action check out this video.
Not only does this project teach students the value of recycling, but it also forces them to use their problem-solving skills. At each step challenges will arise, and you’ll be surprised at the solutions they come up with! Give it a try and let your students’ imaginations run wild!
What is your favorite way to use plaster gauze in your classroom?
How have you used recyclable materials to create sculptures?
Magazine articles and podcasts are opinions of professional education contributors and do not necessarily represent the position of the Art of Education University (AOEU) or its academic offerings. Contributors use terms in the way they are most often talked about in the scope of their educational experiences.

