There are many unique challenges to teaching middle school. One of those is having a classroom of kids with a wide variety of elementary art experiences. Students are coming to you from everywhere – inside your district, outside your district, and from all different teachers.
One of the mediums I find students have vastly different exposures to is clay. To meet your students where they are, it’s essential to assess what they already know.
The best way to assess prior knowledge is by implementing a series of pretests.
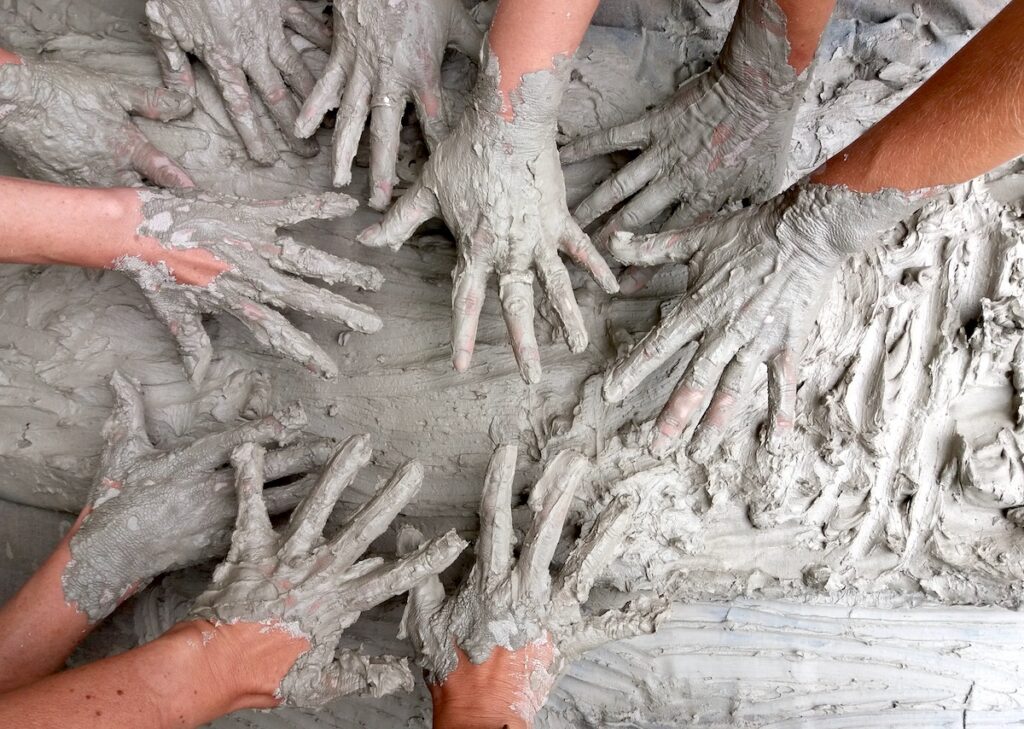
Let’s look at how you can easily use them in your classroom.
Set Up the Workspace
To set your students up for success, help them set up their work areas. If this is their first time working with clay in your art room, they will need to learn new routines and procedures.
You might use this as an opportunity to show students what basic materials they need and where they are stored.
Here are the supplies students will need to complete the pretests with success:
- Clay
- Slip
- Clay tool for scoring
- Rolling pin (or something to create a slab)
Lay the Ground Rules
After the workspace is prepped and ready, it’s time to put some rules in place. First, you’ll want students to understand what a pretest is. Hearing the word “test” can be overwhelming.
Give students these three pieces of advice when discussing pretests:
- There are no wrong answers.
- A pretest is a tool to help identify what students already know.
- Students will not be taking a traditional written test, but will show what they know by creating!
Before students begin completing tasks, it’s important to note they have all the tools and resources needed to be successful. Since the purpose of the pretest is to assess student knowledge, let them know you won’t be answering any questions. To promote independence and problem-solving, encourage your students to work silently. Once you lay this groundwork, students will be able to begin.
3 Clay Pretests to Assess Student Knowledge
1. Coil Pre-Test
To assess what students know about creating a clay coil, start by giving them a written prompt. It can be as simple as, “Create an even clay coil without it breaking.” Once students have their piece of clay, they can begin. You might consider setting a timer for students to complete the task. As students are working, make sure to circulate the room to observe. If you find you need to record hard data, you can use this as an opportunity to track how many students can or cannot complete the task.
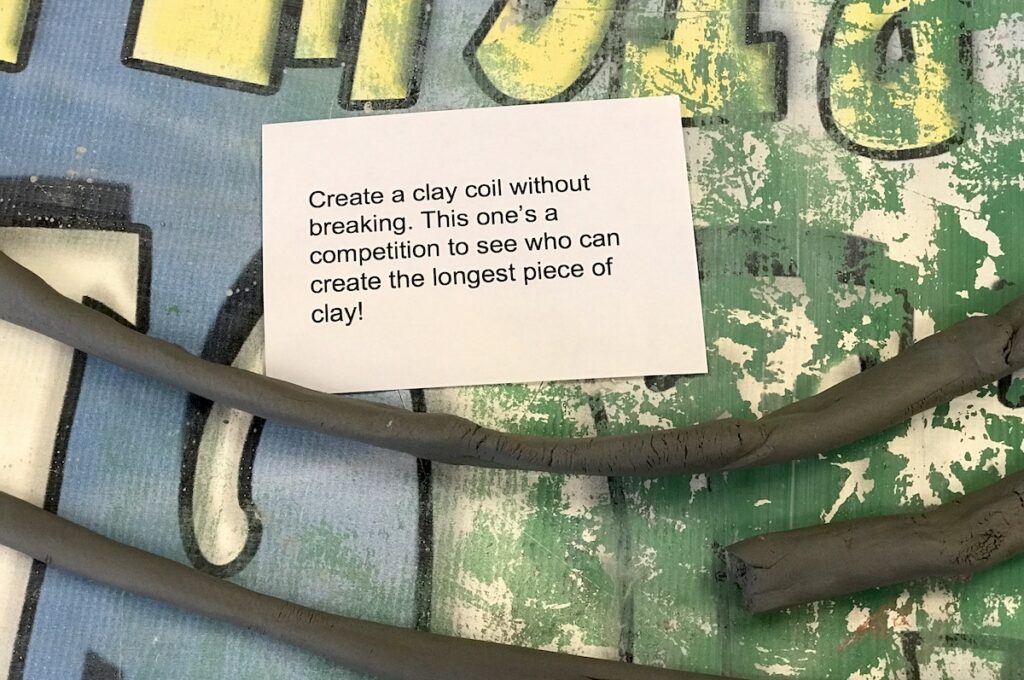
To take this pretest a step further, you might incorporate a design challenge for students. Consider giving students an instruction to, “Use their coil to create something tall.” You might find students begin to stack their coil as if they are building a coil vessel.
2. Slab Pretest
It’s also important to see what your students know about slab construction. Consider using a written prompt like, “Create a sheet of clay that can stand on its own.” You’ll notice the word “sheet” is used in place of “slab.” For students who have never worked with clay, the word “slab” might be unfamiliar. By using “sheet” in place of “slab,” students might be able to better understand what they are supposed to create.
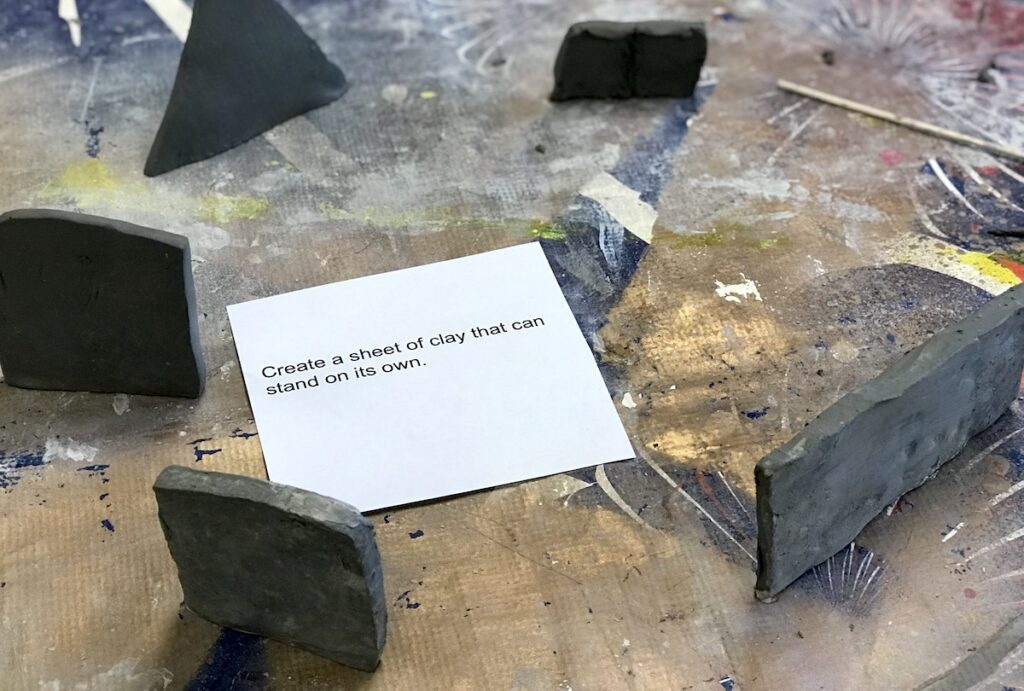
For more of a challenge, ask your students to create an even slab that is the thickness of a pencil. Make sure students aren’t sticking one side of the clay down on the table as the piece of clay should be free standing.
3. Attachment and Construction Pretest
If you’re already confident in your students’ abilities to create a clay coil or slab, consider using a more advanced approach. You might say, “Using the given clay, create the largest turtle you can with one head and four attached legs.” Students will approach this prompt in a variety of ways. The key is to look for students who are using hand-building techniques to maximize the amount of clay they have. Some students might not recall how to slip and score to attach clay pieces, and this will be a clear indication of what they know.
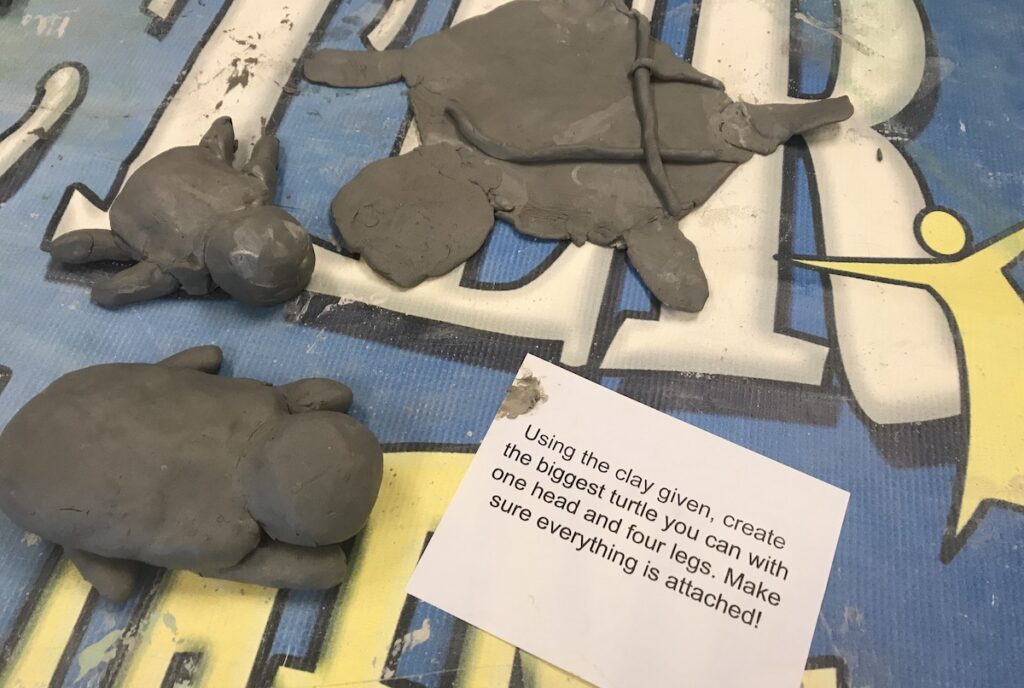
With this prompt, you might consider giving students an opportunity to fix their mistakes. For example, if a leg is not attached because the student didn’t slip and score, have their neighbor pull it off. If a turtle shell is too thick, encourage them to create a shell that is the thickness of their pinky finger. These hints will encourage students to approach the prompt differently.
The Importance of Reviewing Correct Techniques
After the pretests, it’s crucial to promptly review the correct techniques. This way, students will be able to identify their errors and have time to try again.
It is important to not only show students the proper construction methods but also to allow students who were successful to help answer questions.
Tests don’t have to be scary. In fact, they can even be fun! Implementing hands-on pretests can serve as a powerful tool in the art room. They can help identify techniques students need to re-learn and others they already know. If you’re nervous to try out clay with your students, incorporate one of these pretests to assess your students’ knowledge.
What other ways do you use pretests in the art room?
How do you assess what your students know about clay?
Magazine articles and podcasts are opinions of professional education contributors and do not necessarily represent the position of the Art of Education University (AOEU) or its academic offerings. Contributors use terms in the way they are most often talked about in the scope of their educational experiences.


