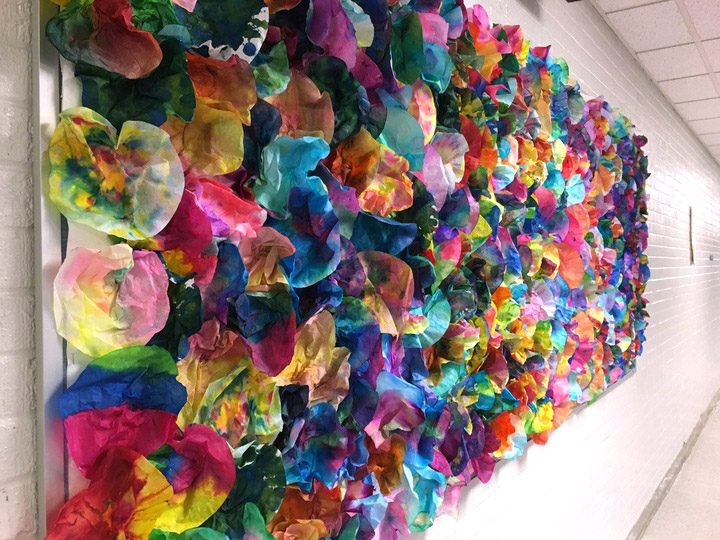
As art teachers, we are constantly looking for ways to make our lives a little easier. A spare moment rarely exists in the art room. There are always things to clean; the cycle is never-ending. It seems like we spend hours preparing materials for students only to find chaos when they leave. We might have systems in place that make us work a lot harder than necessary. It doesn’t have to be this way.
Here are 8 things you can do now to make your life a little easier.
1. Distribute paint with FIFO bottles.
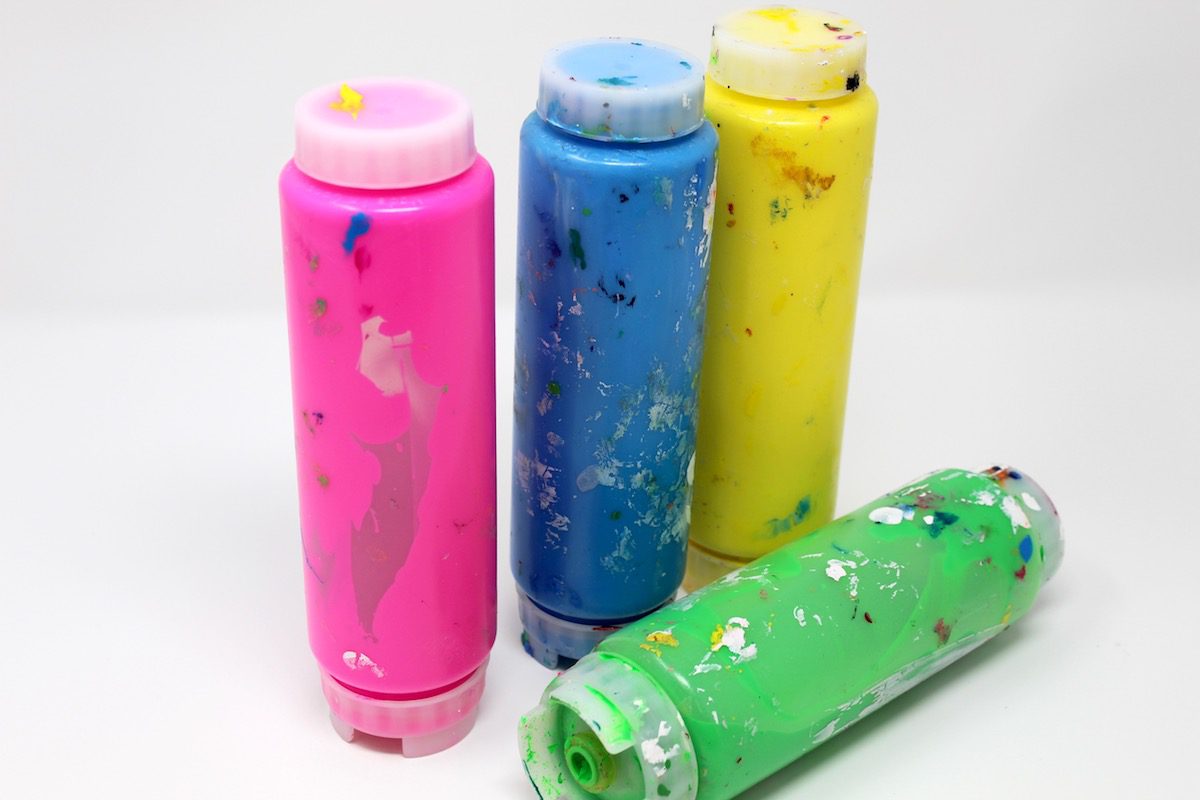
No matter what we seem to do in our classrooms distributing paint tends to be problematic. Paint pumps clog and create a mess. Paint bottle lids are easily lost. They can be so small you’re constantly replacing them or so big they are hard to handle. We have a solution for your painting woes—fill your paint into FIFO squeeze bottles!
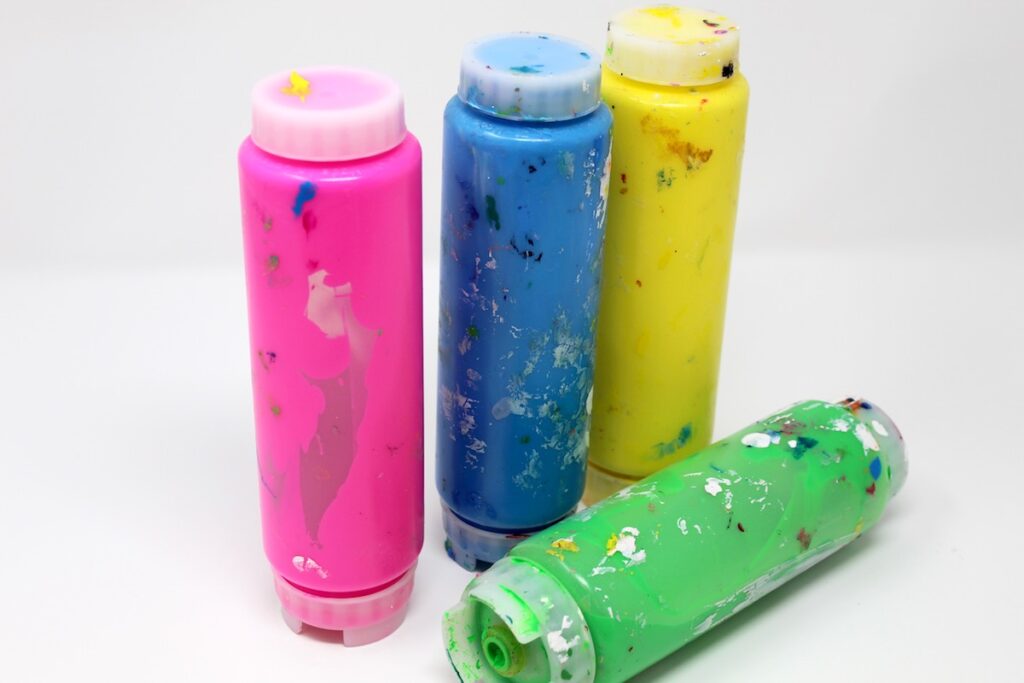
At first, your students might think you’re setting up for condiments in the new art room sandwich shop, but these are guaranteed to save you time and sanity. They won’t clog, and students can easily refill and get their paint with less mess.
2. Use ice cube trays to store paint.
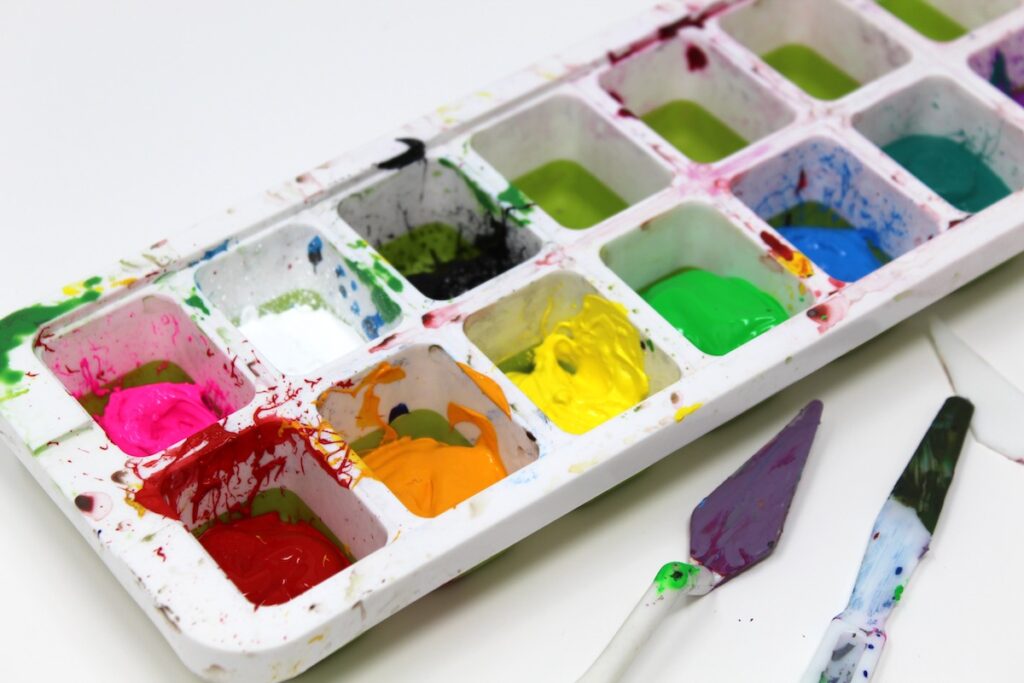
Alleviate even more paint distribution problems by storing your paints in silicone ice cube trays. These are guaranteed to make passing out paints easier, and they’ll last you for a long time. The lids make for easy stacking and storage, while the small compartments ensure your students aren’t overfilling their paint trays. Inevitably, there will come a time when the trays will need to be cleaned out, which is also easy! Leftover acrylic paint will peel right off when left to dry. Tempera paint, once dry, is easily cracked from the trays.
3. Record kiln data in a firing log.
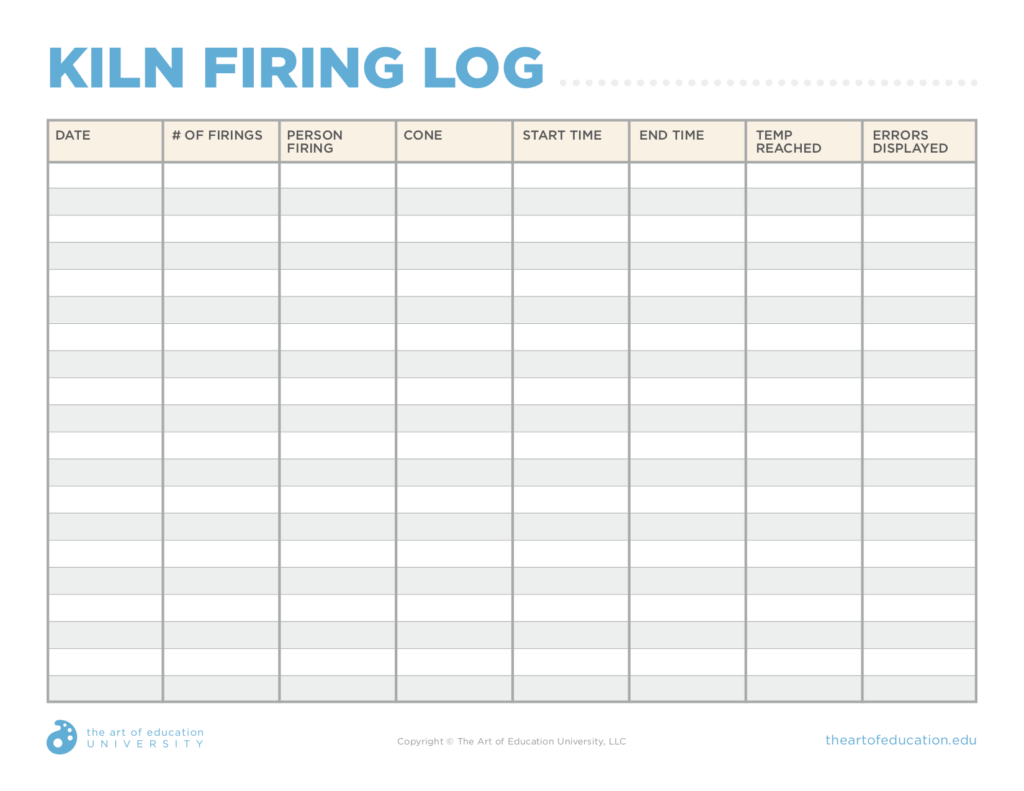
Whether you’re firing your kiln for the first or hundredth time, things might not always go as planned. This makes documenting each firing essential. Have you ever had to troubleshoot a problem with your kiln? Maybe it’s not firing to temperature, or you’re trying a new body of clay and glaze for the first time. Whether you’re experimenting or troubleshooting a problem, by keeping a record, you can look at trends and make a note of experimentation failures and successes. You can download this kiln firing log sheet to start documenting.
Another benefit to keeping a log is keeping track of the number of firings you complete. Knowing this number is valuable as it might indicate when elements may need replacing or if it’s time to kiln wash your shelves. If you share your kiln with another teacher, accurate documentation is doubly important.
4. Spray-paint your Sharpies.
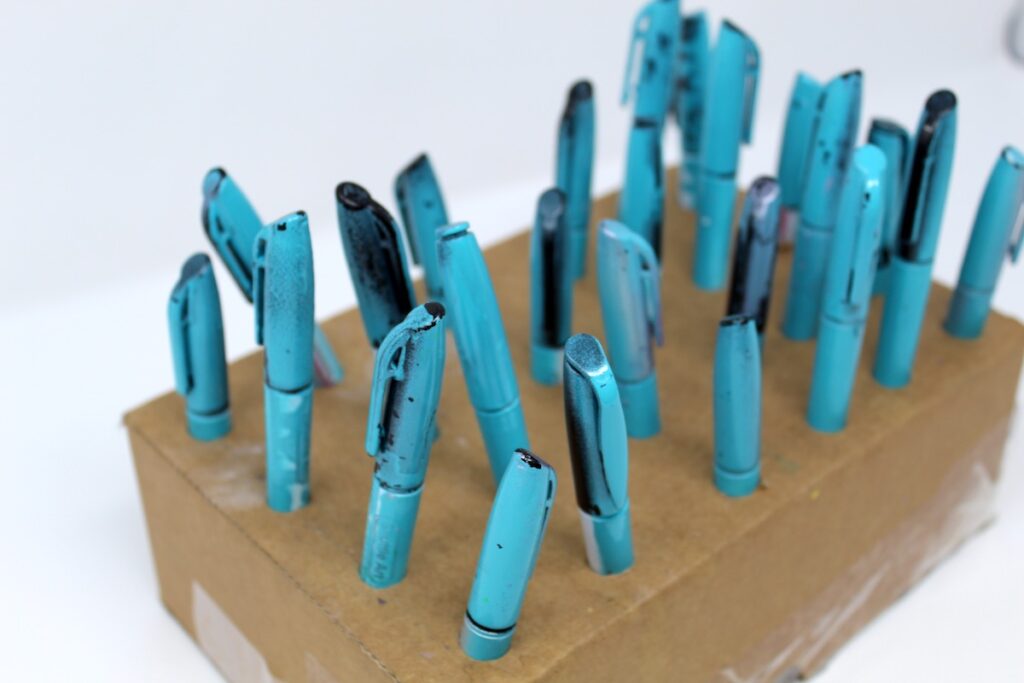
Why is it our Sharpies are always the first to disappear? They’re a hot item in the art room as students use them nearly every day. Your Sharpies don’t need to walk off anymore. Try spray-painting them a unique color and placing them in a designated space. When materials have a specific location, rather than tossing them in a bin, your students will be more likely to put supplies back where they belong. Choose an easily identifiable color. This way, if they do leave your room, students will be more likely to identify them as yours. A system like this won’t save all your Sharpies, but hopefully, it will stem their disappearance.
5. Cut cardboard with a CANARY knife.
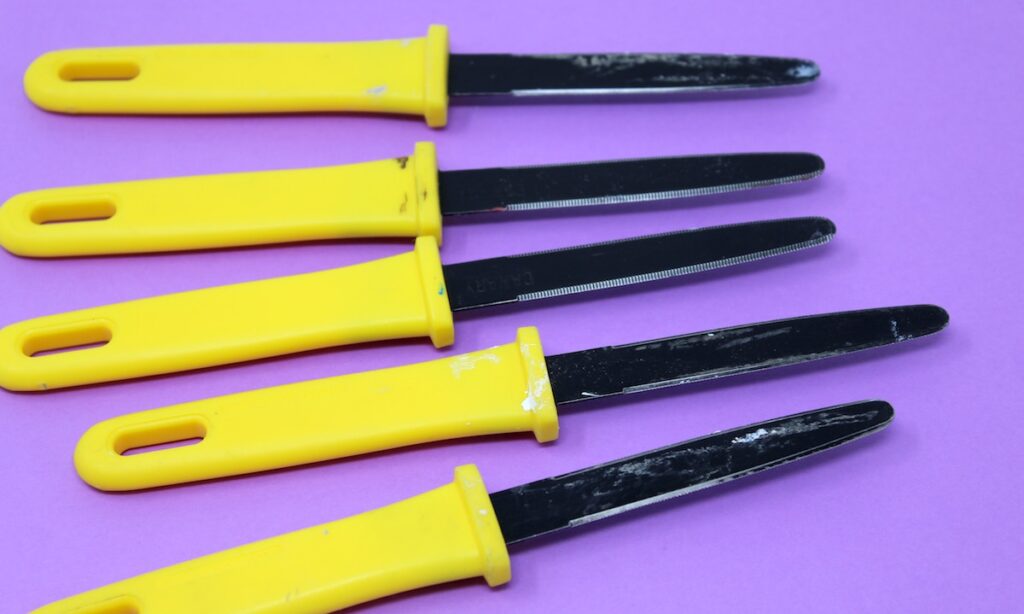
Cutting cardboard isn’t easy. Scissors are problematic, and X-ACTO knives often prove to be more work than what they’re worth. To make cutting cardboard easier, you need to try out a CANARY knife. These magical knives cut through cardboard smoothly and are safe to use. They have a rough edge similar to a butter knife making these the perfect sculpture tool appropriate to use with your upper elementary to high school students.
6. Use clear dipping glaze.
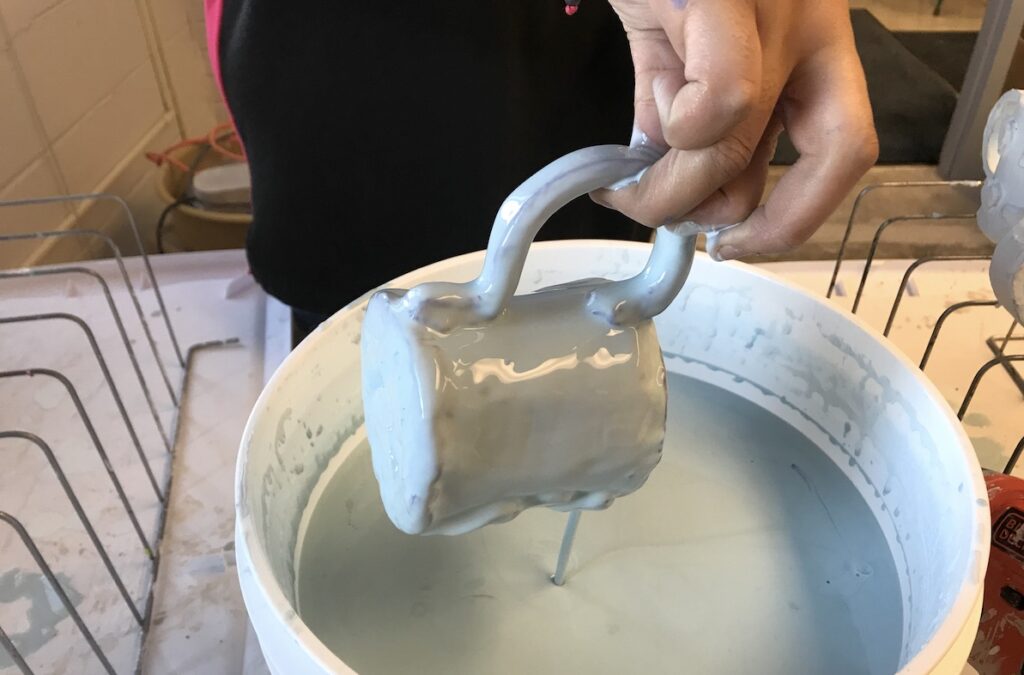
Glazing clay is one of the best parts of the ceramics process. However, the price of glaze can often add up in your classroom. It is especially disappointing when you remove glazed pieces from the kiln that have too little or too much glaze on them. If you’re looking to save a little in your budget, try using underglazes instead of traditional glazes. Underglazes can be less expensive, can achieve painter-like qualities, and have a tendency to last longer. To achieve the shiny, glossy effect glaze provides, purchase clear dipping glaze. Having a large bucket of glaze where students can dip their piece one time will not only save you time but will also last a lot longer.
7. Create a carpet square box for excess glaze.
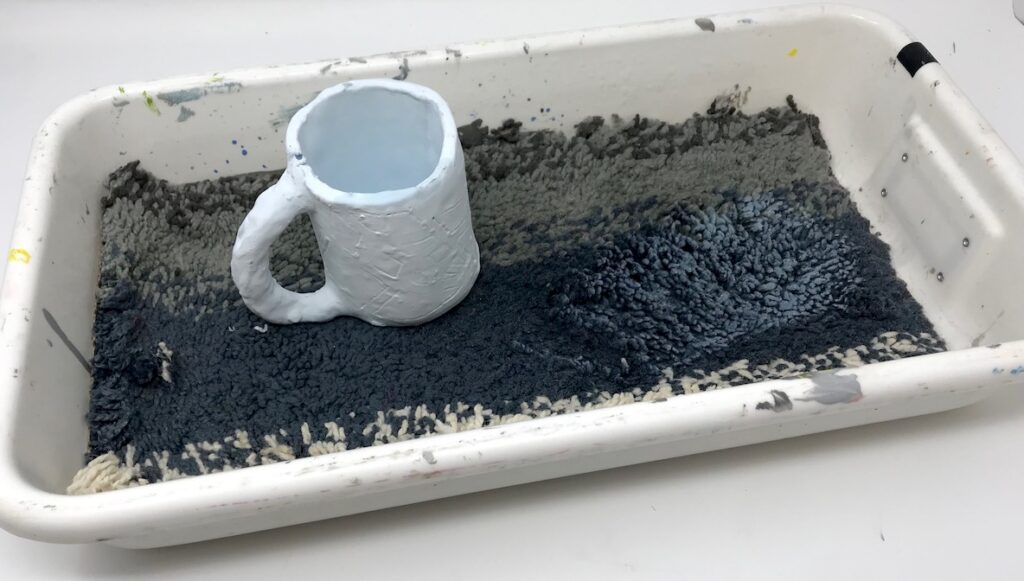
If you decide to start using dipping glaze in your classroom, you’ll quickly learn it’s difficult to prevent glaze from covering the bottom of clay pieces. To help keep things clean, cut a carpet square and put it in a storage container. When glazed pieces are dry, wet the carpet square and use it to remove extra glaze from the bottom of unfired pieces.
8. Utilize over-the-door storage for drawing kits.
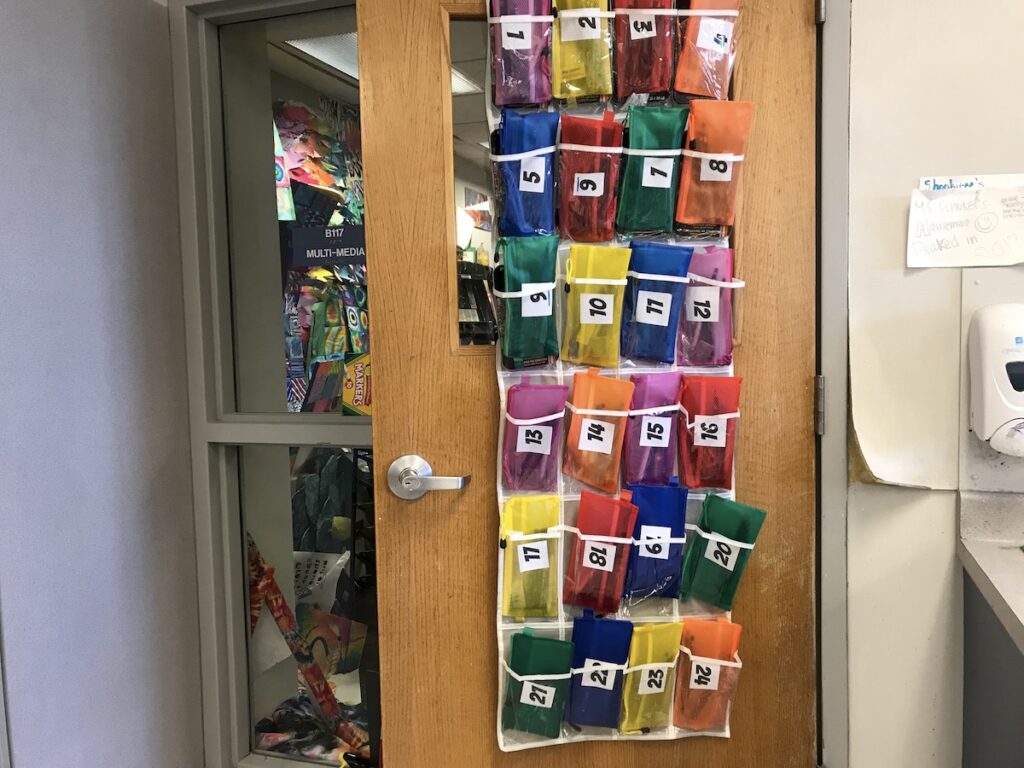
Organizing drawing materials can be a pain. Siftings through bins of pencils to find the right one is time-consuming. To cut down on this mess consider creating drawing kits for your students. Inside each drawing kit, place a variety of drawing pencils, erasers, and blending stumps. You can make drawing kits for each student in your class or for each table. To make sure they are put away at the end of each class, use an over-the-door shoe organizer to store them. You’ll soon find your drawing materials are staying together and being put away.
Finding the right routines and systems for your art room can take time. Sometimes by using different materials, you can save yourself time and make life a little less stressful. Try one of these solutions if you’re struggling with a specific area in your classroom.
What’s one item in your art room that makes your life easier?
What systems and routines seem to work best in your classroom?
Magazine articles and podcasts are opinions of professional education contributors and do not necessarily represent the position of the Art of Education University (AOEU) or its academic offerings. Contributors use terms in the way they are most often talked about in the scope of their educational experiences.
