At the end of the 2020 school year, we went from an established classroom into triage mode of remote learning. We can now take a (short) breath, and rethink how to support our students in online learning from the start. Creating is hard; we are asking students to do one of the highest order of thinking skills. And now we are asking them to do this without the comfort of our classroom. How can we break down this daunting and overwhelming task in a way that supports our students each step of the way while behind a computer screen? Let’s take a look at how artists create concretely through the creative process.
What is the creative process?
There are many different views and definitions of the creative process. James Taylor uses the terms preparation, incubation, insight, evaluation, and elaboration. Caroline Gregoire also uses preparation and incubation, but then follows with illumination and verification. Other art teachers, like Melissa Purtee, use terms such as inspiration, design, creation, and lastly, reflection and presentation. However, you decide to break down the creative process, make sure to work with your team to determine common language. When teaching grades K-12, concrete words also help ground our students through their complex process.
The creative process is the journey an artist goes through in order to visually express meaning. To define the steps of this journey, our art department team has decided upon the words plan, create, critique and refine, and finally reflect. This process is cyclical and nonlinear. Let’s take a look at how we broke down the creative process into these four essential steps and how this process will help your students access their art education in an online setting.
It is cyclical.
When teaching the creative process, it’s important to stress that the process is ongoing and doesn’t end at the “final” reflection phase. Students often think once they have completed their reflection form at the end of an artwork or end unit, it’s time to toss it to the side and move on to the next. Instead, demonstrate how the process is cyclical as it continues by thinking about how we will apply what we have learned from the previous artwork to the planning and creating of our next artwork.
It is not linear.
Students love step-by-step instructions. When we present the creative process as a step-by-step instructional plan, students miss the boat on how artists really create. What if a student doesn’t plan before digging into creating? Are they doing it wrong?
Similarly, we would be failing our students if we waited until the creation phase was finished to critique and give or receive feedback. Therefore, teaching that the steps are not linear is essential. Make sure to show your students ways in which we critique during the planning phase in order to get feedback to refine our ideas. Consider how you might explore by creating. How might this, in turn, put us back into the planning phase to rethink and refine our next steps? Is it okay to reflect on an abandoned piece, create a new piece, and then go back to the drawing board to refine that first abandoned artwork?
How can you use the creative process to help support online learning?
Plan:
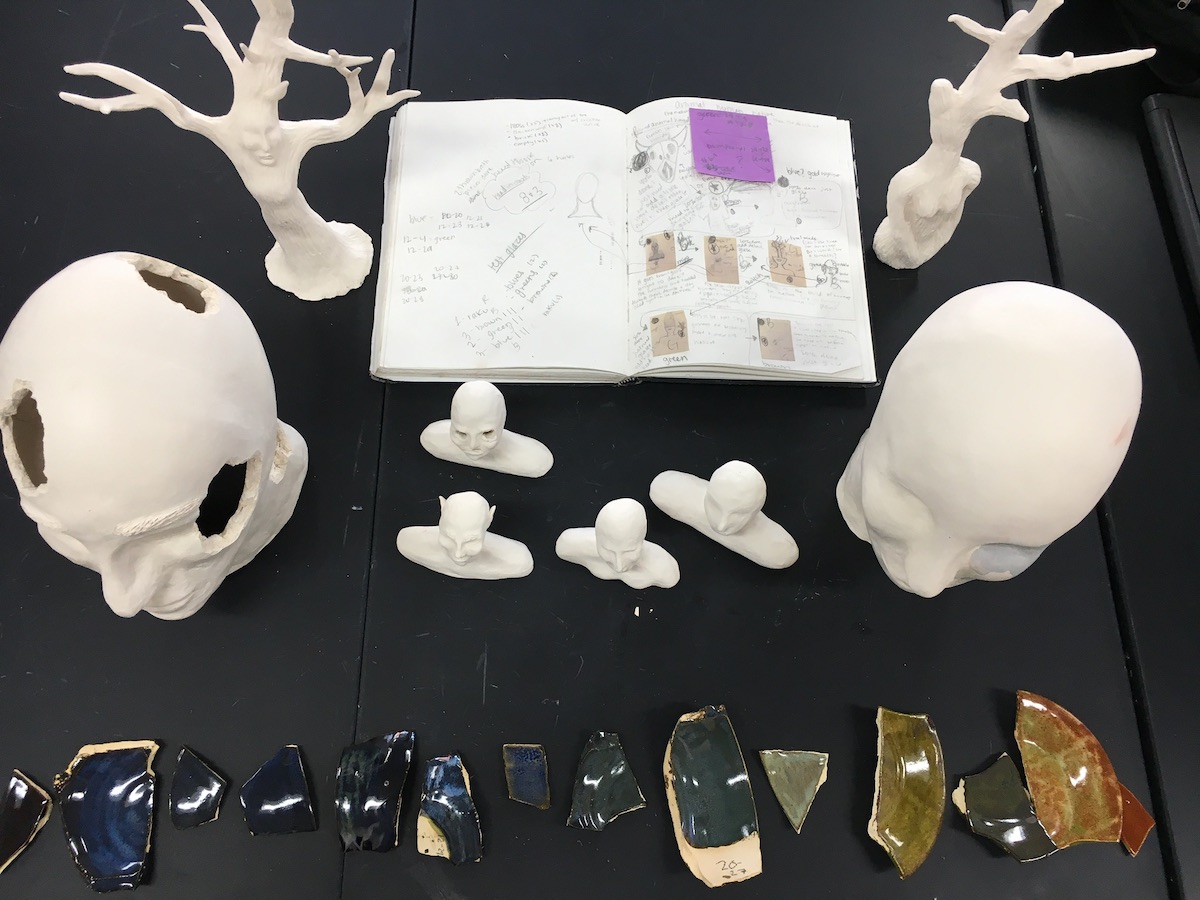
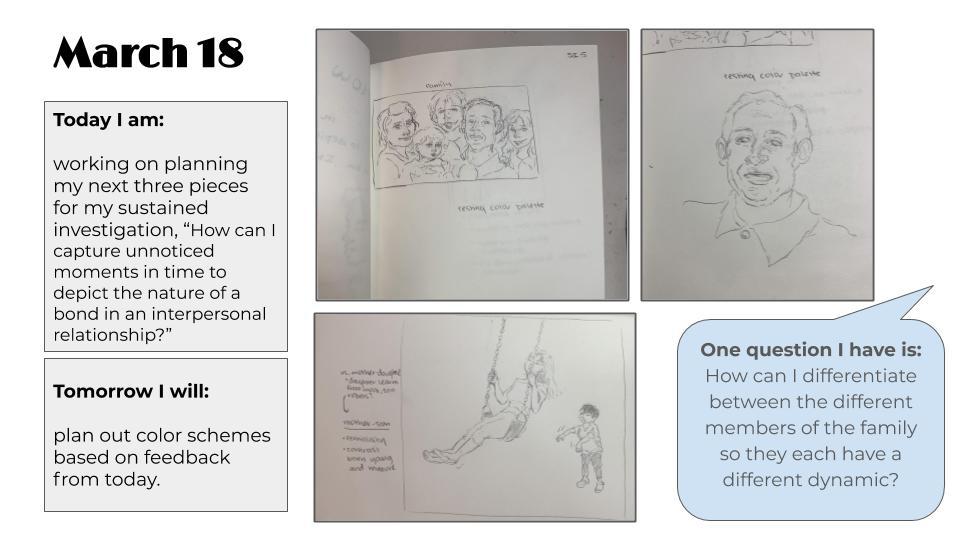
In this phase, teachers often discuss planning by sketching. However, sketching is only one way to plan. Artists plan by sketching, documenting, collecting, researching, thinking, journaling, listening, experimenting, and so on. This particular piece of the pie is jam-packed with options! Demonstrating a variety of ways to plan gets your students to think outside the box, even from the initial phase. Consider how this also provides immediate differentiation, student choice, and equity.
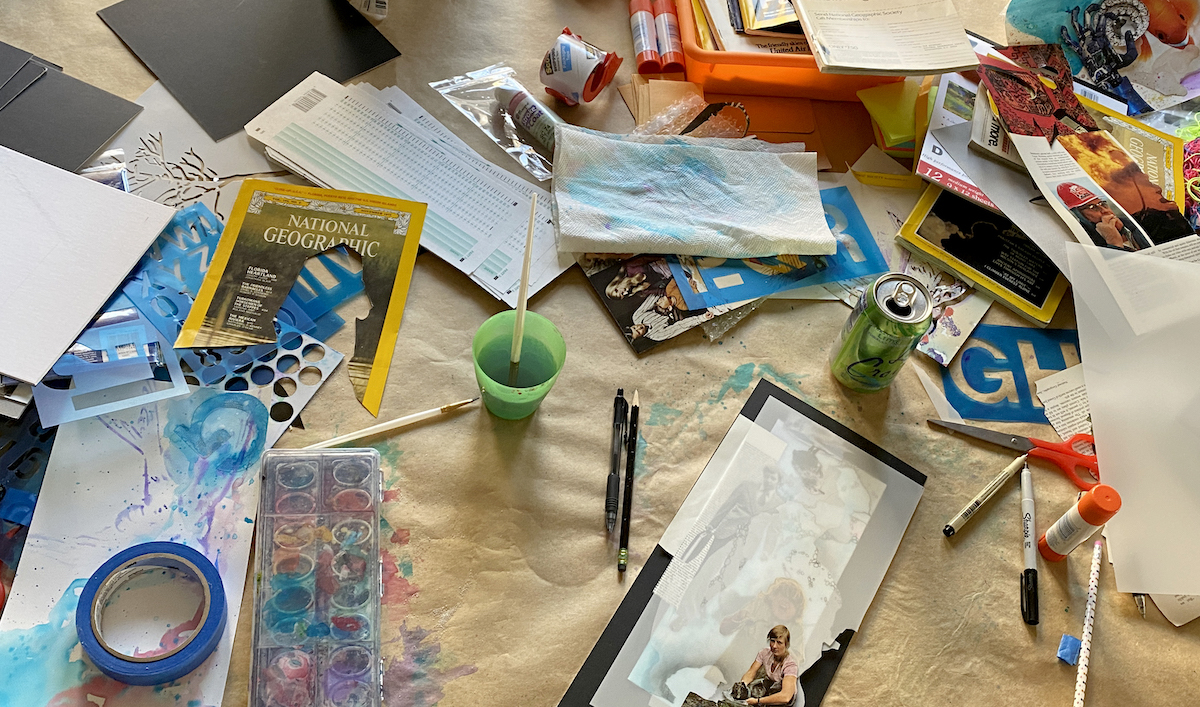
When in the classroom, teachers often prepare materials and provide tools for students to explore. When working online, it’s important to embrace the extra time it will take for students to collect materials. Getting yourself ready to create is definitely part of planning. Ask your students to document their materials through photos or annotated drawings. What a great way to support executive functioning as well as get a glimpse of what materials students will have access to.
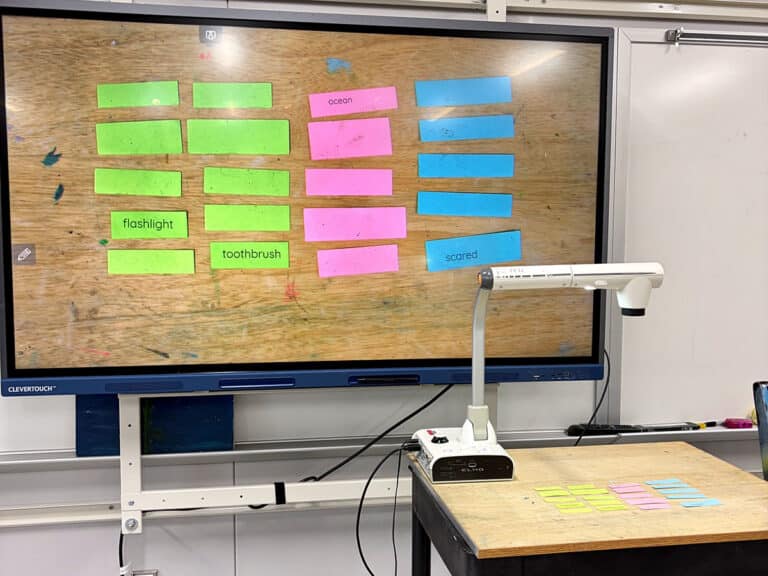
If students don’t have access to a consistent internet source, show them how to research by observing the world around them, taking interviews from peers and family members, and by collecting images from magazines. If students can research online, they can create an inspiration board by printing out images or creating a digital file. Students compile all of this information and sort through to find themes or commonalities as they develop their ideas.
Create:
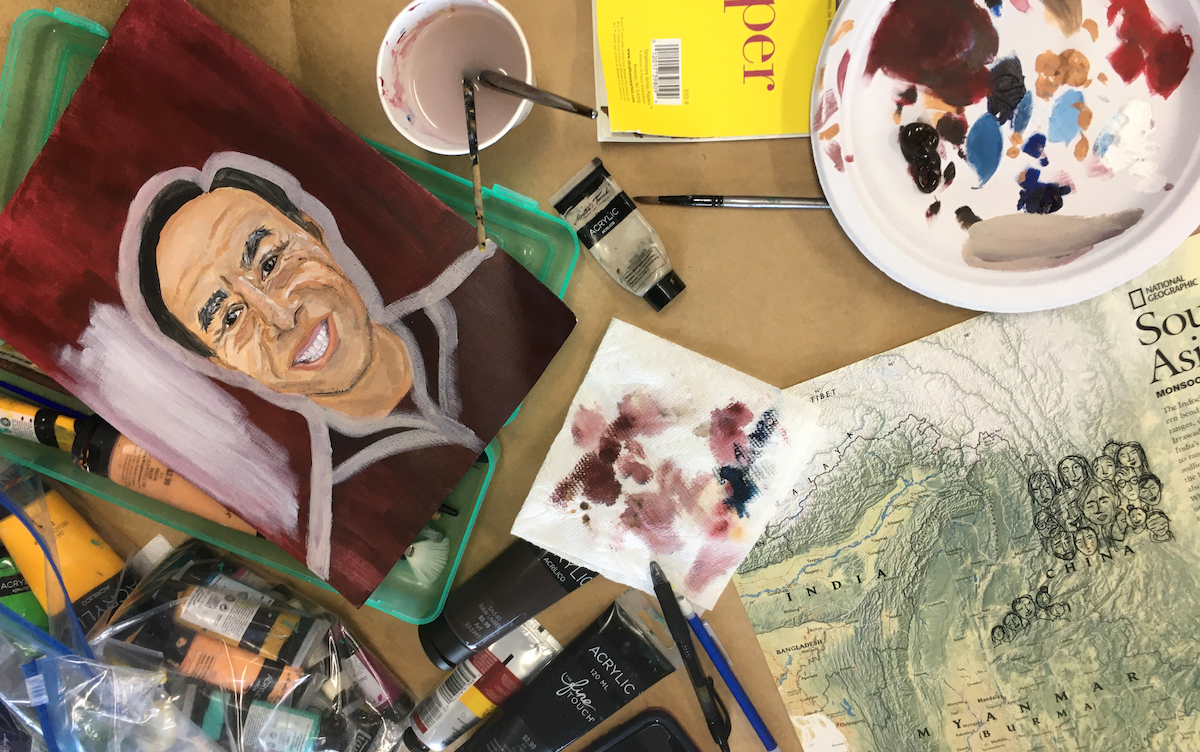
Once you have all of your planning done, you’re ready to create, right? Nope! Creating needs to be redefined as more than one verb. The create phase includes actions such as explore, experiment, play, think, redefine, fail, persevere, and many more. Ultimately, we know that creating ends in some sort of finished product. When we are in the classroom, it’s easy to help students moment-to-moment during their creation phase. So what happens when you’re not there to support them through their process of trial and error?
Using a slide deck platform, like Google Slides, where students report their creating activities, reflections, and next steps daily pushes students to organize their time and show proof of progress. Providing a template with expectations, dates, and essential questions provides structure for students when not face-to-face. As they work through their daily creating, students can share with you where they might be stuck, some exciting ah-ha moments, and ask questions they might have before moving forward.
Critique and Refine:
These two categories are lumped together because the whole point of critique is to elicit and receive feedback in order to refine your work. It’s important for students to see the connection of critique with the purpose of addressing questions or concerns regardless of if the work is still in ideation, in progress, or complete. Remember, the creative process is cyclical and nonlinear. Creating critique exercises that can occur during any phase of their artmaking process will help support this connection of purpose to creating.
Critiquing in an online setting can be tricky and time-consuming, but there are a ton of critiquing strategies perfect for online learning. Getting your students to open up on a video conference, asking them to engage in written comments, or even requesting timely responses are certainly obstacles to work around. However, using comment features or online discussion boards can encourage a sense of community and student-to-student interaction.
How to Conduct Remote Critiques in Two Easy Steps
Reflect:
In my class, we talk about two different types of reflection: one with a “little r” and one with the “capital R.” Throughout the entire creative process, we are constantly reflecting (with a “little r”). We are thinking about what we’ve been working on, thinking about, or trying out. We consistently reflect upon where we are going with all of our ideas and skills.
When we Reflect, this is the last stage in the creative process in which we consider the entire process as a whole in connection with the finished product. As artists, we consider what challenges occurred, what successes to celebrate, and what improvements we could have made to make our work even better. Finally, because we are always learning and building upon our experiences, artists discuss ways in which we could take what we have learned into our next artwork.
How to Reveal the Creative Process Through Reflection
Reflection is key when students are learning online. Making reflection explicit through daily questioning help students engage with their own personal journey. These could be simple check-in questions such as, “What is your goal today and how will you achieve this?” Or could be more targeted questions depending on the specific point in the process. For example, “List the media you have chosen to use. How does that media relate directly to the meaning of your piece? What media could you consider that would help connect your audience with your artwork?” Encouraging students to provide feedback to peers during this reflection help students push their ideas and gather further resources.
Whether through these little moments of reflection, or deeper thinking prompts, daily reflection helps your students stay connected with their personal goals and you with their individual process and progress.
When we teach the creative process explicitly to our students, we are providing a framework to break down this overwhelming work into more manageable and digestible goals. Asking students to document this work through writing and photography will help make their learning explicit and further aid you in providing critical feedback. Without face-to-face supports, students need routine expectations steeped in the foundation of why and how we create.
However you define the creative process for your students, be consistent! If you can work with your department or other district art teachers to come to a common ground, this creative process will continue to provide structure and foundational comfort no matter what classroom they enter and exit.
How do you break down the creative process for your students?
How can you use the creative process to support online learning?
Magazine articles and podcasts are opinions of professional education contributors and do not necessarily represent the position of the Art of Education University (AOEU) or its academic offerings. Contributors use terms in the way they are most often talked about in the scope of their educational experiences.