Return to Learn with The Art of Education University
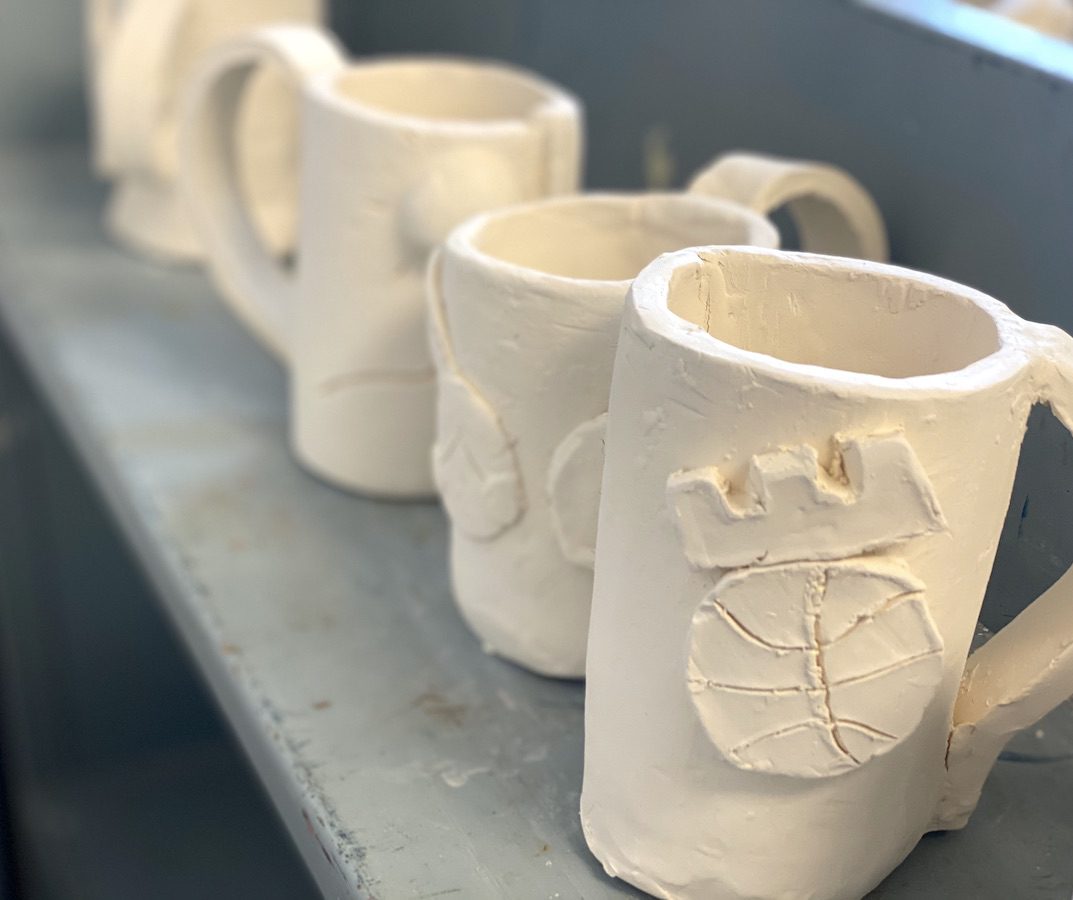
The art room is far from normal this school year. Whether it’s your second or twentieth year of teaching, we are all forced to find new routines and teaching methods to work in this current climate. You’ve probably found yourself rethinking your curriculum based on what materials your students can or cannot use. One of these materials might be clay. For some, the use of clay in the art room with COVID-19 is a logistical nightmare and not feasible. For others, it is doable. Unfortunately, at this current time, there is no research-backed evidence to help inform educators if using clay in the classroom during our current novel coronavirus outbreak is or isn’t safe.
This can leave art teachers in a tricky space. The decision to teach ceramics in your art classes might come down to you or a final decision from your school district. If you are using—or thinking about using—clay with your students this school year, you will need to consider a variety of factors. For many students, working in 3D, especially ceramics, is one of their favorite art room experiences. As art teachers, we want to provide this opportunity; however, we need to consider what changes are necessary this year. This article will examine some of the things you will need to consider to help create a safe environment for using clay in the time of COVID-19.
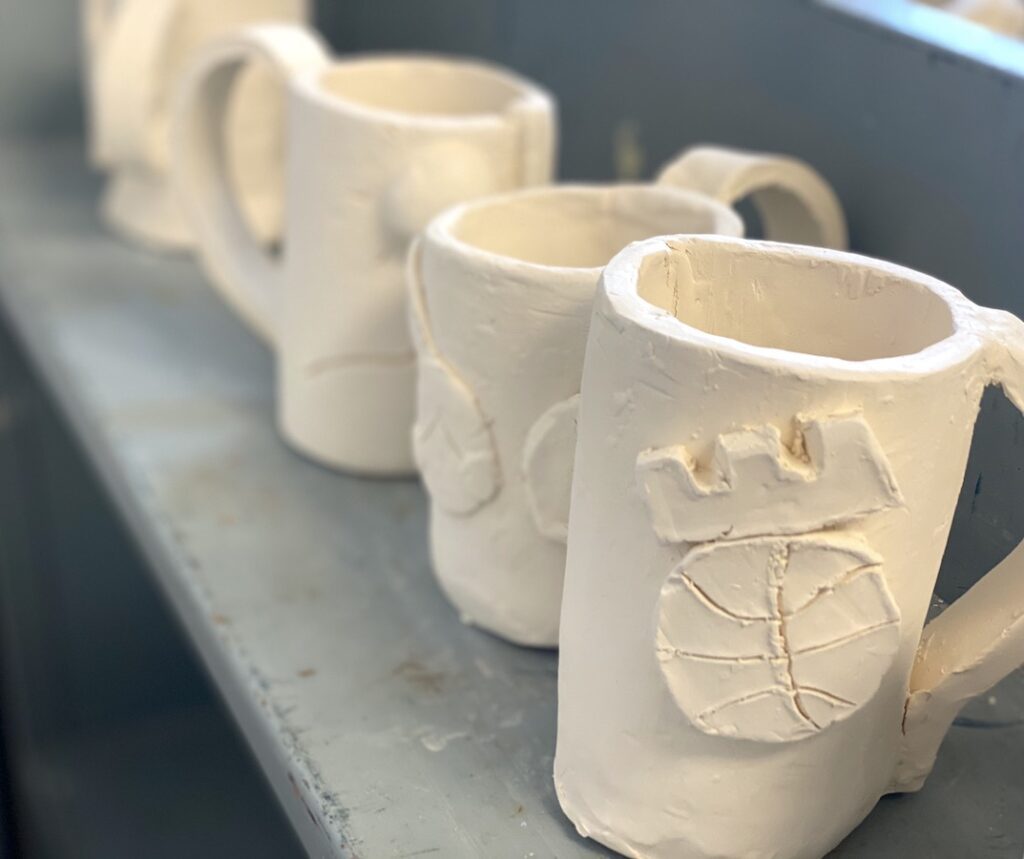
1. Communal Clay
Sharing in the art room is not uncommon, but this year it might be wise to skip the communal clay. Because we don’t know for certain how COVID-19 will work on a wet clay surface, it would be best practice not to share. The CDC says, “Coronaviruses on surfaces and objects naturally die within hours to days.” Keeping this in mind, it will be best if students are the only ones handling their clay. Consider giving each student an allotment of clay for their use only. Not only will this prevent sharing, but it will also teach students to care for their clay properly. If they don’t take the time to store and hydrate their clay properly, they will be sure to run into difficulties.
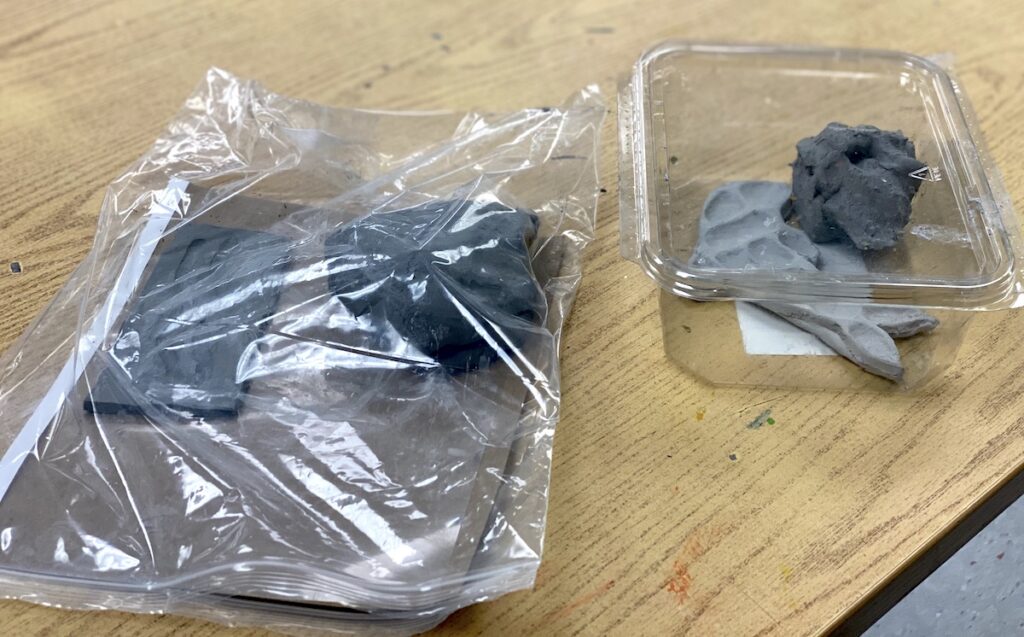
The next question is, “Well, how are we going to store all of this?” You will need to evaluate your space and storage system to see what will work for your classroom. Most storage containers and bags can be sanitized, while the clay body cannot. Consider using individual plastic bags or other plastic food storage containers that can be recycled, cleaned, and reused.
2. Get Rid of Your Canvas
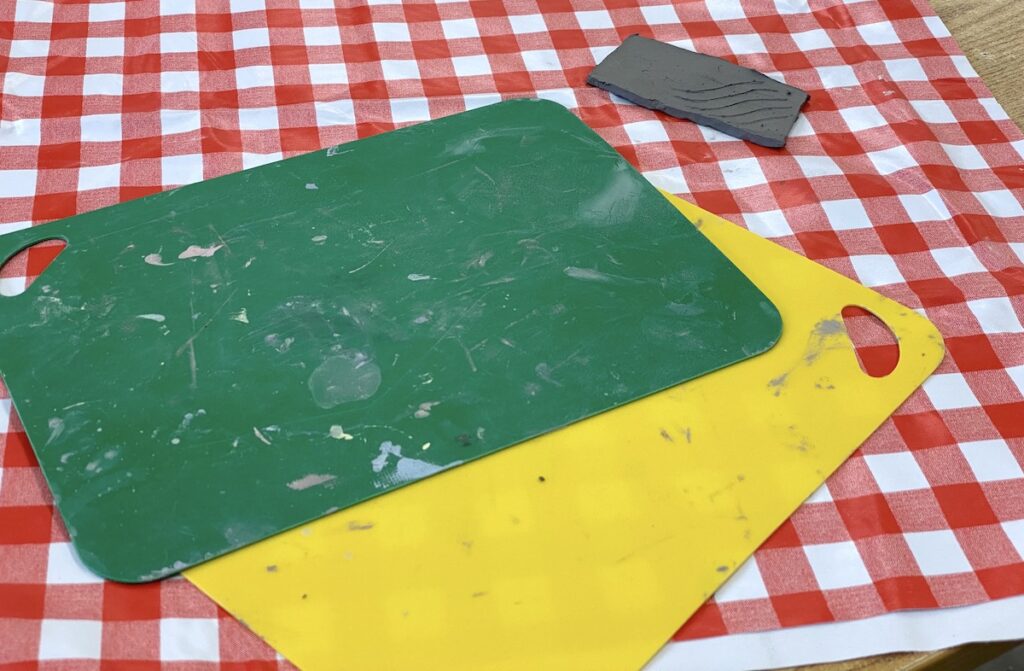
Even before COVID-19, working with clay on canvas was problematic. Many teachers use canvas-covered tables or placemats as a working surface for students. It’s a common practice because it helps keep tabletops clean and clay from sticking to the tables. But, canvas or fabric mats are also dust traps. Breathing in too much silica from clay can cause health problems. CDC guidelines recommend avoiding soft surfaces, as these areas are more difficult to properly clean. Instead, consider using a non-porous surface that can be wiped off and sanitized, like a silicone placemat or vinyl tablecloth.
3. Reclaiming Clay
Okay, so what if students don’t have space to keep their own allotment of clay, or what do you do with the clay scraps when students are finished? Your reclaiming process might look a bit different this year. Bracker’s Good Earth Clay Inc. says: “Scraps can be placed in a bucket with a date of the last added scraps written in grease pencil or on a piece of masking tape on the bucket. Close the lid and leave it untouched for at least 2 weeks to a month.” Because it is unknown how long the virus can live in clay, it’s best to err on the side of caution and quarantine your used clay for a period of time. Coming up with a system to keep track of what clay has been used will be key in creating a safe space in your classroom.
4. Clay Tools
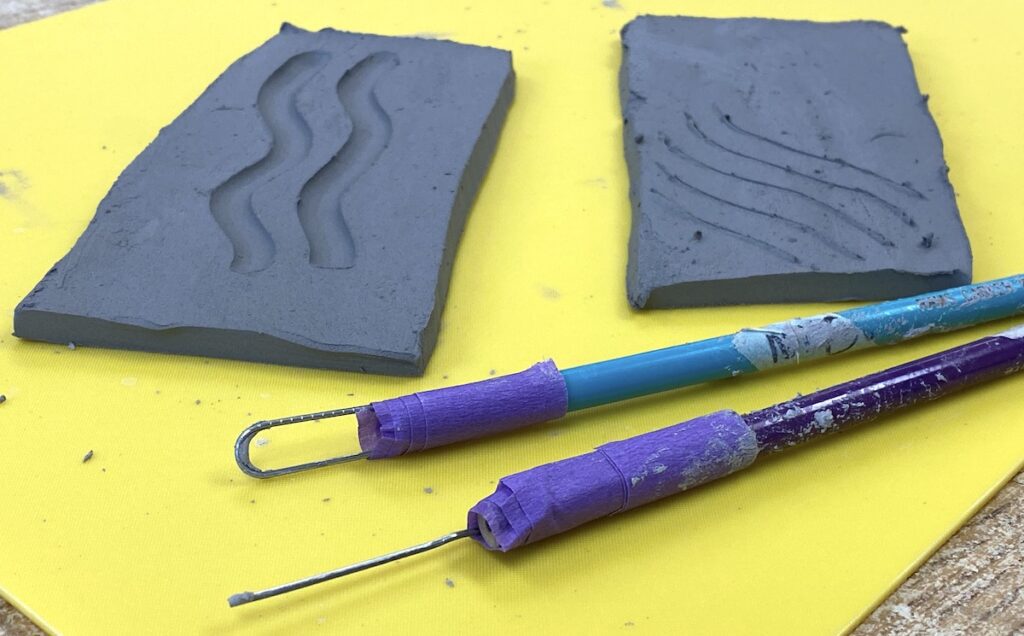
Unlike clay, clay tools can be sanitized. However, clay tools can be expensive, and you might not have enough for each individual student to have their own. While fancy clay tools are nice, cheap, free, DIY options exist! If you don’t have enough clay tools to prevent sharing, consider the following.
- Use plastic utensils. Plastic forks work great for scoring, knives for cutting, and spoons can help smooth.
- Create your own ribbon tools. Attach a paper clip to the end of a popsicle stick, old paintbrush, or the back of plastic silverware.
- DIY wire cutter. Using fishing line or dental floss, clamp two binder clips on the ends to easily cut through clay blocks.
- Create ribs with gift cards. Used gift cards or other flexible plastic materials can be cut and used as a smooth rib.
You can discover even more ways to create inexpensive homemade clay tools here.
6. Considerations for Clay Projects
The safety routines and procedure changes this year are a lot. So, does this change what you are teaching in class? It might. Maybe your classes are shorter, or students aren’t coming to school every day. The timing of how often you see your student body will affect how you work with clay in your classroom. For this reason, you might want to start off by trying some one-day clay projects. Because this school year is throwing extra curveballs, you might also want to encourage students to work smaller. Less clay will lessen the need to share clay, too.
Return to Learn with The Art of Education University
Clay in the classroom this school year will provide a different experience. You need to determine if including or skipping clay is the right choice for you. As you get further into the school year, consider your options and comfort level so you can provide a safer environment for you and your students.
What questions do you have about working with clay during the time of COVID?
What other tips would you add?
Magazine articles and podcasts are opinions of professional education contributors and do not necessarily represent the position of the Art of Education University (AOEU) or its academic offerings. Contributors use terms in the way they are most often talked about in the scope of their educational experiences.
