When it comes to teaching ceramics in our classrooms, art teachers tend to either feel confident or intimidated. If we’re comfortable working with clay, we’re familiar with all its intricacies. If we’re not, it seems like there’s so much new information to learn, it’s overwhelming.
The most difficult component of working with the medium is not teaching our students the building processes of clay. It is, rather, implementing the best ways to keep your classroom clean and avoid disasters.
Whether you’re a novice or seasoned veteran, these 4 tips are great reminders when working with clay in your art room.
1. Don’t use canvas.
One of the most problematic things about working with clay is dust. Many teachers use canvas covered tables or placemats as a working surface for students. It’s a common practice because it helps keep tabletops clean and clay from sticking to the tables. But, canvas or fabric mats are also dust traps.

Clay dust is harmful because it’s more than just dust, it’s silica. Crystalline silica is a mineral found in soil, sand, rocks, clay, etc. Tiny particles become airborne, and we breathe them in. Over time, with too much exposure, a disease called silicosis can develop. According to the health care company Concentra, silicosis occurs when silica dust enters the lungs and causes the formation of scar tissue, reducing the lungs’ ability to take in oxygen. Art teachers have more of a risk of health complications due to extended exposure to clay dust. A student might only be exposed an hour a day, whereas a teacher might be exposed for eight hours.
Although this might sound scary, with proper precautions, clay is safe to use. However, unless you plan on washing your canvas mats weekly, you might want to find an alternative. Each time they get moved around, the dust becomes airborne. Instead, consider using a nonporous surface that can be wiped off. A good alternative to consider is silicone placemats. You might also check with your school to see if they have any old vinyl banners you can use to cover your tables.
2. Wet wipe surfaces.
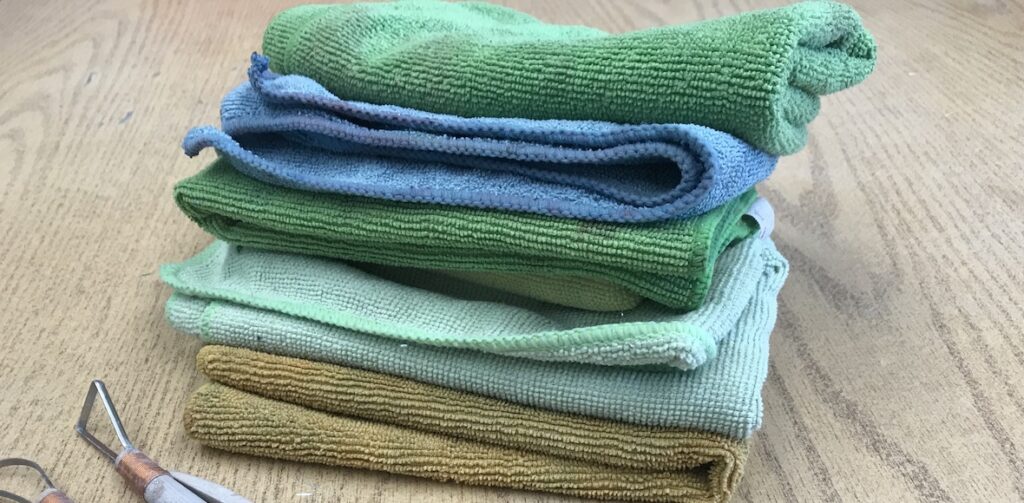
To continue on the idea of preventing clay dust in your classroom, it is essential to clean up your work areas using wet cleaning methods. Avoid sweeping, vacuuming, and dusting because these methods put dust back into the air. To wipe off tables, placemats, and work areas have your students use microfiber wash rags. These do an excellent job of picking up particles and can easily be washed.
When it comes to your floors, request they be wet mopped daily. If you have a difficult time making this happen, share the health risks of clay dust and silica with your custodian and administration.
3. Air bubbles are a myth.
Opening the kiln to find that a piece has exploded is gut-wrenching. You’ve probably been taught the widely believed idea that air bubbles are the cause of explosions. But, this isn’t necessarily true. This idea takes the blame away from the teacher and puts it on the student, but a bubble or an enclosed form does not cause an explosion. It’s the moisture inside the air pocket that caused the explosion because the clay piece did not have enough time to dry.
Bone-dry clay is porous and can let water vapor and air out. This is how it dries out in the first place. When it comes to the firing process, there is chemistry and physics occurring that we don’t even see. If a piece is truly bone-dry, it has no more mechanical water that needs to turn to steam, which means an explosion won’t occur. If it’s not dry, don’t fire it. Here are three things you can do to make sure your clay pieces won’t explode:
- Fire with a preheat.
- Do the cheek test. If you hold a clay piece to your cheek and it feels cold, don’t place it in the kiln.
- Use a slow firing program.
To sum it up, remember this: moisture turns to steam, the steam expands, clay pieces break. If there is no steam, there is no expansion resulting in no explosion and a win for everyone!
4. Limit fast firing programs.
When you’re setting your kiln program, you want it to be efficient. This is why you might want to fire your kiln on the highest or fastest setting, so it takes less time. Don’t do it. This is asking for a disaster to occur. There are four main stages of the firing process: Water Smoking, Dehydration, and Quartz Inversion, Oxidation, and Maturity. At each of these stages, if the firing process occurs too quickly, problems can arise. Learn more about the stages and the problems that can happen here.
Even though there are health precautions and complexities to consider, this shouldn’t be a reason not to use clay. With proper care and practice, clay is safe and essential to use in your classroom. Having these four tips in your knowledge bank will help you prevent any future disasters in your classroom from occurring.
Are you afraid of using clay in your classroom? Why?
What other essential clay tips would you add to this list?
Magazine articles and podcasts are opinions of professional education contributors and do not necessarily represent the position of the Art of Education University (AOEU) or its academic offerings. Contributors use terms in the way they are most often talked about in the scope of their educational experiences.


