Advocating for your art program can be a daunting task. Between matting and labeling artwork for exhibitions (not to mention the drop-off and pick up), encouraging (or begging) students to sign up for your courses, and informing (or badgering) administration on why the arts are essential can be equally exciting and emotionally draining.
When advocating for your program, we all know how important it is to display the end product. However, it is also our responsibility to educate the community on what is actually happening in the classroom. When we value the process as much as the end product, we can help others understand our students are not simply born with that innate and incredible talent. They are consistently working hard to build skills to enhance their visual communication. One way to demonstrate your students’ creative process is through the use of video.
Here are 3 ways you can use video as an ongoing tool for arts advocacy.
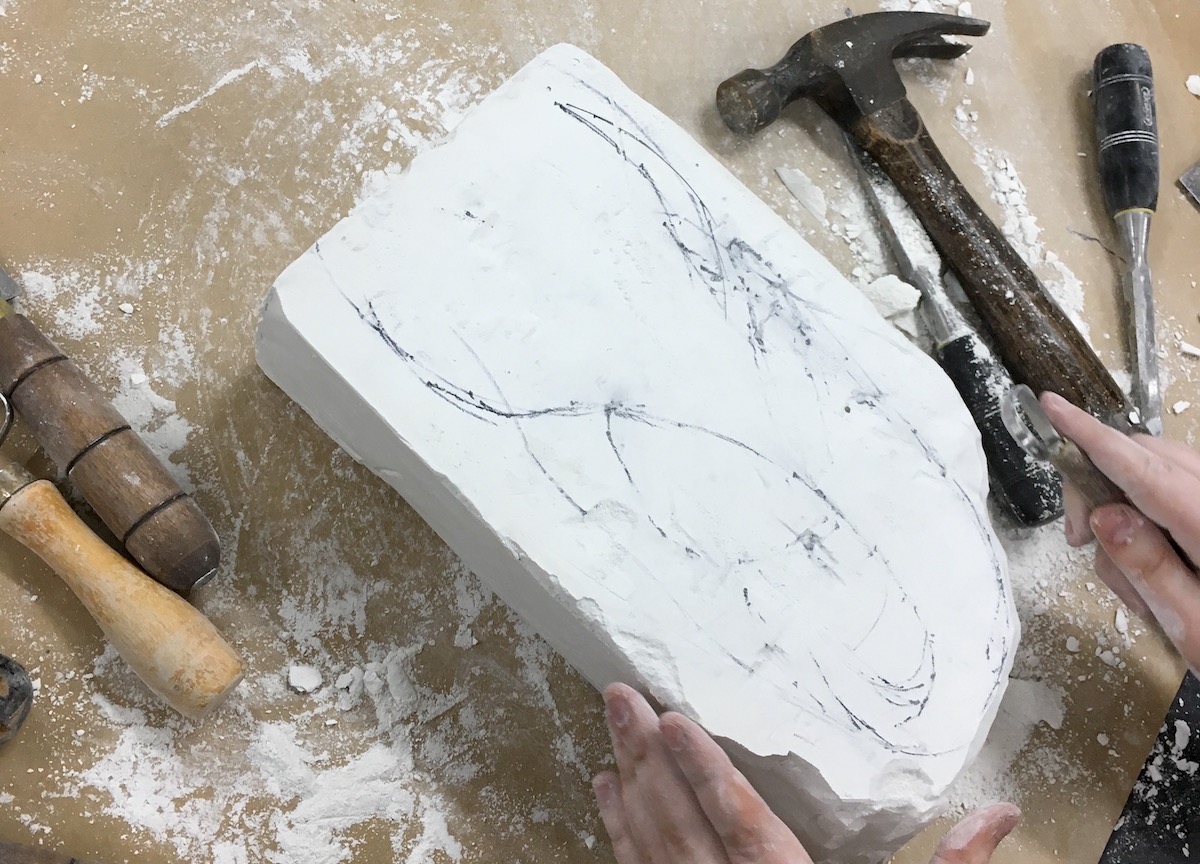
1. Empower Student Voice
There is nothing more powerful than a student talking about their artwork from conception to completion. Writing can be tricky for some students; don’t let that barrier stop them from expressing! Not only can video be an additional option for differentiation in your classroom, but you are also providing students an opportunity to listen to themselves speak about their work, and possibly refine and redefine what they mean. Hearing actual student voices articulating why they made intentional decisions throughout their process will give any administrator the goosebumps.
Learn more: How to Teach Video in One Second
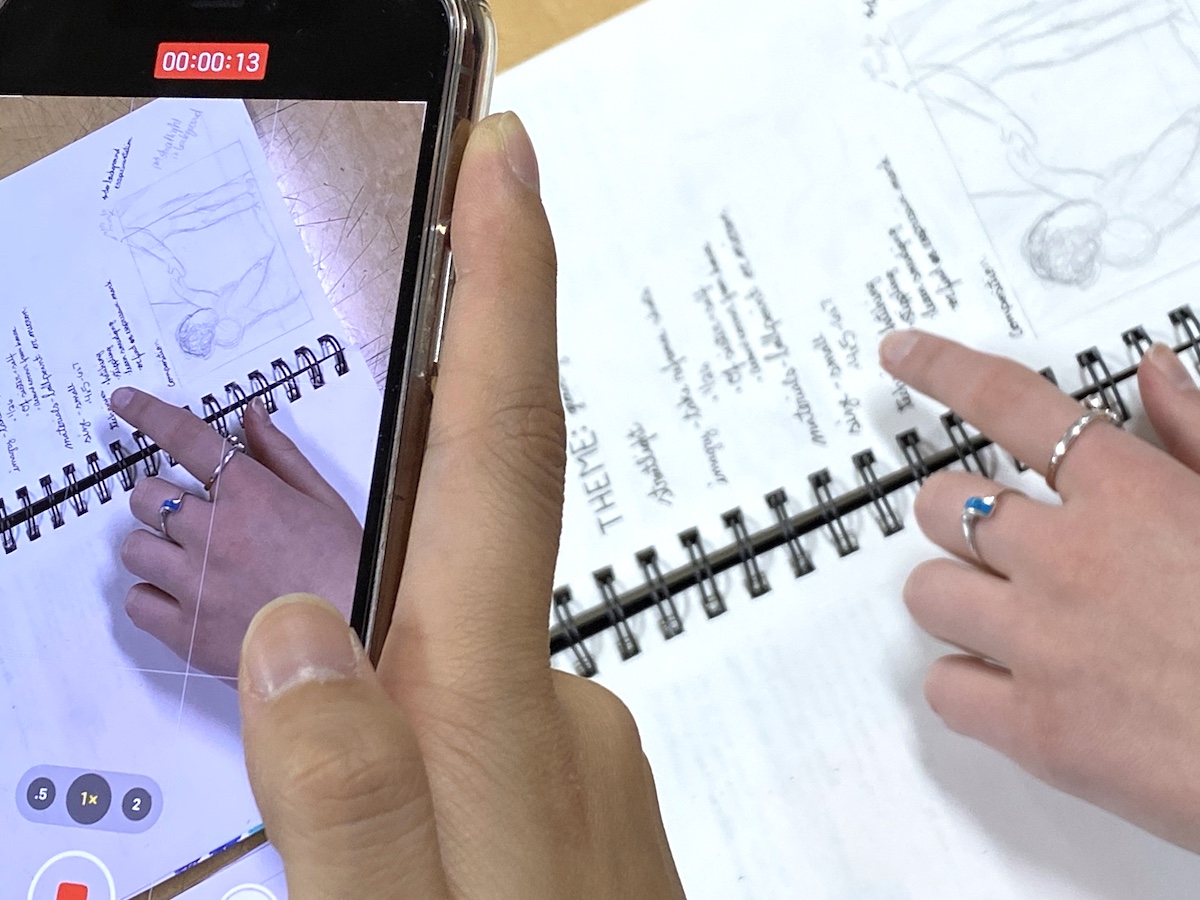
How to: Instead of having students write their end of unit reflections, have them take a video of themselves talking through the prompts. Some students don’t like having their face on video. No problem! Reinforce that they could place the artwork on the table and video their hands pointing to different areas of their work. What another great use of annotation strategies! You could also have students Screencastify their artwork or their written reflections and talk over as they present their visuals.
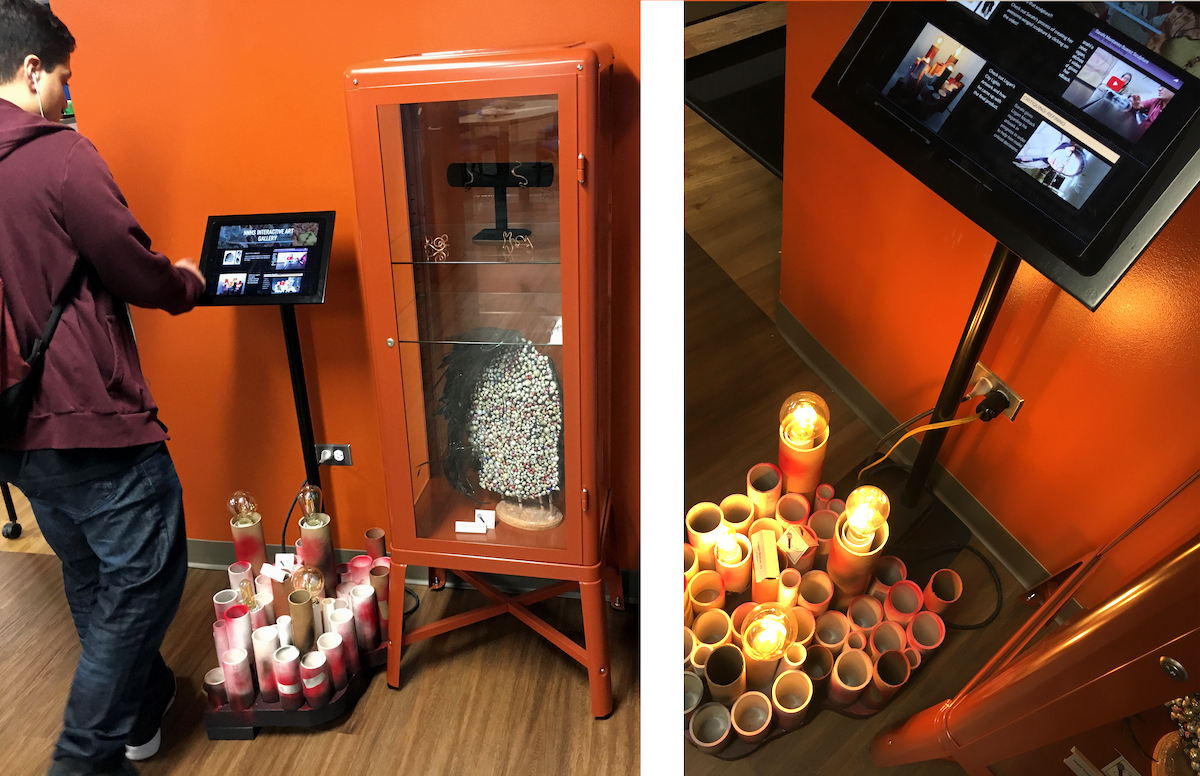
2. Build an Interactive Gallery
Doesn’t it just drive you crazy when you spend hours of your time hanging your students’ artwork in your school gallery, just to have people walk right by? Or better yet, they take a quick look and say, “Wow! Those kids are so talented! I can’t even draw a stick figure.” Stop them in their tracks by creating an interactive gallery! Use any website platform compatible with your school and an iPad. No iPad? No problem! Writing a grant for this can land praise for your contributions to your school, and also empower student voice in direct connection with displayed artwork.
How to: Use the videos students already created and submitted from their end of unit reflection, ask students to take time-lapse videos of their process, or host an impromptu interview in the classroom or hallway. Publish the videos using a website platform such as Google Sites or Weebly. Mount the iPad on a stand or the wall near displayed student artwork. Post a little notecard, like the one shown, so that your audience knows to take a closer look at the iPad. Watch as students, teachers, and parents click away, listening to your students talking about their artwork. Your Interactive Gallery will now create a speedbump for viewer participation and engagement!
3. Be Present on Social Media
Want to show the world how amazing your students are? Show off their skills and give them ownership in their learning through clips on social media. Just imagine your students’ reactions when some big-time artist or recent graduate comments on their work! It might just be an even bigger compliment when a parent starts following your department Instagram account. Or how about when your principal or superintendent retweets your post?
How to: While, of course, you will have to talk with your administration about the rules and regulations of social media, take five minutes to hook yourself up with a department handle on Instagram, Twitter, and (for the parents mostly) Facebook. Take a quick video of something amazing a student is creating in class, a critique with insightful comments on the meaning behind and aesthetics of another student’s artwork, or a fast clip of the contagious excitement surrounding an ah-ha moment of exploration and learning. There are several fun apps out there such as Boomerang or Chatterpix, that can add an extra little something to engage your audience with the incredible learning and creating happening in your classroom. Finally, come up with your own hashtag and watch as your program becomes branded and shared in an instant.
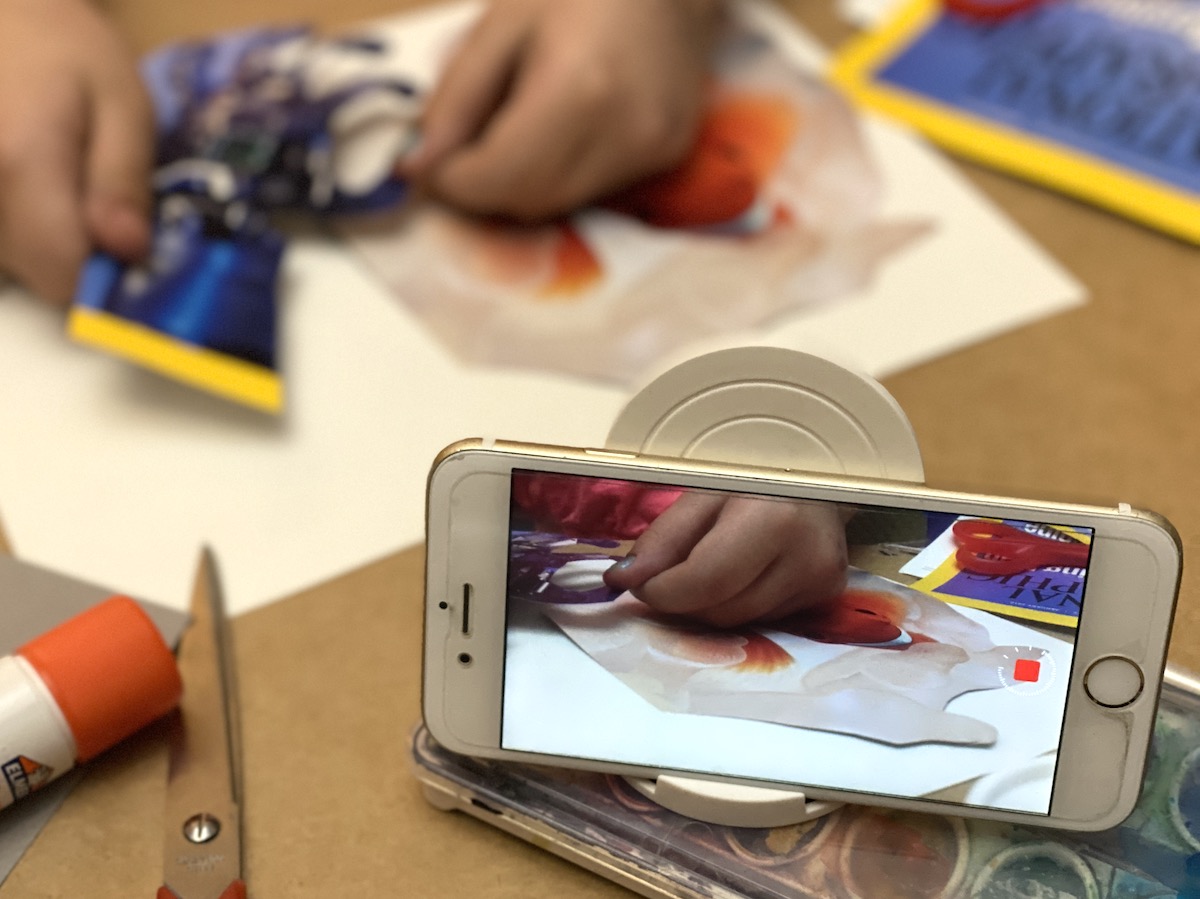
Video can be a quick and fairly painless part of your advocacy routine. From quick clips to show off your students learning in your classroom to sophisticated reflections from process to product, video empowers student voice in your school and beyond. From collaborating, problem-solving, and criticism, to reflection, idea-generating, and even failing and persevering, your videos will demonstrate how your students handle it all through their creative process. And as a bonus, when someone says to you, “It must be so fun in art class, just playing around,” you can smile and let your students and their videos speak for themselves.
In what ways do you advocate for your art program?
How else can you use video to demonstrate learning in your classroom?
Magazine articles and podcasts are opinions of professional education contributors and do not necessarily represent the position of the Art of Education University (AOEU) or its academic offerings. Contributors use terms in the way they are most often talked about in the scope of their educational experiences.


