Tree branches are filling with leaves and the chatter of woodland friends. As the weather is warming up for summer, we spend time in the shade, propped up against their trunks. We often take these natural entities for granted, but we should look to them for inspiration.
In “When I am Among the Trees,” Mary Oliver writes a love poem to these natural giants. Trees taught her about life and herself. Bringing tree-related lessons and art experiences into our classrooms can do the same for our students. Bringing tree-related inspirations into our own artmaking this summer can also heighten our own investigative practices.
Consider these 8 tree-related prompts for your students’ creative spaces and your own art process.
1. Collaborate to create a patterned tree.
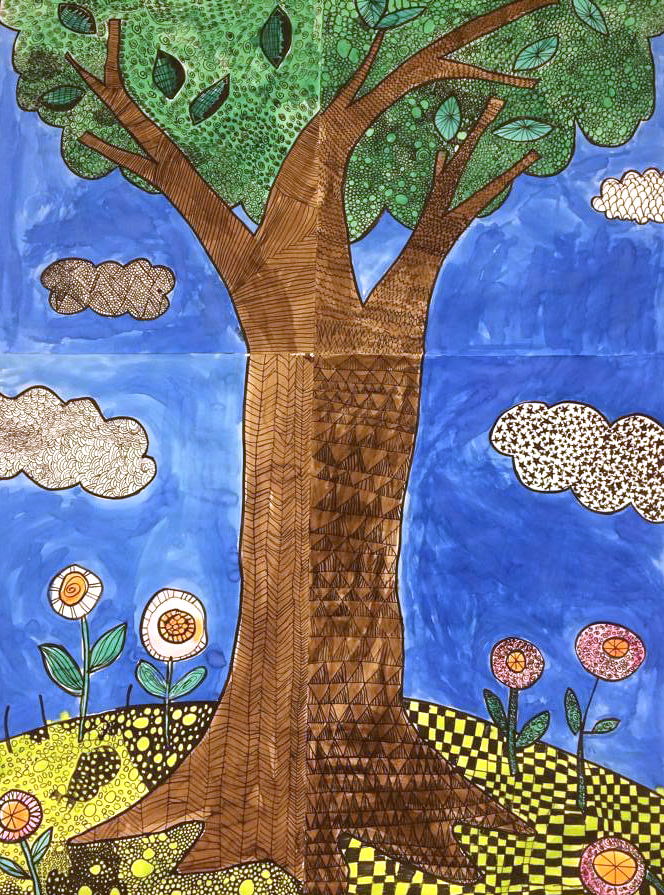
Create a large drawing of a tree that spans four separate sheets of 18″ x 24″ drawing paper. Give the four pages to four groups of students. Each group fills each section of the drawing with black and white patterns, using a permanent marker. This includes the trunk, the leaves, the ground, and even potential clouds. Reattach the pages when they are full—paint liquid watercolor over the four pages to unify the work.
2. Recycle old paper into texture trees.
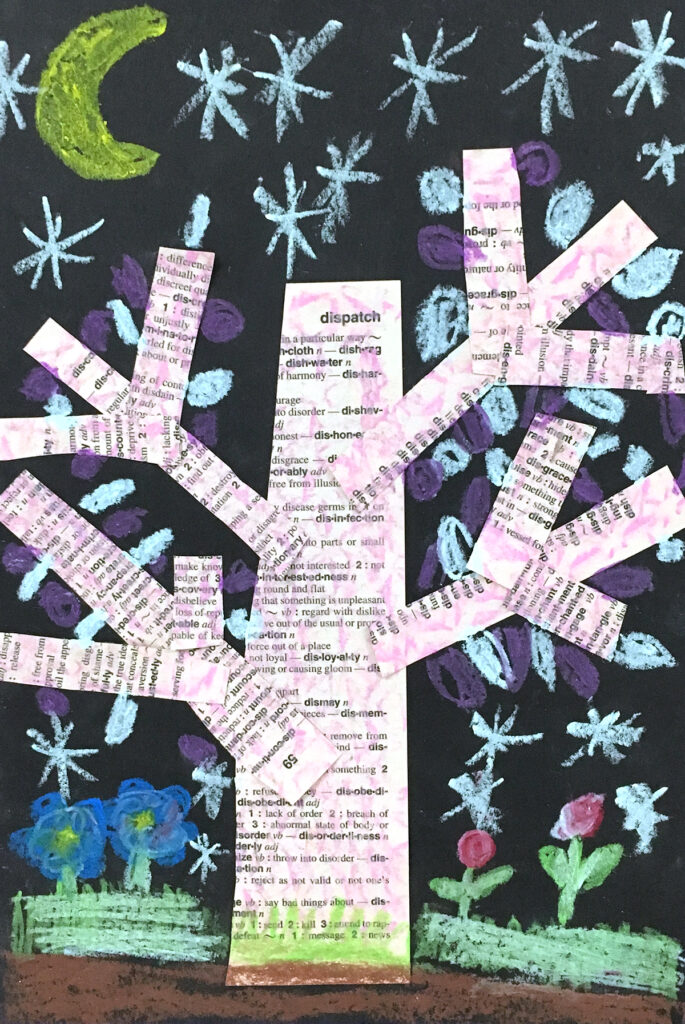
Recycle thin dictionary pages into an ideal matrix for oil pastels and texture plates. Create several textured pages and slice them into strips of different widths. Glue the strips to black paper to form tree trunks and branches. Use oil pastels to add leaves, bird nests, weather elements, squirrels, and other imaginative items to make each tree unique.
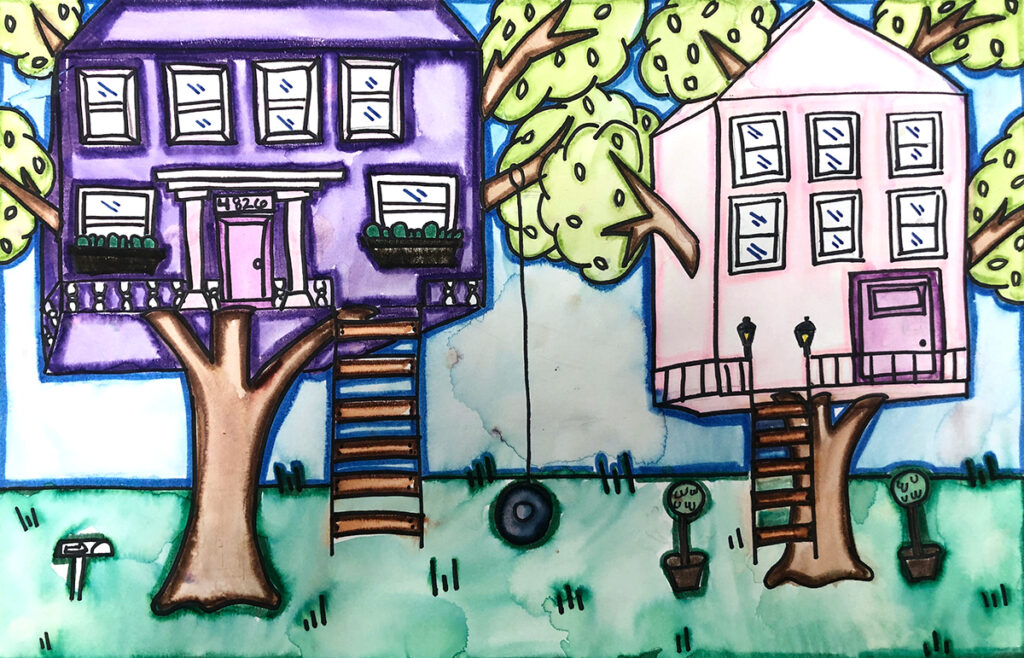
3. Compose a treehouse using perspective.
Teaching perspective takes on new heights with treehouses. Unlike typical tree dwellings, which are built into an existing tree, start with the house first. Draw the structure of the house from the ground, looking up. Then, decide what tree or trees will be holding up the architecture. Add details to the house, the tree, and the environment. Almost any material works well when adding color to these drawings. One option is to trace the linework with a permanent marker. Trace along the inside of each shape with water-based markers. Apply water to the pigment to get a crisp outline that also exhibits watercolor-like qualities.
4. Reinvent The Tin Forest.
Helen Ward writes of a man who lives in a place filled with things no one else wants. In The Tin Forest, the man creates an entire forest filled with plants and animals comprised of reimagined junk. This repurposing is a springboard for meaningful discussions about finding new uses for the things we throw away.
Glue rope and pieces of penne pasta to a cardboard base, creating the form of a tree. Cover the whole board with heavy-duty aluminum foil and paint with black tempera. Wipe away some of the paint to reveal the foil on the raised forms. Add nails, bolts, bottle caps, and other odds and ends to the branches, representing leaves and fruit. To add animals, create forms using a metal tooling process or with silver-painted air-dry clay.
5. Construct wood disk assemblages.
Consider using the tree itself to make natural assemblages. Use cut discs of wood as a base and adhere collected branches, seed pods, acorns, and small found objects like repurposed jewelry. Low temperature hot glue guns safely provide the quick dry time needed for balancing the assembled pieces.
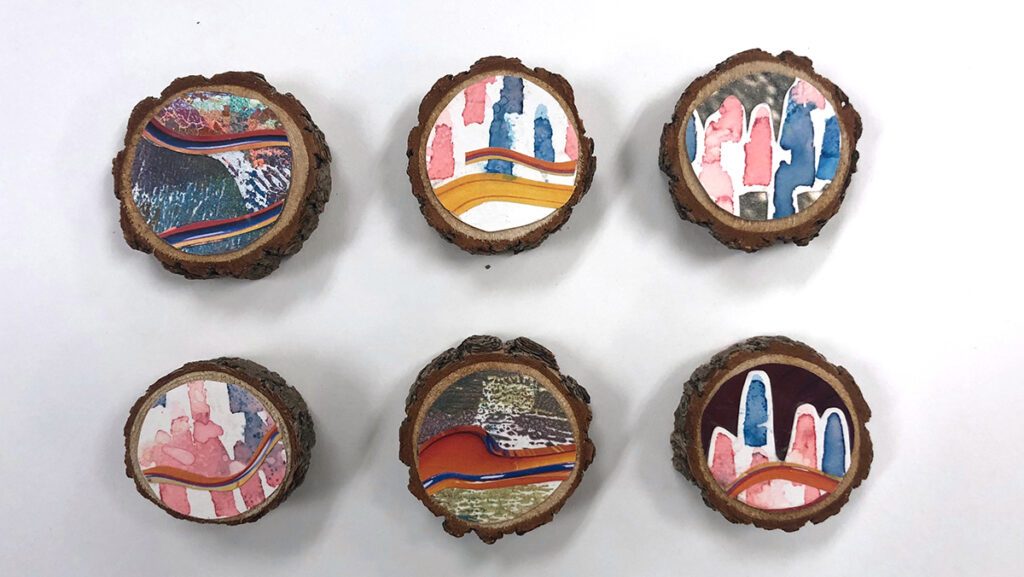
Smaller wood disks also serve as a surface on which to collage painted and found papers. The smaller size provides an opportunity to develop a series of collaged works that can be attached to a larger canvas, piece of wood, or board.
6. “Branch out” with hanging mobiles.
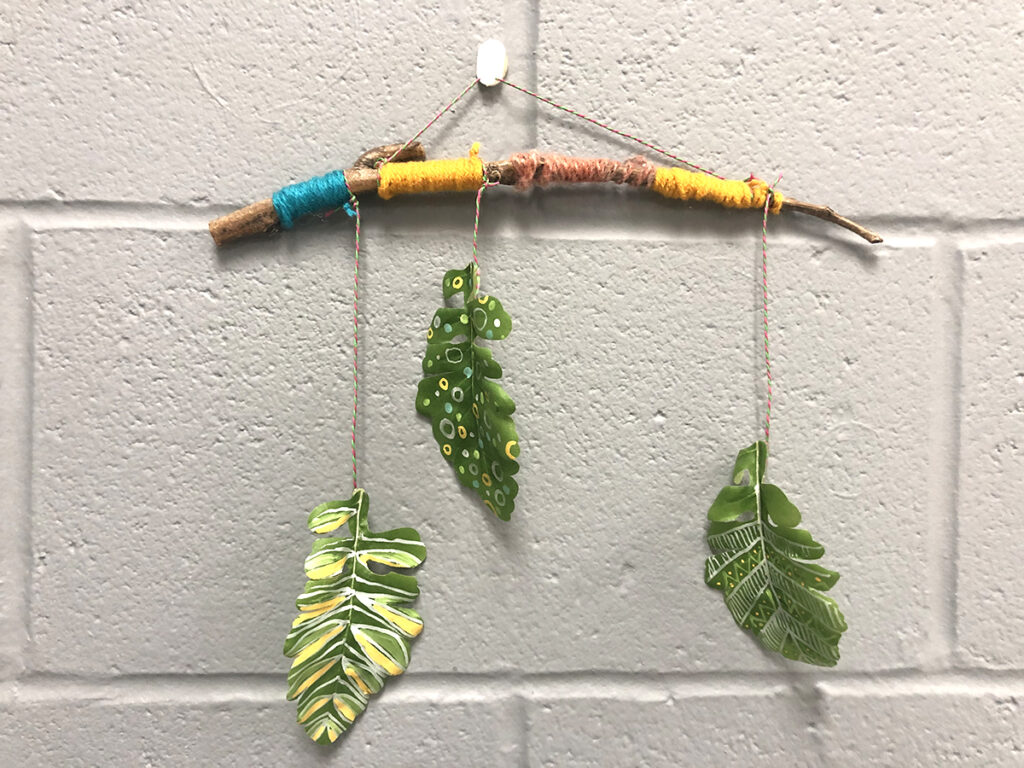
There are many ways to incorporate branches and leaves into mobile works of art, like this version inspired by the Art Bar blog. In a yard or local park, collect strong sticks about one foot in length. Wrap the stick with different colors of yarn, transforming the found branch. Use paint markers to decorate dried leaves or faux leaves with patterns. Attach the leaves to the yarn-wrapped stick with strings of different lengths. Tie another string to the ends of the stick to hang the mobile.
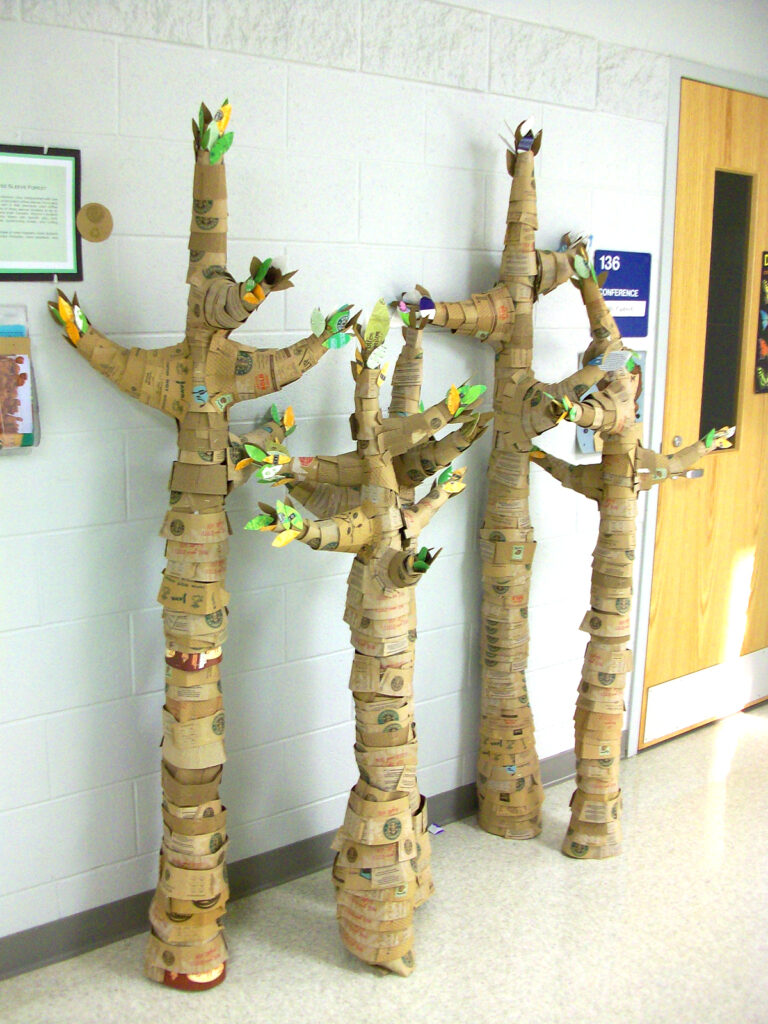
7. Repurpose coffee sleeves into tall trees.
Don’t toss that sleeve from your latte just yet! Open the sleeve along the seam, flip it inside out, and attach the textured cardboard pieces using a stapler. Make rings of various sizes and attach the rings around a tall cardboard tube. The rings should get smaller as the form gets taller. Follow the same procedure to make the branches and attach them to the trunk with hot glue. Coffee sleeves can be patterned or colorful. Cut the sleeves into leaves and attach them to the branches.
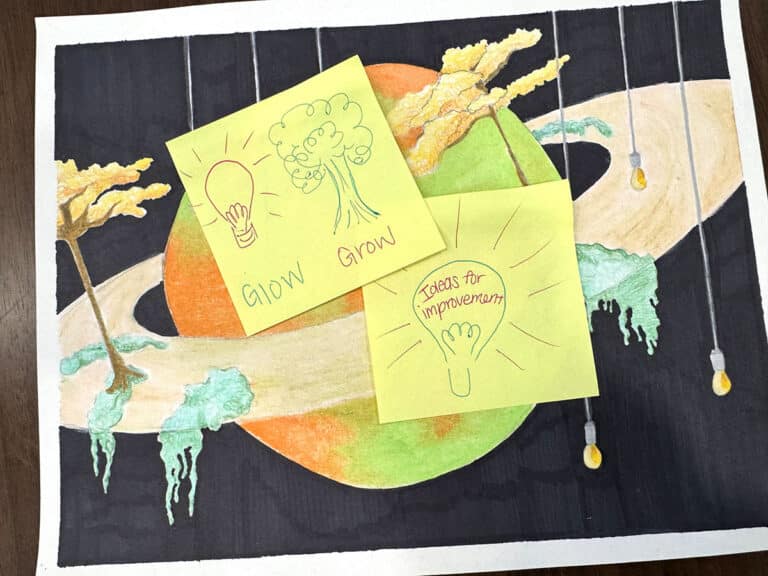
8. “Toss” items into a tree to process priorities.
In Oliver Jeffers’ book, Stuck, a boy throws items up into a tree. The result? Everything gets stuck. Discuss with students why they might throw something up in a tree. It could be to get rid of an item or because they care about an item and want to keep it safe. This discussion can prompt drawings of trees filled with items they care about (family, friends, a sport, pizza) or want to get rid of (dentist appointments, brussels sprouts, scratchy clothes).
This summer, as we watch the trees around us grow into towering entities of shade, let’s find ways to incorporate them into our lessons and our own artmaking. We can inspire our students to create fun, tree-themed artworks that “grow” them, too! We can sit back and reflect on our own teaching practices and personal art processes to mature and grow as well.
How do trees inspire your students’ artmaking or your own artmaking?
What items in your classroom can you repurpose to honor the forest?
How can you apply these prompts to your own artmaking this summer?
Magazine articles and podcasts are opinions of professional education contributors and do not necessarily represent the position of the Art of Education University (AOEU) or its academic offerings. Contributors use terms in the way they are most often talked about in the scope of their educational experiences.