We live in an infographic-saturated world, surrounded by custom t-shirts, mugs, and posters. What a prime opportunity to harness the stencil printmaking process to make functional art to captivate students! While there are many printmaking processes, this particular one bridges the gap between artistic expression and everyday life. Students also gain a deeper understanding of how layers and color theory work. The two common stencil techniques are screen printing and hand stenciling. Let’s take a quick look at both and then take a deeper dive at hand stenciling in the K-12 art room.
Grab paper and a brayer and let’s uncover how to make powerful stencil prints with your students.
How old is stencil printmaking?
Stencil printmaking is all about communication. Prehistoric people used hands as stencils on cave walls to mark their presence. Japanese Edo and Meiji artists refined the stencil technique to create intricate patterns in katazome. Now, there are street artists who popularize stencils to convey powerful social messages. Exploring the evolution of stencil printmaking prompts an appreciation for the medium and connects tradition with modern approaches.
Check out these three artists who share deep messages through their work:
- Banksy
This anonymous street artist is iconic for his provocative stenciled artworks that address political and social issues. - Shepard Fairey
Best known for his Obey Giant campaign and the Hope poster for Barack Obama, Fairey’s graphic style merges stenciling with strong visual messages. - Swoon
A contemporary artist who blends stencil and wheat-pasting techniques to create intricate and emotive portraits that emphasize storytelling and community engagement.
What are the two types of stencil printmaking?
Stenciling starts with creating a negative shape in a stencil that you can roll ink over. This creates a positive shape on the final print. The two common stencil printmaking techniques include screen printing and hand stenciling. Screen printing involves using a mesh screen, either a store-bought screen printing screen or one made from an embroidery hoop. Screen printing is ideal for creating t-shirts, posters, and more.
Hand stencils require just some paper and a brayer and are the simplest version of stencil printmaking. Construct stencils out of paper, acetate, thin cardboard, or cardstock. The sturdier the material, the longer it will hold up to multiple layers of inking. It’s also fun to experiment with different combinations of layering stencils, colors, and mediums. It’s common to use water-based inks, acrylics, or even spray paint (with proper ventilation!)
How exactly do you make a stencil print?
Let’s walk through the process together, step by step. The best way to learn stencil printmaking is to dive in and make one yourself! Spend time exploring so you can anticipate student needs before instruction. Stencil printmaking uses simple materials and has straightforward steps.
Grab the following materials:
- Stencils
Create using paper, cardboard, or acetate sheets. - Cutting Tools
Cut out the stencil using scissors, craft knives, or laser cutters. - Screen Printing Ink
Use water-based screen printing ink or try acrylic paint as an alternative. - Palette
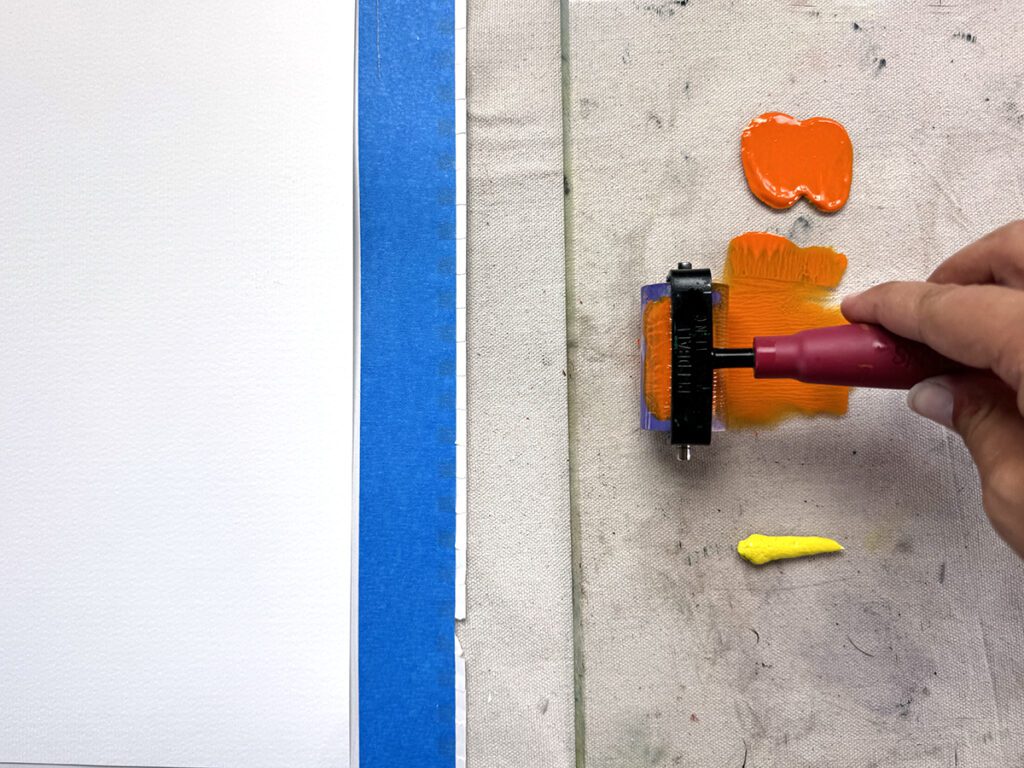
Load the brayer with ink with a piece of acetate, glass, or plexiglass. - Brayers
Apply ink evenly to the printing surface with roller tools. - Paper or Fabric
Print on smooth, sturdy paper such as cardstock or fabric.
1. Model the design process.
Planning is imperative in the printmaking process. Share your planning with your students so they can see how a stencil creates positive and negative shapes. Show your designs and how they translate to stencils. Then, demonstrate how to print a sample. Printmaking is a very abstract concept so it’s very helpful for students to see the whole process and how all the steps connect in the final print!
2. Break down sketches into four quadrants.
Students divide their sketchbook pages into four quadrants. Each quadrant will represent one layer of their design. Students can layer from the lightest to the darkest color or the largest to the smallest stencil. If this is their first time doing stencil printmaking, start with simple shapes to create a nonobjective print.
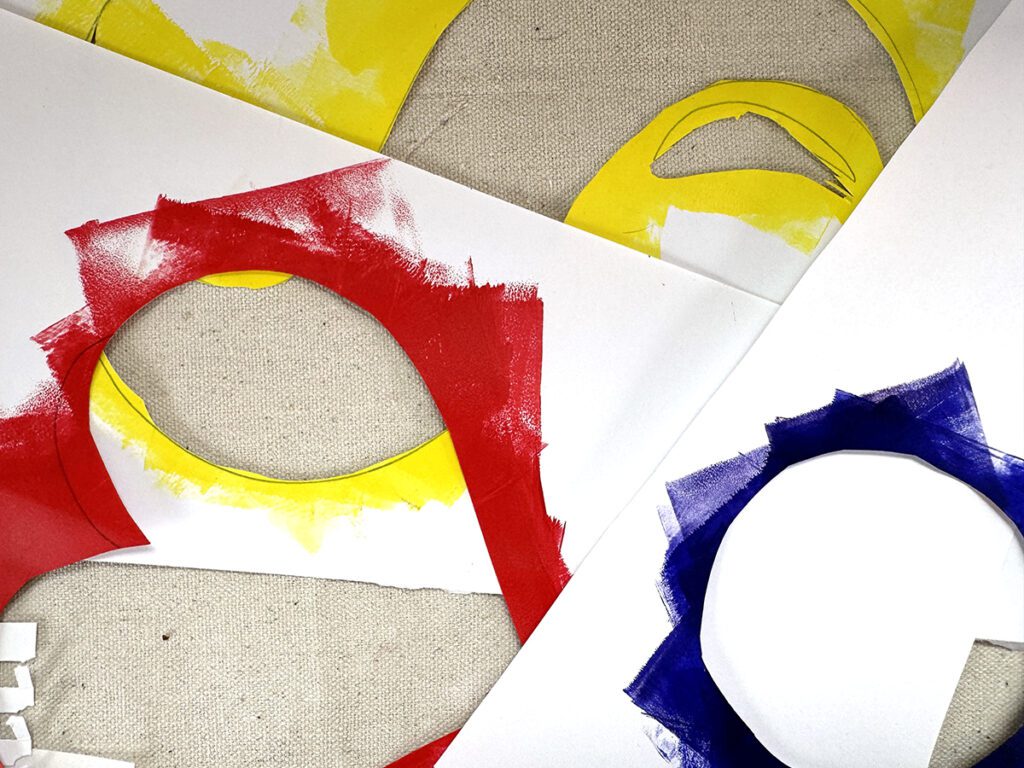
3. Create stencils.
Transfer each design layer onto stencil material. Students can do a graphite transfer, redraw it, or scan and print it. It’s helpful to have students mark the part they are cutting out (the positive shape) with an X and the part they are keeping (the negative shape) with a checkmark.
4. Cut out the stencil design.
If using scissors, demonstrate how to cut shapes out of the center of a paper. If using craft knives, review safety procedures for using sharps. Students carefully cut out the shapes marked with an X.
5. Set up the printing area.
To keep cleanup a breeze, cover the paper with a giant messy mat, a roll of butcher or bulletin board paper, or a dollar store plastic tablecloth. Create a registration system or way to ensure the paper and print are in the same spot each time. Use a marker or tape to denote where the paper goes. Use small pieces of painter’s tape or washi tape to secure the paper to the table. Use longer pieces of tape on top of the paper to mark where the stencils go. Use additional small pieces of tape to secure the stencil to the paper.
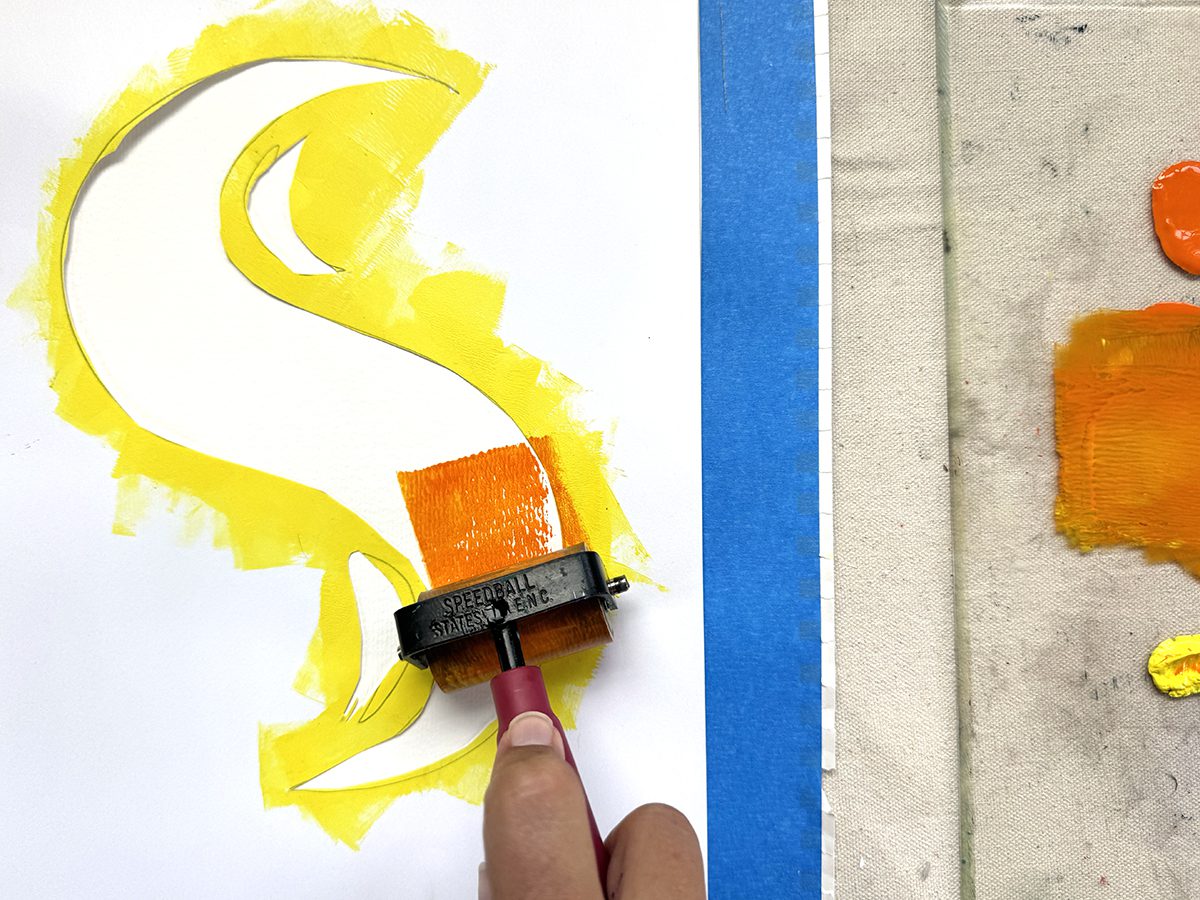
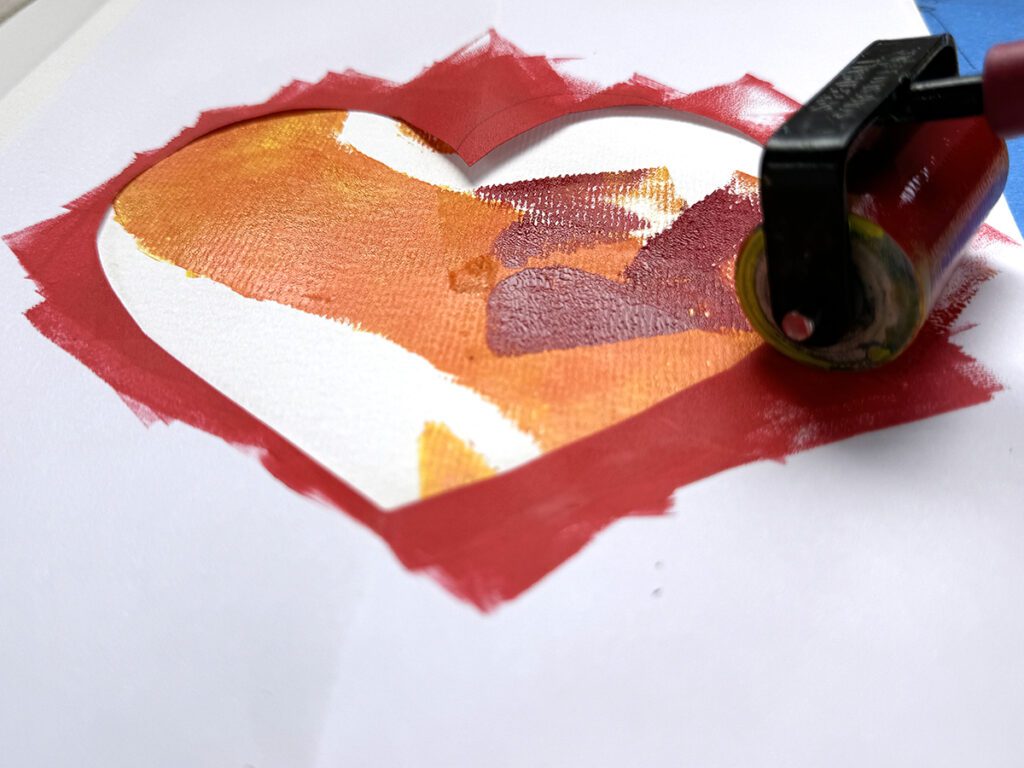
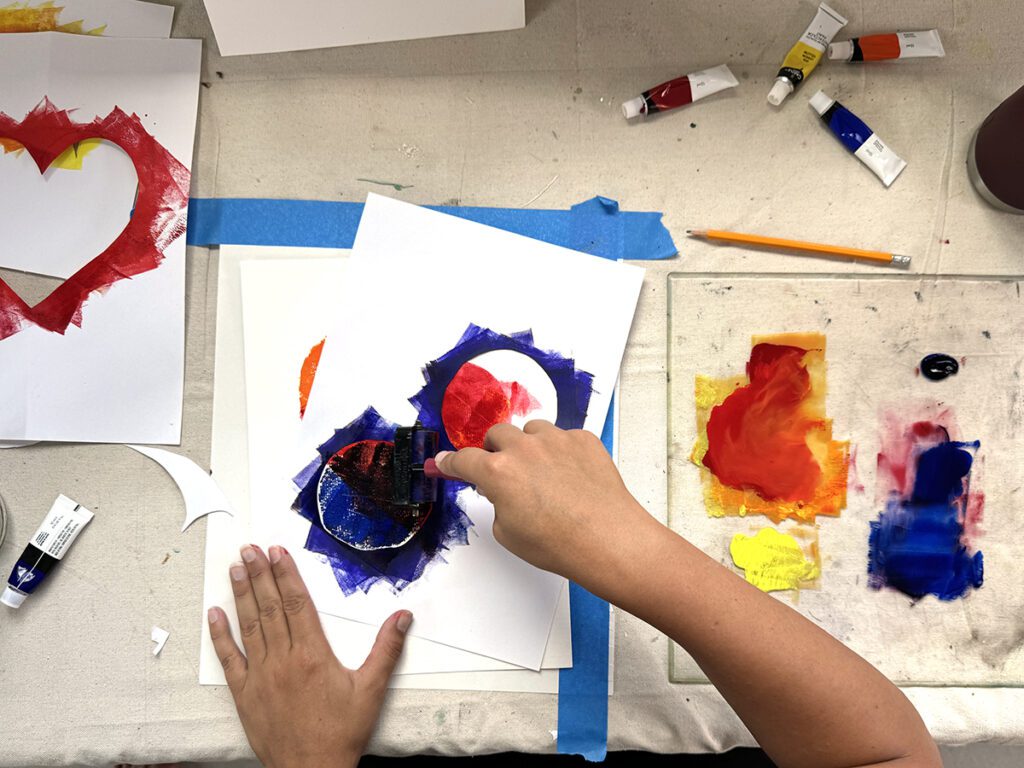
6. Ink the stencil.
Roll out the ink or paint on a palette until it reaches a velvety consistency. Load the brayer with ink and apply it evenly over the stencil.
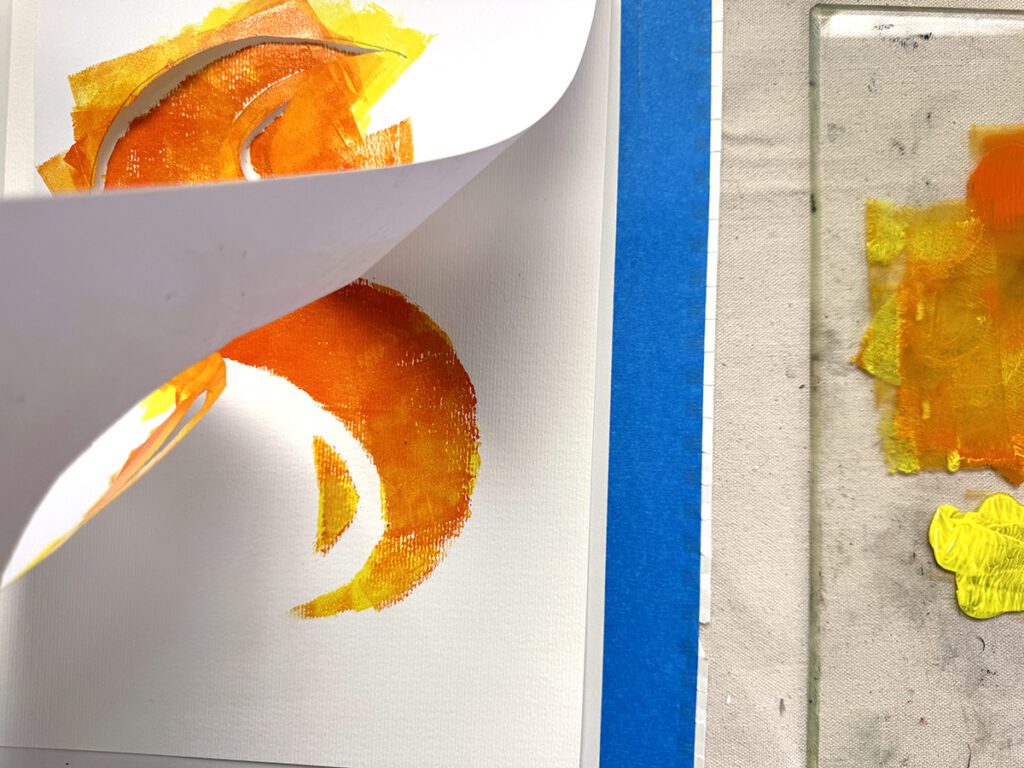
7. Reveal the first layer!
The first layer is the most exciting! Gently lift the stencil to reveal the first layer. Ensure fingertips are clean or use a tab of scrap paper as “tweezers” to avoid fingerprints.
8. Keep layering.
Align the next stencil over the print using your tape registration marks. Attach the next stencil with small pieces of tape and repeat the inking process.
9. Dry and sign.
Allow prints to dry and then show students how to title, number, and sign their prints.
What are some simple ideas to take stencil printmaking further?
Encourage students to create multiple prints and experiment with different colors, the number of layers, the arrangement of layers, and altering the background surface. Students can print on unexpected textures and materials to add surface variety and play with new options!
If you’re looking for step-by-step standards-aligned lesson plans to bring printmaking to your students, try FLEX Curriculum. FLEX has a vast archive of lessons and student-facing resources, plus a feature where you can search by medium, including Printmaking. Resources of note include artist bios of all three artists above, the Printmaking Skills: Stenciling practice sheet for grades K-2 and 3-5, and the Creating a Stencil guide.
Stencil printmaking offers a dynamic way for art educators to connect traditional art forms with contemporary techniques and social messages. It’s an invaluable tool to grasp layering and color theory and hone communication and planning skills. Students will love learning stencil printmaking because they can make functional art from custom t-shirts to impactful posters. This practical and relevant form of printmaking ensures students are well-prepared for the evolving world of art and design.
In what ways does stencil printmaking reflect the processes used in digital art creation?
What interesting materials or surfaces would you recommend printing on and why?
To continue the conversation, join us in The Art of Ed Community!
Magazine articles and podcasts are opinions of professional education contributors and do not necessarily represent the position of the Art of Education University (AOEU) or its academic offerings. Contributors use terms in the way they are most often talked about in the scope of their educational experiences.