Related


Classroom Management
 Podcast
We all see the spotless, perfect classrooms with impeccable organization. Should an art room look like that? Can an art room look like that? Probably not–but there are still ways to stay organized. In this episode, Cassie discusses why keeping things simple is the way to go, her systems for organization, and why these ideas can make your life a little easier. Full episode transcript below.
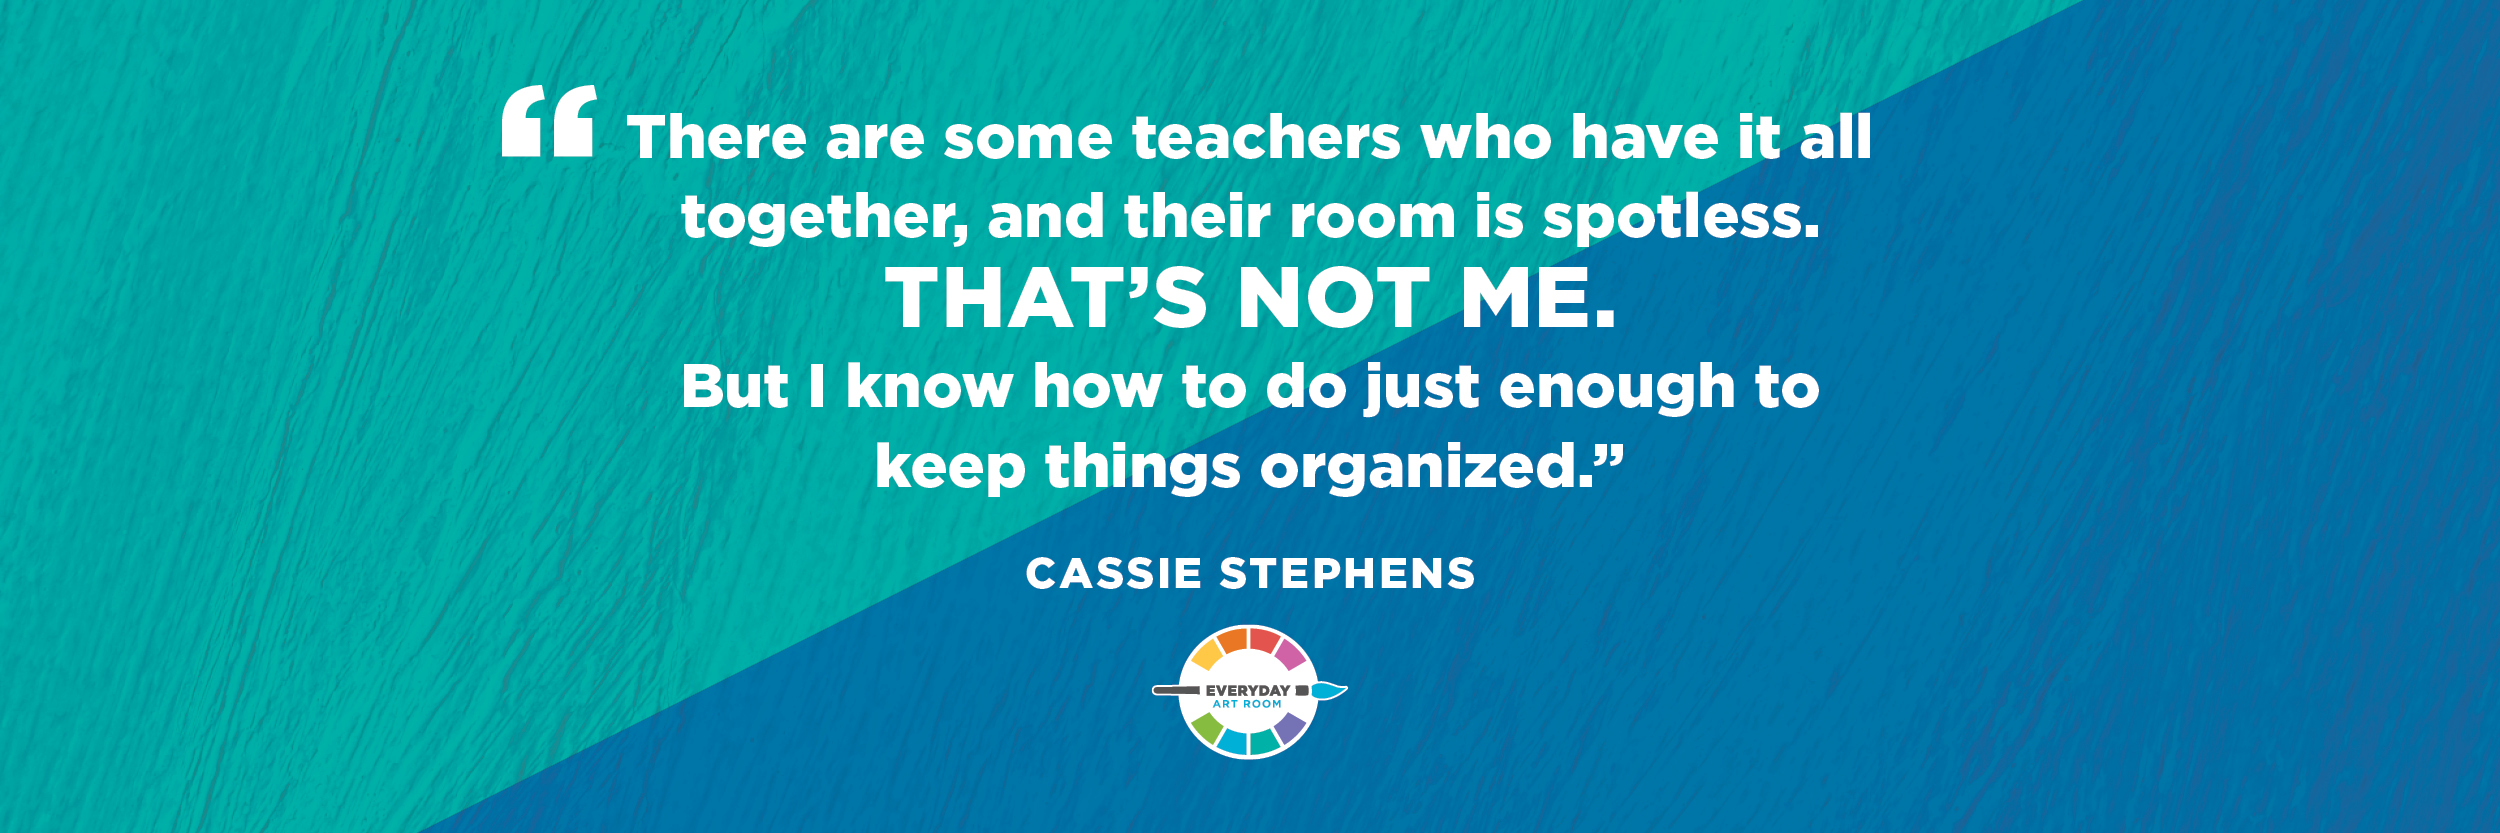
Cassie: So here’s the funny thing about being an art teacher: We’re artists. We’re artsy. We’re art-teachery, but we’re not always famous for being known for our organizational skills. I have met the rare art teacher where I walk into his or her room and it is so freakishly organized, where they know exactly where art supplies are located, and they know where to find just about everything. If any teacher comes into my room asking me for a supply, I always say, “I’m going to have to get back to you on that,” because I know it’s going to take me a moment to stop and think about where it could possibly be, and then it’s going to take me a while to do a little bit of digging, moving aside other items, uprooting … I’m kind of like, you know, an anthropologist when it comes to finding certain things in my room. I find so many other things while I’m doing it too.
All that to say we art teachers, we’re not exactly known for our organizational skills, and it really comes back to bite us in the keister when it’s time to teach our students. For example, I swear that this happens to me at least once a week, at least: Passing back artwork, I’m down to the last piece of artwork on my lap, I hand it to the last … who I think is the last kid on the floor. No. Why are there still two more people staring at me with wide, blinking eyes, saying, “Where’s my artwork?” And my question is, or response, “That is a really good question. I don’t know.” Do you ever find yourself in that situation? If you say no, you’re a big, fat, hairy liar, and I’m calling you out on it.
But today, I’m going to make it so it hopefully happens to you and me a little bit less. I’m not going to get bold enough and say it’s never going to happen again, because I promise you, this week somebody’s artwork is going to go rogue and we’re going to have to make missing artwork posters for it, but until then, I’m going to share with you just a couple of things that I do in my art room to try to keep a handle on all of those hundreds of pieces of masterpieces that are laying around my art room. I’m Cassie Stephens, and this is Everyday Art Room.
I don’t know where you guys went to college, but I went to Indiana University. It was a pretty amazing experience. I didn’t pay a lot of attention in my art ed classes, I’m just going to be honest with you because, in my mind, I wasn’t going to be an art teacher. I was going to be an artist, living in New York City, preferably SoHo in some sort of loft or something, with lots of cats and beautiful masterpieces. Well, that didn’t really happen, and that’s fine. I’m cool with that, but I probably should have paid closer attention to those classes, because I would have maybe learned the basics of teaching art, of organizing art. Maybe they talked about it, maybe they didn’t. I don’t know. As I said, didn’t pay much attention, but one thing I feel like that should have been taught to us the very first day, in all of our art ed classes, was organizing student artwork 101.
I say this because it wasn’t until the third year teaching that I was chatting with another art teacher, and I noticed she had their kids write their name on the back of their artwork and then some code. And I said, “What is that code on the back of their paper?” and she looked at me as if I was crazy and said, “That’s their teacher code. Don’t you have your kids write a teacher code so you know what class and what grade they’re in, so you don’t confuse all 500 pieces of art?” I kind of laughed and was like, “Oh, yeah. Of course I … I don’t. Can you explain this to me?”
Y’all, that is like the basic thing, and if you don’t know what I’m talking about, don’t worry. I will explain it real quick to you because it’s super easy and a game-changer. And it was from that point on that I realized, “I’ve got to do a better job of keeping all of this artwork organized,” because not only are there X number of children in my school, for me it’s about 300, in my other school it was about five, but then on top of that, it’s all of the works of art that they create in addition. And like I said, you can waste an entire art class, and instructional time, just on the hunt for one or two students’ pieces of artwork. So let me share with you what I do. It’s a simple system because I cannot keep up with overly-organized, and I’m very inconsistent, but if I keep it simple, then it’s something that I know I can keep up with.
So first thing’s first, you’ve got to have your students write, of course, their name and a teacher code on their artwork before beginning to create. In my room, a teacher code is the first letter of their classroom teacher’s name, we’ll say Smith, and then whatever grade that the teacher teaches, we’ll say first. So, if Suzie writes her name on the back of the artwork, it would say “Suzie” and “S-1,” and in my room, they know that they always have to write name and teacher code.
Now, as my students settle in and they’re starting to work, I always do a lap around the room, always, every grade, at the start of every project. And what I’m doing is I’m walking around and making sure they wrote their name and teacher code, in pencil, on the back. And I always like to have their name written on the back of their paper when their work of art is complete. Then we rewrite it one more time, without the teacher code, on the front, so it can be on display.
When I walk my lap around the room, I’ll just go to each table. It’s a good minute for me to chat with the kids and just say, “Everybody got their name and teacher code on this paper?” If I don’t have time, because maybe I’m prepping supplies, to walk to every single table, I’ll do something like, “If you are a boy and you’ve written your name and teacher code on the back of your paper, please scratch your head,” and if I see a couple boys go, “Oh,” reach for a pencil, usually they’re scratching their head while they’re writing their name, or I’ll say, “If you are a girl, and you’ve written your name and teacher code, please stick out your tongue,” just something silly, that stops them in their tracks, that captures their attention, that serves as a reminder that they get that name and teacher code on the back of their paper.
The teacher code is vital. You guys know this, just because if one work of art does go rogue and ends up somewhere else, you’ll know exactly where to trace it back to. I used to think, “Well, I don’t have that many students. I can remember whose class Suzie is in.” No, you can’t. That minute of you trying to process, “Okay, what grade is she in? Whose class is she in?” That’s time lost, so just make your life easy, have them put a name and teacher code on the back.
Now, when kids are cleaning up, something I have started doing this year is having a designated drying rack for each class that I’m teaching that day. My day looks different from day to day, meaning on Mondays, I have third-graders all the way down to kindergarten, but on Wednesday, I don’t see third grade anymore, and I see the fourth grade. It’s a crazy schedule. It’s different all the time. Every single day is an adventure, and for that reason, I can’t have one drying rack be just for this particular class or this grade level.
So let’s talk drying racks because I know some of you guys have those giant mama jama drying racks. I have the little ones that are about three feet tall. They hold about, I don’t know, maybe 30 papers on each side, they’re two-sided. And I like them because I can move them around, I can pick them up, I can put them away if we’re working with clay, and I can also move them to certain areas of my room, which is great.
What I do is I will say, “All right, Miss Smith’s class, today this is your drying rack,” and I will put their little bin that I keep their artwork in on top of that drying rack. The bin says, “Mrs. Smith’s art class,” and that way, they know when they’re looking for the drying rack, that’s the one they’re going to use. The reason I designate a drying rack per class is because the following day, when the artwork has dried, all I have to do is remove all of that artwork from that particular side of the drying rack. I don’t have to check the back, I don’t have to make sure it’s in so-and-so’s class, and I can throw it in the bin that I’ve placed right on top. And that just helps me remember where to place the artwork. It also serves as a reminder to the kids where to put their artwork during cleanup time.
Now, if you have the big drying rack, I’ve never had one of those. I’m going to offer you a little bit of advice, but take it with a grain of salt, since I don’t have a drying rack like that. What you could do is this: You could color code the shelves of those racks. I was recently in another art teacher’s room where it looked like she had painted, just took a paintbrush and ran it down the wire parts of the drying rack, to designate certain colors, and I’m guessing she did that for the grades or the classes of the students. I did notice, though, that the paint was chipping, and didn’t look as vibrant or bright as maybe she’d hoped, and I think duct tape would have worked just as well, but it would have been way more time-consuming to put little colorful pieces of tape on each wire rung. That does not sound like something I would do.
Instead, I would consider getting a large sheet of paper, that’s colorful, like a big piece of, I don’t know, blue Tagboard, or red Tagboard, and maybe make each color of Tagboard designate a grade level or a class. That way when students are cleaning up, they know that they place their artwork on the red paper on the drying rack. Just a thought. As I said, don’t have a big drying rack, so I can’t totally speak from that experience.
So, when I have placed all of the student artwork back in the bin, and it’s their bin, or their artwork, I know this because I took it off that particular drying rack, that really helps me stay on top of the artwork. And any artwork that didn’t, because the student wasn’t there that day, did not get passed back, is still sitting in their little bin.
So, I have bins, one for every single class, and I’m sure a lot of you guys do as well, and my bins hold artwork that’s 9 x 12. We don’t do a lot of that small artwork, so a lot of times, I will not fold with a crease, but I will just kind of bend the artwork over and tuck it inside that bin, and I have a little shelving unit where I keep all of these bins. And I’ve color-coded those bins, meaning that my kindergartners have all red bins, my second grade … or I’m sorry, my first grade has all orange. It’s in rainbow order. That way, when I put all my bins off to the side, they look nice and pretty, and they’re rainbow-y. But that doesn’t have anything to do with organization. It just looks cute.
What if, though, you have artwork that’s not wet, that’s not on a drying rack? So something I started doing this year, which I’ve seen other teachers do, and I thought it would be too much of a bit of work for me, but it ends up it’s really great, is having table folders. If we’re doing artwork where it’s a drawing, maybe we’re drawing with pencil, tracing with Sharpie. It’s not wet, basically. This doesn’t happen often in my room. We’re almost always painting, or using collage, or doing something messy, but on the times that we aren’t, where it is dry artwork, what I’ll do is I’ll have the kids put their artwork in their table folder. It’s simply a laminated folder that is the same color as their table, so the red table has a red folder. It’s a piece of construction paper that’s been just folded in half, and even if the artwork is larger than the folder, it at least gives them all a place to stick their dry artwork.
This helps me out tremendously when it’s time to pass back artwork, because instead of me passing back individual pieces of art, which is time-consuming, and something I feel like is a little bit of time waste in my room, I can just hand the table folder. I’ll say, “Does anybody sit at the red table?” hand it to the first kid whose hand shoots up. I’ll say, “Okay, you are in charge of passing back artwork. Do so gently. Red table, see you later.” Then the entire group gets up, and they go to their tables, and they’re ready to just start right away. I toyed with the idea of … when I was taking artwork off the drying rack, of placing it in those folders, but that added a layer of work for me when I was taking work off the drying rack in the mornings. So, I haven’t done that yet, but I do love that system of passing artwork out so very quickly.
If you are having your kids do that, where everything’s kind of color-coded, and you want it to go back into their folder, you could have red color pencils, maybe just a couple, at the red table, orange color pencils at the orange table. That way, when they do write their name and teacher code, it’s in that color, and then that helps you remember, “Oh, this is Suzie from Miss Smith’s class, who sits at the red table. Got it. I’ll throw it in the red table folder.” Just an idea. I haven’t taken that extra step, but I do think it’s something that I would like to try in my room.
So, I before was mentioning my bins. I have bins, as I said, that fit smaller works of art, where I’ll just kind of roll the larger artwork over to fit in there, and then I have a drying rack, not your standard drying rack, just like this big wooden contraption in my room, that I never used as a drying rack, because it literally only holds maybe 30 pieces of artwork, so it’s kind of useless as far as painting with a lot of kids goes, but it’s a nice wooden rack, and the shelves are pretty far apart.
I keep my unfinished work, works in progress, in the smaller bins, because the bins are pretty tiny. They can’t hold a ton of artwork and a ton of projects. Whatever we are currently working on goes in those smaller bins. Then, the bigger projects, they go, when they’re finished and completed, and if I haven’t had time to hang them in the hall, or I save all of my student artwork until the very end of the year, because we have a giant art show, where we hang every work of art that every kid has made. For that reason, I have to have a really organized system for keeping all of their artwork.
So once a class has finished a project, their artwork is then removed from the little bins and placed into the bigger drying rack. To keep that artwork altogether, each shelf of that drying rack is designated for a class. I also use those large black binder clips to clip the artwork together, and I use a piece of tape, just like masking, put the tape on the back of the binder clip, and I write, “Smith art, winter landscapes.” That way, I know what this project is, whose class it is, and it’s ready for the spring when we have our art show.
So, these are just some things that I do when I am trying to make sure that I don’t lose student artwork. But, as you guys know, it’s bound to happen. It’s bound to happen. You know, when you have back-to-back classes, and such-and-such kiddo isn’t here, so you just toss it onto your desk, which then gets another layer of artwork stacked on top of that, which then gets picked up and misplaced, it happens. As I said, it happens to me more often than I want to admit. So what do you do if you lose a student work of art, or if your students have misplaced their artwork, meaning they put it on the wrong drying rack, and now it’s sandwiched in a different class?
A lot of times, what I will do instead of using up an entire art class to go hunt for that work of art, is I’ll usually have a child work on the next phase of the project, or if we’d only just gotten started, I’ll say, “You know what? It’s on the run right now. I’m sure we’ll track it down. One surefire way to make sure that it does pop back up again is if you start again, and I promise you, your new one is going to be even better than the last.” Usually, I’ll get them rolling on that, and throughout the course of the class, I’ll either track it down, or I’ll find it in the next couple of days, when I’m passing back artwork, and then I’m like, “Ah, there’s Johnny’s work of art. It was stuck with another class because he put it somewhere else.”
Because the kids know this happens, I often will say that it was my mistake, that I’ve misplaced it, because I don’t want them to be upset, and I try to make a lighthearted joke out of it, but almost always, the work of art does manage to come to the surface. But it’s no fun, and you guys know that. It’s especially no fun when it’s a work of art where they’ve put so much time and effort into. But, if you can establish routines, ones that you can keep up with, a drying rack that you remind the kids, “This is the one we’re going to use,” even if it’s just for today, “Make sure your artwork goes here,” you have a system for making sure to check that they have their name and teacher code on the back of their artwork. Putting these little things in place is going to make it so you can stay a little bit more organized and not feel nearly as frazzled like I normally do at the end of the day.
Tim: Hello. This is Tim Bogatz, the host of Art Ed Radio. As always, I want to tell you thank you for listening to Cassie every week here on Everyday Art Room, and also like always, I want to tell you about the Art Ed Now Conference coming up on Saturday, February 2nd. We will have over 20 presentations that are all online, all amazing, and all, most importantly, relevant to what you’re doing right now in your classroom. We have opportunities for hands-on art-making, we have new ideas, we have inspiration, and we have a full day of relevant and engaging professional development. That’s tough to find sometimes.
And those innovative and inspiring talks, and those new ideas, and the resources and downloads you get with every presentation are going to be useful for you throughout the year. Now, you can learn everything you need to know about the conference at artednow.com. Make sure you go check it out after this episode is over.
Cassie: Now it’s time to take a little dip into the mailbag. This first question comes from Nicole. She’s asking about needle felting. I get a lot of questions about needle felting, and I actually did an entire podcast, two, on needle felting actually. One is all about needle felting for yourself, like a hobby that you might want to try out and start because it’s super-duper fun, and then the other one is all about needle felting with kids. So, if you want to hear me talk more about that than this short response I’m about to give in this question, you might want to check out those two podcast episodes.
Nicole says, “Hi. You’ve inspired me to try needle felting with my students. I’ve been searching the blog and found mostly your own projects.” This is true. I do love needle felting. “Is there a specific post that you did needle felting with kids? I’m looking specifically for more information on how much wool to order and where to get it. Thanks.” So, truth be told, I have done needle felting with my students once, one time, with a fourth-grade class. I did it just once because number one, you’re working with extremely sharp tools. A needle felting needle is extremely razor sharp, and it’s serrated, so it a kid hits themselves with it, they are going to bleed. There will be blood. So, it’s not exactly something I love to do with my students. If I had older students, perhaps. If I had students in smaller groups or ones who I really, really trusted, then I think I would do it more often with my kids.
But, to answer your question, I do have a post. It was done a long time ago. My students had three-inch square pieces of felt, not wool felt, just craft store felt, and they were needle felting a heart onto that. We made a giant collaborative heart piece, and the fourth graders’ contribution was a needle felted heart. I would recommend getting your wool from a couple of places, Sue Bunch at Back to Back Fiber has wool, and she is the person to talk to about how much wool to order. You can explain to her what your project is, what you have in mind, how many students you have, and she can custom create a kit just for you and your kids.
There’s also a place out of Illinois, called Esther’s Place. The owner’s name is Natasha. She is a gem. If you are in the Midwest and you’ve attended any of your local state conferences in the fall, then you’ve met Natasha, and you know she is a dear. You could also contact her, chat with her about what you have in mind. She even comes out to schools and does a lot of … She’s big into wet felting projects with your students. So, Nicole, I hope that helps. Definitely check out those two resources, because those two ladies are amazing.
This next question comes from Denise. She mentioned that she recently did one of my lessons for her evaluation, and what she did was she had those kids sit on the floor in front of her while she was giving instruction. That’s something that was new to her. She’d never tried it before. She did it for her evaluation, and it worked out great. That’s something that I do. I always start by having my students seated in front of me, and then we break from there. I never give instruction to my students while they’re at their desks with supplies in front of them. I learned the hard way it’s just way too distracting. Even my older kids, we come in, we sit on the floor, we jump right in and get started.
I don’t have carpet. The floor is hard. The floor is cold. I’ve never heard any of my kids complain. I mean, this is what they’re used to, so they even say … They even call it the carpet. “Do you want us to sit on the carpet?” There’s literally no carpet on my floor, but everywhere they go, I guess there is, so it cracks me up that they always say that.
Anyway, so her comment/question is, “I just need to get my time management under control for a lesson. I never seem to have enough time in 40 minutes.” Oh, honey, I have 30-minute classes. Tell me about it. You know, I have found that you’re going to get better and better and better with that. I have a friend that I teach with in my district, and she and I both used to work in Metro Nashville, where we had hour-long classes for all of our grades, even kindergarten, and she recently … When she first started in our district, she was commiserating about how difficult just the idea of 30-minute art classes was, or is, how much it was stressing her out.
Recently, she told me, “You know what? I actually like 30-minute art classes,” and I knew exactly what she meant. You become so efficient with your time. You know exactly how to break down a lesson. You become just so much better about explaining things quickly, and you don’t have wasted time. I used to waste a lot of time when I had an hour. Not purposefully, but it would just kind of go away from me because I would think, “Oh, we’ve got an hour. We’ve got time.” When you have 30 minutes, you are not playing around.
So, with 40 minutes, what I would recommend you do is this, if you feel like you’re struggling for time management: Write down exactly where your minutes are going in that 40 minutes, meaning how long does it take your kids to walk in and sit down? Is it three minutes, or is it a minute? If it’s longer than you’d want, tighten that up. Are you spending a lot of time having a banter back and forth with your kids, meaning are they telling you about their loose tooth? Are you hearing about what they did on the weekend? These are things we want to talk about, but maybe save that when they’re working and you’re walking around the room. Jot down how much time is spent with banter. Write down how much time you’re spending on instructing. I talk way too much when I’m instructing my students. I know this. I get off on sidebar conversations. I know this. That’s my struggle, so that’s where my minutes are lost.
I think if you keep like a little log for a couple of classes, for a couple of days, you’ll begin to see a pattern, you’ll begin to see where you need to tighten up, and you’ll suddenly realize, “Oh, I might actually have more time to give to my students to create.” Great questions ladies. If you have a question for me, you should send it my way. You can find me at Everyday Art Room at theartofed.com.
My very favorite thing in the whole wide world is this: When I have literally had a panic attack because so-and-so is getting teary-eyed, because I don’t have their artwork, and I flip my room upside down on the hunt for this work of art, only to hear a student say, after 30 minutes of me scrambling like a madwoman, “Oh, wait. I don’t think I was here that day.” You guys, I can only share that with you because only you have probably lived that very same thing, so here’s to us keeping up with all these crazy kids and all their amazing masterpieces. We can do this. Have a great week, you guys.
Magazine articles and podcasts are opinions of professional education contributors and do not necessarily represent the position of the Art of Education University (AOEU) or its academic offerings. Contributors use terms in the way they are most often talked about in the scope of their educational experiences.