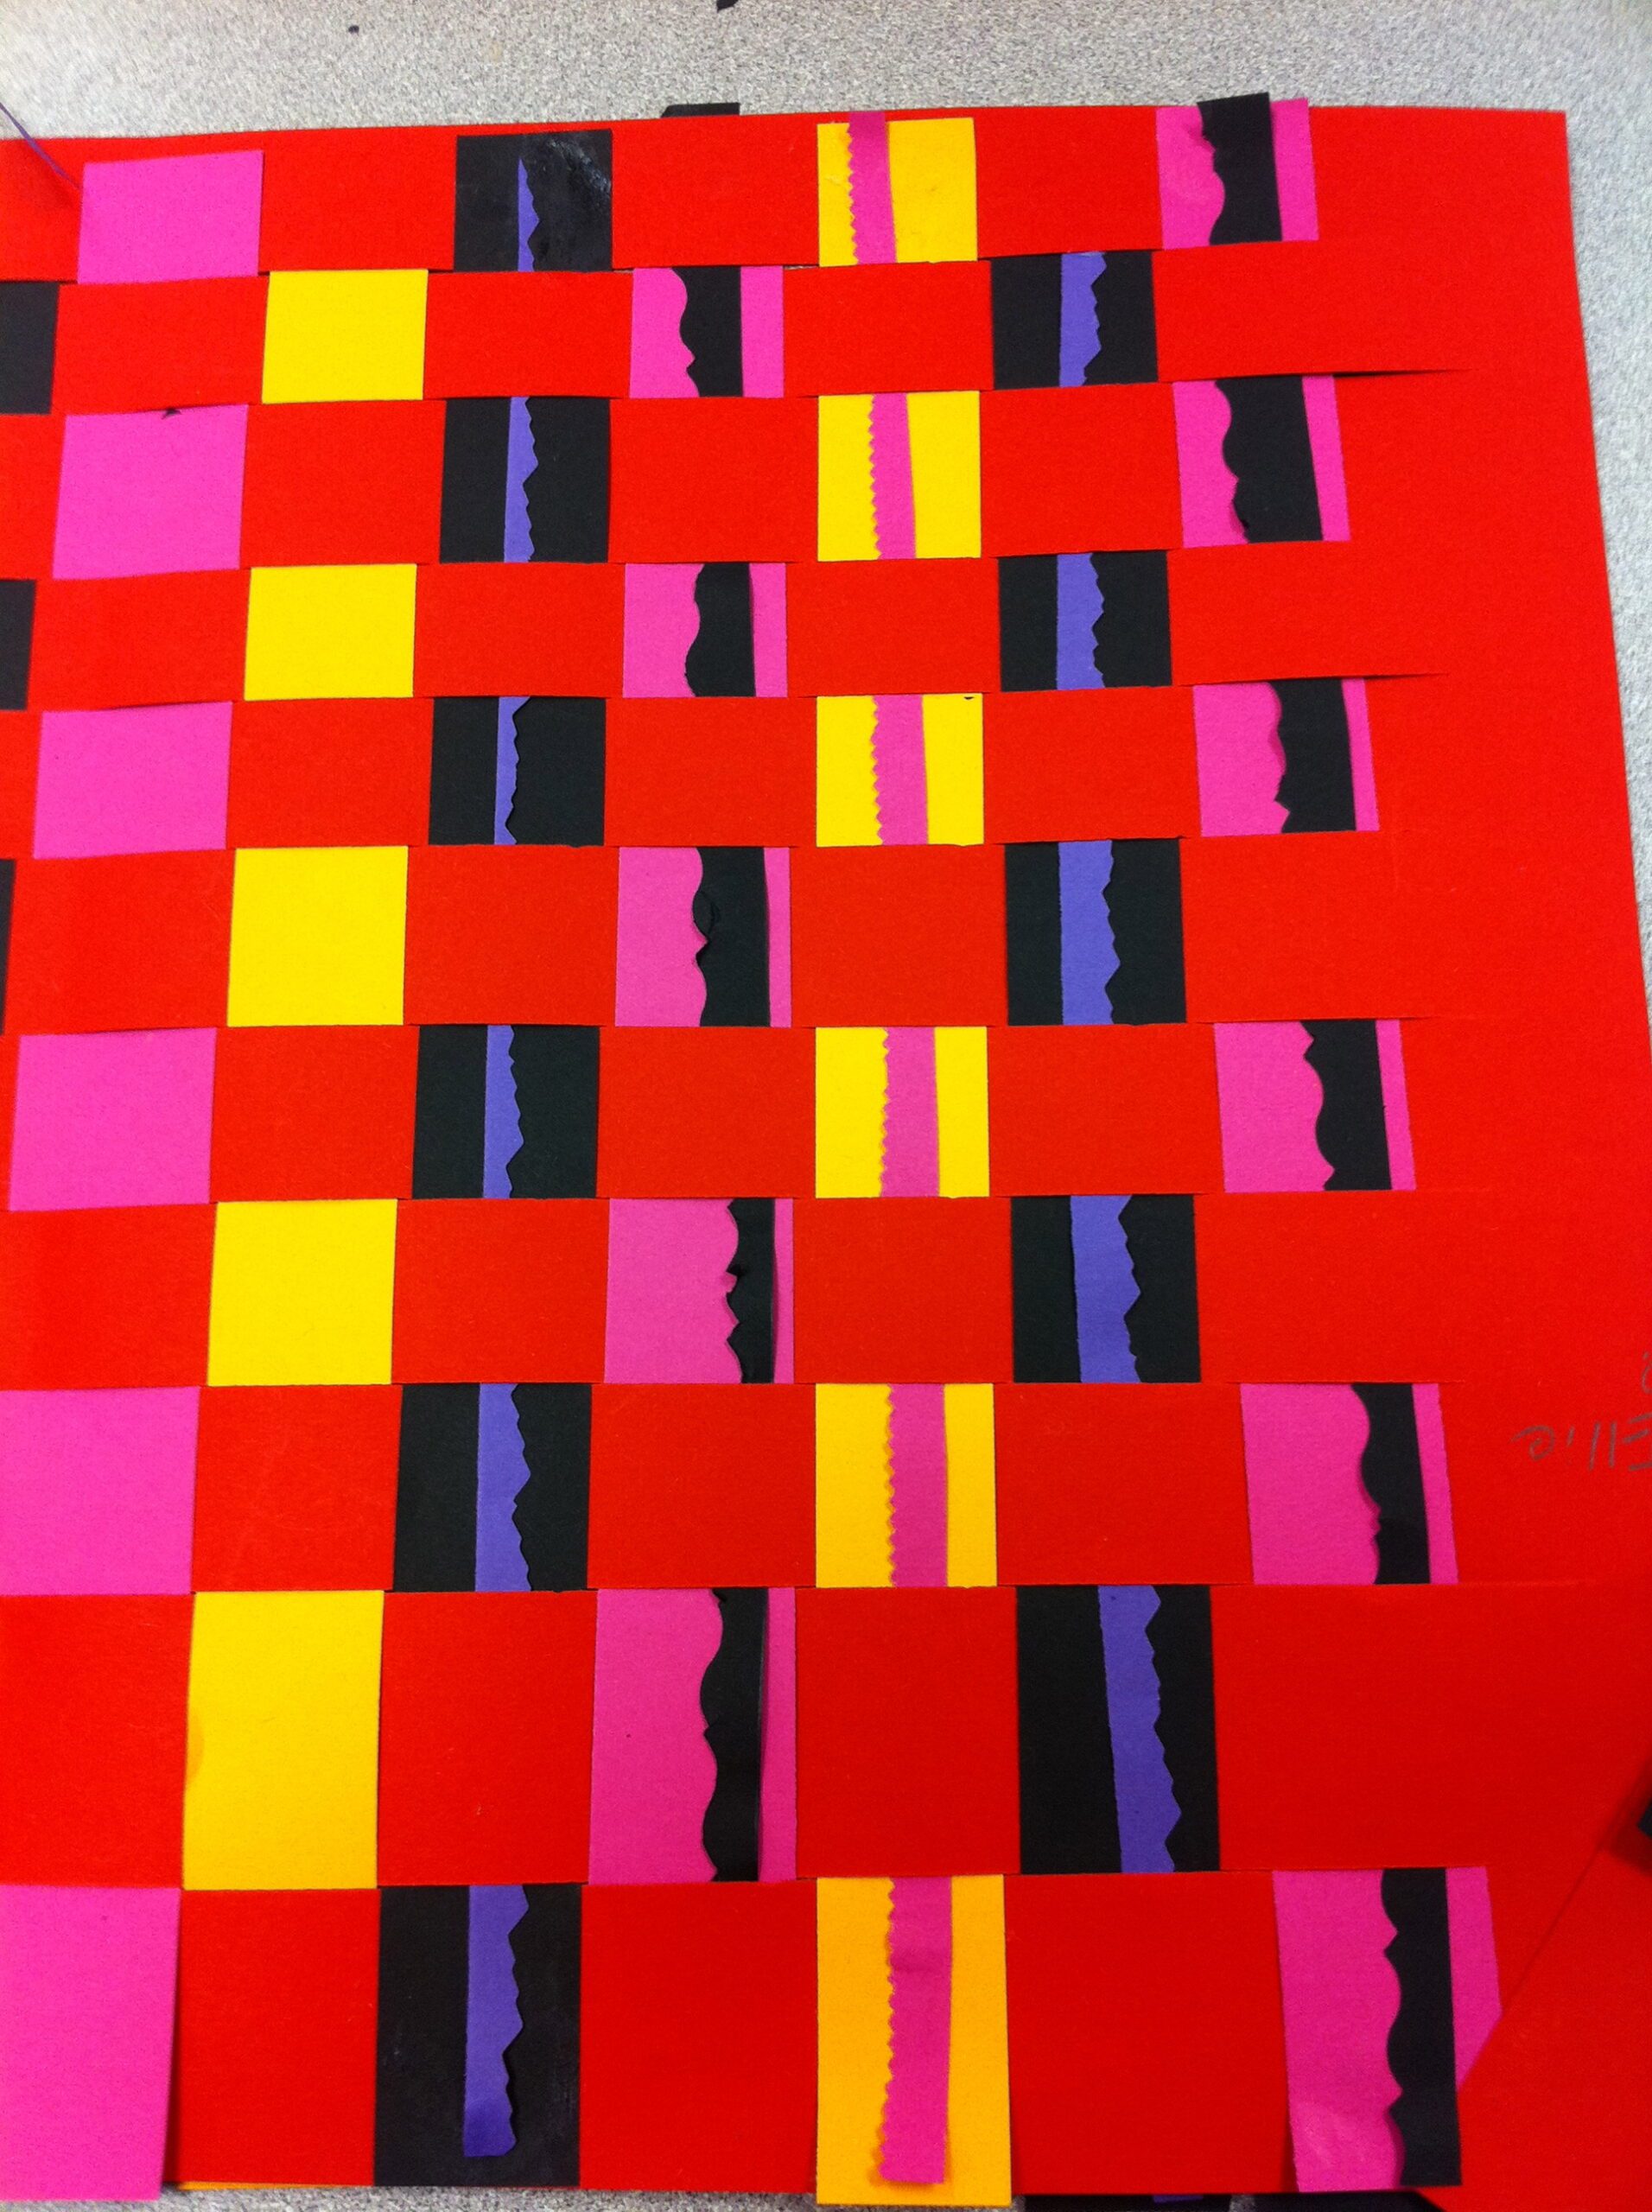
Here is a little lesson to add some JAZZ to your ordinary weaving projects with any grade level! I use this technique for 2nd graders and it seems to work well.
It’s called the multiple layer weaving.
You start with the basic paper weaving on a loom. I have good luck pre-cutting my looms on the paper cutter, about 3 at a time. In the past, I would have students measure out their spacing with a ruler and cut their own slits, however, when our art time was cut, I decided the skill of weaving needed to shine and took on the prep myself. It made the lesson go much more smoothly for all involved. I don’t mind the extra prep.
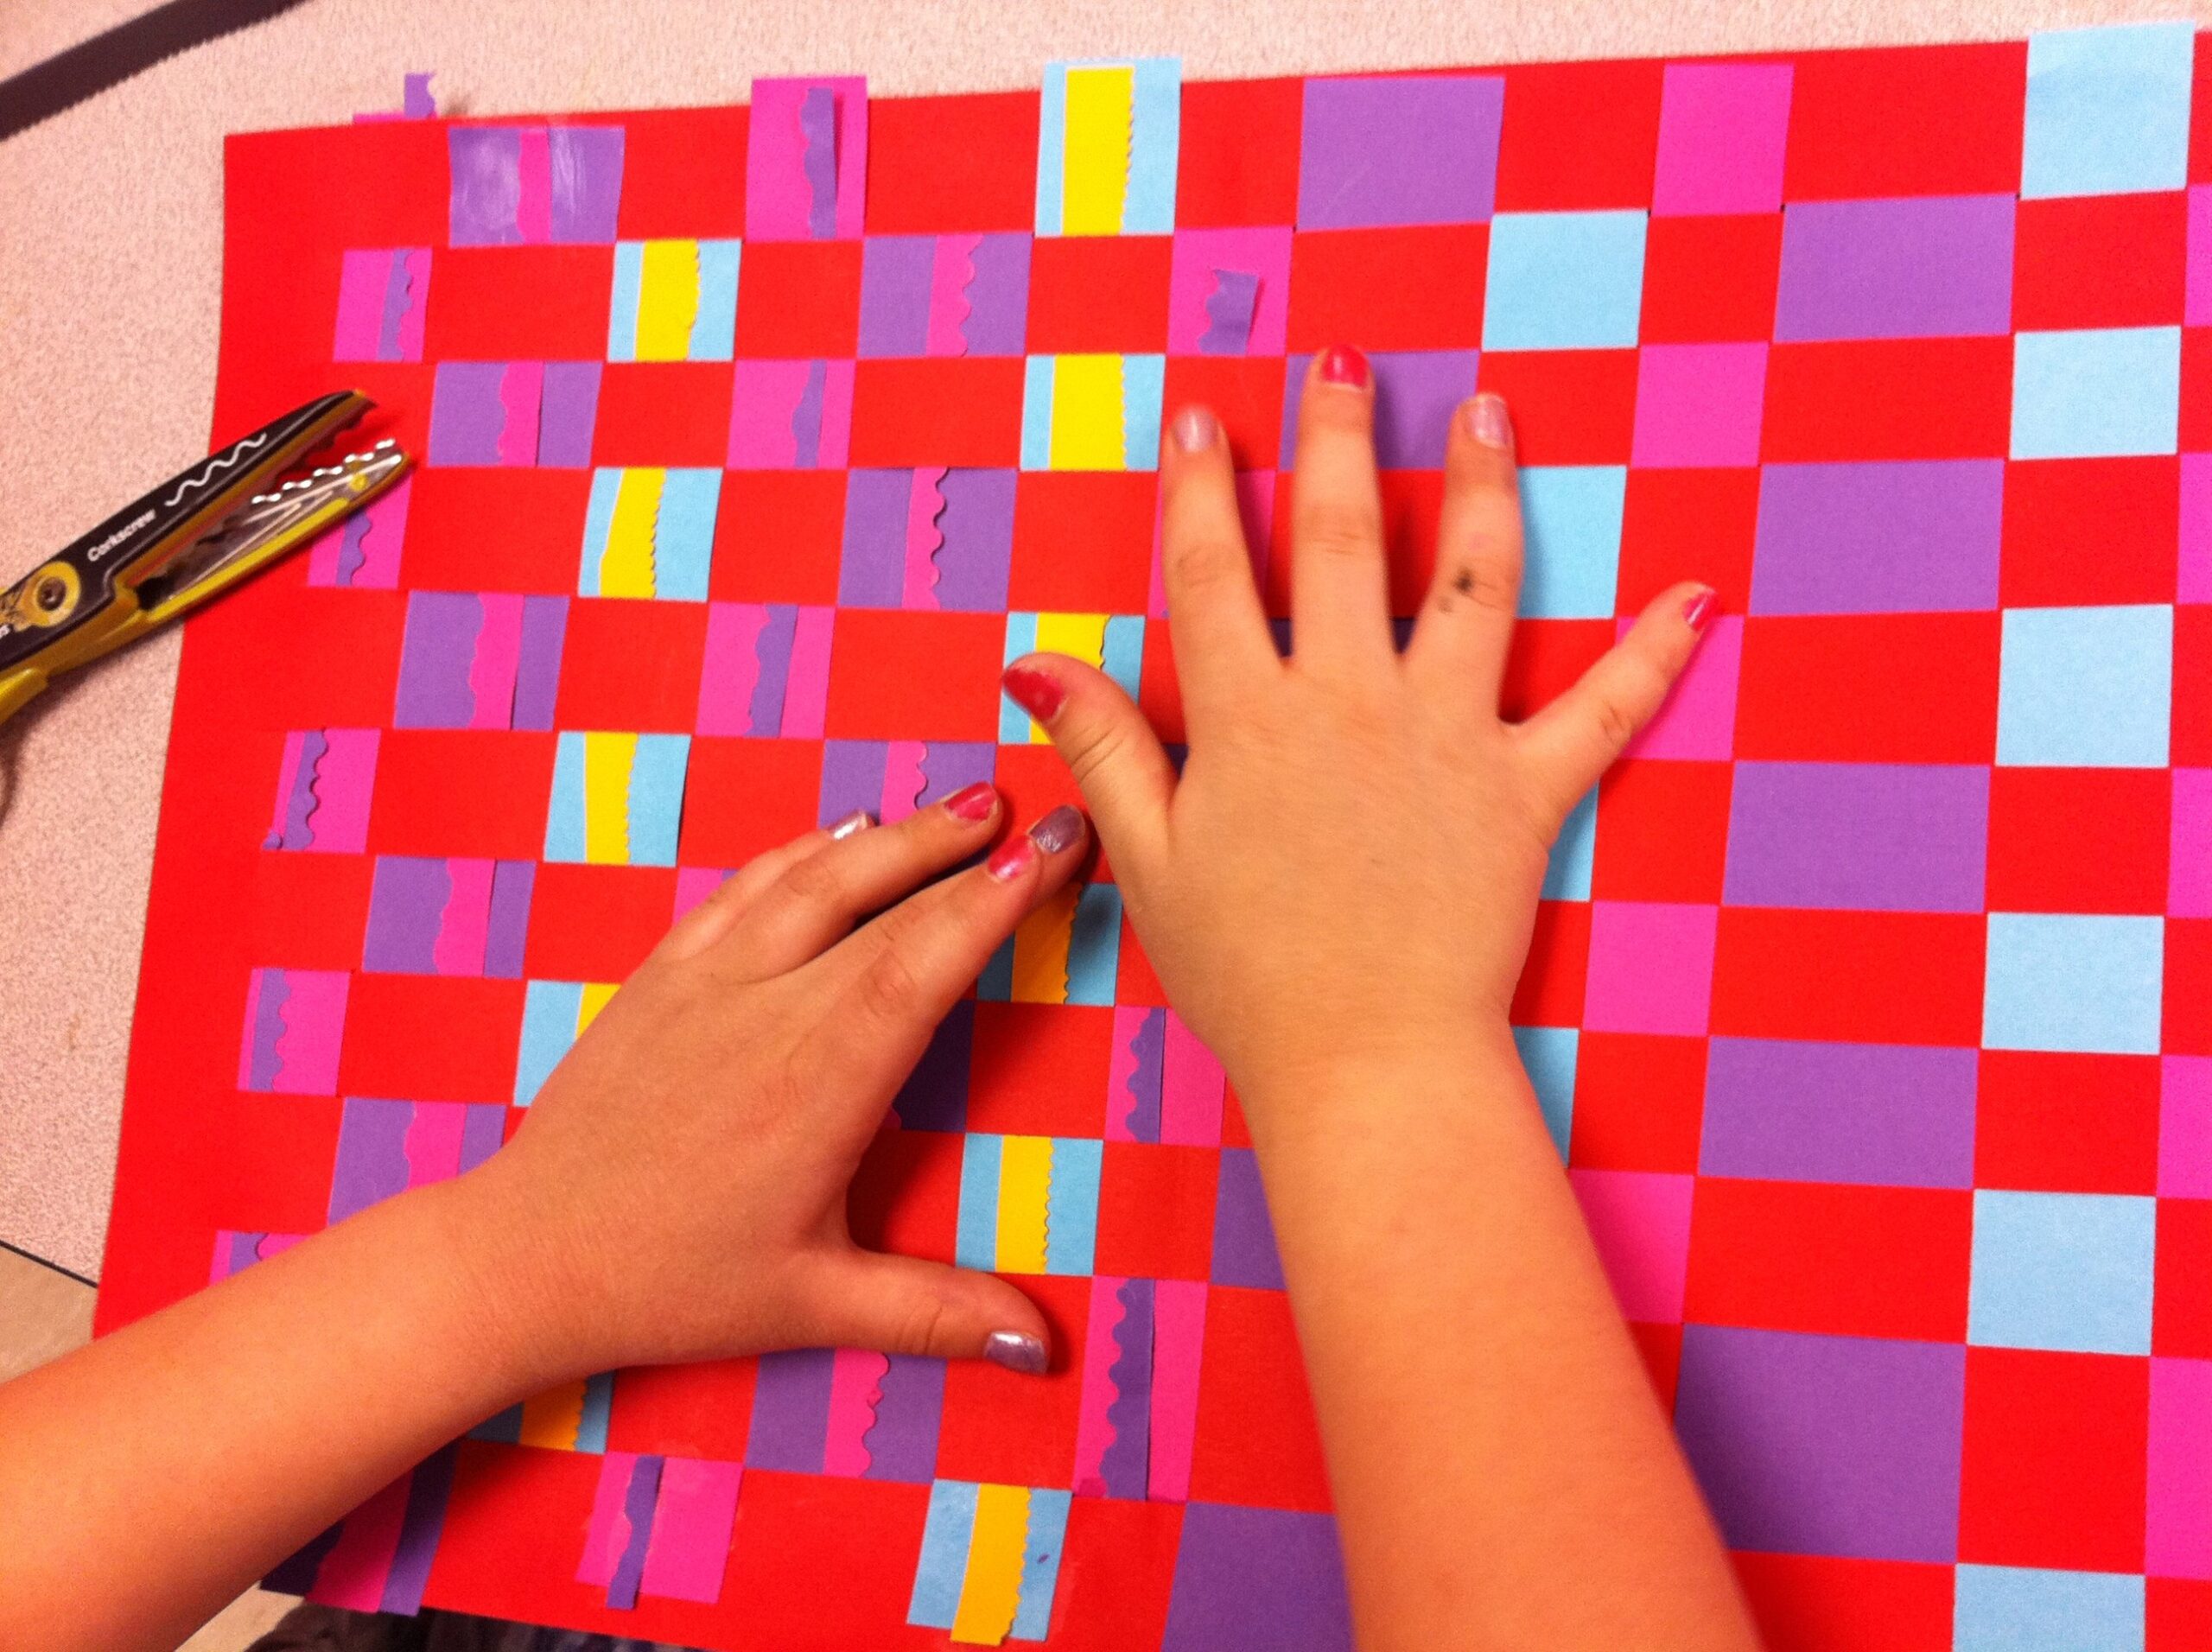
After students have done a basic pattern with strips in the loom, there is one more fun step that makes these weavings even more special – The double layer! (cue music)
Here’s what to do:
1. Have students choose leftover strips from the first part of the weaving and cut them in half or thirds. If you have them available, students can use fancy scissors with decorative edges to make these even more fun.
2. Take the smaller strips and push them through the weaving. Try to choose contrasting colors so the extra strips really pop. Students really don’t have to “re-weave” the second strip, they just slide it through the path they have already made.
3. To work on patterning, I have students make a new pattern with the second layer of the weaving to make it more complex.
4. When they are done, I have students use a glue stick to fasten down the little edges that like to pop up. The double layer will only show on once side.
5. If you are feeling fancy, you can fringe the end by adding an extra strip and cutting little slits in it.
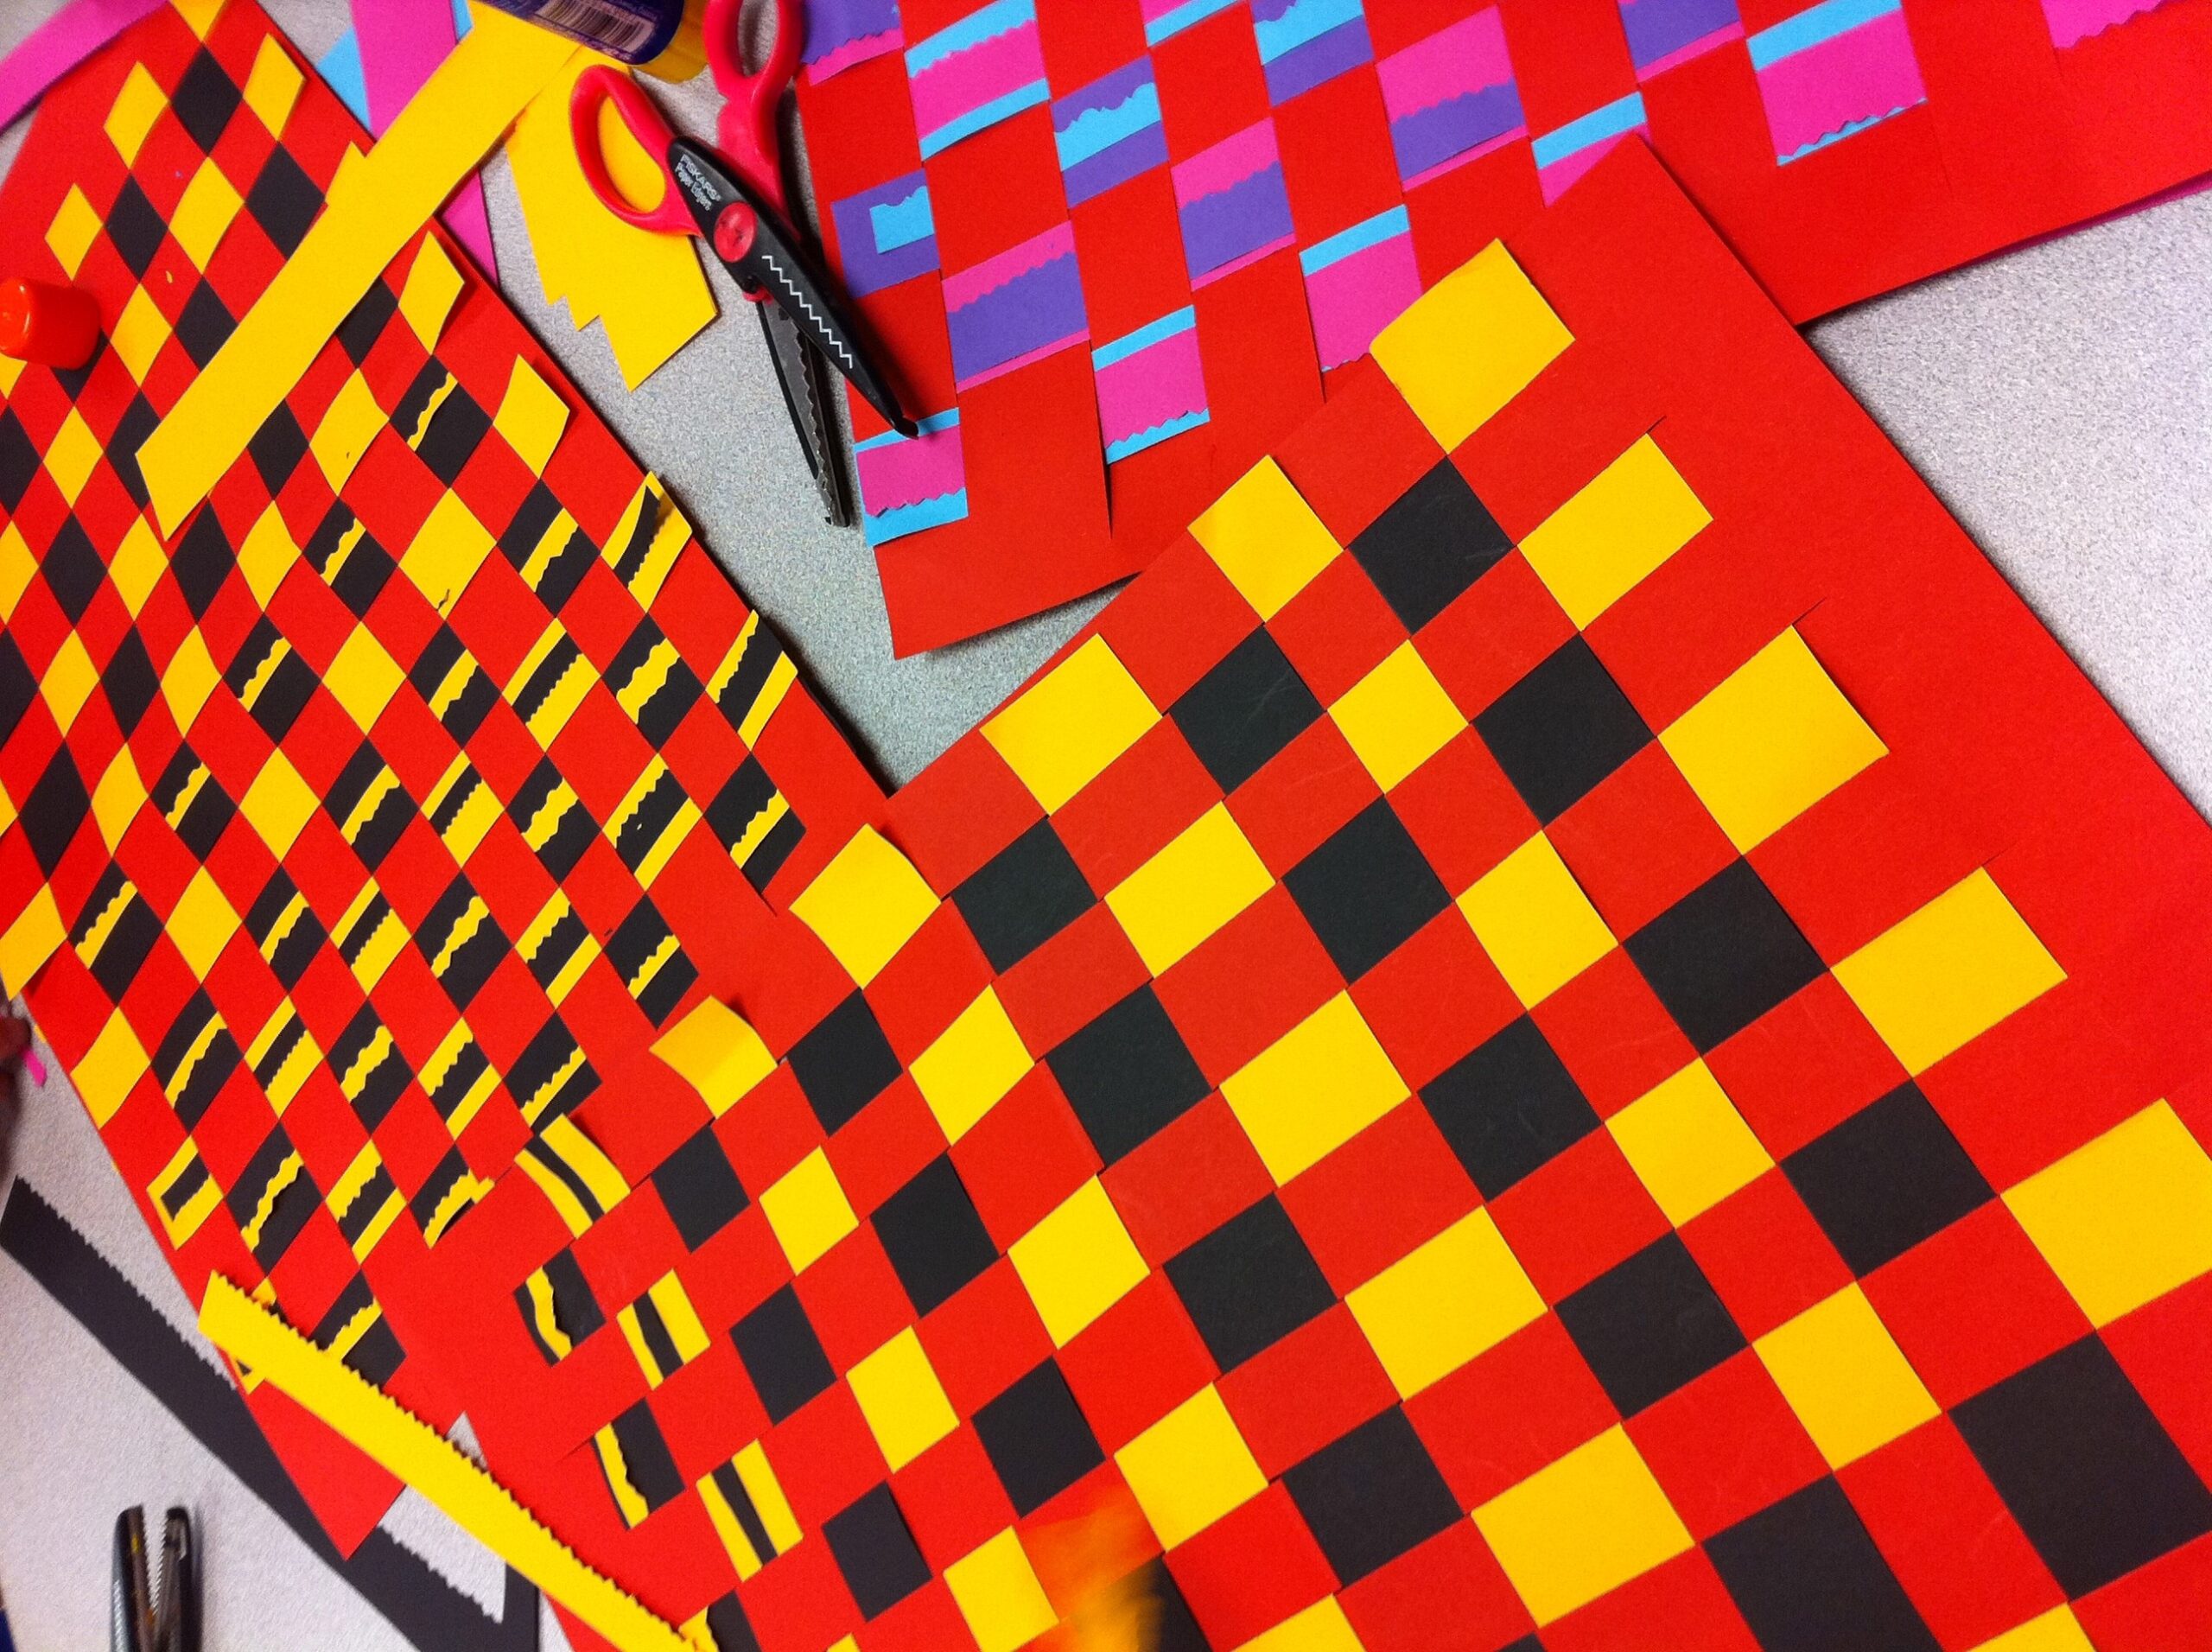
Take your basic weavings from drab to fab! It’s that simple!
Magazine articles and podcasts are opinions of professional education contributors and do not necessarily represent the position of the Art of Education University (AOEU) or its academic offerings. Contributors use terms in the way they are most often talked about in the scope of their educational experiences.
