The market for specialized equipment aimed at helping students that require accommodations, as well as developing fine motor skills, is growing. There are more options than ever before for gizmos that help students hold on to drawing supplies and develop their grip. I am definitely a proponent for getting the supplies that you and your students need to succeed; however, sometimes these products can be expensive and they may not fit into the constraints of the ever-dwindling art room budget. Or, at the very least, it might take you several years to acquire a variety of devices that truly meet the needs of your students.
In the meantime, I would like to suggest my Top 4 DIY Adaptations for the Art Room. I cannot take credit for inventing all of these adaptations, as they have come from years of working with a fabulous team of OTs, paraprofessionals and SPED teachers. But, I did narrow it down to 4 suggestions that utilize simple, inexpensive materials I guarantee you have lying around in new and creative ways.
1. 3-Ring Binder – I use a 3-ring binder to create an instant slant desk. This helps students who may need assistance reaching or viewing the farthest edges of their artwork. Working on an elevated plane also naturally increases the user’s grip on drawing tools. These binders come in a variety of thicknesses, so you can experiment to find the one that works for your student and then work to decrease the amount of slant over time. Two-dimensional projects can be taped directly to the 3-ring binder while the student is working to help with sliding.
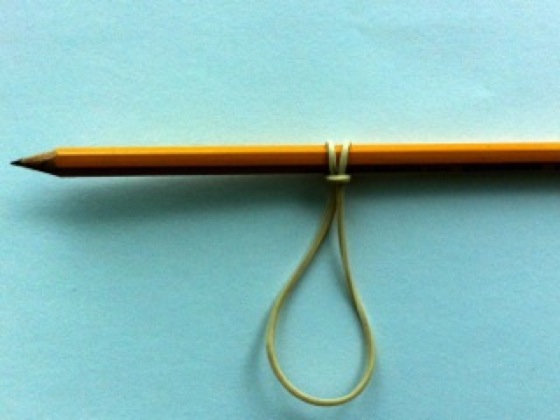
2. Rubber bands – If you have a student who is having trouble with pencil grip, try adding a rubber band or pony-tail holder. There are several varieties here that you can try, depending on the desired outcome.
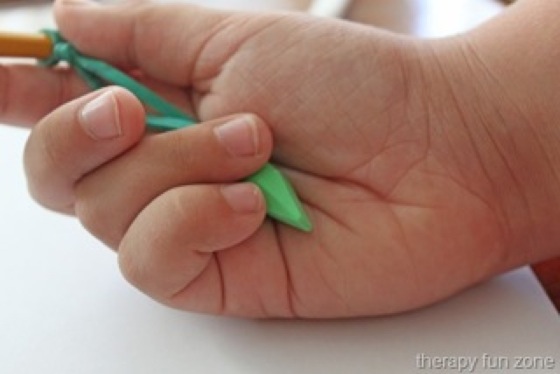
If your student is having trouble with pencil grip (especially if he or she is holding the drawing tool with more than 3 fingers) try looping the rubber band around the pencil or other drawing tool and leaving the tail for students to grip with their ring and pinky finger.
Some teachers use a small “charm” added to the end of the rubber band as an additional item for students to hold on to.
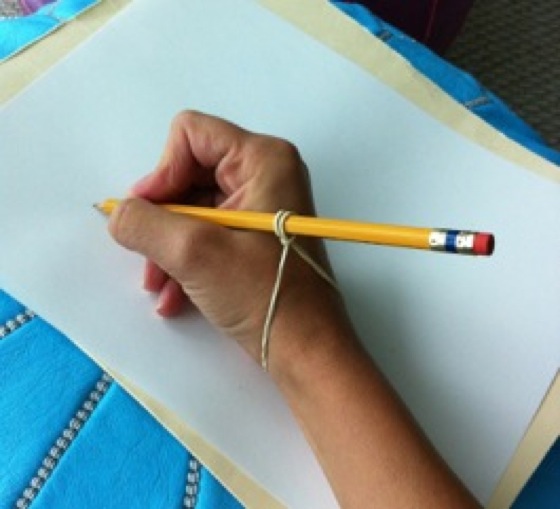
If your student is having trouble with pencil slant (and is holding drawing materials completely erect), try attaching the rubber band to the pencil or crayon, as above, and then looping the other end around the student’s wrist.
3. Cotton balls – Another trouble-shooting option for students who grip drawing tools with more than 3 fingers is to give them a cotton ball to grip with their ring and pinky finger while they work. You could also use a small eraser or wrapped candy (that, of course, they can eat at the end of class for added incentive).
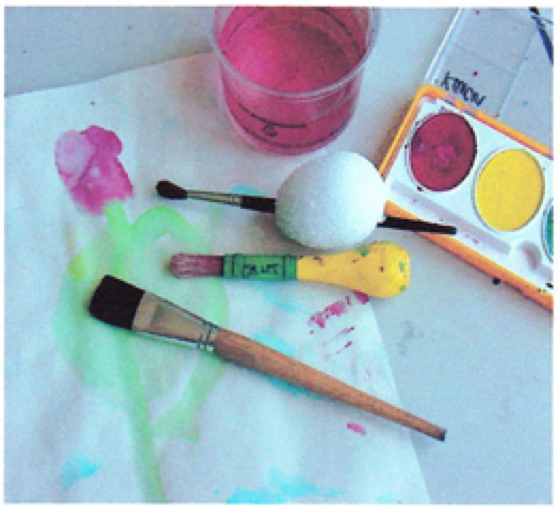
4. Styrofoam Ball – If a student is having trouble gripping thinner art supplies, like small paint brushes, simply sticking the brush through a Styrofoam ball provides more surface area and gives the student a better grip.
Adaptations are all about problem-solving, thinking on your feet and using what you have in new and creative ways.
If you are looking for more information and techniques about working with students with special needs, check out one of AOE’s two classes in this February: Autism and Art and Reaching All Artists Through Differentiation. These classes are jam-packed with art room specific adaptations, management systems and lesson plans that meet the needs of all students.
Do you have a DIY adaptation to share with the group?
I would love to hear about your successes in this area!
{image source} {image source} {image source}
Magazine articles and podcasts are opinions of professional education contributors and do not necessarily represent the position of the Art of Education University (AOEU) or its academic offerings. Contributors use terms in the way they are most often talked about in the scope of their educational experiences.
